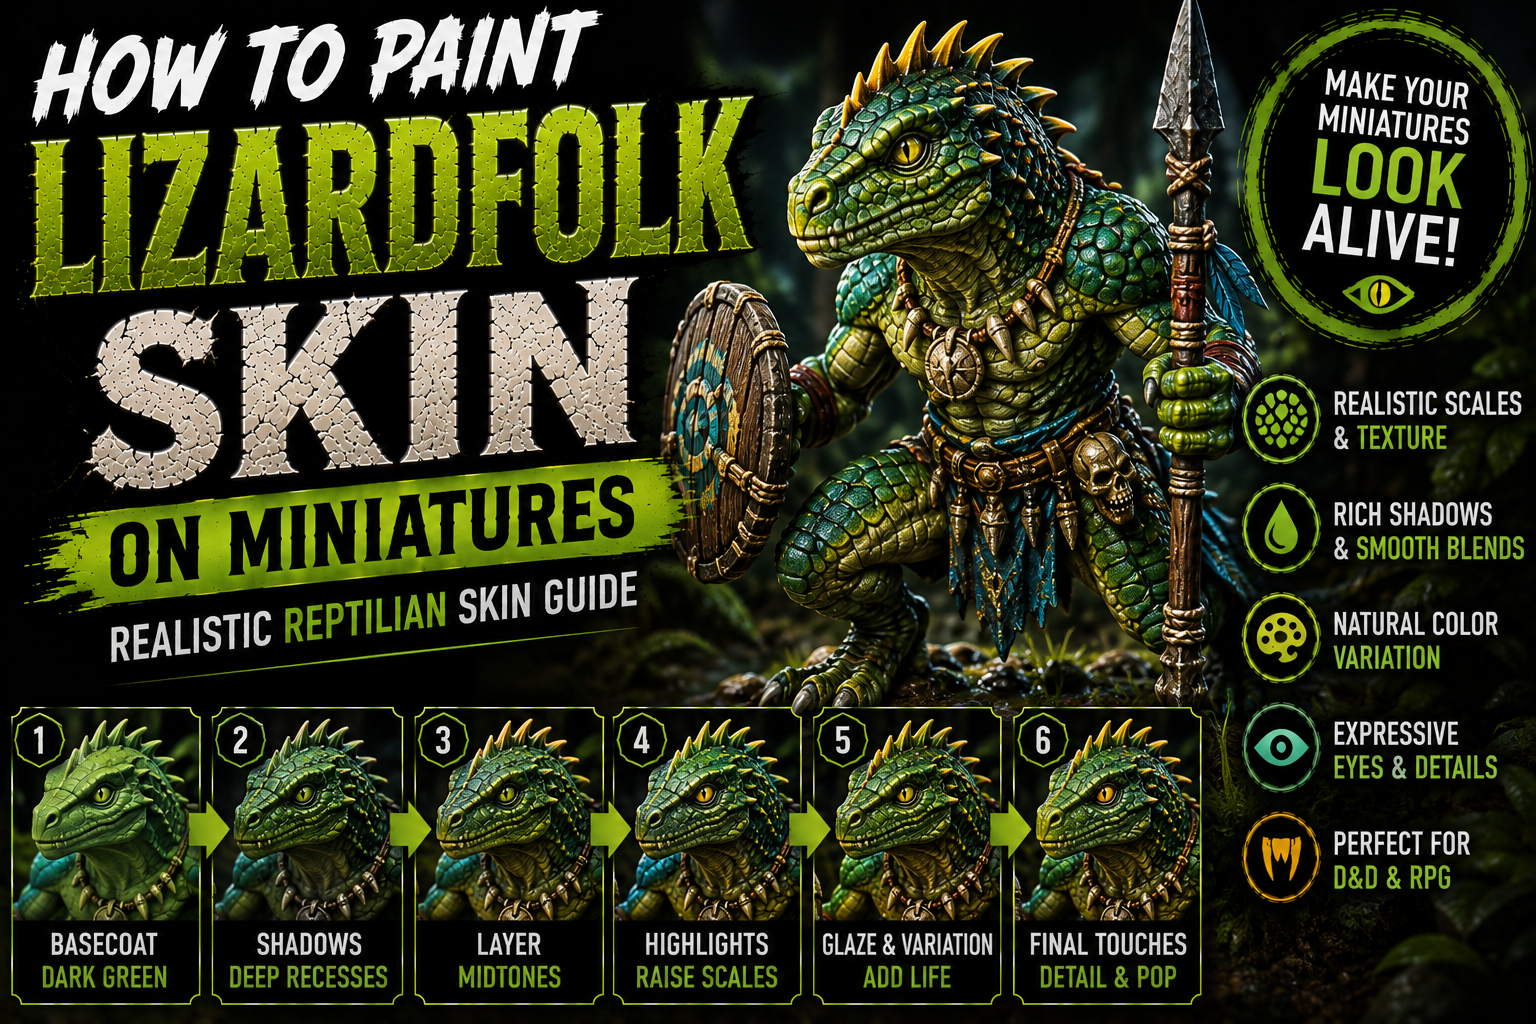
How to Paint Lizardfolk Skin on Miniatures (Realistic Reptilian Skin & Scales Guide)
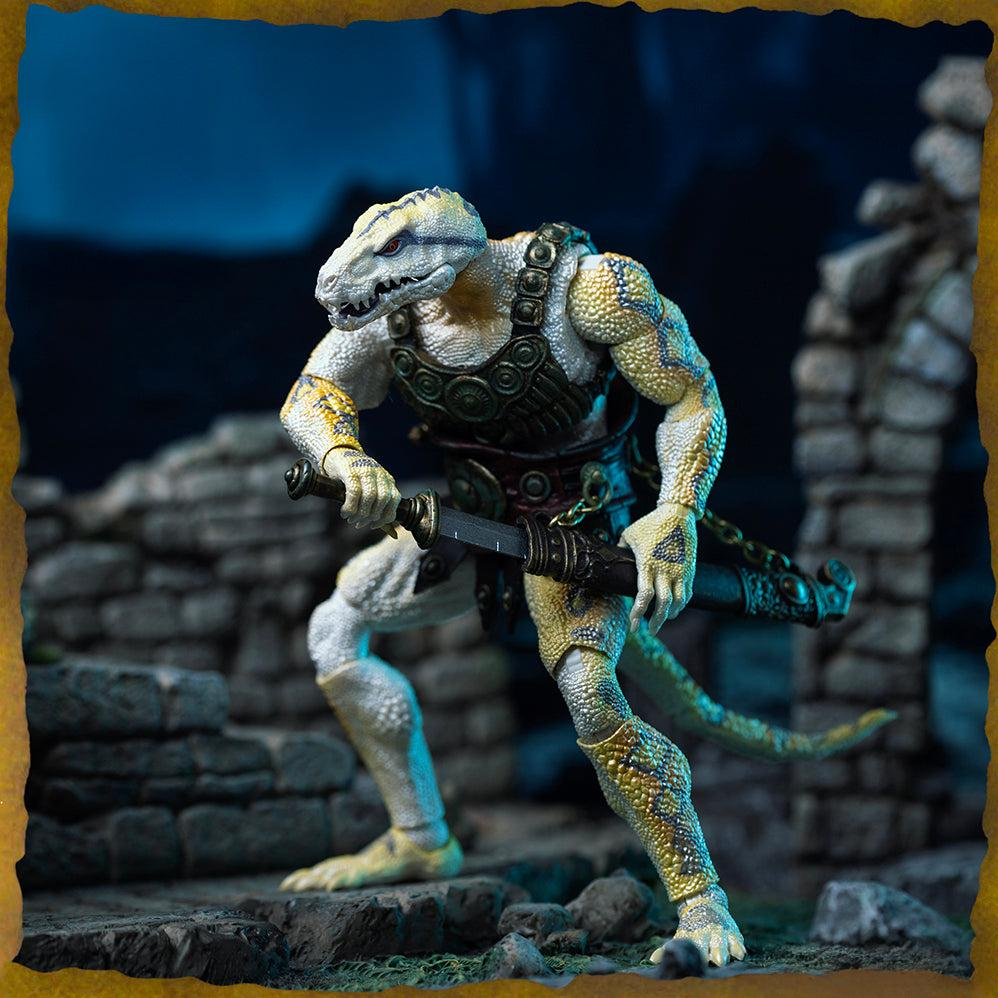
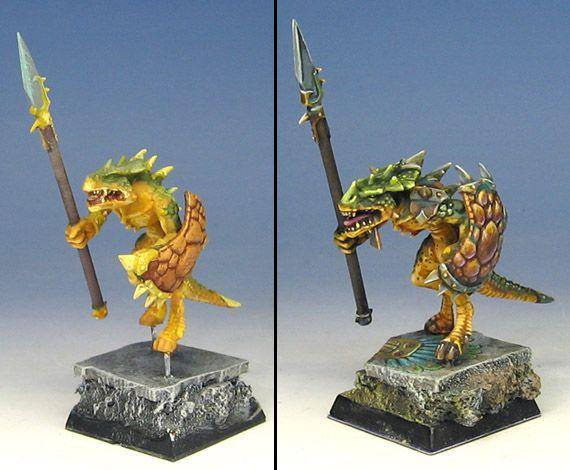
Lizardfolk are fantastic miniatures for painters who want to combine organic skin, scales, strong color variation, and detailed fantasy textures.
Unlike dragons, lizardfolk usually have a mixture of small scales, softer skin, larger armored plates, and distinctive facial features. This gives you the opportunity to create several different textures while still keeping the miniature visually consistent.
The biggest mistake is painting every scale exactly the same color.
Real reptiles contain incredible variation. Their backs may be darker, their bellies lighter, their faces more colorful, and individual scales can subtly change tone across the body.
In this guide, you’ll learn how to paint realistic lizardfolk skin using layering, glazing, scale highlighting, natural color variation, and reptile-inspired patterns.
Understanding Reptilian Skin
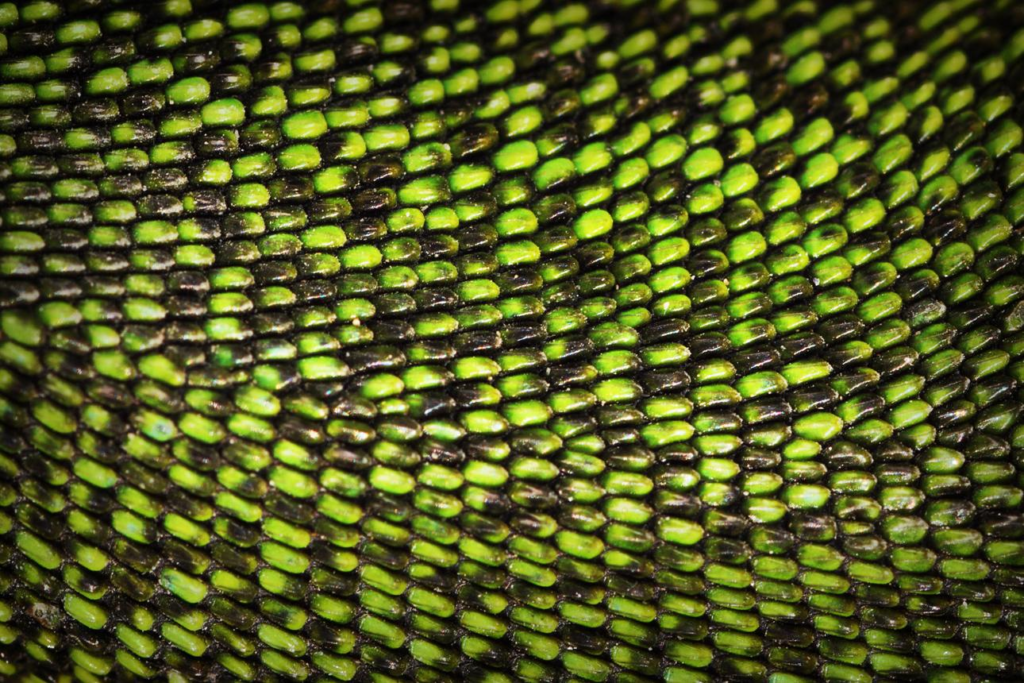
Before painting fantasy reptilian skin, look at real lizards.
Their coloration is rarely uniform.
The back is often darker because stronger pigmentation provides camouflage, while the belly tends to be considerably lighter.
Faces, throats, tails, and limbs may contain additional colors or patterns.
You can exaggerate these natural characteristics when painting fantasy miniatures.
The result still feels believable while giving the character much more personality.
Choosing Your Lizardfolk Color Palette
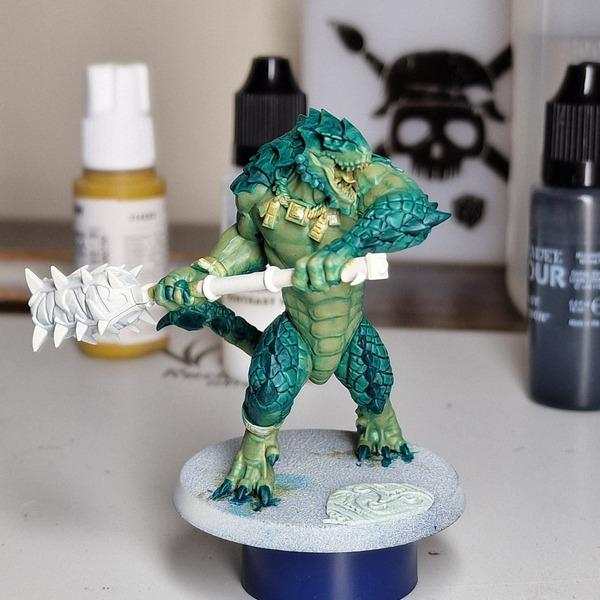
Green is the traditional choice, but lizardfolk can use almost any reptile-inspired palette.
Some excellent combinations include:
- Forest Green + Yellow Green
- Olive + Khaki
- Turquoise + Pale Blue
- Brown + Orange
- Dark Blue + Cyan
- Black + Red
- Sand + Brown
Choose one dominant color and one secondary color.
Then prepare darker and lighter versions of both.
This gives you enough variation without making the miniature chaotic.
Painting the Base Coat
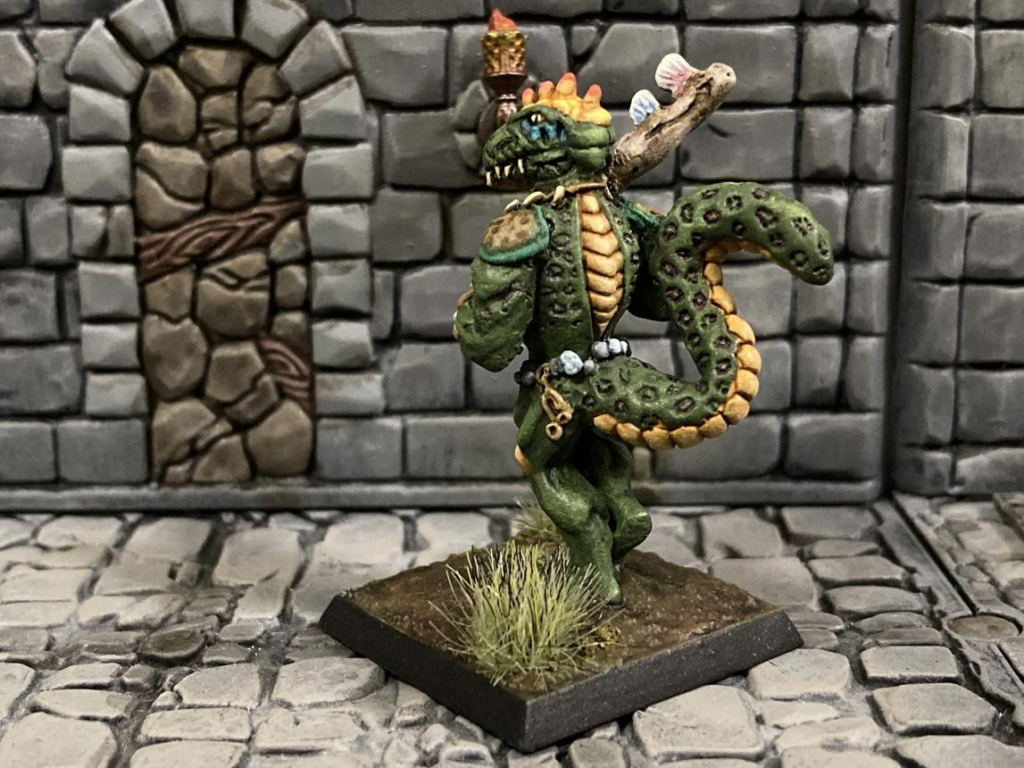
Begin with a medium-dark version of your main skin color.
For a classic green lizardfolk, olive or forest green works beautifully.
Apply several thin coats until the skin is evenly covered.
Allow the deepest recesses between scales to remain slightly darker.
Don’t start with your brightest green.
A darker foundation gives you room to create much stronger highlights later.
Creating Deep Shadows Between Scales
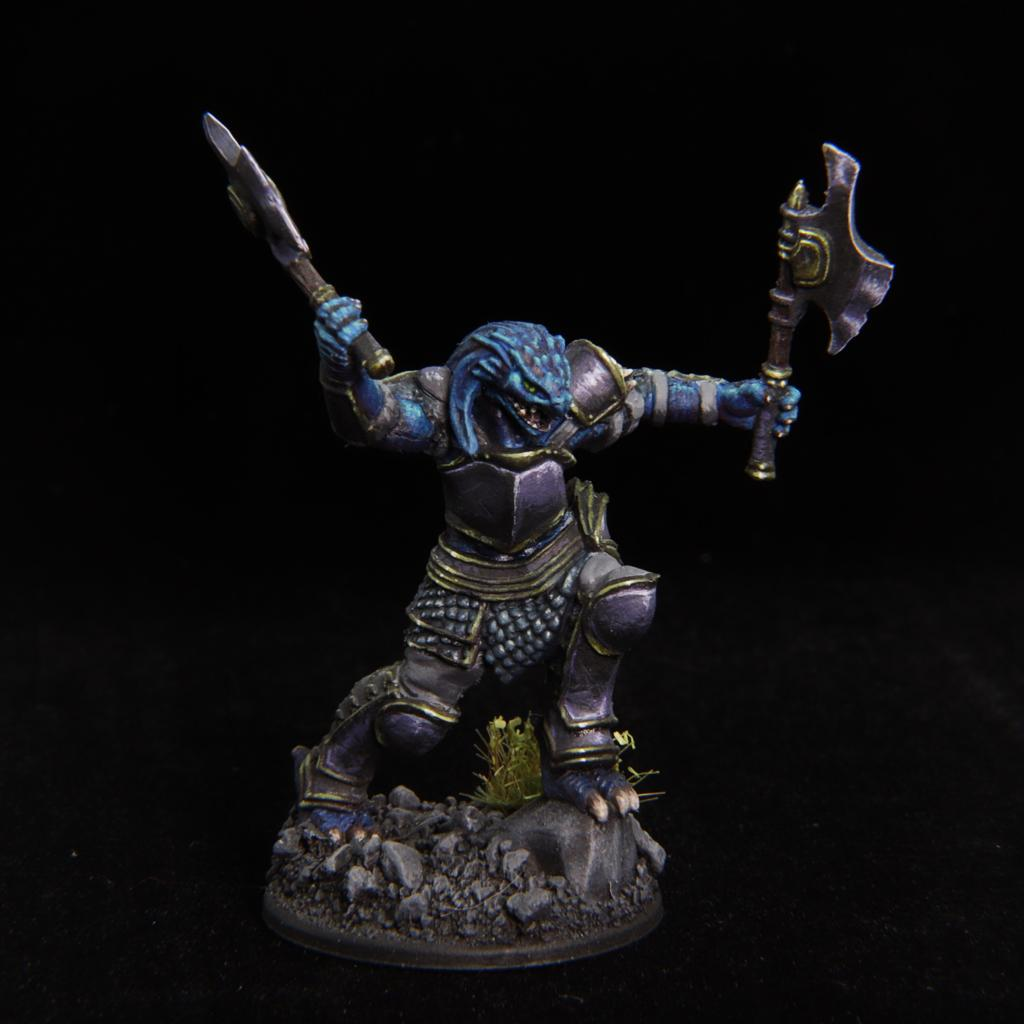
Scales need separation.
Use a darker version of your base color and carefully shade the recesses.
Dark green, brown, purple, or even dark blue can work depending on your palette.
Concentrate shadows around:
- Between scales
- Under the jaw
- Beneath arms
- Around muscles
- Between fingers
- Under armor
- Around the tail
Keeping these recesses dark immediately makes the scales easier to read.
Building the Skin Midtones
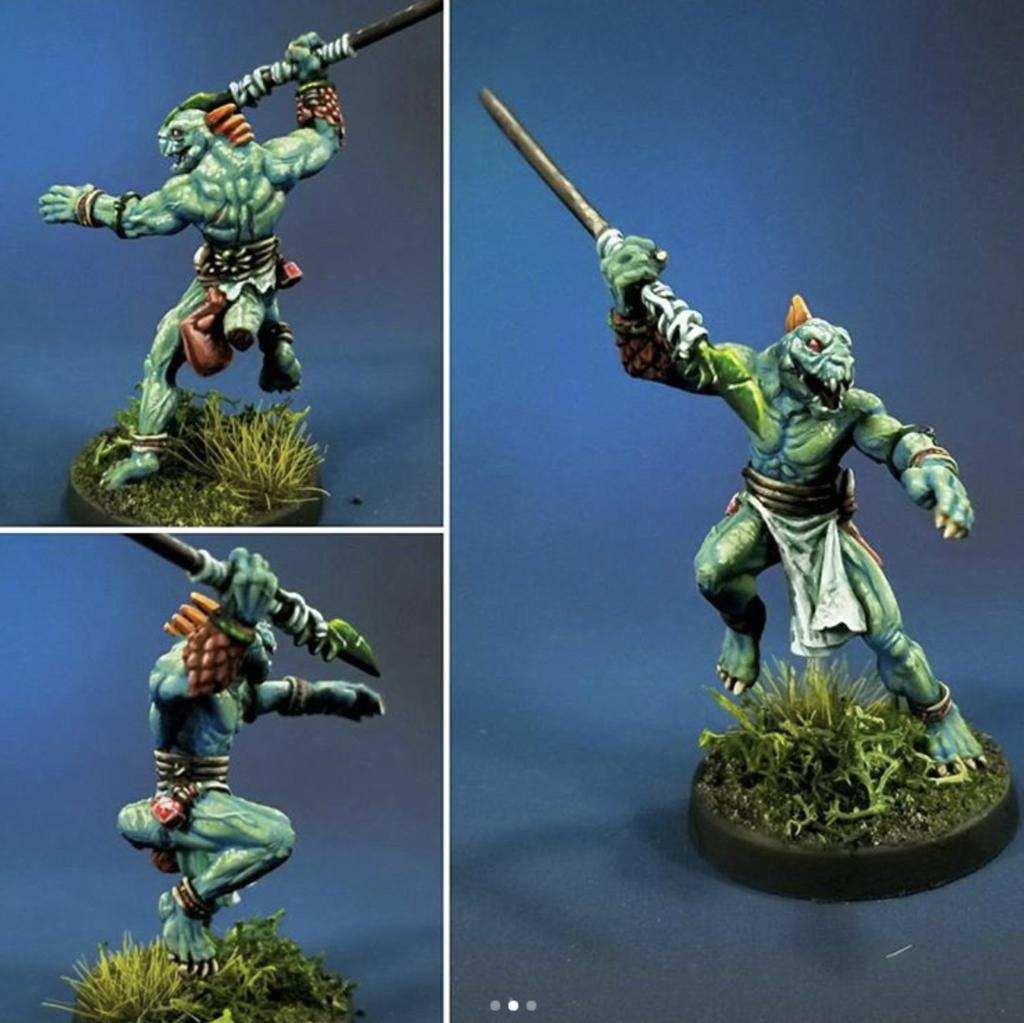
Restore your original skin color across raised surfaces.
Then gradually introduce lighter colors.
Follow the shape of the body rather than highlighting every scale independently.
Shoulders, upper arms, head, back, and upper legs generally receive more light.
The underside should remain darker or transition toward a different belly color.
Several thin layers create much smoother transitions than one heavy highlight.
Highlighting Individual Scales
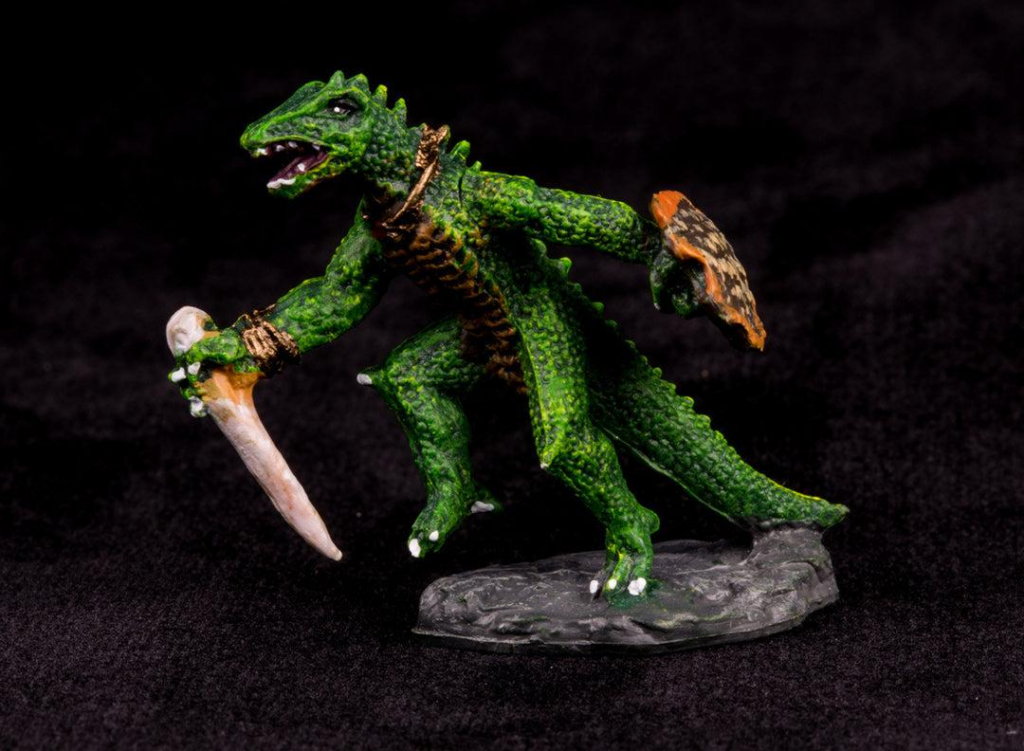
Once the overall lighting is established, highlight selected scales individually.
Use a lighter green, yellow-green, or khaki depending on your palette.
Paint the upper edge of prominent scales.
Concentrate the strongest highlights around the face, shoulders, spine, and upper arms.
Don’t highlight every scale equally.
Selective highlights make the texture readable without making the miniature visually overwhelming.
Painting a Lighter Belly
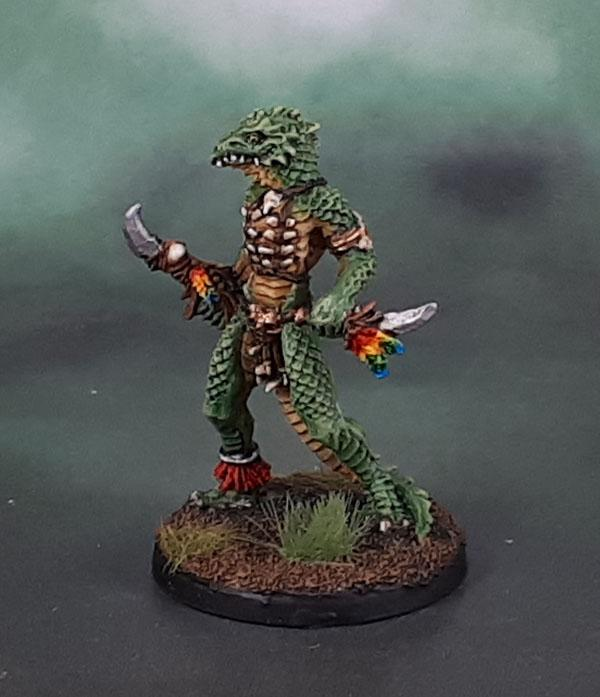
A lighter belly creates excellent contrast against darker reptilian skin.
Use beige, khaki, pale green, or desaturated yellow.
Start darker near the sides of the body and gradually increase brightness toward the center of the belly.
Keep dark lines between the larger belly plates.
This creates separation while preserving the armored appearance.
The transition between the belly and darker back should remain gradual rather than forming a perfectly straight line.
Adding Natural Color Variation
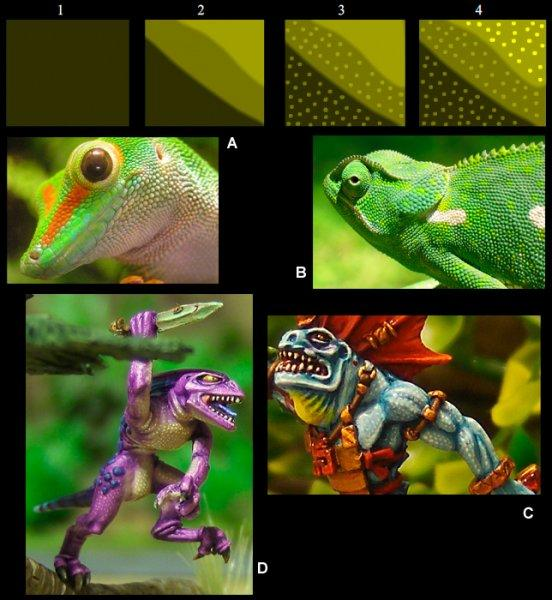
Transparent glazes are extremely useful for reptilian skin.
You can introduce yellow around the face, turquoise along the back, brown around the limbs, or orange around the throat.
Apply these colors in thin layers.
The original skin color should remain visible underneath.
This creates natural variation without forcing you to repaint individual scales.
Color variation is especially effective on larger lizardfolk characters.
Painting Reptile Patterns
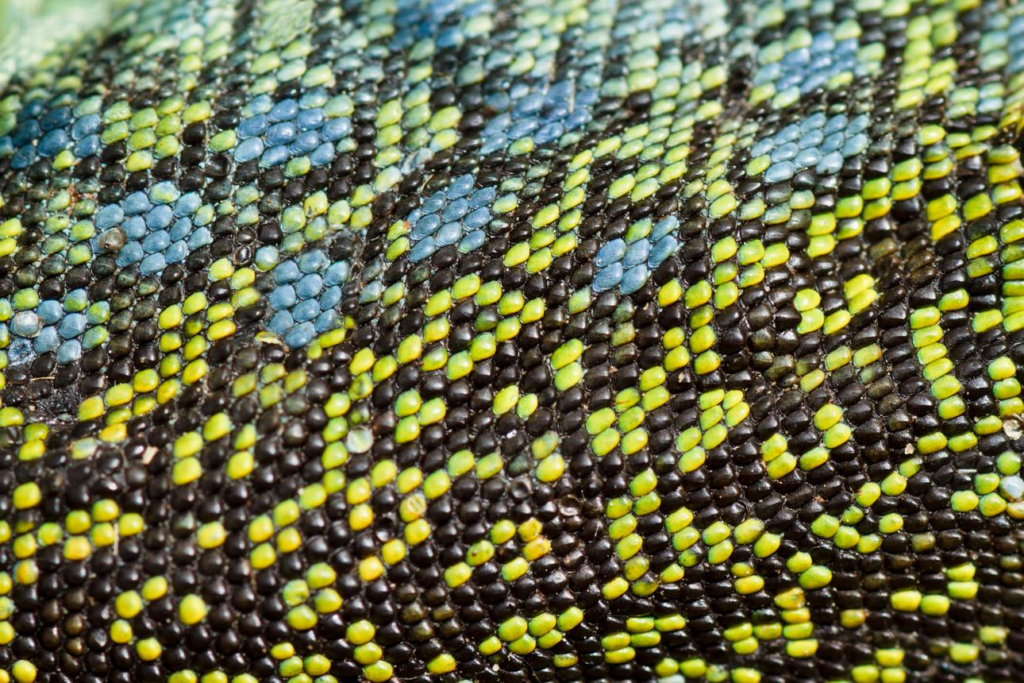
Patterns can make two miniatures painted with the same colors look completely different.
Try adding:
- Dark stripes
- Small spots
- Tail bands
- Mottled patches
- Colored throat markings
Avoid making patterns perfectly symmetrical.
Natural markings usually contain small irregularities.
Use slightly transparent paint so the original scale texture remains visible underneath.
Painting the Lizardfolk Face
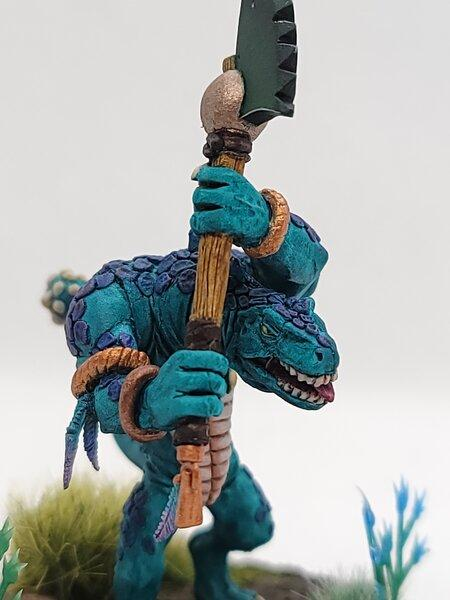
The face should receive some of your strongest highlights.
Concentrate attention around the brow, nose, jaw, cheek scales, and eyes.
You can introduce additional color around the face to make it stand out from the body.
Yellow-green, turquoise, orange, or red accents can work beautifully.
Keep the recesses around the eyes dark.
This increases contrast and makes the eyes easier to see from tabletop distance.
Painting Reptilian Eyes
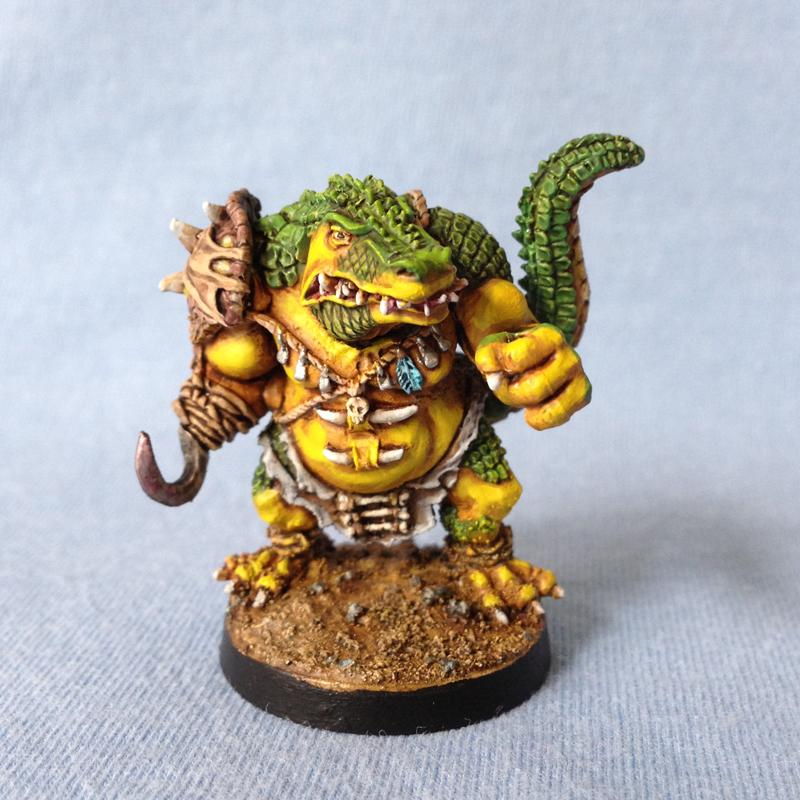
Reptilian eyes can become an incredible focal point.
Yellow, orange, bright green, and turquoise all work well.
Start with a darker version of your chosen color.
Add a brighter center before carefully painting a thin vertical pupil.
Finally, place a tiny pale reflection near one edge.
Even on a small miniature, this tiny highlight can make the character appear dramatically more alive.
Painting Claws and Spines
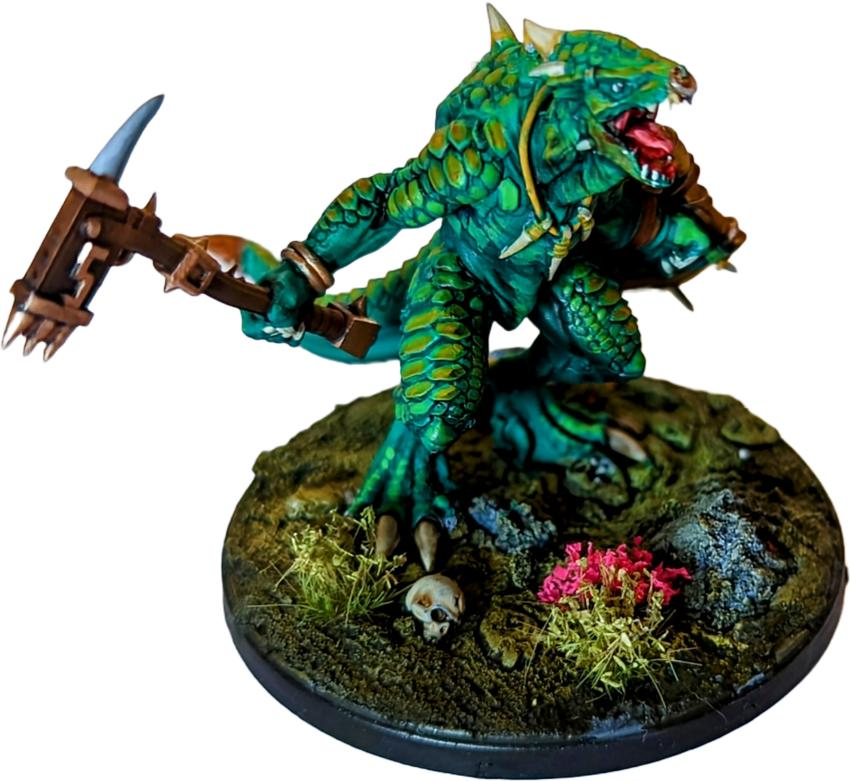
Claws, horns, and dorsal spines provide useful contrast against colorful skin.
Start with dark brown or black near the base.
Gradually transition toward beige or ivory near the tips.
For darker characters, grey highlights over black can create a more intimidating appearance.
Keep the brightest highlights small.
This prevents the claws from competing with the character’s face.
Adding Wet Reptilian Skin
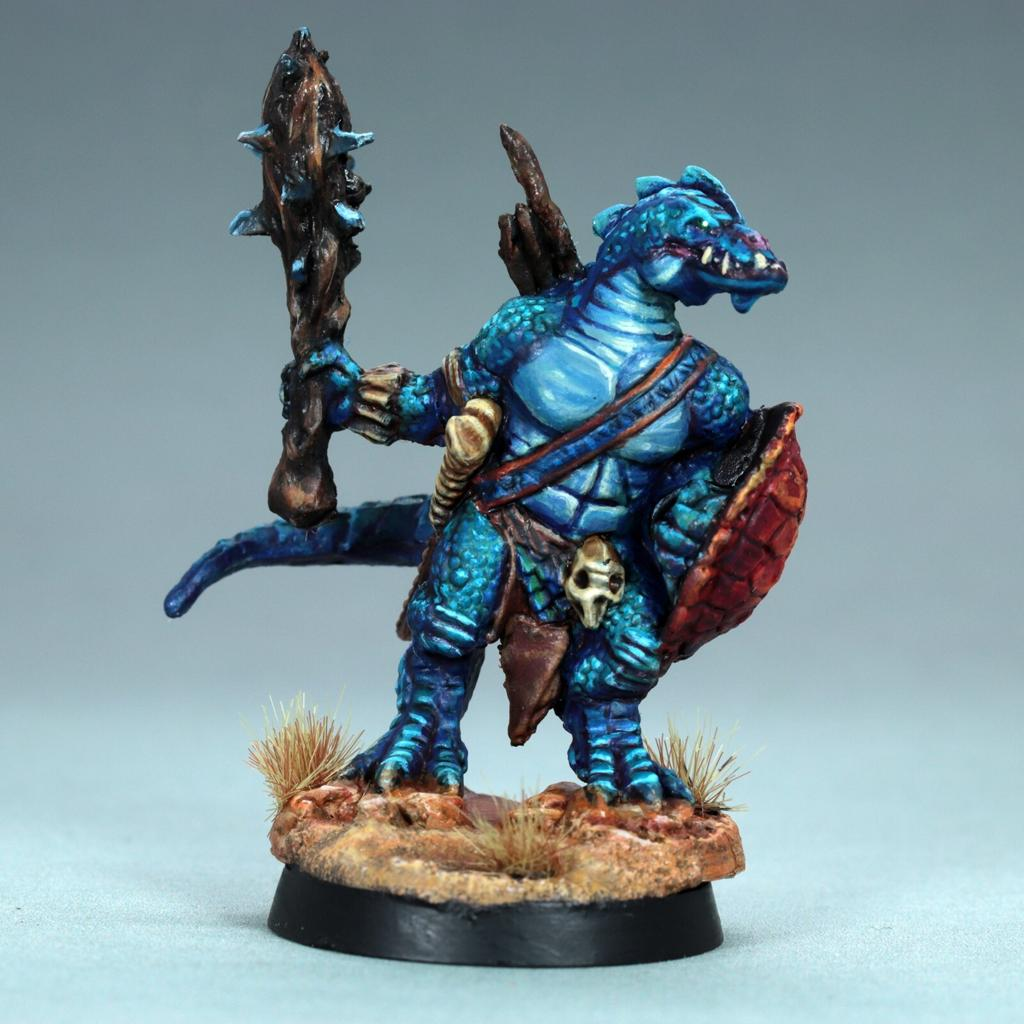
Swamp-dwelling lizardfolk can benefit from subtle wet effects.
After completing the paint job, apply small amounts of gloss varnish around selected areas.
Good locations include:
- Mouth
- Nose
- Lower legs
- Tail
- Selected scales
Don’t cover the entire creature with gloss.
The contrast between matte skin and small reflective areas creates a much more convincing damp appearance.
Connecting the Skin to the Environment
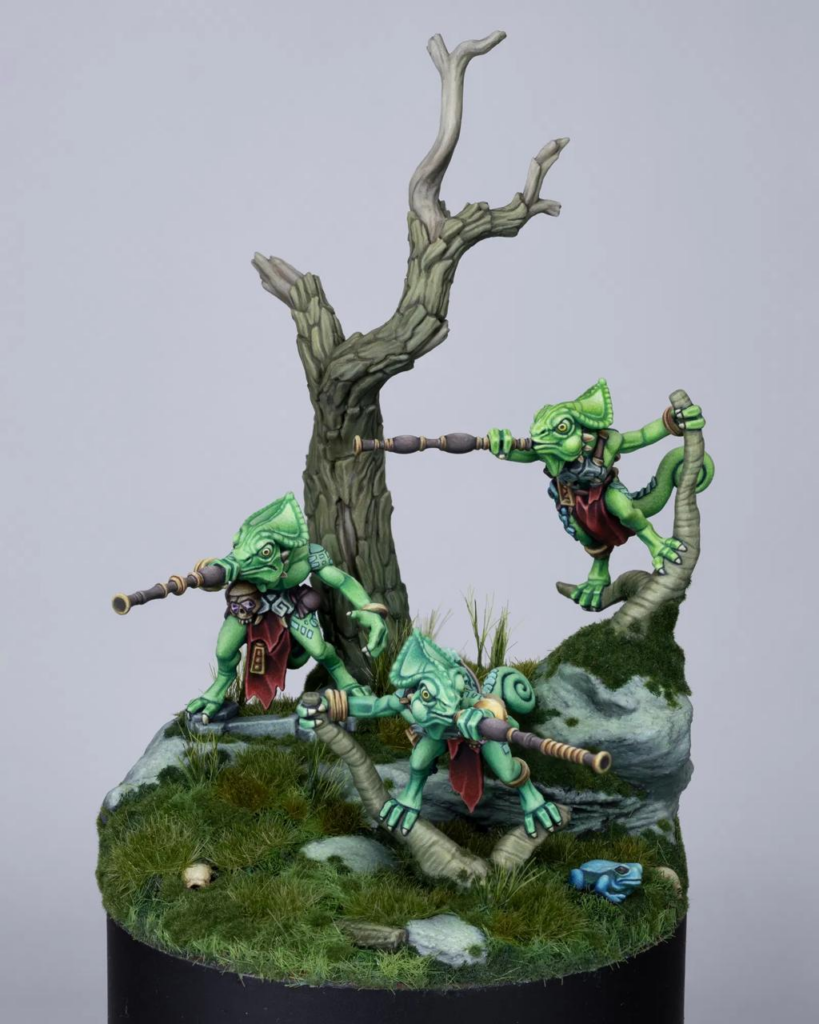
Environmental weathering helps integrate the miniature with its base.
Swamp lizardfolk might have dark mud around their feet.
Desert reptiles can receive dusty beige pigments across their lower legs.
Jungle characters may contain subtle mossy green tones.
These environmental colors should remain strongest near the ground and gradually disappear higher on the miniature.
This creates the impression that the character actually lives in the environment represented by the base.
Common Mistakes to Avoid
Avoid these common mistakes:
- Painting every scale the same color.
- Highlighting every scale equally.
- Using only bright green.
- Making patterns perfectly symmetrical.
- Forgetting the lighter belly.
- Using black for every shadow.
- Applying gloss varnish everywhere.
- Ignoring environmental color variation.
Reptilian skin looks best when controlled irregularity is allowed to remain.
Final Thoughts
Painting realistic lizardfolk skin is about combining scale definition with natural variation.
Start with a darker foundation, establish strong shadows between the scales, gradually build your midtones, and selectively highlight the most important raised areas.
Then introduce a lighter belly, subtle glazes, reptile-inspired patterns, expressive eyes, and environmental weathering.
These techniques work beautifully on lizardfolk, kobolds, reptilian warriors, serpent creatures, dragonborn-inspired characters, swamp monsters, and countless D&D miniatures.
The best inspiration often comes directly from nature.
Study real reptiles and you’ll discover almost unlimited combinations of colors, patterns, textures, and markings that can turn a simple fantasy miniature into a completely unique creature.
Frequently Asked Questions
What’s the easiest color for lizardfolk skin?
Olive and forest green are excellent starting colors because they’re easy to shade with darker greens and highlight with yellow-green or khaki.
Should I highlight every individual scale?
No. Establish the overall lighting first and individually highlight only the most important scales.
How do I make reptilian skin look more natural?
Use subtle color variation, a lighter underside, irregular patterns, and darker recesses between scales.
What colors work besides green?
Turquoise, blue, brown, orange, red, sand, grey, and even black can create excellent reptilian skin.
Should lizardfolk skin be glossy?
Usually only selectively. Small glossy areas can suggest moisture without making the entire miniature look plastic.
What’s the biggest mistake when painting lizardfolk?
Treating the entire creature as one uniform green surface instead of using natural reptile-inspired variation.
If you would like free D&D STL miniatures, visit our homepage and download yours now:https://echoartstudios.net/