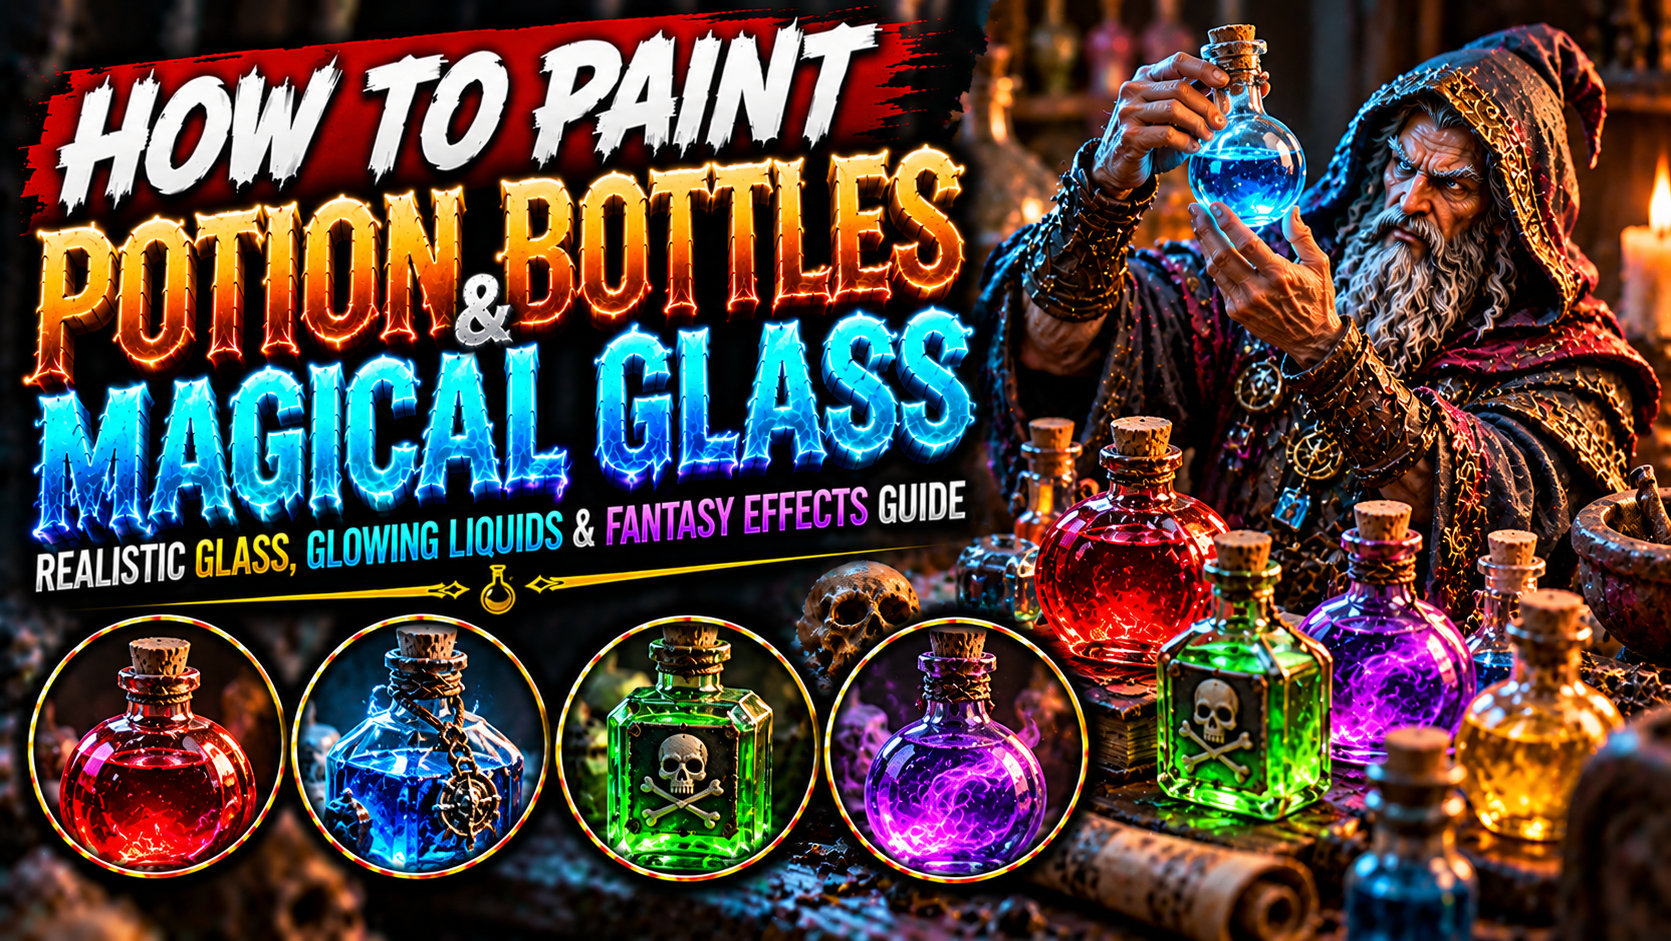
How to Paint Potion Bottles and Magical Glass on Miniatures (Realistic Glass, Glowing Liquids & Fantasy Alchemy Guide)
Potion bottles are some of the smallest details on fantasy miniatures, but they can add an incredible amount of personality, color, and storytelling.
Whether you’re painting an alchemist carrying mysterious elixirs, a wizard holding a glowing magical flask, a rogue equipped with poison bottles, or a merchant surrounded by colorful potions, realistic glass effects can make these tiny accessories stand out.
Unlike ordinary materials such as leather, wood, or stone, glass behaves differently when exposed to light.
It reflects its surroundings, allows light to pass through, and creates sharp highlights along its edges.
The liquid inside the bottle introduces another challenge.
A convincing potion should appear to have depth, transparency, and a distinct surface separating it from the empty glass.
Fortunately, you don’t need transparent materials or actual liquid to create these effects.
With the right combination of contrast, color placement, sharp reflections, glazing, and Object Source Lighting (OSL), you can make an ordinary sculpted bottle look like a container filled with magical energy.
In this guide, you’ll learn how to paint realistic glass, transparent potion bottles, colorful liquids, glowing magical elixirs, poison flasks, healing potions, alchemical containers, and cinematic fantasy lighting effects.

Understanding How Glass Looks on Miniatures
Glass is challenging to paint because it doesn’t behave like an opaque material.
Instead of having a simple progression from dark shadows to bright highlights, glass often displays strong reflections next to areas that appear almost transparent.
A clear glass bottle may contain very dark edges, pale reflections, and sections where the liquid inside remains visible.
The brightest highlights are often extremely small.
These reflections create the illusion of a smooth, reflective surface.
For miniature painting, you don’t need to reproduce every physical property of glass perfectly.
You need to create a recognizable visual impression.
The most important elements are:
- Strong contrast between dark and bright areas.
- Thin highlights along selected glass edges.
- Reflections that follow the bottle’s shape.
- A visible separation between the glass and its contents.
- Carefully placed white highlights.
The key is making the bottle look reflective without turning it into a solid metallic object.

Choosing the Best Colors for Potion Bottles
The color of a potion often communicates its purpose before the viewer notices any other detail.
Red suggests healing, vitality, or dangerous alchemy.
Blue is commonly associated with mana, arcane energy, and magical restoration.
Green can represent poison, acid, or supernatural substances.
Purple creates a mysterious appearance suitable for cursed elixirs and forbidden magic.
Gold can suggest rare potions, divine blessings, or powerful alchemical mixtures.
| Potion type | Color progression |
|---|---|
| Healing potion | Burgundy → Crimson → Red → Orange-Red |
| Mana potion | Navy → Royal Blue → Cyan → Pale Blue |
| Poison potion | Black-Green → Emerald → Lime → Yellow-Green |
| Magical elixir | Dark Purple → Violet → Magenta → Pale Pink |
| Golden potion | Dark Brown → Amber → Yellow → Ivory |
| Frost potion | Dark Teal → Turquoise → Ice Blue → White |
Choose a dark, saturated base color and build toward lighter highlights.
The strongest contrast should appear around the liquid surface, bottle edges, and important reflections.

Preparing the Miniature for Glass Effects
Before painting a potion bottle, examine its sculpted shape.
Identify the neck, body, base, stopper, and any decorative elements.
Also determine whether the bottle is completely full, partially filled, or empty.
This decision affects where you’ll paint the liquid surface.
For a partially filled bottle, imagine a horizontal line passing through the container.
The liquid should sit below this line.
If the bottle is tilted, the liquid surface should generally remain level with the ground rather than following the angle of the bottle.
Begin with a smooth primer coat.
Avoid thick paint because small sculpted details can disappear quickly.
For tabletop miniatures, a dark primer often provides a useful foundation.
For very bright potion colors, a lighter undercoat can help maintain saturation.

Painting the Dark Glass Base
Begin by painting the bottle with a dark version of the intended glass color.
For a clear bottle containing blue liquid, use dark blue-grey.
For green glass, begin with dark green.
For amber glass, use dark brown.
Keep the paint thin and smooth.
The goal is to establish a dark foundation that will support the brighter reflections.
Avoid painting the entire bottle pure black unless you intend to create extremely dark glass.
A small amount of color in the shadows helps establish the material.
At this stage, the bottle may look like a solid object.
That’s normal.
The illusion of glass will develop as you introduce transparent-looking sections and sharp highlights.

Creating Transparent Glass Effects
Transparency is one of the most important illusions when painting potion bottles.
You can suggest transparent glass by allowing the interior color to dominate the central area while keeping the edges darker.
Start with your dark base.
Then paint a lighter version of the glass color across the central section.
Leave thin dark borders around the edges.
Introduce a slightly brighter highlight along one side.
Keep the opposite side darker.
This creates a simple but effective impression of curved glass.
For clear bottles, use neutral grey or blue-grey.
For colored glass, use a darker and lighter version of the same hue.
Avoid making every section equally bright.
Glass needs contrast to appear reflective.

Painting the Liquid Inside a Potion Bottle
The liquid should appear separate from the glass.
Begin by choosing the fill level.
Paint the lower portion of the bottle with your potion’s darkest color.
Then gradually introduce brighter colors.
For a red potion, begin with burgundy.
Add crimson.
Then introduce saturated red.
Place a small orange-red highlight near one edge or along the liquid surface.
Keep some dark color visible.
The liquid should have depth rather than appearing like a flat painted section.
For small bottles, a simple dark-to-bright gradient is often enough.
For larger bottles, you can introduce additional reflections and subtle color variation.

Painting the Liquid Surface
The liquid surface is one of the details that makes a potion bottle instantly recognizable.
Paint a thin horizontal line at the chosen fill level.
Use a slightly lighter version of the potion color.
For a red potion, use bright red or orange-red.
For a blue potion, use cyan.
For a green potion, use lime green.
The line should be thin and controlled.
You can also add a darker line immediately above or below it to increase separation.
On a rounded bottle, the surface may curve slightly upward at the edges.
This suggests a meniscus, where the liquid interacts with the glass.
Avoid making the surface excessively thick.
A subtle line is usually more convincing.

Creating Realistic Glass Reflections
Reflections are what transform a painted bottle into convincing glass.
Use a fine brush with a sharp point.
Start with a pale version of your glass color.
Paint a thin vertical reflection along one side of the bottle.
This reflection can be slightly curved to follow the container’s shape.
Add a shorter reflection on the opposite side.
Then introduce a small white highlight near the upper edge.
Avoid painting identical highlights on both sides.
Asymmetrical reflections usually appear more natural.
You can also add a tiny white dot near the bottle’s shoulder.
This suggests a concentrated reflection from a bright light source.
Remember that glass reflections should be sharper than the soft highlights used on materials such as cloth or leather.

Painting Red Healing Potions
Red healing potions are classic fantasy accessories.
They work beautifully on clerics, adventurers, alchemists, and traveling merchants.
Begin with dark burgundy.
Build toward crimson.
Introduce saturated red across the brighter areas.
Then add orange-red highlights near the liquid surface.
Keep the deepest sections dark.
For the glass, use subtle blue-grey or neutral reflections.
Finish with tiny white highlights.
A cork stopper can be painted using dark brown, tan, and ivory.
For an especially magical appearance, introduce a faint red glow around the bottle.
However, remember that ordinary liquid does not emit light.
Use OSL only when the potion is intended to be luminous.

Painting Blue Mana Potions
Blue mana potions are perfect for wizards, sorcerers, magical scholars, and arcane adventurers.
Begin with dark navy.
Build toward royal blue.
Introduce saturated cyan.
Finish with pale blue highlights.
The brightest areas should remain small.
For a glowing magical potion, introduce a thin pale cyan line near the liquid surface.
Add tiny white reflections on the glass.
Blue potions look particularly effective against brown leather belts, dark robes, and warm-colored clothing.
The contrast between the cool potion and warm surrounding materials helps the bottle stand out.

Painting Green Poison Potions
Green potions can represent poison, acid, toxic chemicals, or dangerous alchemical mixtures.
Start with black-green.
Introduce emerald.
Build toward saturated green.
Then add lime green highlights.
For a more acidic appearance, introduce yellow-green near the brightest areas.
Keep the liquid surface clearly defined.
You can also add a few small bubbles inside larger bottles.
Use dark green circles with tiny pale highlights.
Avoid adding too many bubbles to small tabletop accessories.
A few carefully placed details are more effective than excessive decoration.
For a magical poison, subtle green OSL can create an unnatural glow.

Painting Purple Magical Elixirs
Purple potions create a mysterious and supernatural appearance.
They work particularly well for warlocks, necromancers, witches, and eldritch characters.
Begin with black-purple.
Introduce deep violet.
Then build toward saturated purple.
Add magenta to selected brighter sections.
Finish with pale lavender or pink highlights.
You can introduce a subtle blue reflection along one edge of the glass.
This creates a more complex appearance.
For magical elixirs, consider painting a faint glow around the bottle.
The strongest illumination should remain near the liquid.

Painting Golden and Amber Potions
Golden potions can represent rare alchemical substances, divine blessings, or powerful magical mixtures.
Begin with dark brown.
Introduce burnt orange or amber.
Then build toward golden yellow.
Add pale yellow highlights.
Finish selected sections with ivory.
Avoid covering the entire bottle with bright yellow.
The darker amber tones are important for creating depth.
Golden liquids look particularly convincing when paired with dark glass edges and sharp white reflections.
For a divine potion, a subtle warm glow can create a magical appearance.

Painting Frost and Ice Potions
Frost potions can suggest freezing magic, cold resistance, or supernatural ice.
Begin with dark teal.
Build toward turquoise.
Introduce pale ice blue.
Finish with white highlights.
Keep the transitions relatively smooth.
You can add subtle frost effects around the neck of the bottle.
Use pale blue-grey to paint small irregular patches.
Then highlight selected edges with white.
Avoid covering the entire bottle in frost.
The glass and liquid should remain recognizable.
For a magical frost potion, a faint blue reflection on nearby clothing or armor can reinforce the effect.

Painting Cork Stoppers and Bottle Caps
A realistic potion bottle needs a convincing stopper.
Cork is usually a warm, matte material.
Begin with dark brown.
Introduce medium brown.
Then highlight with tan.
Finish with small ivory or beige marks.
Use short irregular strokes to suggest texture.
Avoid making cork excessively smooth.
For metallic caps, use a dark metallic base followed by brighter edge highlights.
Gold caps can create a luxurious appearance.
Iron or steel caps work well for rugged adventurers.
You can also paint wax seals using red, purple, or dark green.
These small details help communicate the potion’s origin and purpose.

Painting Leather Straps and Potion Holders
Potion bottles often hang from belts, backpacks, or leather harnesses.
Painting these accessories properly helps separate the glass from the surrounding equipment.
Begin with dark brown leather.
Introduce medium brown highlights along the raised edges.
Add small tan scratches where the leather would experience wear.
Keep the leather relatively matte.
This creates contrast with the glossy glass bottle.
For straps wrapping around the bottle, use thin dark lines to establish separation.
Small metallic buckles can receive bright silver or gold highlights.
The goal is to make the potion appear securely attached to the miniature.

Creating Object Source Lighting from Glowing Potions
Object Source Lighting can make magical potions appear genuinely luminous.
Imagine a wizard holding a bright blue potion.
The bottle acts as a light source.
Nearby fingers, gloves, clothing, and equipment may reflect its color.
Begin with thin blue glazes.
Apply them to surfaces facing the potion.
Keep the strongest reflections closest to the bottle.
Gradually reduce the brightness farther away.
The potion itself should remain brighter than the reflected light.
Avoid applying the glow equally across the entire miniature.
Light should follow the direction of the source.
For a green potion, use subtle green reflections.
For a red potion, use crimson or orange-red.
For a purple potion, use violet or magenta.
The effect should support the miniature rather than overwhelm it.

Painting Magical Bubbles Inside Potions
Bubbles can make a potion appear unstable, fizzy, or magically active.
They work especially well in larger bottles.
Begin by painting small dark circles inside the liquid.
Then add a lighter highlight along one edge.
Finish with a tiny pale dot.
Vary the bubble sizes.
Avoid making every bubble identical.
A few bubbles can appear near the surface.
Others can sit deeper inside the liquid.
For glowing magical potions, the bubbles can be highlighted with pale versions of the potion color.
Keep the effect subtle.
Too many bubbles can make the bottle visually confusing.

Painting Potion Bottles on Miniature Bases
Potion bottles can also be used as environmental storytelling elements.
An abandoned alchemist’s laboratory might contain scattered vials.
A dungeon base could feature broken potion bottles.
A wizard’s study might include shelves filled with colorful magical liquids.
Paint the bottles using a consistent glass technique.
Then vary the liquid colors.
Use red, blue, green, purple, and amber to create visual interest.
For broken bottles, paint sharp pale highlights along the exposed glass edges.
A small pool of spilled liquid can be painted onto the base.
Use darker colors around the edges and brighter reflections near the center.
A selective gloss finish can enhance the wet appearance.

Creating Realistic Glass with Gloss Varnish
Gloss varnish can help reinforce the illusion of glass.
However, it should be used carefully.
First, complete all painted reflections and highlights.
Then apply a thin coat of gloss varnish to the bottle.
Avoid covering nearby leather, fabric, or cork.
These materials generally benefit from a more matte appearance.
The contrast between glossy glass and matte surrounding materials makes the bottle more convincing.
Be careful with thick varnish.
Excessive application can obscure small sculpted details.
Also remember that gloss varnish doesn’t replace painted reflections.
The illusion of glass should already work before the varnish is applied.

Common Mistakes When Painting Potion Bottles
One of the most common mistakes is painting the entire bottle with one bright color.
This makes the glass look like solid plastic.
Use darker edges, controlled gradients, and sharp reflections.
Another mistake is forgetting the liquid surface.
Without a visible fill line, the contents may appear solid.
Avoid making glass highlights too thick.
Thin reflections are generally more convincing.
Don’t use excessive white highlights.
A few carefully placed reflections can create a stronger effect.
Another problem is making the entire potion glow equally.
If you’re painting magical OSL, the brightest area should remain near the source.
Finally, avoid using heavy matte varnish over glass effects.
It can reduce the reflective appearance you’ve worked to create.

Final Thoughts
Painting convincing potion bottles and magical glass requires strong contrast, transparent-looking color transitions, sharp reflections, and carefully controlled highlights.
Start by identifying the bottle’s shape and the liquid level.
Choose a dark base color.
Build the liquid using gradual color transitions.
Paint a thin line to establish the liquid surface.
Then introduce darker glass edges and sharp reflections.
Finish with tiny white highlights.
For magical potions, use saturated colors and subtle Object Source Lighting.
Red potions can suggest healing and vitality.
Blue potions create a classic arcane appearance.
Green liquids communicate poison or dangerous alchemy.
Purple elixirs introduce supernatural mystery.
Golden potions can represent rare and powerful magical substances.
These techniques work beautifully for alchemists, wizards, rogues, clerics, witches, merchants, dungeon accessories, magical laboratories, and fantasy dioramas.
The most important principle is that glass should look different from the surrounding materials.
Its reflections should be sharper.
Its shadows should create depth.
And the liquid inside should appear separate from the container.
With a few carefully placed highlights, even a tiny potion bottle can become one of the most eye-catching details on an entire miniature.
Frequently Asked Questions
What colors should I use to paint clear glass?
Dark blue-grey, neutral grey, pale blue-grey, and white are excellent choices for creating the illusion of clear glass.
How do I make a potion bottle look transparent?
Keep the bottle edges darker, allow the liquid color to dominate the center, and add sharp reflections along selected edges.
How do I paint liquid inside a miniature bottle?
Paint the lower portion with your chosen potion color, establish a horizontal liquid surface, and add highlights to create depth.
Should I use gloss varnish on potion bottles?
Yes. A thin coat of gloss varnish can enhance the reflective appearance, but the painted glass effect should already be convincing.
How do I paint a glowing blue mana potion?
Start with dark navy, build toward royal blue and cyan, then add pale blue highlights and subtle reflected light.
What is the best color for a poison potion?
Emerald green, lime green, and yellow-green are excellent choices for creating a recognizable fantasy poison effect.
How do I paint realistic reflections on tiny bottles?
Use a sharp brush to paint thin vertical highlights, small curved reflections, and a few concentrated white points.
How do I create OSL from a magical potion?
Apply thin glazes of the potion’s color to nearby surfaces, keeping the brightest reflections closest to the bottle.
If you would like free D&D STL miniatures, visit our homepage and download yours now: