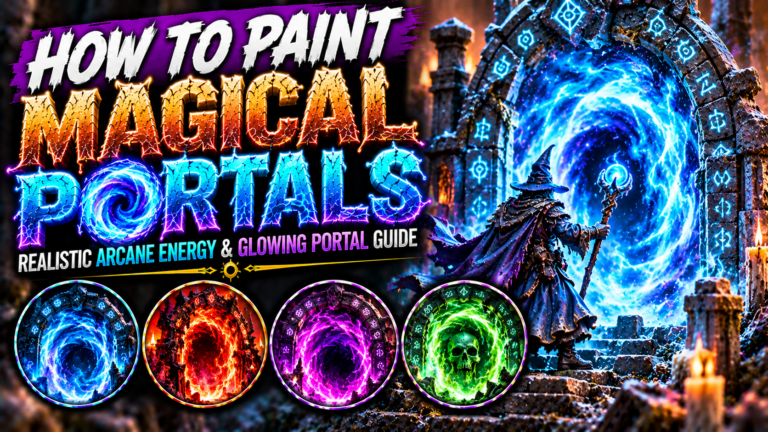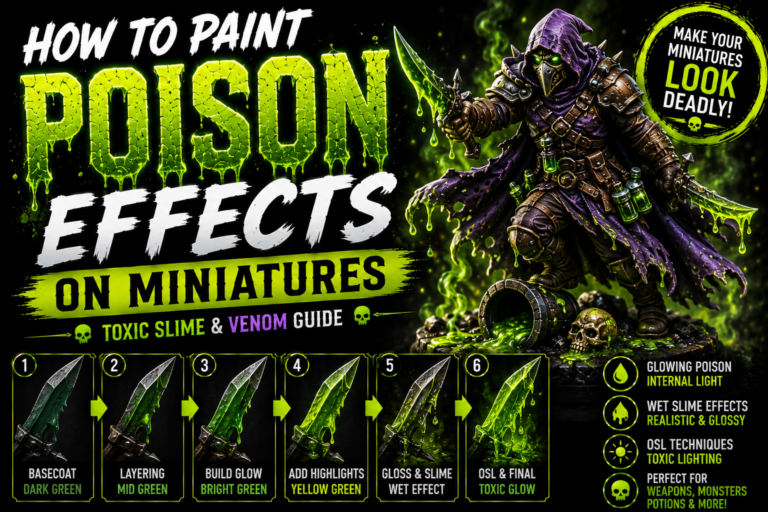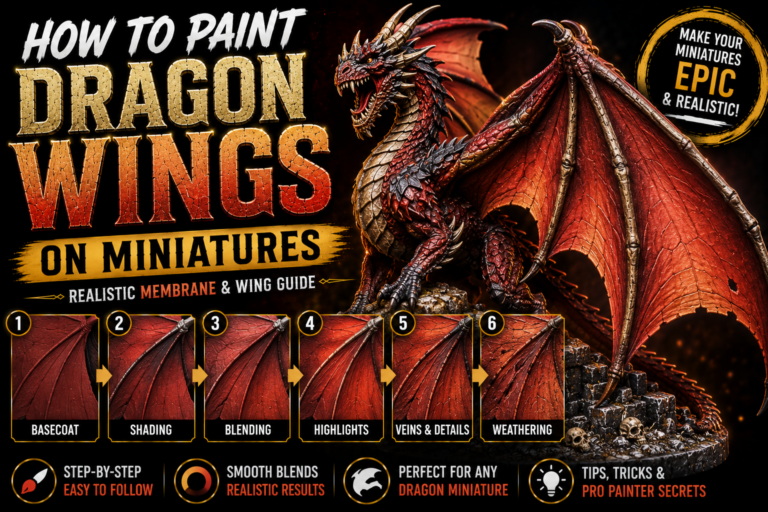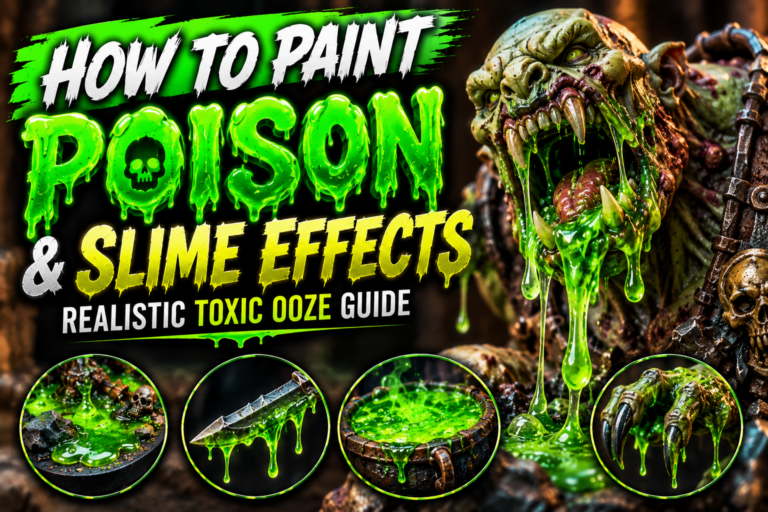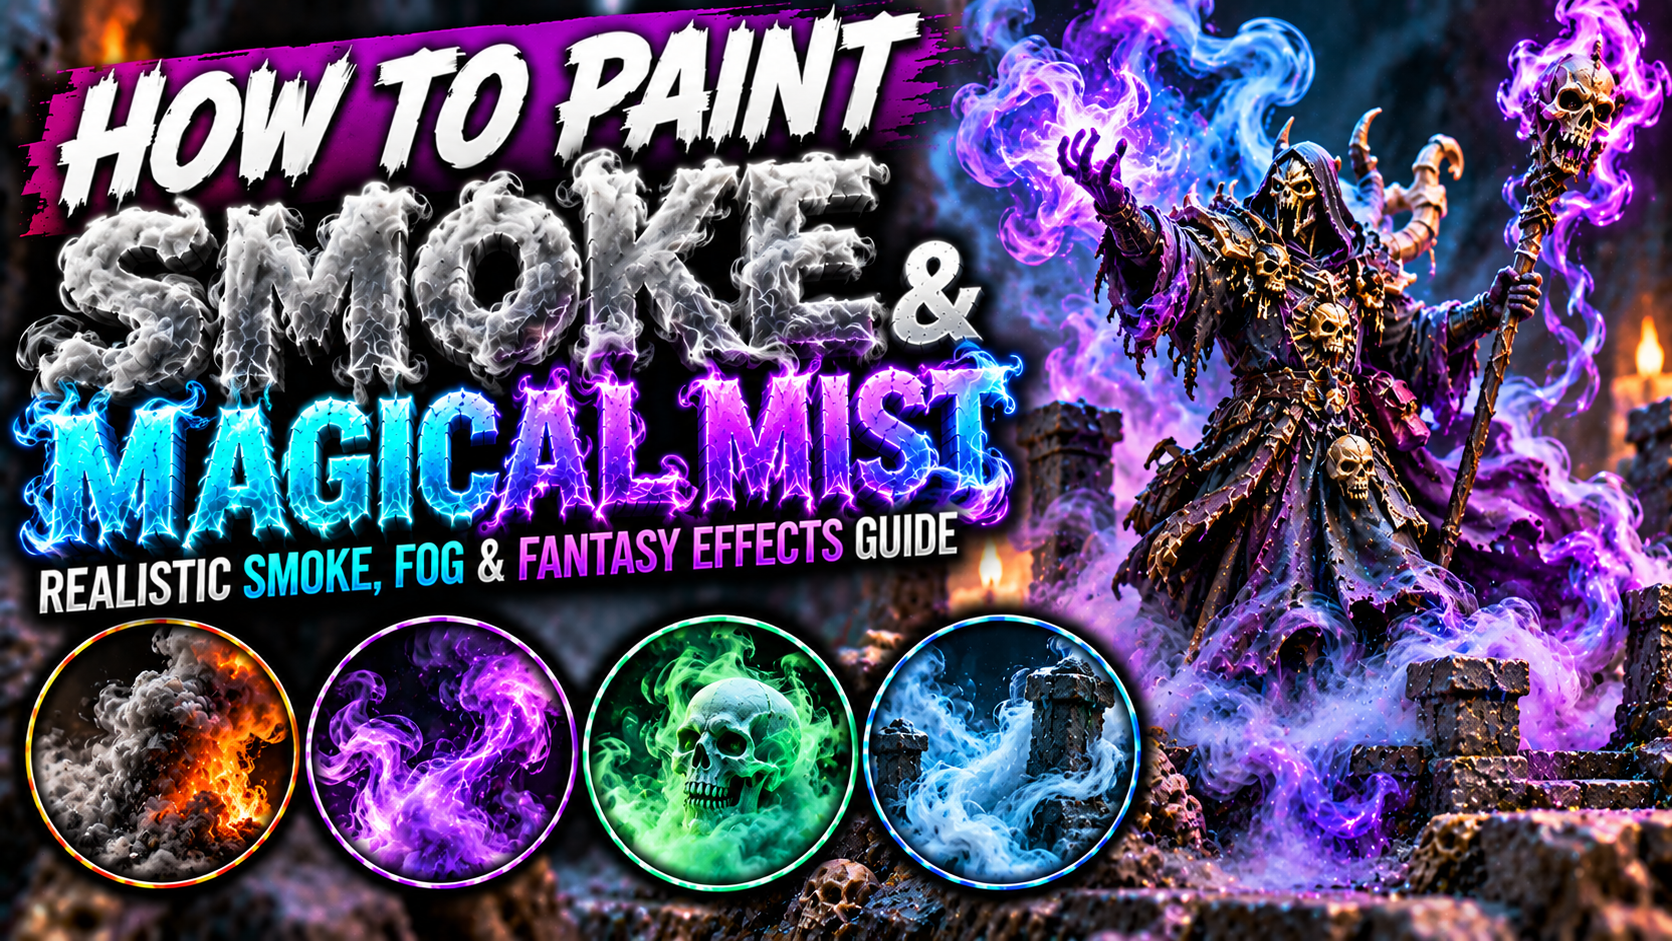
How to Paint Smoke and Magical Mist on Miniatures (Realistic Smoke, Fog & Fantasy Effects Guide)
Smoke and magical mist are among the most atmospheric effects you can add to fantasy miniatures.
Whether you’re painting a fire-breathing dragon, a wizard summoning supernatural energy, a ghost emerging from a graveyard, or a battlefield covered in smoke, these effects can completely transform the appearance of a miniature.
Unlike solid materials such as armor, leather, or stone, smoke has no clearly defined surface. It changes shape constantly, becomes thinner as it spreads, and interacts with the surrounding light.
That makes it particularly challenging to paint convincingly.
The biggest mistake when painting smoke is treating it like a solid grey object.
Realistic smoke requires soft transitions, layered shadows, irregular highlights, controlled transparency, and an understanding of how light interacts with vapor.
Magical mist introduces even more possibilities, allowing you to create glowing purple fog, poisonous green clouds, icy blue vapor, and supernatural energy surrounding fantasy creatures.
In this guide, you’ll learn how to paint realistic smoke, dark battlefield clouds, magical mist, glowing vapor, fire smoke, poisonous fumes, and cinematic atmospheric effects on miniatures.

Understanding How Smoke and Mist Look
Smoke is made of tiny particles suspended in the air, while mist and fog consist primarily of tiny water droplets.
Both scatter light, creating soft shapes and subtle transitions.
When painting miniatures, the most important characteristic to reproduce is their lack of hard, solid-looking surfaces.
Smoke should appear to flow.
Its shapes should overlap and gradually disappear into surrounding air.
Dense smoke can appear almost opaque.
Thin smoke may reveal whatever lies behind it.
Dark smoke often contains charcoal, grey, brown, and black.
Light mist can contain pale grey, blue-grey, ivory, and white.
The direction of movement is also important.
Smoke rising from a fire should generally flow upward, while magical mist can twist around characters and objects in unnatural directions.

Choosing a Smoke and Mist Color Palette
Different colors can create completely different atmospheres.
Natural smoke usually benefits from desaturated colors, while magical mist can use much brighter tones.
| Smoke or mist type | Color progression |
|---|---|
| Dark battlefield smoke | Black → Charcoal → Grey → Pale Grey |
| White mist | Blue-Grey → Light Grey → Ivory → White |
| Fire smoke | Black-Brown → Dark Grey → Warm Grey → Beige |
| Necromantic mist | Black-Green → Dark Green → Emerald → Pale Green |
| Arcane purple smoke | Black-Purple → Violet → Magenta → Pale Lavender |
| Frozen blue vapor | Navy → Blue-Grey → Ice Blue → White |
Choose your palette according to the atmosphere you want to create.
A dark battlefield should feel heavy and dangerous.
A magical cloud might appear luminous and unnatural.
An icy environment can use pale blue-grey mist to suggest freezing temperatures.
The key is maintaining enough contrast to reveal the sculpted shapes without making the smoke appear solid.

Preparing the Miniature for Smoke Effects
Before painting smoke, identify where it originates.
It might emerge from a torch, a burning building, a magical staff, a dragon’s mouth, a potion bottle, or the ground beneath a creature.
The source determines the direction of the smoke.
For natural smoke, think about heat and airflow.
For magical mist, you can create more unusual movement.
Also decide whether the smoke is illuminated.
A cloud near a fire may contain warm orange reflections.
Mist surrounding a magical crystal might reflect blue or purple light.
Paint the miniature’s normal surfaces first.
This allows you to establish the correct shadows and highlights before introducing the atmospheric effect.

Painting the Dark Smoke Base
Dark smoke is an excellent starting point because it allows you to build volume gradually.
Begin with black or extremely dark charcoal.
Apply the color evenly across the smoke effect.
Make sure paint reaches the deepest recesses.
These dark areas will create separation between individual curls and overlapping clouds.
Then introduce a slightly lighter charcoal grey across the raised surfaces.
Avoid covering everything.
The deepest sections should remain almost black.
This establishes the foundation for the brighter layers.
For smoke emerging from a fire, you can introduce subtle brown into the darker areas.
This creates a warmer, dirtier appearance.

Building Soft Smoke Gradients
Smooth transitions are essential for convincing smoke.
Begin with your dark base.
Then gradually introduce medium grey.
Apply the color to the raised portions of the smoke.
Leave darker colors visible between overlapping shapes.
Next, introduce light grey toward the highest surfaces.
Use thin paint.
Several controlled layers usually produce better results than one thick coat.
Glazing is particularly effective because it softens transitions.
You can also use gentle dry brushing on heavily textured smoke, but avoid excessive pressure.
Too much dry brushing can make the smoke appear dusty or chalky.

Painting Realistic Black Smoke
Black smoke works beautifully for burning buildings, battlefield explosions, volcanic terrain, and demonic environments.
Start with pure black.
Introduce charcoal grey across selected raised sections.
Then add medium grey to the most exposed areas.
Keep the brightest highlights relatively restrained.
Black smoke should still read as dark.
You can also introduce subtle warm brown around the source.
For example, smoke rising from a burning torch may contain dark brown near the flame.
Higher sections can transition toward neutral grey.
Avoid painting every cloud with the same highlight intensity.
Variation makes the smoke feel more natural.

Painting White Smoke and Fog
White smoke requires a different approach.
If you paint everything pure white, the sculpted details disappear.
Instead, begin with pale blue-grey.
Introduce light grey across the main surfaces.
Then build toward ivory or off-white.
Finish selected areas with pure white.
Keep the recesses slightly darker.
This creates depth without making the smoke look dirty.
White mist works especially well for graveyards, enchanted forests, cold environments, and supernatural creatures.
For a softer appearance, use thin glazes to blend the transitions.
Avoid heavy black washes.
They can make the smoke look unnaturally stained.

Painting Smoke Rising from Fire
Fire smoke contains both dark particles and reflected warm light.
Begin with dark charcoal.
Build toward medium grey as the smoke rises.
Near the flame, introduce subtle red-brown or orange-brown reflections.
The closest smoke can receive stronger warm highlights.
Farther away, the warm colors should gradually disappear.
Don’t paint the entire smoke plume orange.
The fire is the light source, while the smoke reflects that light.
The flame itself should remain significantly brighter than the surrounding smoke.
This distinction creates a more convincing relationship between the materials.

Painting Battlefield Smoke
Battlefield smoke should feel heavy, dirty, and chaotic.
Use charcoal, grey-brown, dark grey, and muted beige.
Start with deep shadows.
Build irregular lighter patches across the smoke.
Avoid creating a perfectly smooth gradient from bottom to top.
Battlefield smoke often contains several overlapping clouds.
Some sections may be darker because they are denser.
Others may appear lighter as they spread.
Small amounts of dust and dirt can be introduced around the base.
Broken weapons, rocks, debris, and damaged terrain can reinforce the atmosphere.

Creating Volumetric Smoke Highlights
Volumetric highlights make smoke appear three-dimensional.
Imagine light hitting the outer surfaces of individual smoke clouds.
The exposed areas should become lighter.
Deep overlapping sections should remain dark.
Instead of highlighting every raised detail equally, choose a consistent light direction.
For example, if light comes from the upper left, smoke surfaces facing that direction should receive stronger highlights.
The opposite side should remain darker.
This creates believable volume.
For large display miniatures, you can use glazing to create broad soft transitions.
For smaller tabletop models, slightly exaggerated highlights may help the shapes remain readable.

Painting Purple Magical Mist
Purple mist creates an excellent supernatural atmosphere.
It works especially well for sorcerers, eldritch creatures, cursed environments, and dimensional magic.
Begin with black-purple.
Introduce deep violet.
Then build toward saturated purple.
Add magenta to selected raised areas.
Finish with pale lavender or pink highlights.
Keep the deepest recesses dark.
You can also introduce subtle blue into the shadows.
This creates additional color complexity.
For glowing purple mist, the brightest sections should approach pale pink or white.
Nearby surfaces can receive thin violet reflections.

Painting Green Necromantic Smoke
Green smoke is perfect for necromancers, poisonous monsters, undead creatures, and corrupted magical environments.
Start with black-green.
Introduce dark emerald.
Build toward saturated green.
Then add lime green.
Finish selected areas with pale yellow-green.
The brightest highlights should remain concentrated.
If the smoke is magical and luminous, nearby bones, rocks, armor, and clothing can reflect the green light.
Keep those reflections weaker than the smoke itself.
For a poisonous appearance, introduce slightly yellow-green tones near the source.
For a necromantic effect, darker emerald and cold green can create a more sinister atmosphere.

Painting Blue Frozen Mist
Blue mist works beautifully for frost magic, icy monsters, frozen caves, and winter environments.
Begin with dark blue-grey.
Build toward medium blue-grey.
Then introduce ice blue.
Finish with pale blue or white.
Keep the transitions soft.
Unlike lightning, frozen mist should not contain many sharp highlights.
It should appear diffuse and atmospheric.
You can introduce subtle blue reflections onto nearby armor, rocks, and clothing.
For extremely cold environments, pale frost effects can appear around the origin of the mist.
This helps connect the vapor to the frozen setting.

Painting Ghostly and Spectral Smoke
Ghostly smoke often combines translucent-looking shapes with supernatural color.
Begin with dark turquoise or blue-green.
Build toward lighter turquoise.
Then introduce pale cyan.
Finish selected areas with near-white.
Keep the deepest recesses darker.
This creates the illusion of layered spectral energy.
For a ghost emerging from mist, allow the colors of the creature to transition gradually into the surrounding smoke.
Avoid creating a harsh separation between the ghost and the vapor.
Thin glazes can help blend the two elements.
This makes the entire miniature feel like one supernatural form.

Painting Smoke Around a Wizard’s Hands
Smoke emerging from a wizard’s hands should feel connected to the spell.
Begin by painting the main smoke effect.
Then determine whether the magic emits light.
If the smoke glows purple, introduce subtle purple reflections on the fingers and palms.
The strongest reflections should appear closest to the smoke.
The forearms and sleeves can receive weaker illumination.
Keep the light directional.
A hand facing away from the magical source should remain darker.
This creates a believable interaction between the spell and the character.

Creating Object Source Lighting from Magical Mist
Object Source Lighting, or OSL, can make magical smoke appear genuinely luminous.
The basic principle is that nearby surfaces reflect the color of the magical source.
For glowing green mist, begin with thin green glazes.
Apply them to surfaces facing the smoke.
Then introduce brighter green closer to the source.
Keep distant surfaces darker.
The mist itself should remain brighter than the reflected light.
Avoid applying the glow equally across the entire miniature.
Light should follow direction, distance, and the shape of surrounding objects.
For large smoke clouds, several nearby surfaces may receive illumination.
For a small magical wisp, the reflections should remain much more concentrated.

Painting Smoke Around Dragons
Dragons offer excellent opportunities for atmospheric smoke.
Smoke can emerge from the mouth before a breath attack.
It can rise from the nostrils.
It can surround the wings or collect around burning terrain.
For a fire dragon, begin with dark charcoal smoke.
Add subtle orange reflections near the mouth.
For a frost dragon, use pale blue-grey mist.
For a poisonous dragon, green or yellow-green vapor can create a dangerous appearance.
Keep the smoke consistent with the dragon’s elemental theme.
The creature should also interact with the effect through reflected light and environmental shadows.

Painting Smoke on Magical Weapons
Enchanted weapons can produce smoke, mist, or supernatural vapor.
A cursed sword might release purple smoke.
A necromantic staff could emit green mist.
A frost weapon might produce pale blue vapor.
Paint the weapon normally first.
Then establish the smoke effect around it.
Use the same color progression throughout the magical vapor.
Add subtle reflections onto the blade, handle, and nearby hand.
Don’t cover the entire weapon with smoke.
Allow the original material to remain visible.
This creates contrast between the solid weapon and the flowing magical effect.

Creating Mist on Miniature Bases
Mist can make even a simple base feel mysterious.
It works particularly well for graveyards, swamps, caves, ruins, and enchanted forests.
Keep the mist relatively low to the ground.
Use pale grey, blue-grey, or another color appropriate to the environment.
Allow rocks, roots, skulls, and vegetation to remain partially visible.
This creates the impression that the fog is moving around the terrain.
For magical mist, introduce brighter colors around the source.
Avoid completely hiding the base.
The environment should remain readable beneath the atmospheric effect.

Creating Physical Smoke Effects
Sculpted smoke effects can add dramatic movement to a miniature.
Resin or printed smoke pieces are especially useful for spells, explosions, and burning terrain.
Begin by identifying the individual curls and overlapping sections.
Paint the deepest areas dark.
Then gradually highlight the raised shapes.
For large smoke pieces, an airbrush can help establish broad gradients.
A brush can then refine the smaller details.
If using cotton or other fibrous materials for a diorama, consider how they will retain their shape and collect dust over time.
For gaming miniatures that are handled frequently, solid sculpted effects are generally more durable.

Combining Smoke with Fire and Explosions
Explosions combine several visual effects.
The central fire is extremely bright.
Smoke surrounding it is much darker.
Debris and dust can occupy the outer areas.
Start with the brightest fire colors near the center.
Transition toward orange and red.
Then introduce dark brown and charcoal smoke.
Finish with grey toward the outer sections.
Keep the transitions irregular.
Some bright flames can extend into darker smoke.
Avoid creating perfectly circular layers.
Explosions should appear chaotic.
Nearby terrain can receive warm reflections, while debris adds movement and scale.

Common Mistakes When Painting Smoke
One common mistake is highlighting every smoke curl equally.
This makes the effect look like solid stone.
Use softer transitions and vary the brightness.
Another mistake is applying heavy white dry brushing across dark smoke.
This can create a chalky appearance.
Build highlights gradually instead.
Avoid painting magical smoke entirely with one saturated color.
Dark shadows and bright highlights are essential for depth.
Don’t make every smoke plume perfectly symmetrical.
Natural smoke moves unpredictably.
When painting glowing mist, remember that the environment should react to the light.
Finally, avoid making smoke more visually detailed than the miniature’s main focal point unless the atmospheric effect is intentionally the centerpiece.

Final Thoughts
Painting convincing smoke and magical mist requires soft gradients, irregular shapes, controlled contrast, and careful environmental integration.
Start with a dark foundation.
Build gradually toward lighter colors.
Keep the deepest recesses dark to separate overlapping clouds.
Use soft transitions to create the impression of vapor rather than solid material.
For natural smoke, work with black, charcoal, grey, brown, and beige.
For magical mist, experiment with purple, green, blue, turquoise, and other supernatural colors.
When the smoke emits light, apply subtle OSL to nearby surfaces.
For fire smoke, introduce warm reflections near the flame.
For frozen mist, use pale blue-grey and soft highlights.
For necromantic vapor, combine dark green shadows with bright supernatural energy.
These techniques work beautifully for wizards, dragons, undead creatures, demons, magical weapons, battlefield explosions, haunted graveyards, and atmospheric fantasy bases.
Most importantly, remember that smoke should feel like part of the environment.
It should flow around objects, interact with nearby light, and reinforce the story of the miniature.
When painted effectively, smoke and mist can turn a simple fantasy figure into a cinematic scene filled with movement, mystery, and magical atmosphere.
Frequently Asked Questions
What colors should I use for realistic smoke?
Black, charcoal, medium grey, light grey, and subtle brown are excellent choices for natural smoke.
How do I paint white mist without losing detail?
Begin with pale blue-grey or light grey and gradually highlight toward off-white and pure white.
How do I make smoke look soft?
Use thin layers and glazing to create smooth transitions between shadows and highlights.
Should smoke be painted with dry brushing?
Gentle dry brushing can work on heavily textured smoke, but glazing and controlled layering usually produce smoother results.
How do I paint glowing magical smoke?
Use a dark-to-bright color progression, ending with very pale highlights, and reflect the magical color onto nearby surfaces.
What colors work best for necromantic mist?
Dark green, emerald, lime green, yellow-green, and pale yellow create an effective supernatural progression.
How do I paint smoke coming from fire?
Use dark charcoal and grey, then introduce subtle orange or brown reflections close to the flame.
How do I create OSL from magical mist?
Apply thin glazes of the mist’s color to nearby surfaces, keeping the brightest reflections closest to the source.
If you would like free D&D STL miniatures, visit our homepage and download yours now: