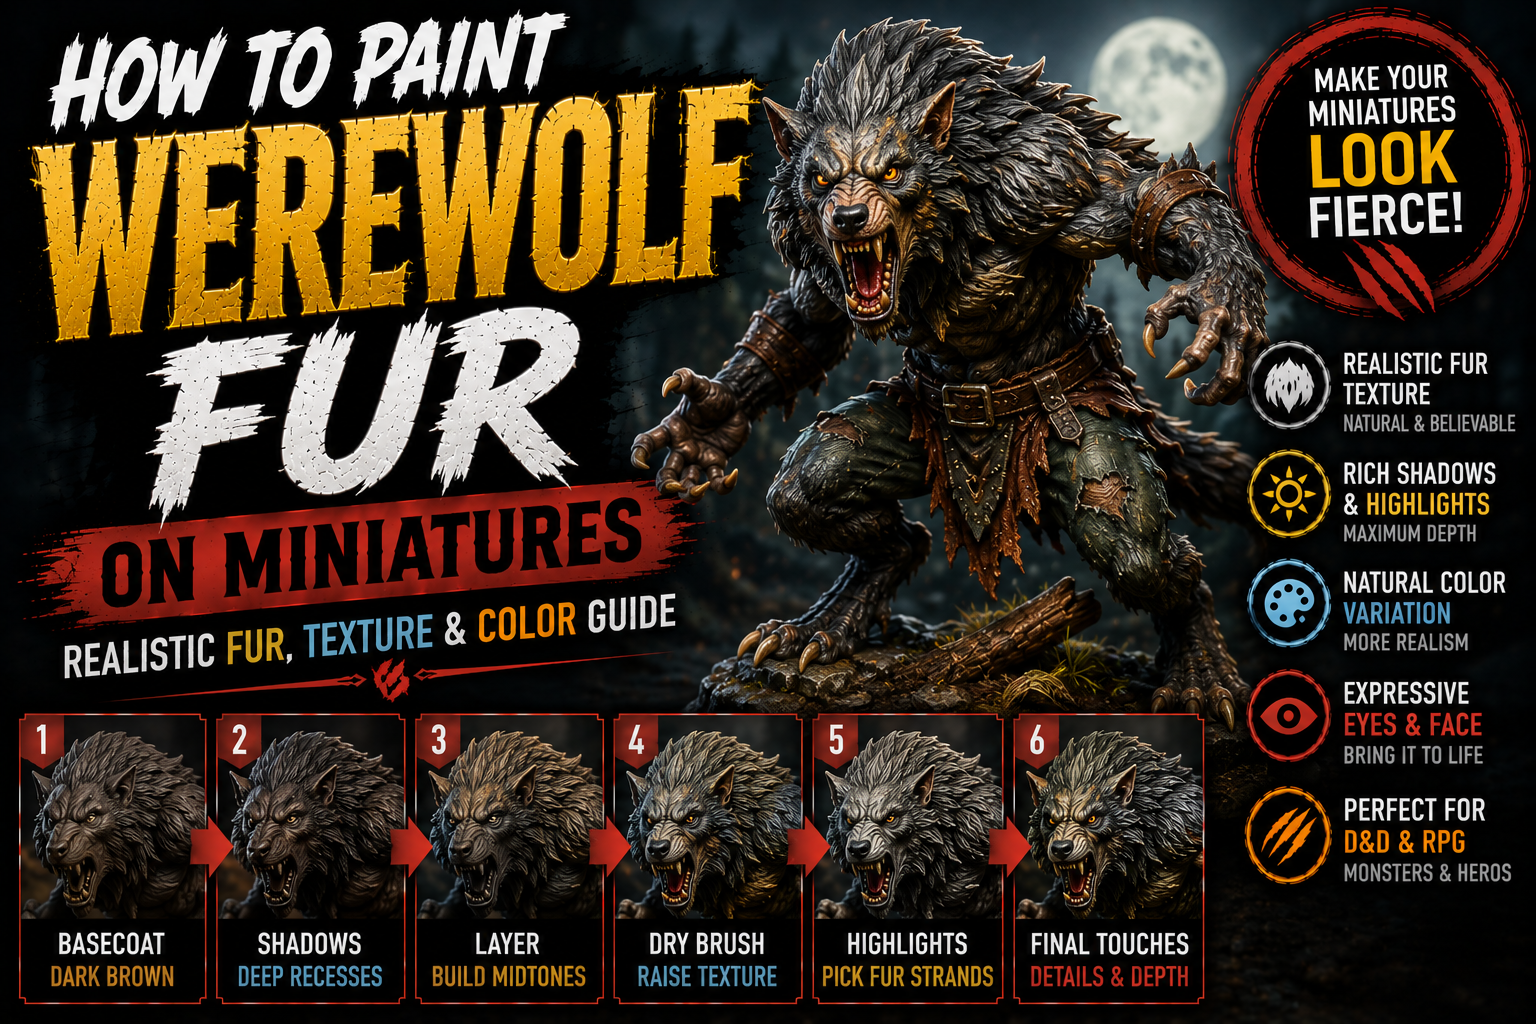
How to Paint Werewolf Fur on Miniatures (Realistic Fur, Texture & Color Guide)
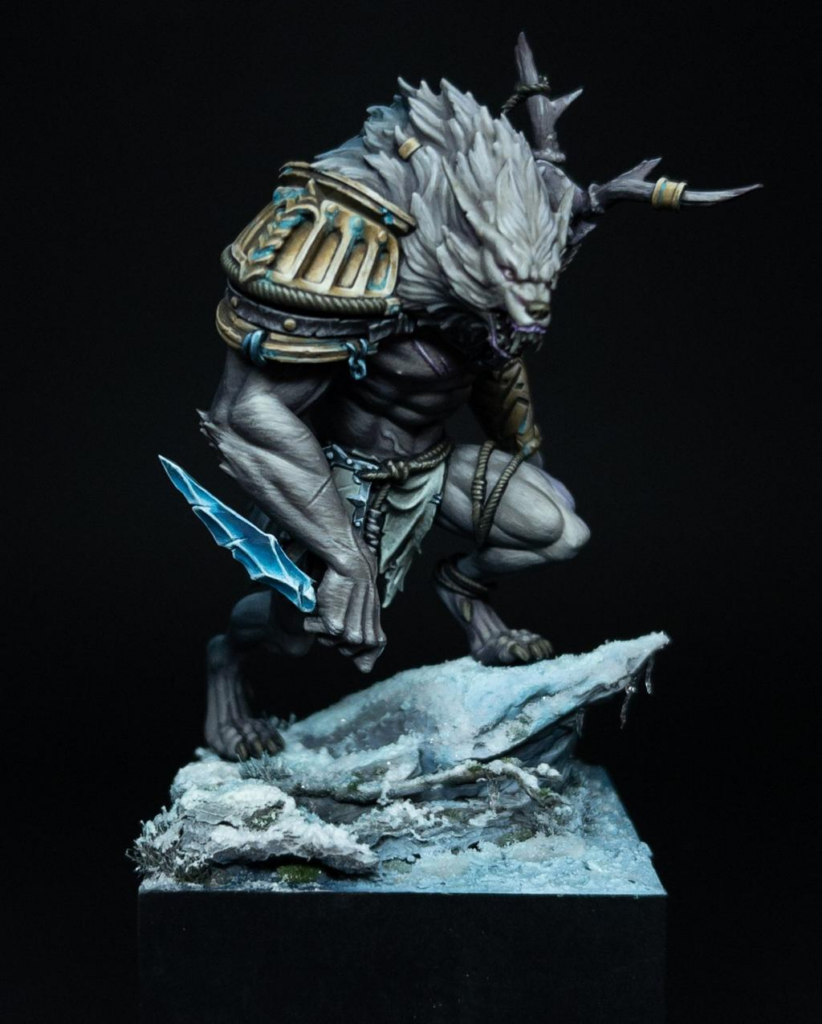
Werewolves are some of the most visually interesting creatures to paint because they combine several miniature-painting challenges in a single model: fur, exposed skin, claws, teeth, muscles, leather, and dramatic facial features.
The fur is usually what determines whether the finished miniature looks convincing.
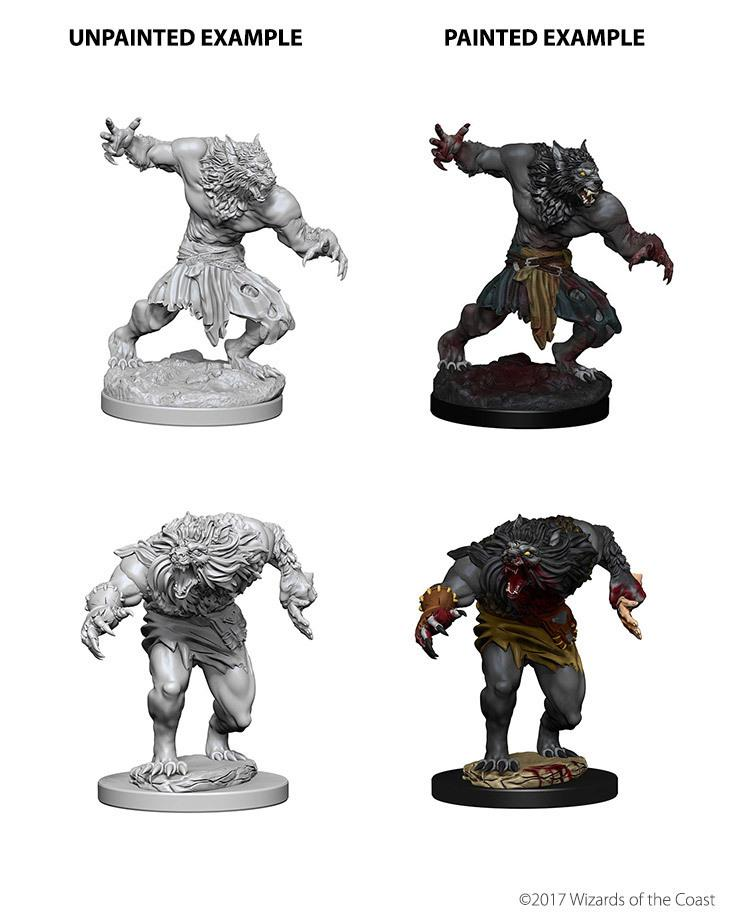
A common mistake is treating fur like ordinary hair and covering the entire creature with one brown, grey, or black color followed by a heavy dry brush. While this can reveal the sculpted texture, it often creates a flat and dusty result.
Realistic animal fur contains multiple colors, strong directional patterns, deep shadows, and subtle changes depending on where the hair grows.
In this guide, you’ll learn how to paint realistic werewolf fur using layering, controlled dry brushing, glazing, directional highlights, color variation, and detailed facial techniques.
Understanding How Fur Behaves
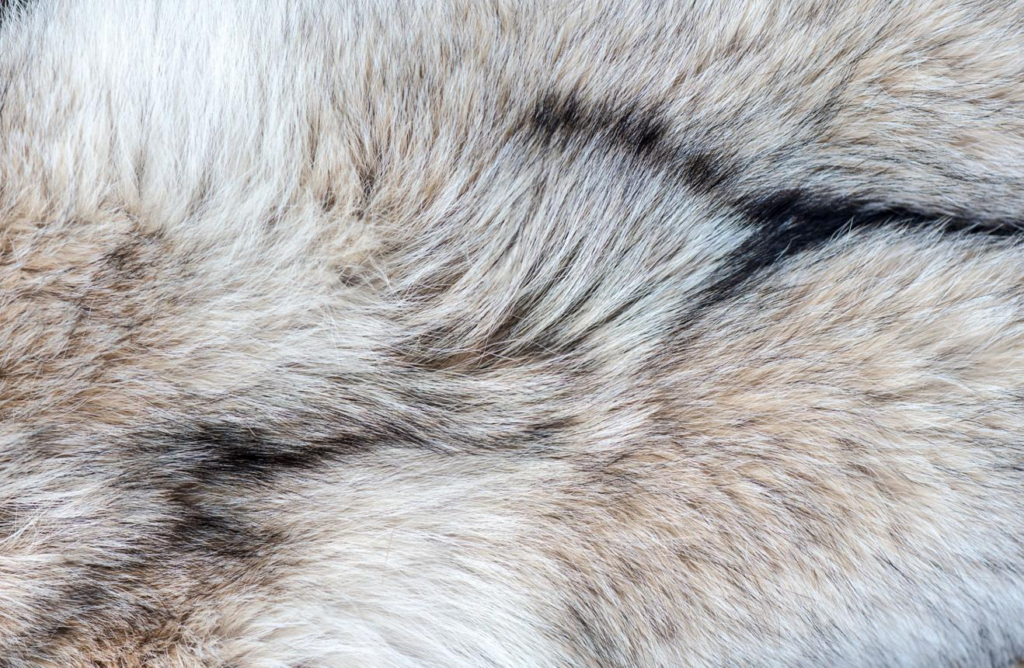
Before painting fantasy fur, study real wolves and other animals.
Individual hairs aren’t all the same color.
A grey wolf may contain black, dark brown, grey, beige, cream, and even subtle reddish tones across its coat.
The direction of the fur also changes across the body.
Hair around the shoulders often grows downward and outward, while facial fur follows the shape of the skull. Longer fur around the neck and back can create stronger shadows.
Instead of thinking about thousands of individual hairs, think about larger groups of fur.
These groups create the overall texture.
Choosing Your Werewolf Fur Palette
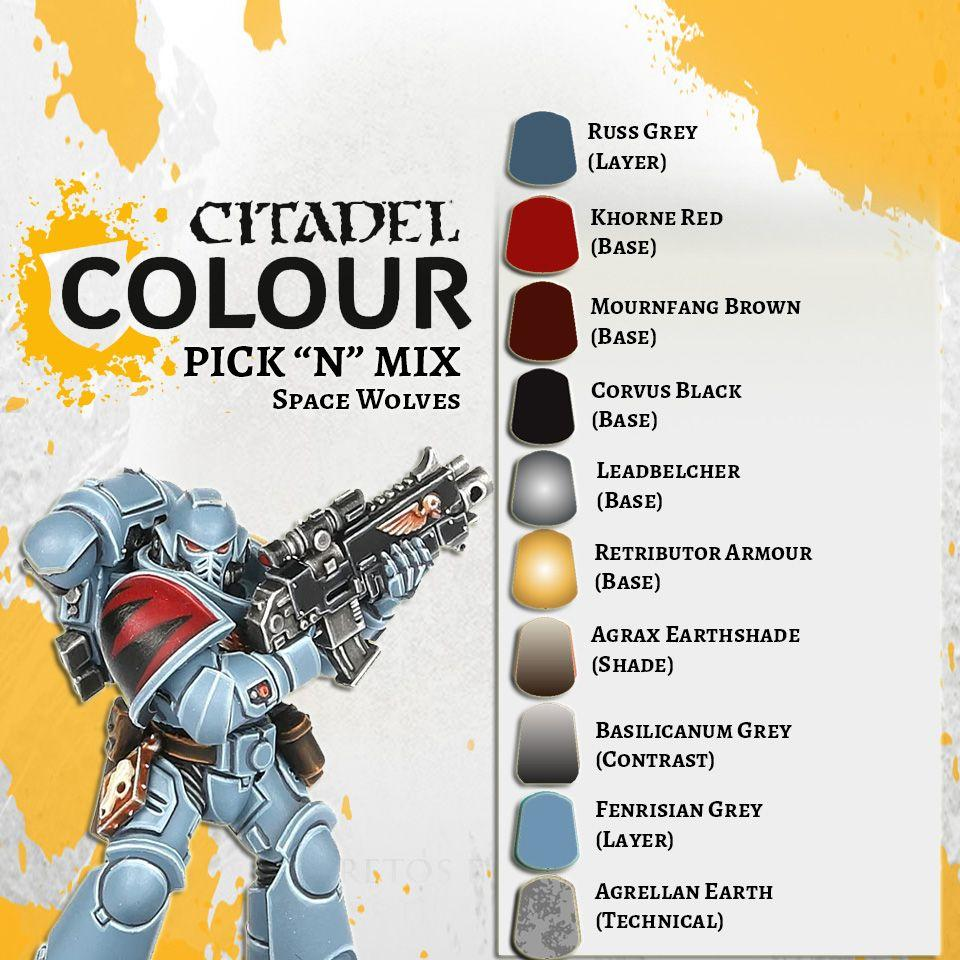
Werewolves can use many natural or supernatural palettes.
Some excellent combinations include:
- Black + Dark Grey + Blue Grey
- Dark Brown + Tan + Beige
- Grey + Brown + Ivory
- Red Brown + Orange Brown + Cream
- Dark Grey + Silver Grey
- White + Grey + Pale Blue
For a classic werewolf, mixing grey and brown usually creates a very natural result.
Avoid using only neutral grey.
Even apparently grey animal fur often contains warm brown or beige tones.
These subtle colors make the finished miniature much more interesting.
Painting the Fur Base Coat
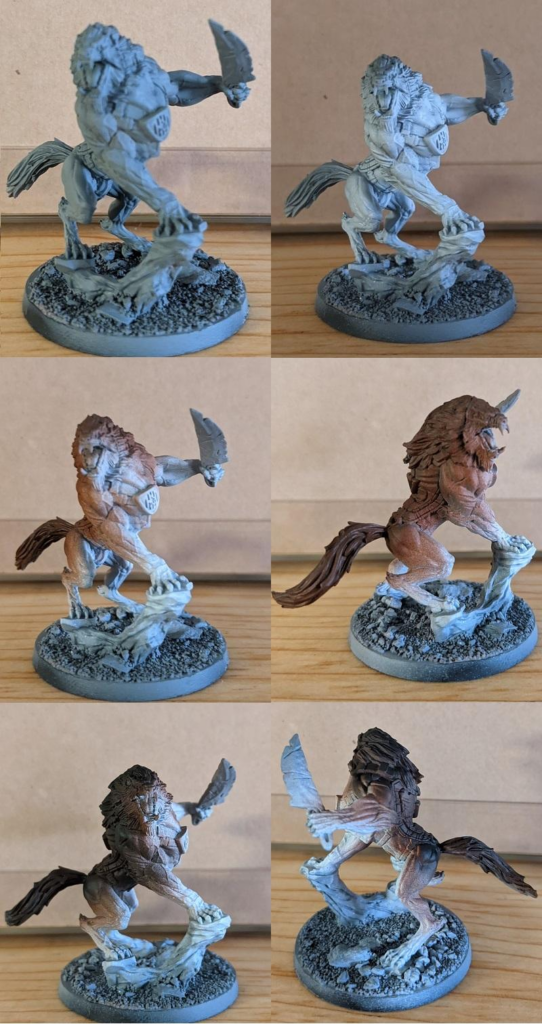
Begin with a relatively dark version of your primary fur color.
For brown fur, use a deep brown.
For grey fur, start with dark charcoal or brown-grey.
For black fur, avoid pure black as your base whenever possible. Very dark grey gives you more room to create shadows later.
Apply several thin coats while preserving all sculpted fur texture.
Make sure paint reaches the deeper recesses between tufts.
These dark areas will provide natural separation once you begin adding lighter layers.
Creating Deep Fur Shadows
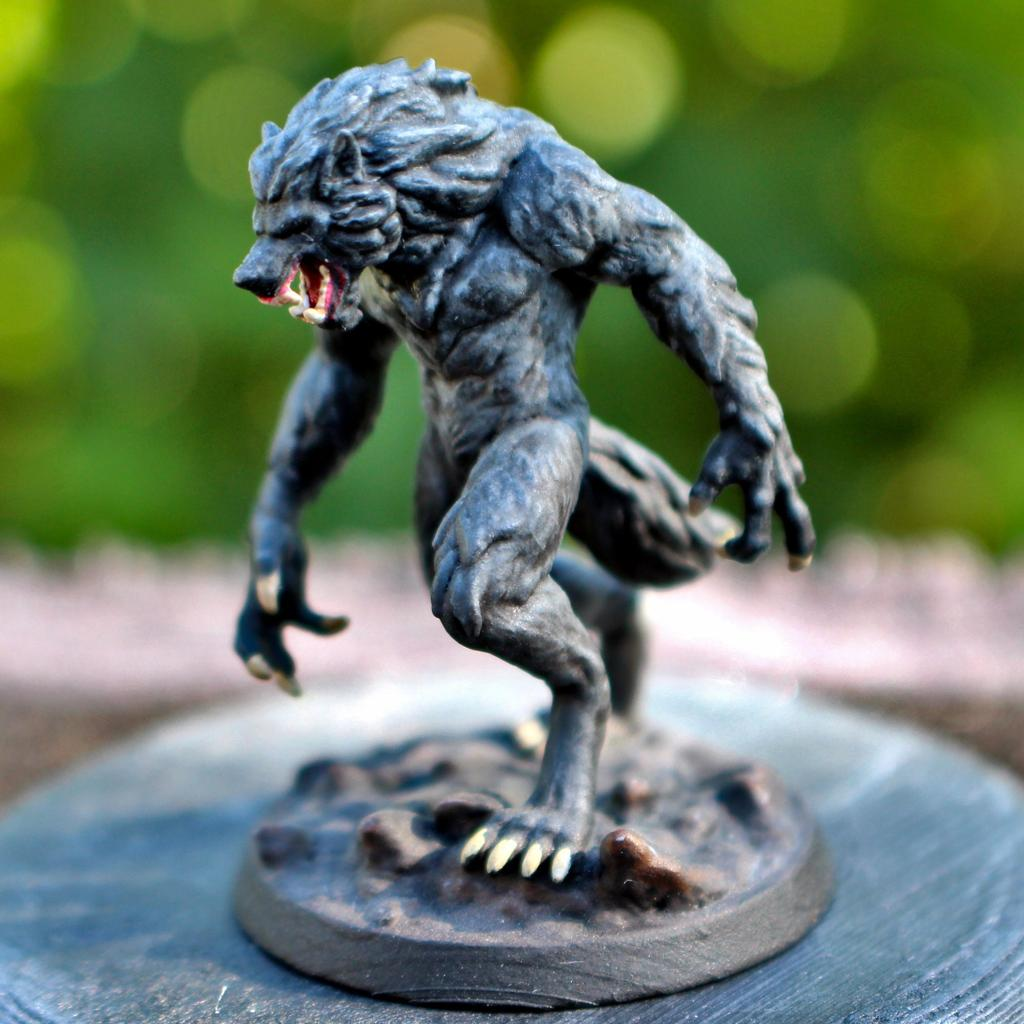
Deep shadows give fur volume.
Use a darker version of your base color and concentrate it beneath large tufts and around areas where the body naturally receives less light.
Important shadow areas include:
- Under the jaw
- Beneath the arms
- Around the chest
- Between the legs
- Under long neck fur
- Around armor and straps
- Beneath the tail
Dark brown, black-brown, purple-grey, and dark blue-grey can all create interesting shadows.
Avoid simply washing the entire miniature with black.
Controlled shading produces cleaner results.
Building the Fur Midtones
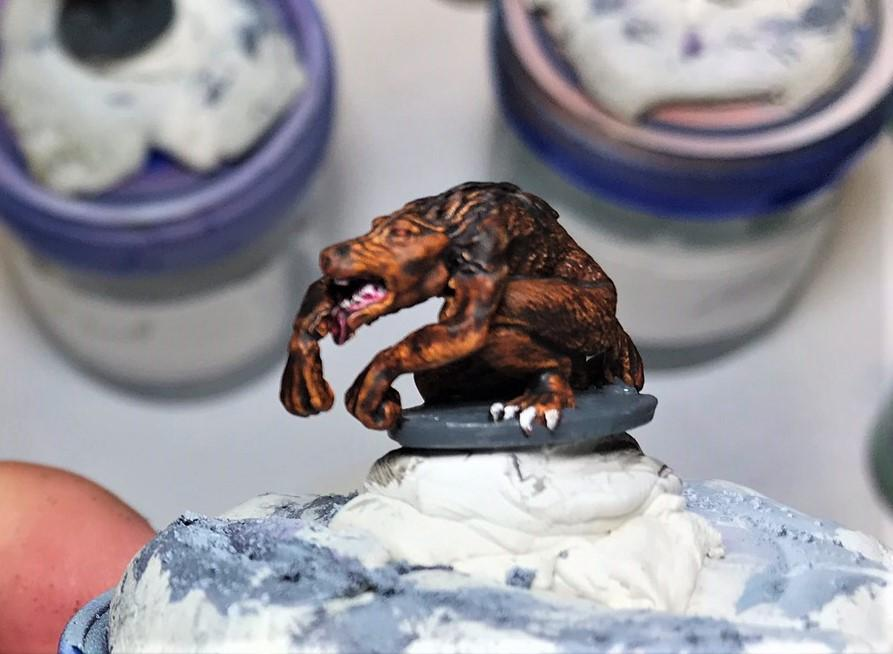
Once the shadows are established, restore your main fur color across the raised areas.
Use your brush to follow the direction of the sculpted hair.
Short strokes work much better than painting across the texture.
Gradually introduce lighter colors into your base.
For brown fur, this might mean moving from dark brown toward medium brown and tan.
For grey fur, move from charcoal toward medium grey.
Leave the deepest recesses untouched.
This creates natural separation between the fur tufts.
Using Controlled Dry Brushing
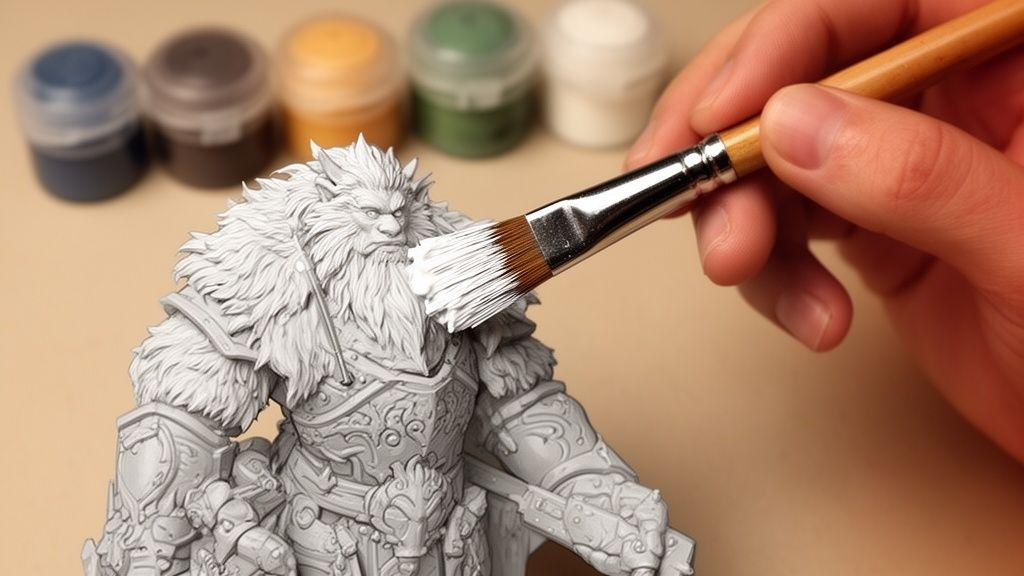
Dry brushing is extremely effective for fur when used carefully.
Load a medium-sized brush with a lighter color and remove most of the paint.
Then gently brush across the raised texture.
The highest strands will naturally catch the pigment.
The important word here is gently.
Heavy dry brushing can create chalky surfaces and cover too much of your darker foundation.
Use several increasingly lighter dry brushes rather than one aggressive application.
This creates smoother transitions.
Painting Individual Fur Highlights
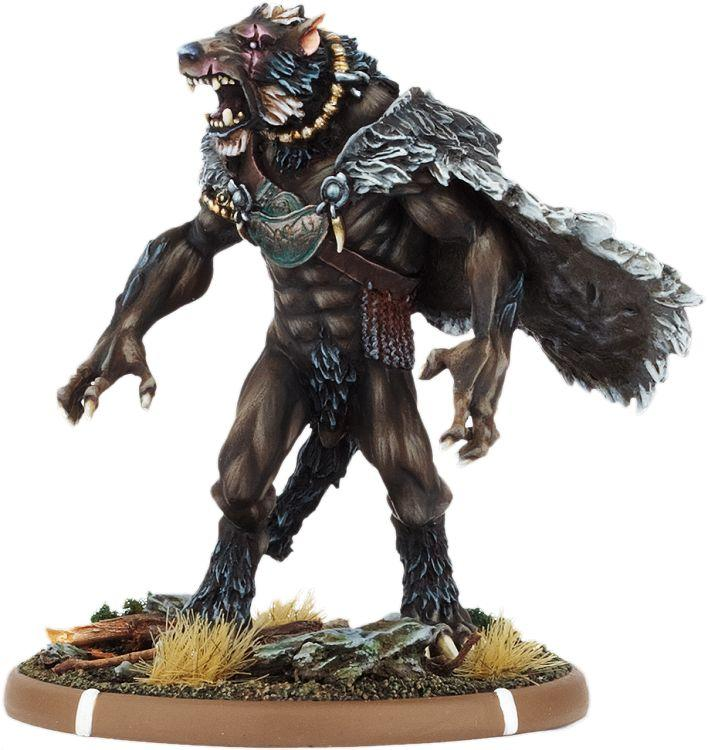
Dry brushing establishes general texture, but controlled highlights create the professional finish.
Use a fine brush to paint selected raised strands individually.
Focus on areas that naturally receive more light:
- Brow
- Cheeks
- Shoulders
- Upper chest
- Forearms
- Upper back
- Thighs
Follow the sculpted direction of the fur.
Don’t highlight every strand.
A few carefully selected bright hairs create much more realism than highlighting the entire miniature equally.
Creating Natural Fur Color Variation
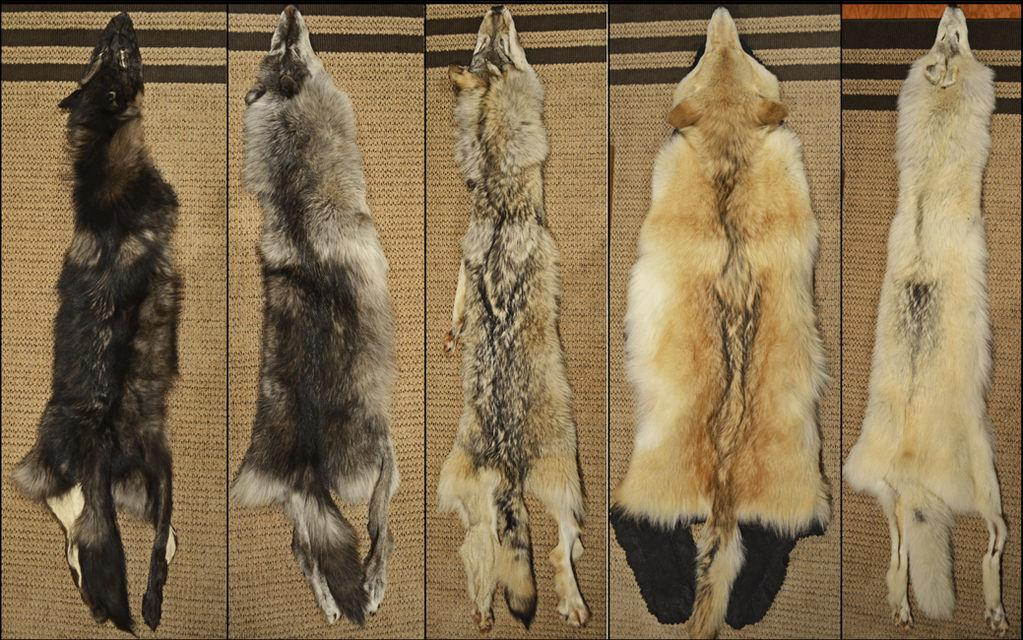
One of the easiest ways to improve werewolf fur is introducing secondary colors.
Real wolves often have darker fur running along the spine and lighter fur around the face, chest, belly, and legs.
You can reproduce this on your miniature.
For example, use dark brown or black along the back.
Introduce medium brown around the shoulders.
Use beige or grey around the chest.
Add lighter fur around the muzzle.
The transitions should remain gradual.
Thin glazes can help blend the different regions together.
Painting Black Werewolf Fur
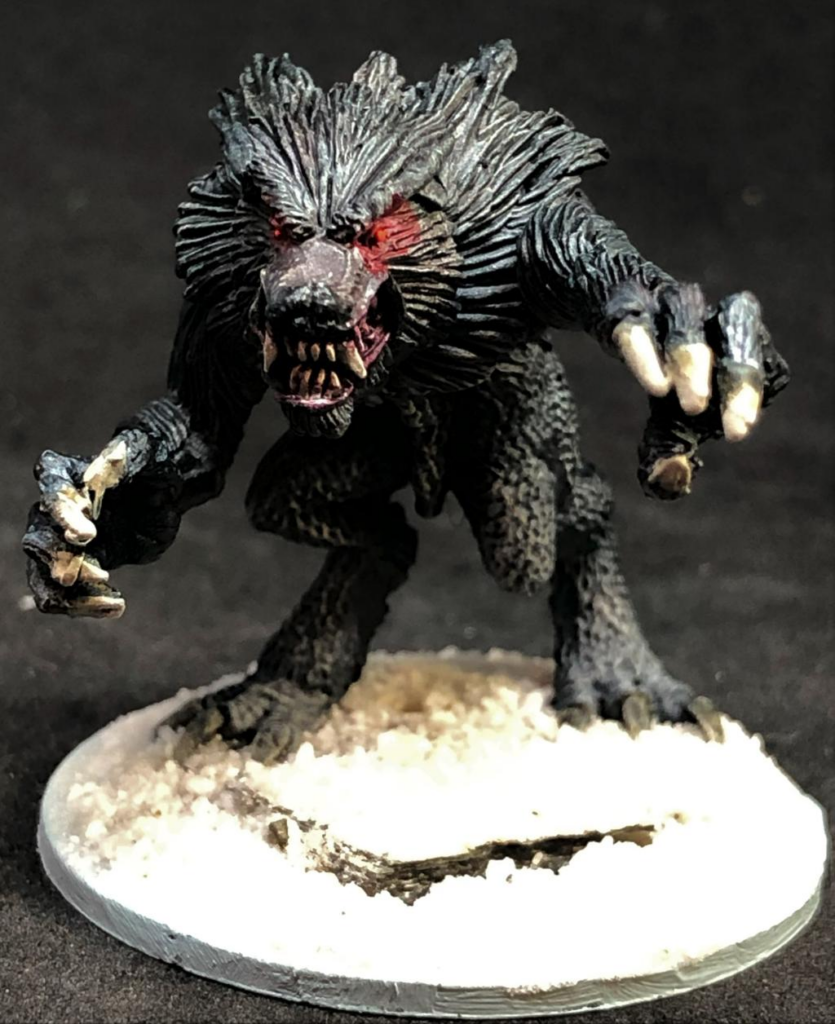
Black fur can be surprisingly difficult because starting with pure black leaves almost nowhere to go with the shadows.
Instead, begin with extremely dark charcoal.
Use black only inside the deepest recesses.
Gradually highlight with dark grey, blue-grey, or brown-grey.
Reserve lighter grey for a few selected strands.
Avoid highlighting black fur all the way to white.
The miniature should still read as black even after highlighting.
Painting White Werewolf Fur
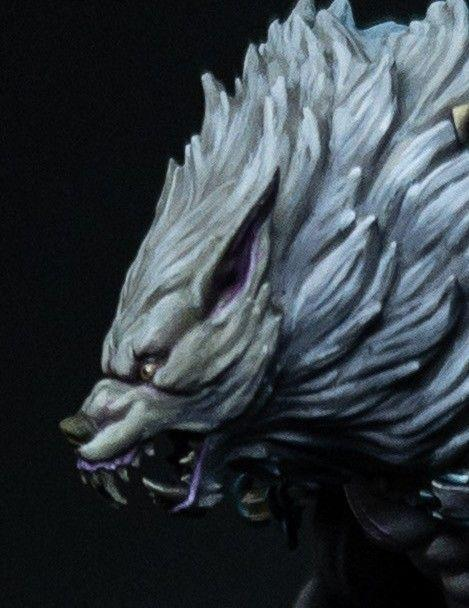
White fur has the opposite problem.
If you begin with pure white, you have nowhere to place highlights.
Start with light grey, blue-grey, or beige instead.
Gradually build toward ivory and finally small amounts of white.
Keep darker grey visible inside the deepest recesses.
Subtle blue shadows can create a colder appearance, while beige shadows produce warmer natural fur.
The final pure white highlights should remain extremely selective.
Painting the Werewolf Face
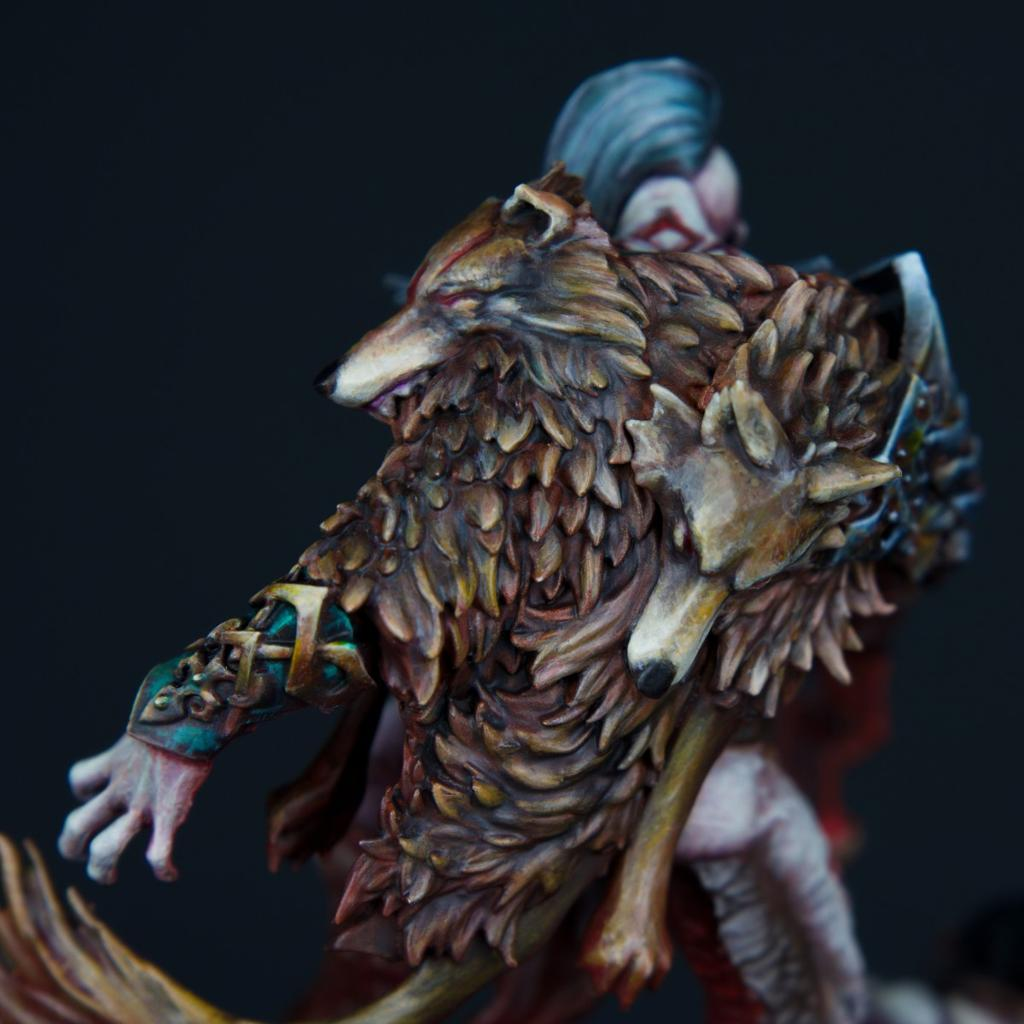
The face is the main focal point of most werewolf miniatures.
Increase the contrast around the eyes, muzzle, nose, and mouth.
Darken the recesses beneath the brow.
Highlight the upper edges of the muzzle and cheek fur.
You can also introduce slightly lighter fur around the mouth to separate the face from the rest of the head.
Strong facial contrast makes the creature readable even from tabletop distance.
Painting the Nose
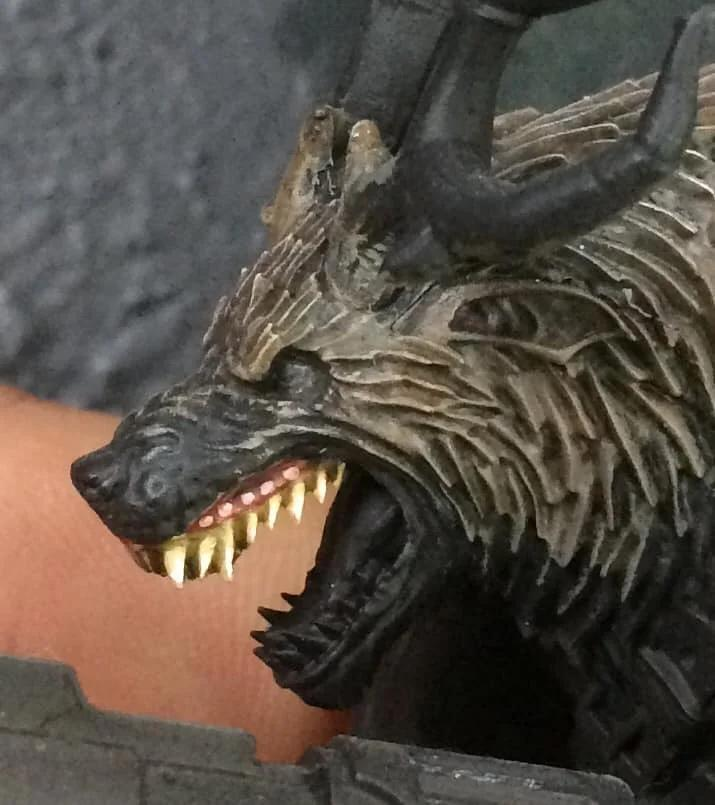
The nose provides a small but important texture contrast.
Start with dark grey rather than pure black.
Add a slightly lighter highlight along the upper surface.
Then apply a small amount of satin or gloss varnish.
This creates the appearance of a slightly wet animal nose.
Keep the shine controlled.
Too much gloss can make it look like plastic.
Painting Werewolf Eyes
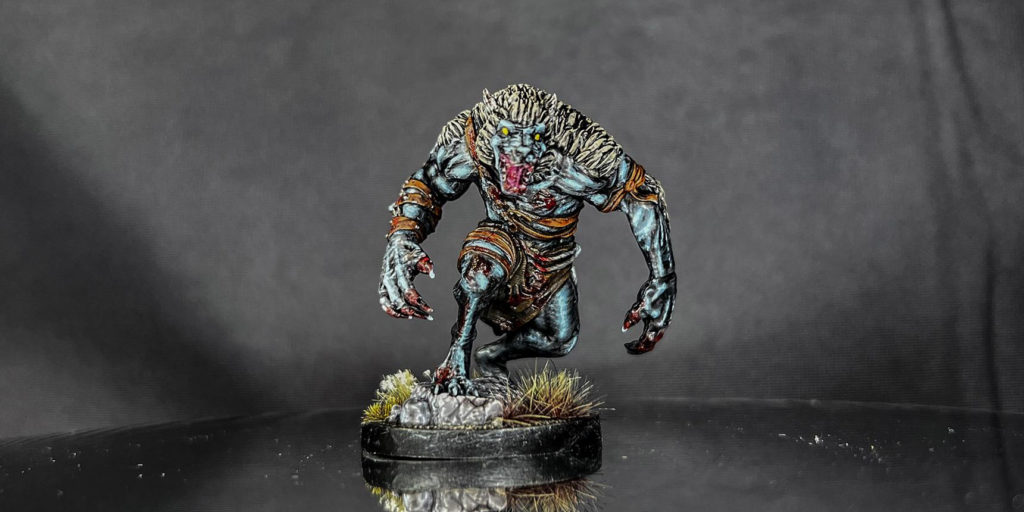
Bright eyes look fantastic against dark fur.
Yellow and orange create the classic predatory appearance.
Green can create a supernatural forest creature.
Blue produces a colder magical look.
Begin with a darker version of your chosen eye color.
Add a brighter center before painting the pupil.
Finish with a tiny pale reflection.
If you want supernatural glowing eyes, add an extremely subtle glaze around the eyelids.
Painting Teeth and Fangs
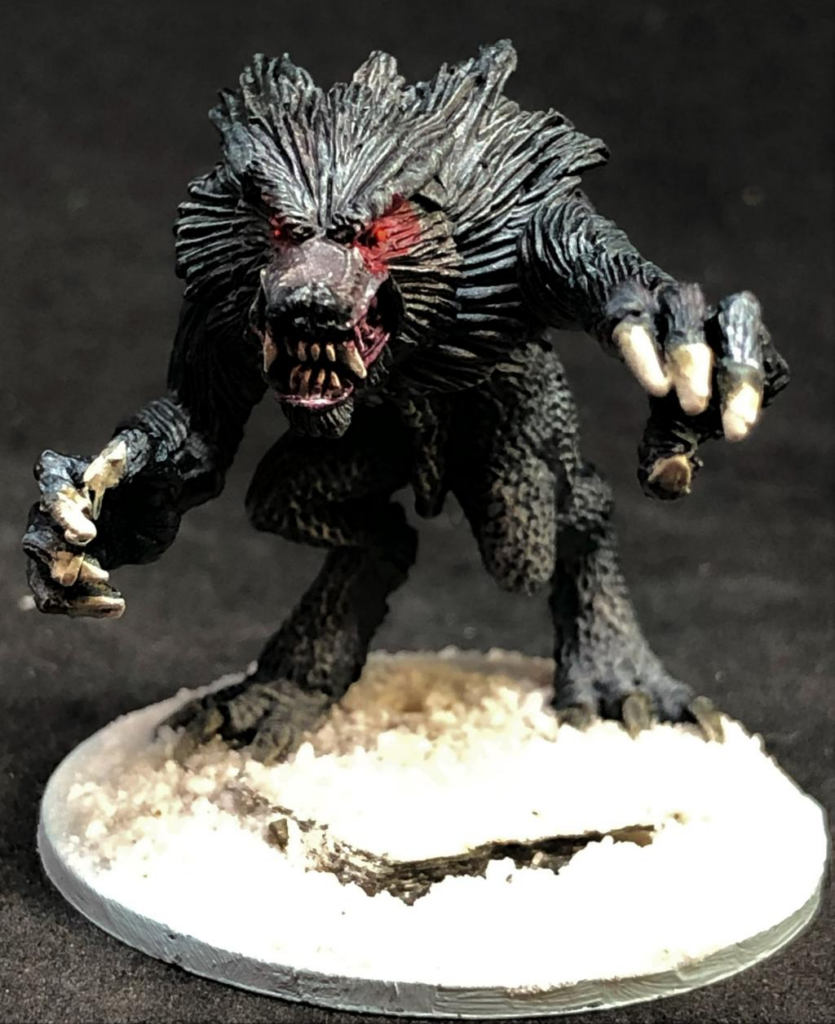
Werewolf teeth shouldn’t be perfectly white.
Begin with brown or dark beige.
Gradually highlight toward ivory.
Keep darker colors around the gums and between individual teeth.
The longest fangs can receive slightly brighter tips.
This creates much more depth than painting every tooth white.
A subtle dark red or brown glaze around the gums can also help separate the teeth from the mouth.
Painting Claws
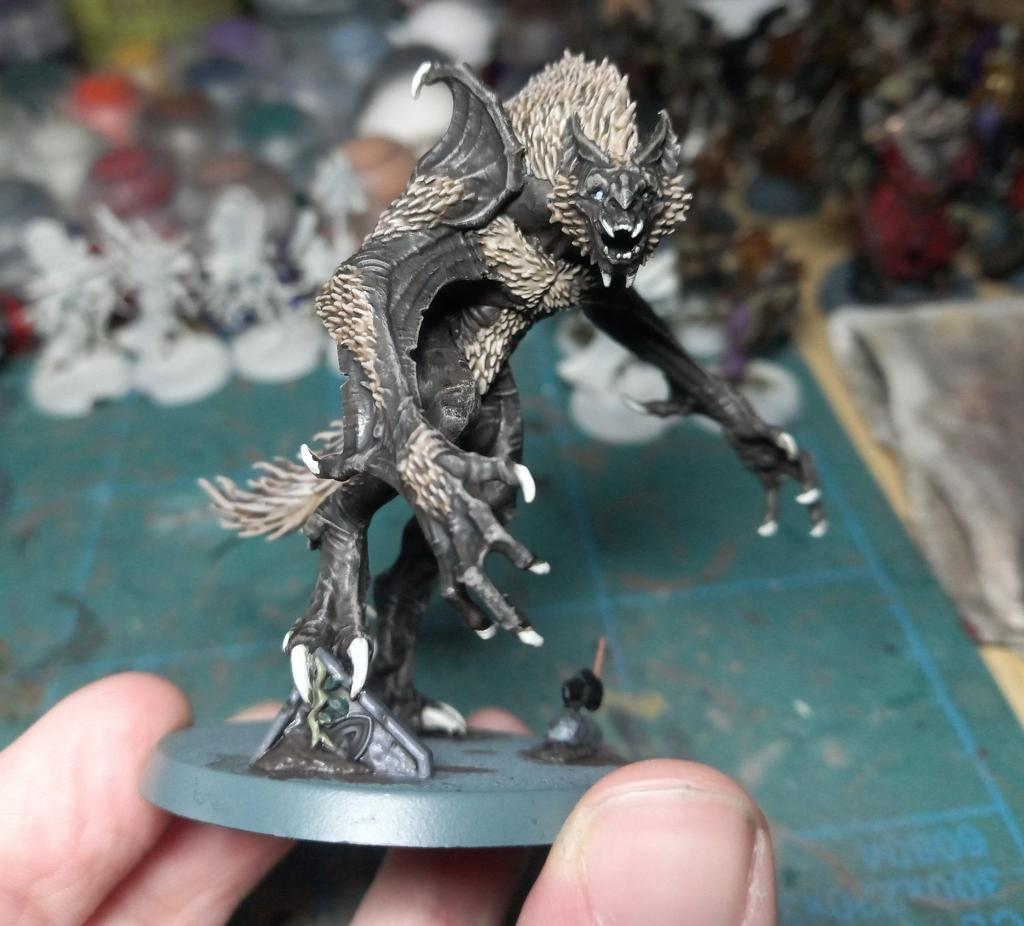
Claws can follow a similar process to horns and tusks.
Start with dark brown or black near the base.
Gradually transition toward grey, beige, or ivory near the tips.
For particularly dark werewolves, black claws with small grey highlights create a sinister appearance.
Keep the brightest color concentrated near the tip.
This reinforces the sharp shape of each claw.
Blending Fur Into Exposed Skin
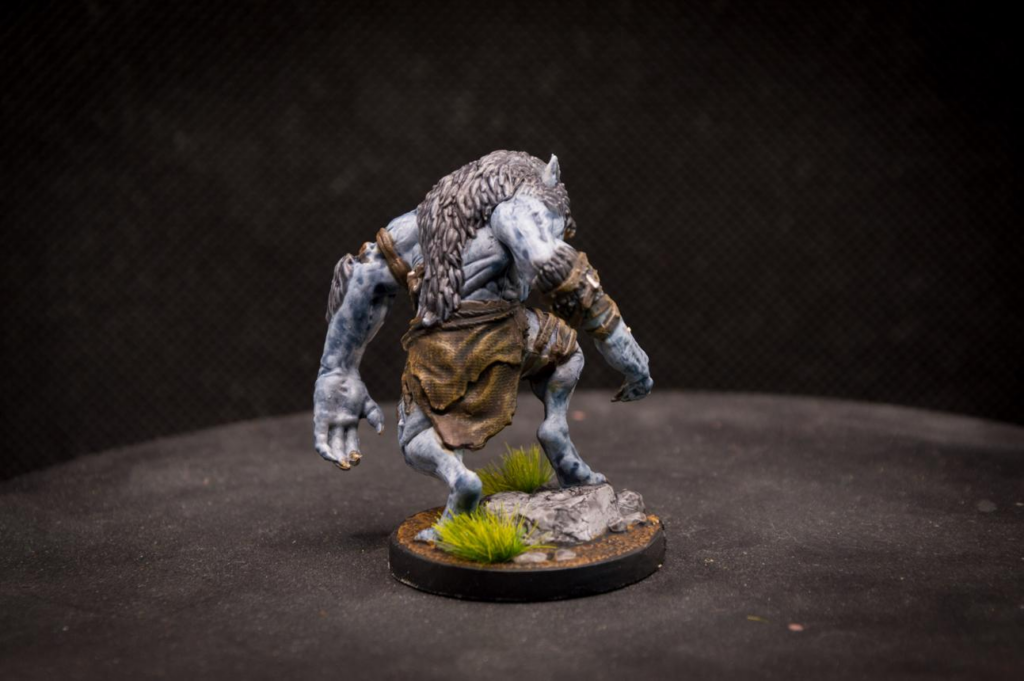
Some werewolf miniatures contain areas where fur gradually transitions into exposed skin.
Avoid creating a perfectly straight border.
Instead, use small irregular fur strokes extending into the skin.
Then introduce subtle versions of the fur color into the surrounding flesh using transparent glazes.
This makes the transition feel organic.
The same technique works around the face, hands, chest, and areas containing torn clothing.
Adding Dirt and Environmental Weathering
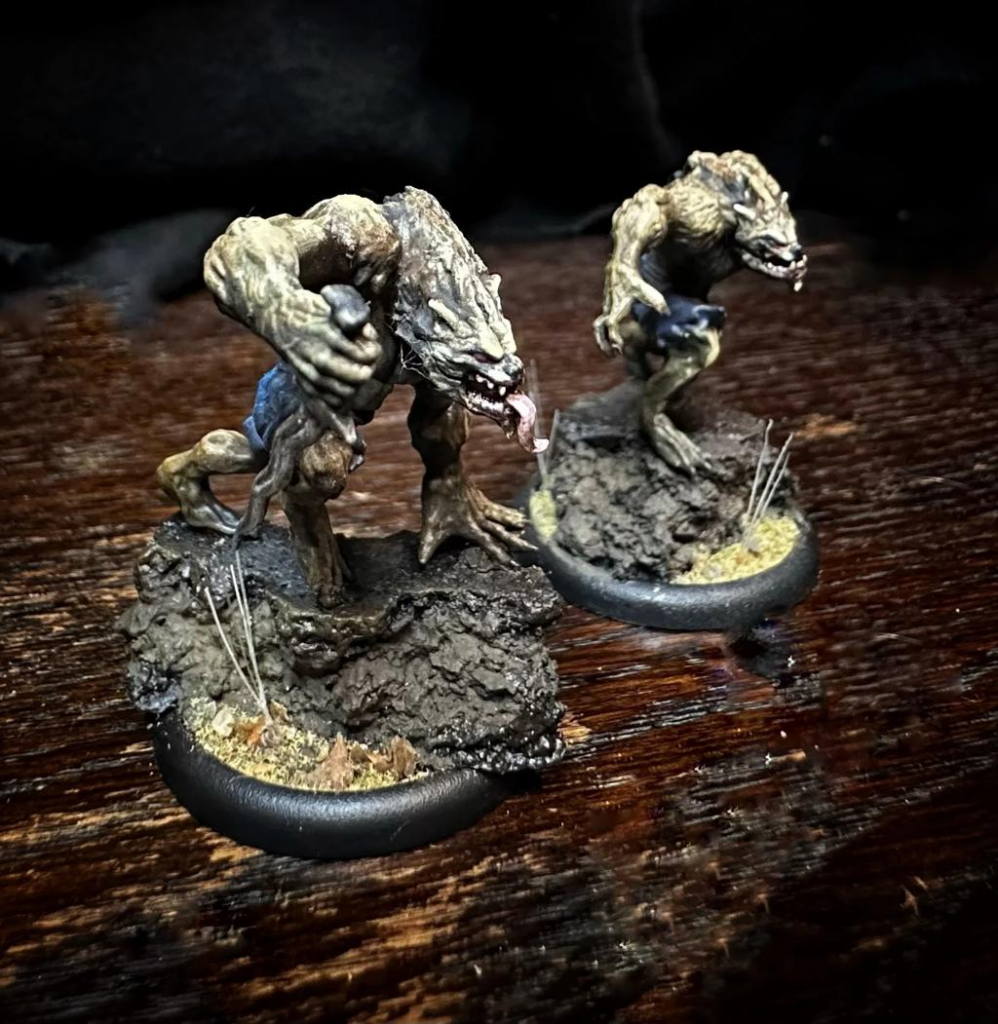
Werewolves rarely need perfectly clean fur.
Brown glazes around the feet and lower legs can represent dirt.
Small amounts of dried mud can be added to longer fur near the ground.
For forest environments, subtle green or brown tones can integrate the creature with the base.
Snow environments can introduce cold blue-grey shadows and small amounts of snow trapped around the feet.
Environmental weathering should remain strongest near the ground.
Common Mistakes to Avoid
Avoid these common mistakes:
- Painting all the fur one color.
- Using an extremely heavy dry brush.
- Highlighting every strand equally.
- Ignoring the direction of hair growth.
- Starting black fur with pure black.
- Starting white fur with pure white.
- Painting teeth completely white.
- Making every part of the coat equally bright.
- Forgetting natural color variation.
Fur becomes convincing when several subtle layers work together.
Final Thoughts
Painting realistic werewolf fur doesn’t require individually painting thousands of hairs.
The most important step is establishing the larger shapes first.
Start with a dark foundation, create deep shadows between the fur tufts, restore your midtones, and gradually introduce lighter colors following the direction of hair growth.
Controlled dry brushing can quickly establish texture, while individual highlights provide the final definition.
Then introduce natural color variation across the coat and spend additional time on the face, eyes, nose, teeth, and claws.
These techniques work beautifully on werewolves, wolves, beastmen, gnolls, animal companions, fantasy monsters, and countless D&D miniatures.
Once you begin thinking about fur as groups of directional shapes rather than thousands of individual hairs, painting it becomes much easier—and dramatically more realistic.
Frequently Asked Questions
What’s the easiest werewolf fur color to paint?
Medium brown and grey-brown are excellent choices because they provide plenty of room for both dark shadows and lighter highlights.
Is dry brushing good for miniature fur?
Yes. Controlled dry brushing is one of the fastest ways to establish fur texture, especially when followed by selective brush highlights.
How do I paint realistic black fur?
Start with very dark charcoal instead of pure black, preserve black inside the deepest recesses, and gradually highlight with dark grey or blue-grey.
How do I paint white fur?
Start with grey, beige, or blue-grey and gradually build toward ivory and small pure-white highlights.
Should every strand of fur be highlighted?
No. Highlighting selected areas creates much stronger lighting and prevents the miniature from becoming visually noisy.
How do I make werewolf fur look more natural?
Introduce subtle secondary colors, vary the brightness across different areas, follow the natural direction of hair growth, and keep deep shadows between the fur tufts.
What’s the biggest mistake when painting werewolf fur?
Using one base color followed by a single heavy dry brush. Multiple colors, controlled shadows, and selective highlights create a much more convincing result.
If you would like free D&D STL miniatures, visit our homepage and download yours now:https://echoartstudios.net/