How to Paint Spider Miniatures and Webs (Realistic Arachnids & Fantasy Web Effects Guide)
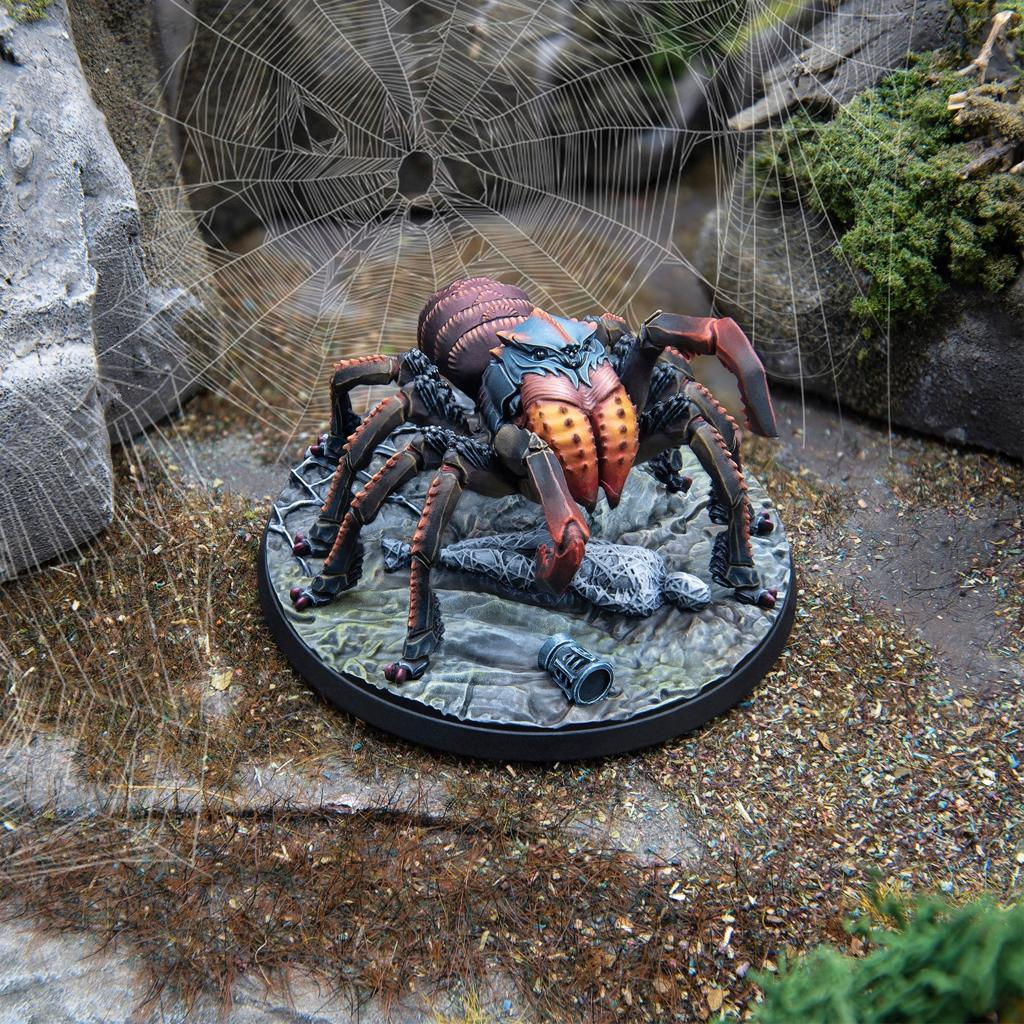
Spiders are perfect creatures for miniature painters who enjoy texture, unusual anatomy, dramatic colors, and creepy environmental effects.
They appear everywhere in fantasy settings: giant cave spiders, forest predators, drow companions, corrupted arachnids, spider demons, undead creatures, poisonous monsters, and enormous bosses guarding web-covered dungeons.
A well-painted spider can also contain several different materials at once.
The abdomen may be soft and patterned. The legs can appear hard and segmented. Fangs may resemble polished claws. Eyes can be glossy and reflective. Hair creates additional texture, while webs introduce an entirely different material around the miniature.
The biggest mistake is painting the entire spider one flat color—usually black.
Even spiders that appear black contain subtle brown, blue, purple, grey, or green reflections.
In this guide, you’ll learn how to paint realistic spider skin, hairy legs, patterned abdomens, eyes, fangs, venom, fantasy colors, and convincing miniature spider webs.
Understanding Spider Anatomy Before Painting
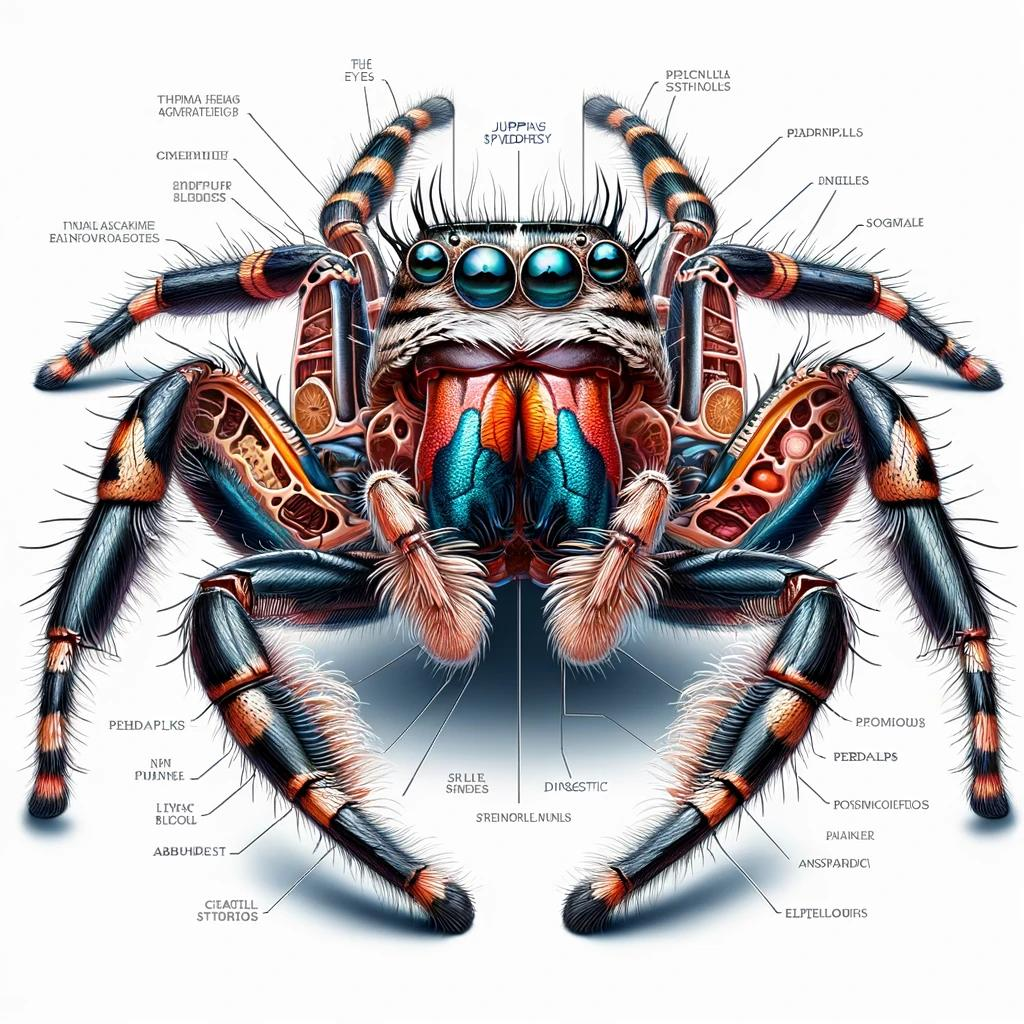
Spiders have very different anatomy from humanoid miniatures.
The body is divided primarily into the cephalothorax and abdomen, while eight segmented legs extend outward.
This structure naturally creates many opportunities for contrast.
The abdomen can be softer and smoother.
The legs may appear harder and more armored.
Joints create natural shadow points.
Fangs can have stronger highlights.
Eyes can be extremely glossy.
Before painting, identify these different surfaces.
If every part receives exactly the same color and highlight treatment, the miniature will lose much of its biological character.
Choosing a Spider Color Palette
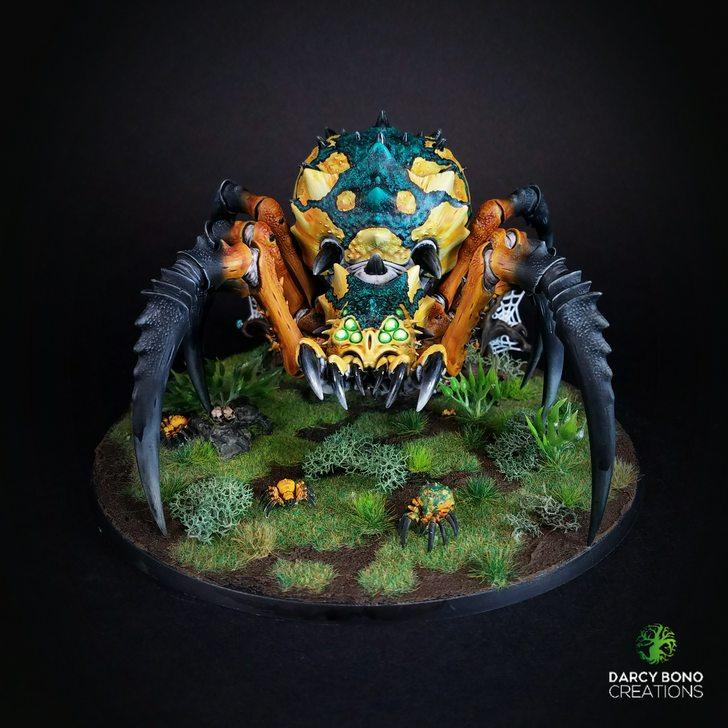
Real spiders offer enormous inspiration.
A natural black spider might use:
Black → Blue-Black → Dark Grey → Pale Grey
A brown spider could use:
Black-Brown → Dark Brown → Orange-Brown → Tan
A poisonous fantasy spider might use:
Black → Dark Red → Crimson → Orange-Red
For magical spiders:
Black-Purple → Violet → Magenta → Pale Pink
or:
Black-Green → Emerald → Turquoise → Cyan
Using black or another extremely dark color in the deepest recesses helps separate the many legs and body segments.
Choose one main color and one or two accents rather than using every bright color available.
Painting Black Spider Skin
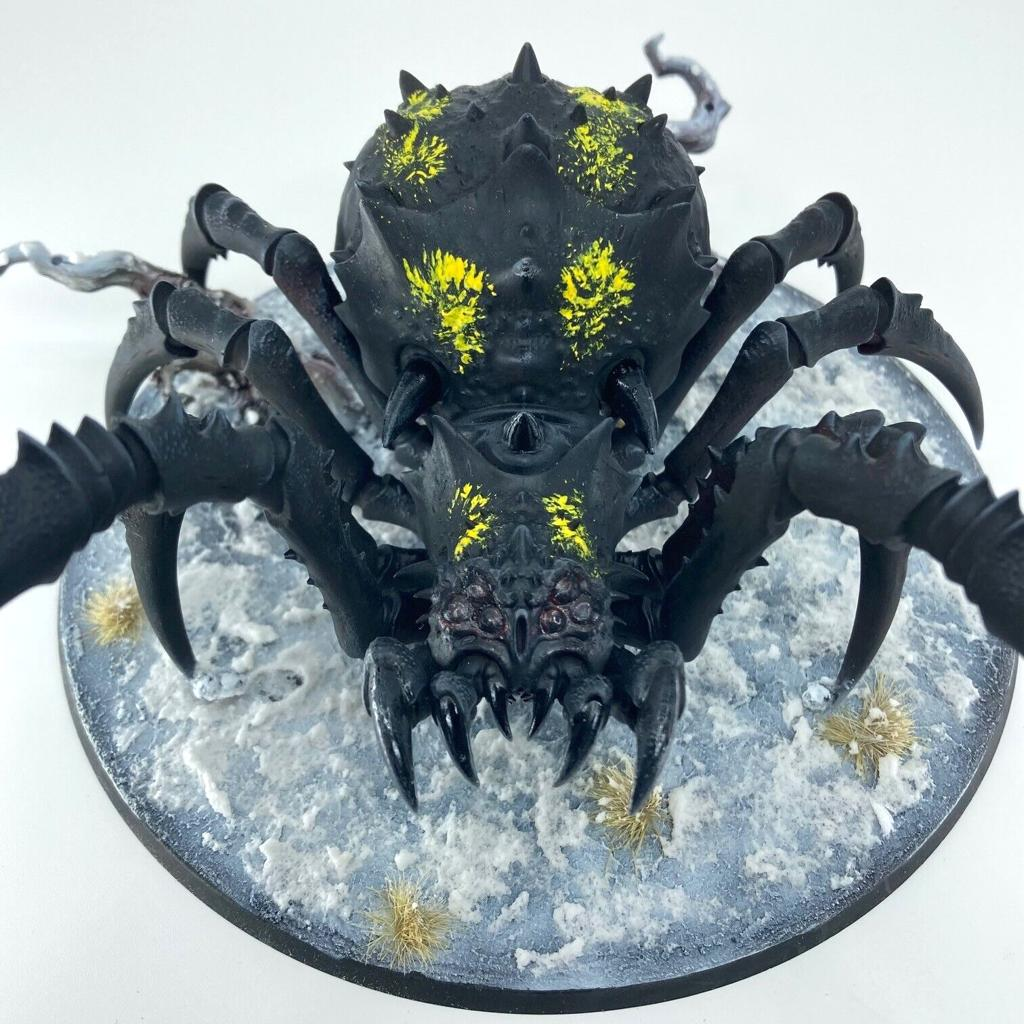
Black spiders shouldn’t be painted entirely pure black.
If everything is black, sculpted details disappear.
Instead, reserve pure black for your deepest shadows.
Introduce blue-black, purple-black, or dark grey across exposed surfaces.
Then gradually highlight the raised areas.
A cold black spider might use:
Black → Dark Blue-Grey → Blue-Grey → Pale Grey
Keep the brightest highlights very small.
The miniature should still visually appear black.
The lighter colors simply reveal the shape of the body.
This technique works particularly well on giant cave spiders and sinister dungeon creatures.
Painting Brown and Natural Spiders
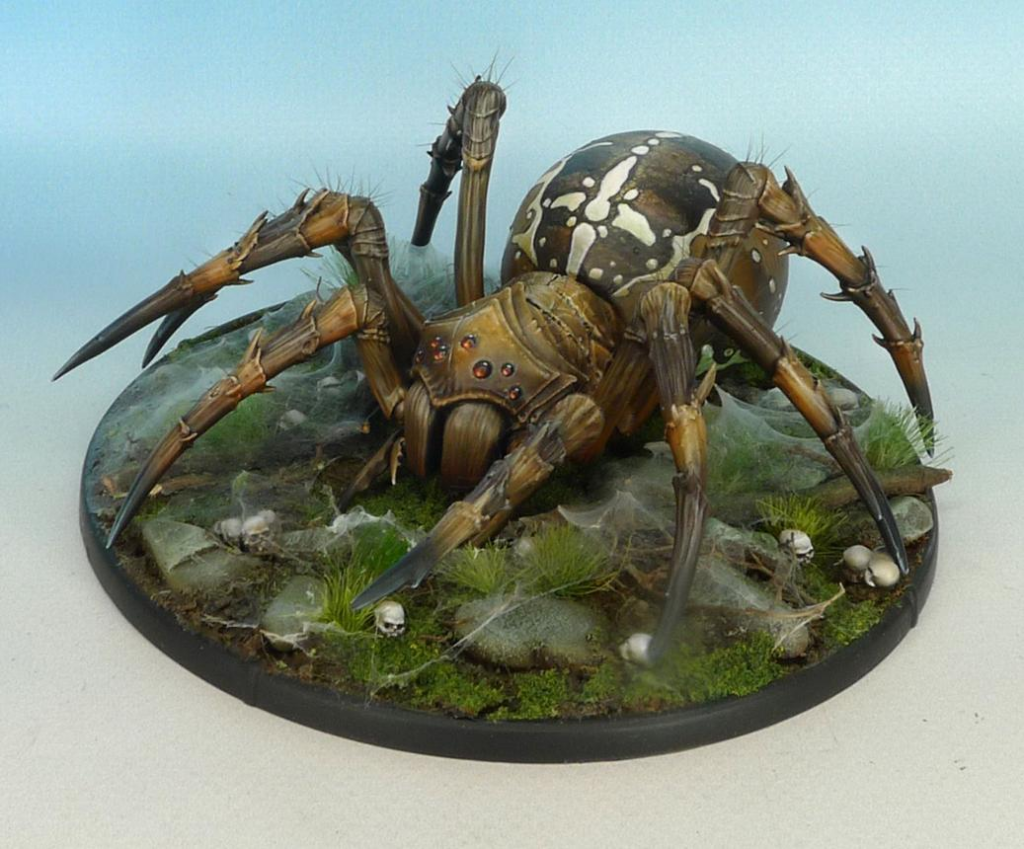
Brown palettes create a more realistic terrestrial appearance.
Begin with dark brown.
Introduce medium brown across exposed sections.
Then add reddish brown, orange-brown, or tan.
Highlight the sharpest edges using pale beige.
Don’t apply the same brown everywhere.
Some leg segments can contain warmer tones.
The abdomen might remain darker.
Joints can stay almost black.
This variation makes the spider feel biological rather than manufactured.
Thin brown and black glazes can help blend the transitions afterward.
Painting Hairy Spider Legs
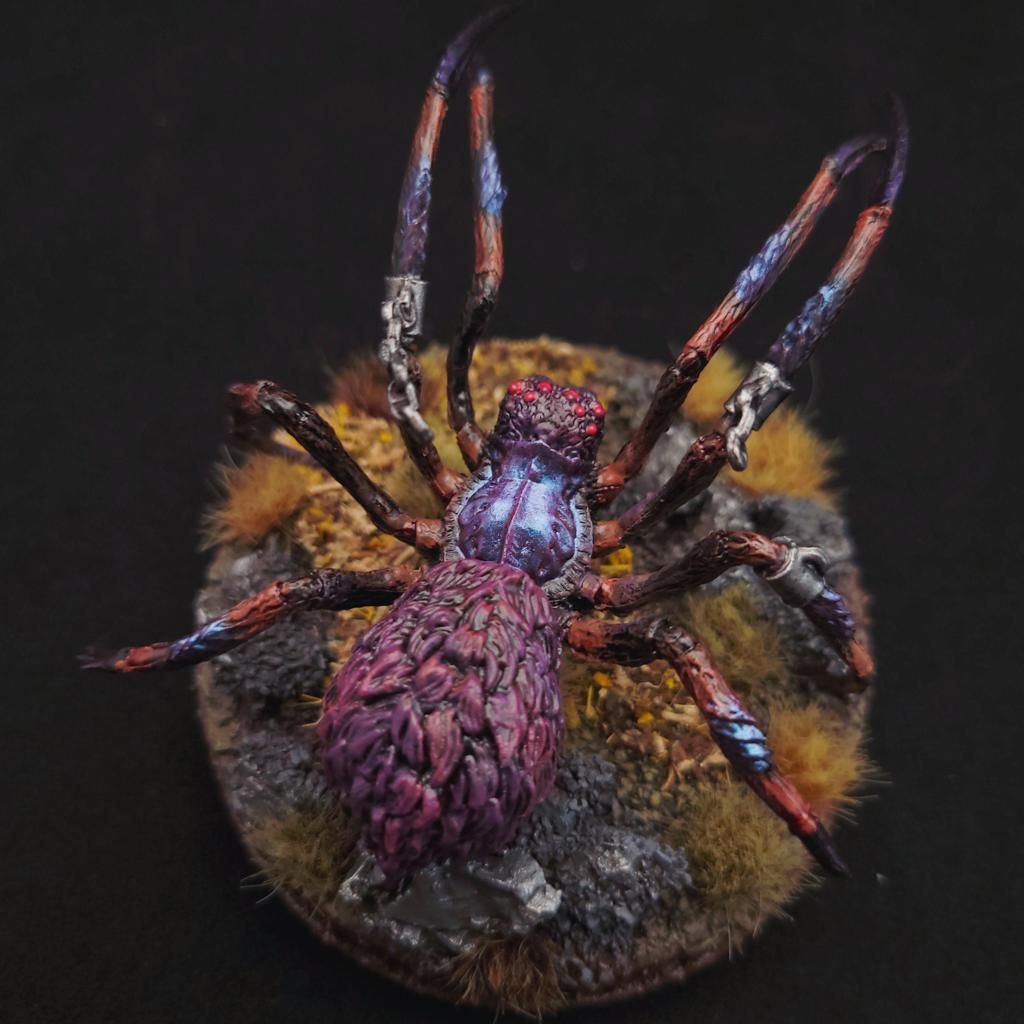
Hair can completely change the appearance of a spider.
Begin by painting the underlying leg normally.
Then use fine brush strokes following the direction of the sculpted hairs.
Start with a darker hair color.
Add progressively lighter strands.
Don’t highlight every individual hair.
Concentrate brighter strokes where light would hit.
Dry brushing can work on heavily textured miniatures, but use it carefully.
Too much dry brushing can make the legs look dusty.
For highly detailed display miniatures, individual controlled strokes usually produce a cleaner result.
Painting Segmented Spider Legs
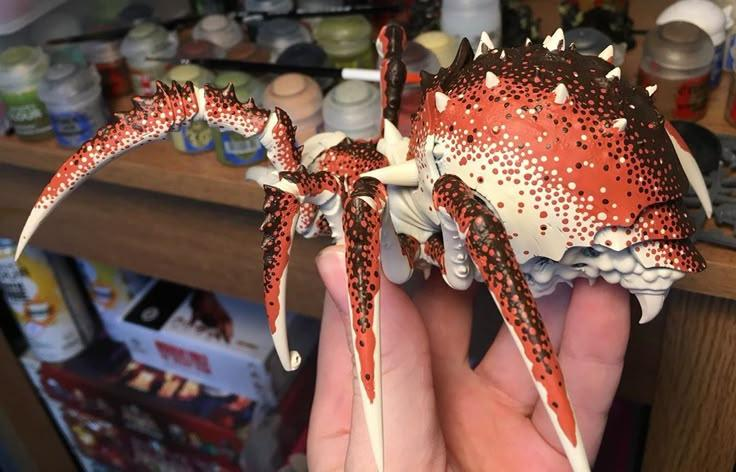
Spider legs contain multiple joints.
Use these segments to create natural visual rhythm.
Keep joints darker.
Brighten the central sections of each segment.
Then add thin edge highlights.
You can also introduce subtle bands.
For example, a dark spider might have reddish brown bands near its joints.
A magical spider could have purple or turquoise bands.
Avoid making every segment equally bright.
Upper-facing legs should receive stronger highlights than legs positioned underneath the creature.
This reinforces your overall light source.
Painting Spider Abdomen Patterns
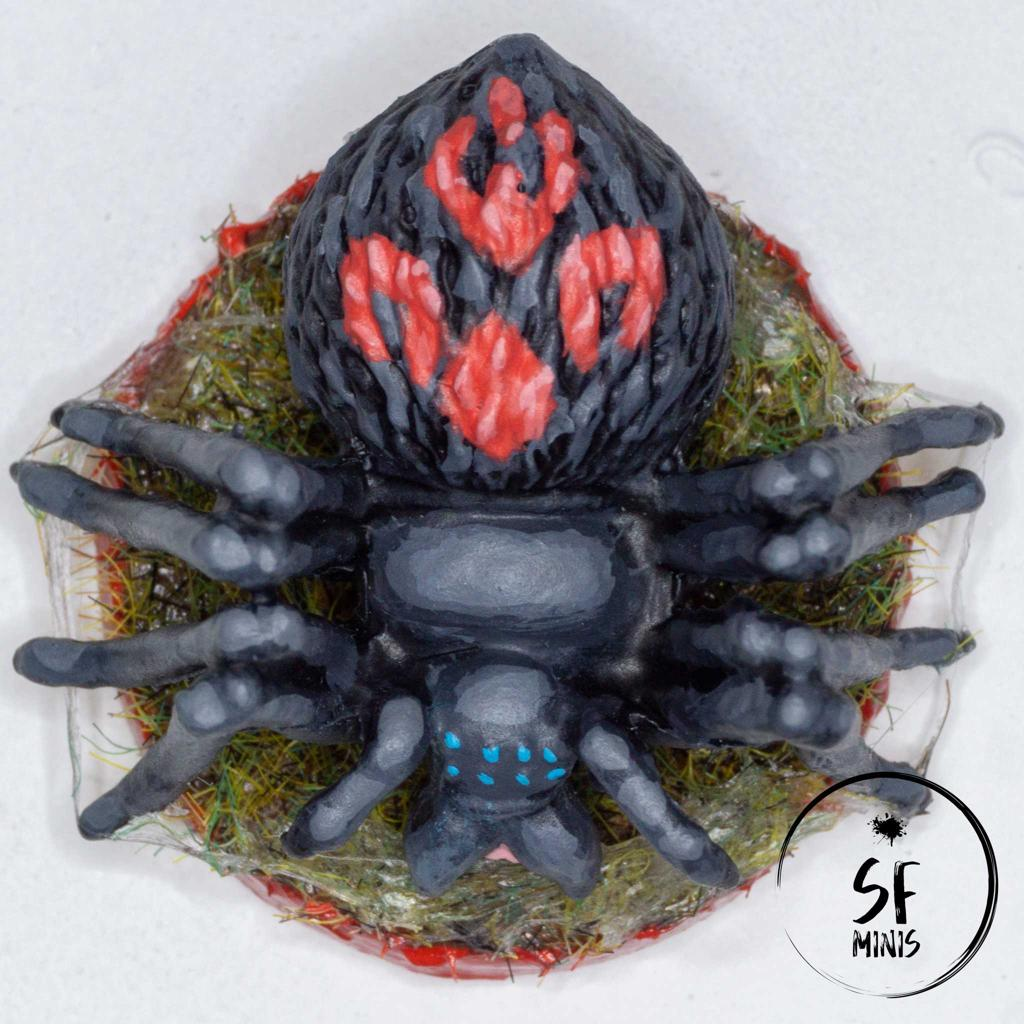
The abdomen is an excellent place for markings.
Real spiders can contain stripes, spots, geometric shapes, gradients, and warning patterns.
Start with your finished abdomen color.
Then sketch the pattern using a slightly darker or lighter tone.
Once you’re happy with the shape, strengthen the color.
Common fantasy combinations include:
Black + Red
Black + Orange
Purple + Magenta
Dark Green + Yellow
Black + Turquoise
Keep the pattern symmetrical only when appropriate.
Slight imperfections can make biological markings feel more natural.
Glaze the original skin color over the pattern if it looks too sharply painted.
Painting Red Warning Markings
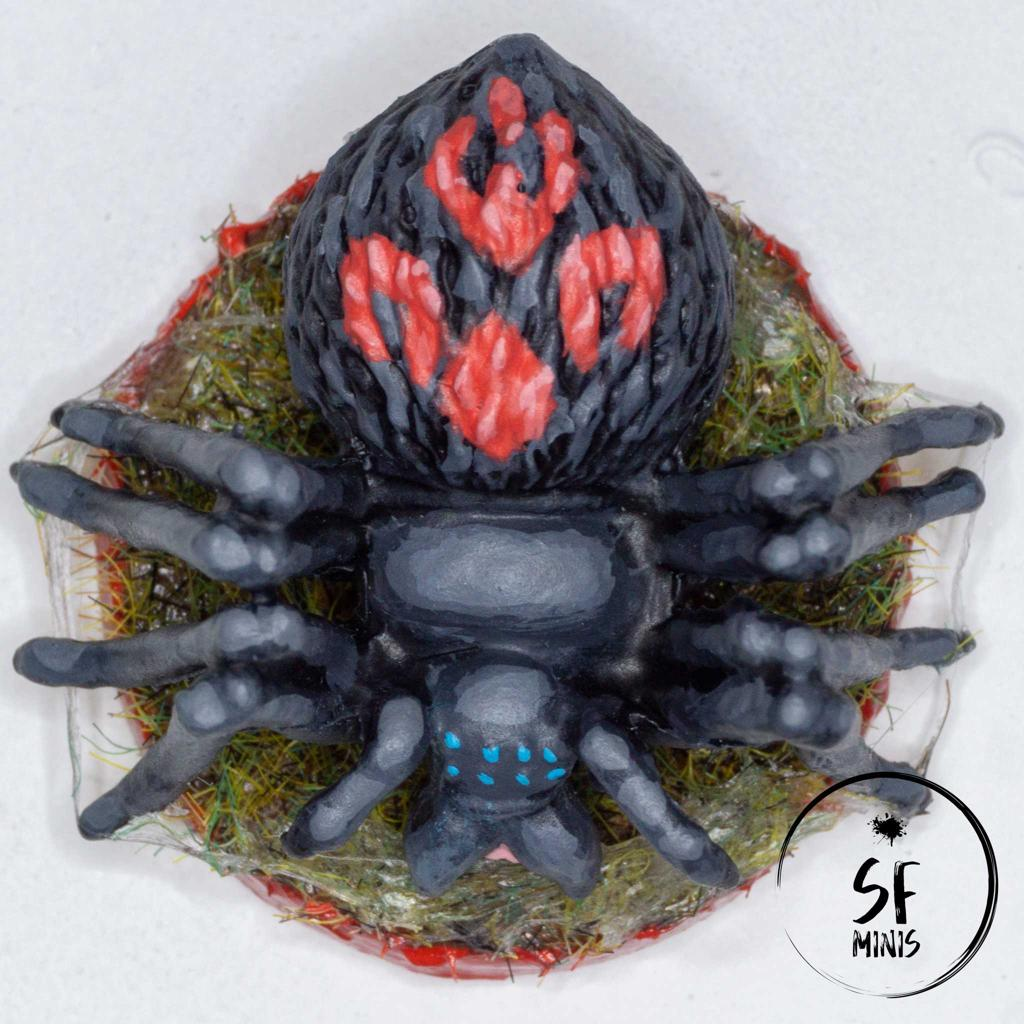
Red markings immediately communicate danger.
They’re particularly effective on black spiders.
Start with dark burgundy.
Paint the basic marking.
Then introduce crimson toward the center.
Add bright red or orange-red to the most exposed sections.
Avoid jumping directly from black to bright red.
The darker transition gives the marking more depth.
You can create hourglass shapes, stripes, spots, or fantasy runes.
For supernatural spiders, the marking can even become slightly luminous.
Painting Spider Eyes
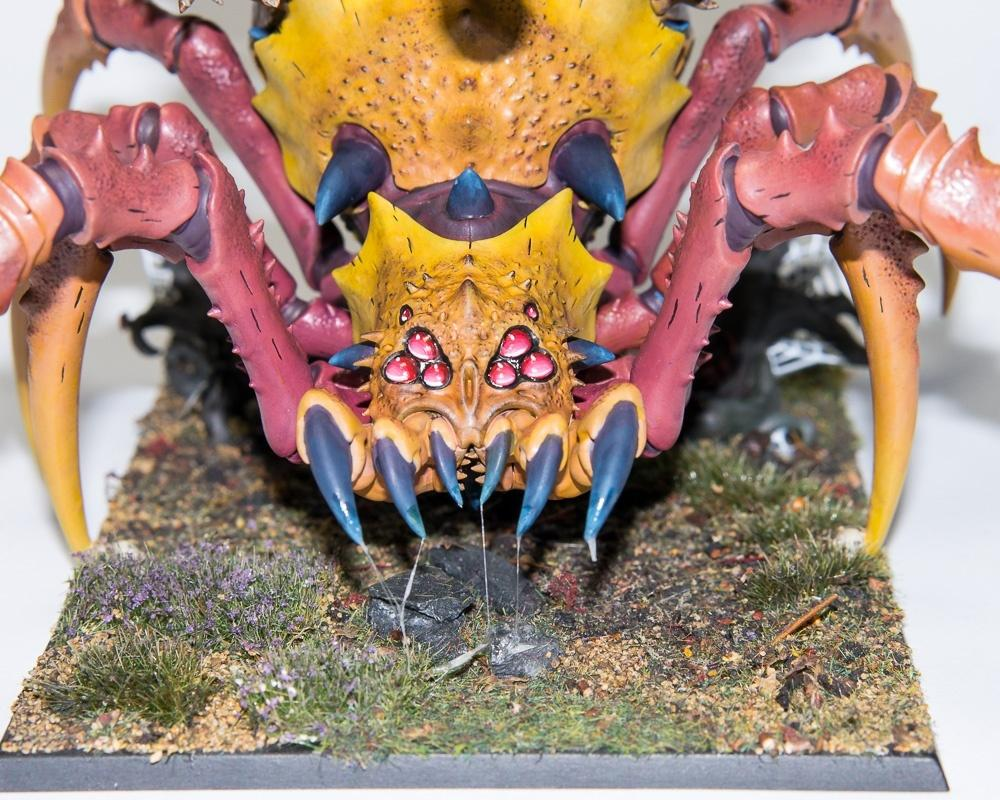
Spider eyes are tiny, but they can become one of the strongest focal points.
Start with black or an extremely dark version of your chosen color.
Then paint a smaller reflection using grey, blue, red, green, or another tone.
Finally, place a tiny white highlight toward one edge.
Keep the highlight position consistent across the eyes.
This creates the illusion that they are all reflecting the same light source.
Gloss varnish can make them look even more reflective.
For fantasy spiders, glowing eyes can use red, green, purple, or cyan.
Painting Spider Fangs
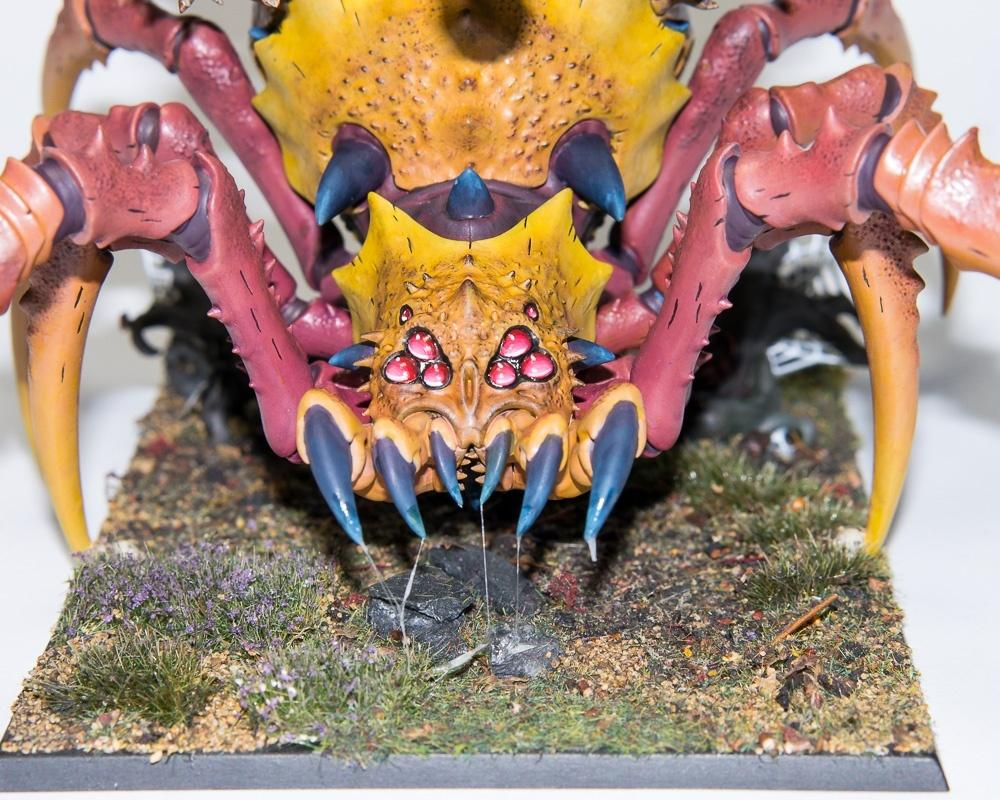
Fangs should appear hard and dangerous.
Start with black-brown.
Introduce dark brown.
Transition toward tan.
Finish the sharpest tip using ivory.
For darker spiders, you can instead use:
Black → Dark Grey → Grey → Pale Grey
Keep the base of the fang darker.
This creates a natural gradient toward the tip.
Small scratches can be added using thin pale lines.
A tiny amount of gloss around the base can suggest moisture from the mouth.
Painting Venom
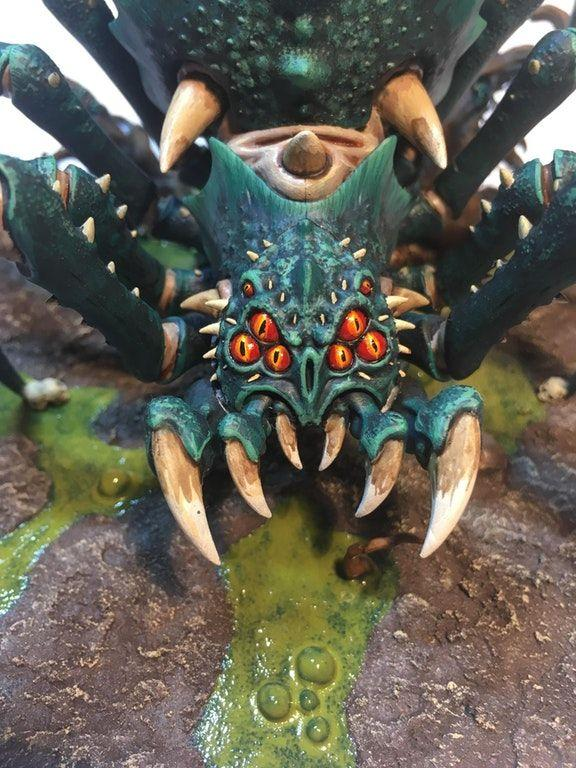
Venom introduces another interesting material.
Bright green is the classic fantasy choice, but yellow, turquoise, purple, or clear venom can also work.
Start with a darker saturated color.
Build toward a brighter version.
Place the brightest highlight where the droplet catches the light.
Then apply gloss varnish.
For toxic green venom:
Dark Green → Emerald → Lime → Yellow-Green
Transparent gel products can create physical droplets hanging from the fangs.
Use them sparingly.
One or two visible droplets are often more effective than covering the entire mouth.
Creating Realistic Spider Webs
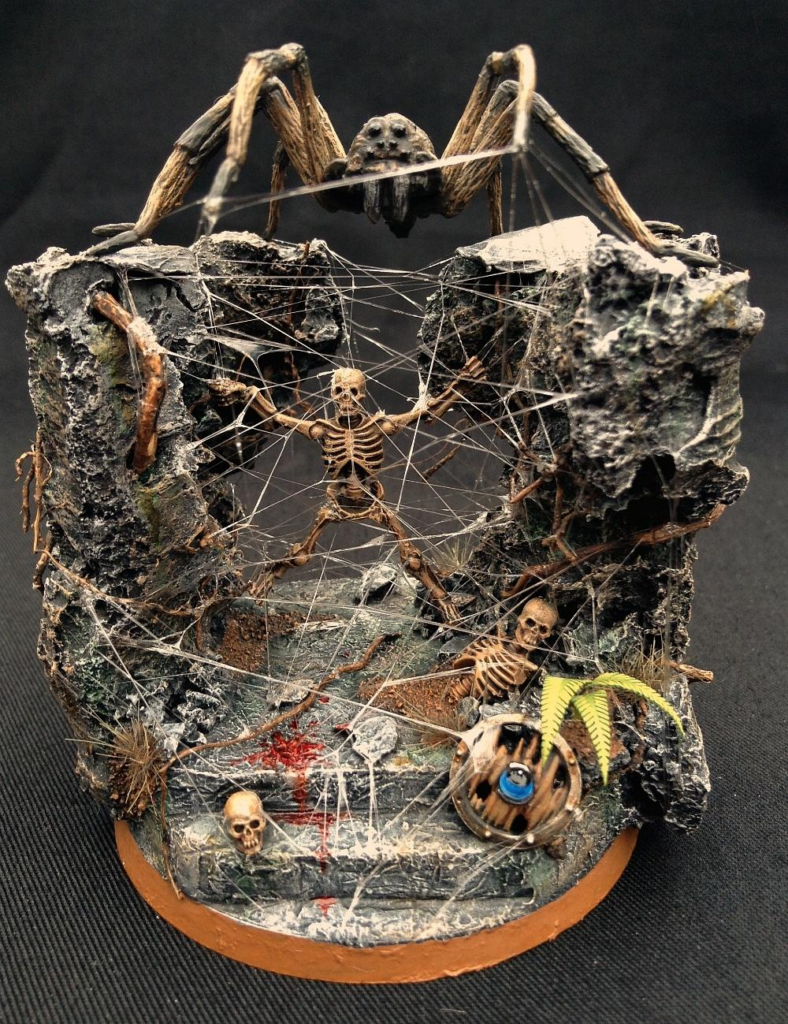
Spider webs are extremely effective but easy to overdo.
The strands need to remain very thin.
Thick white ropes rarely look convincing.
Stretch specialized miniature web material between terrain pieces, legs, branches, rocks, or dungeon structures.
Keep the pattern irregular.
Some strands can be straight.
Others can sag.
Allow a few broken sections.
Real webs aren’t perfectly symmetrical after creatures and adventurers have moved through them.
Avoid completely covering the miniature.
The web should enhance the scene without hiding your paint job.
Painting Webs on Sculpted Miniatures
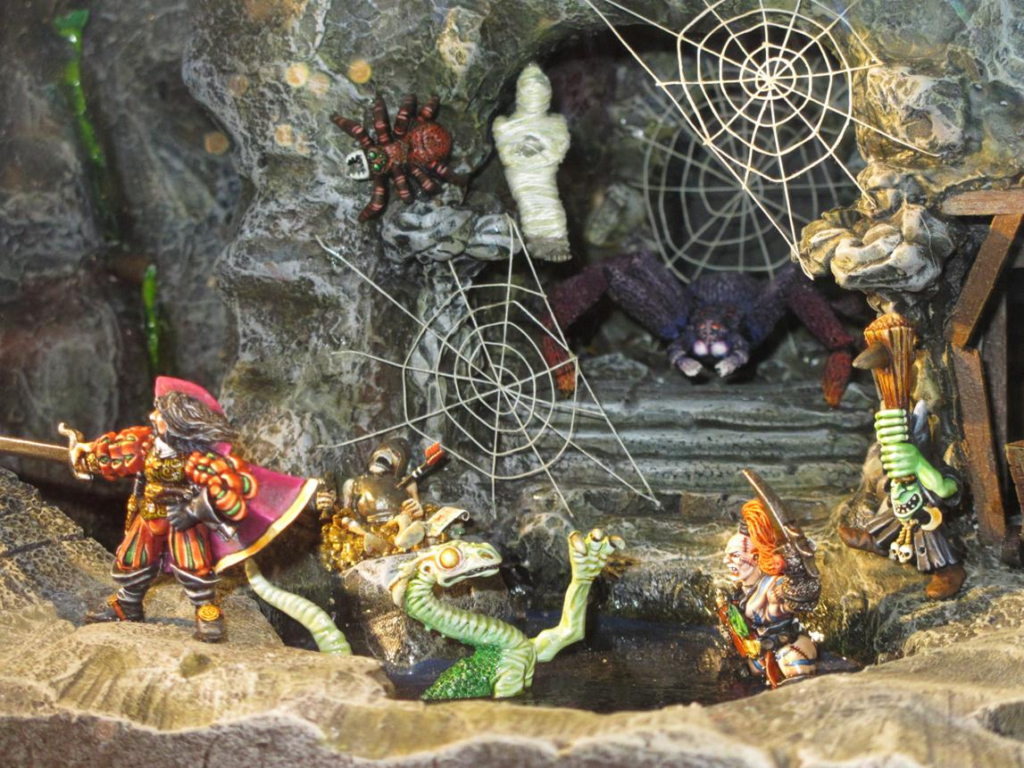
Some miniatures have webs sculpted directly into the model.
Begin with medium grey.
Highlight using light grey.
Finish selected strands with off-white.
Avoid painting every strand pure white.
Keeping darker grey around intersections creates depth.
You can also introduce subtle blue-grey shadows.
For old dungeon webs, add tiny amounts of beige or brown.
For magical webs, use purple, blue, or green glazes.
Selective gloss can make freshly produced webbing appear slightly sticky.
Creating Web-Covered Bases
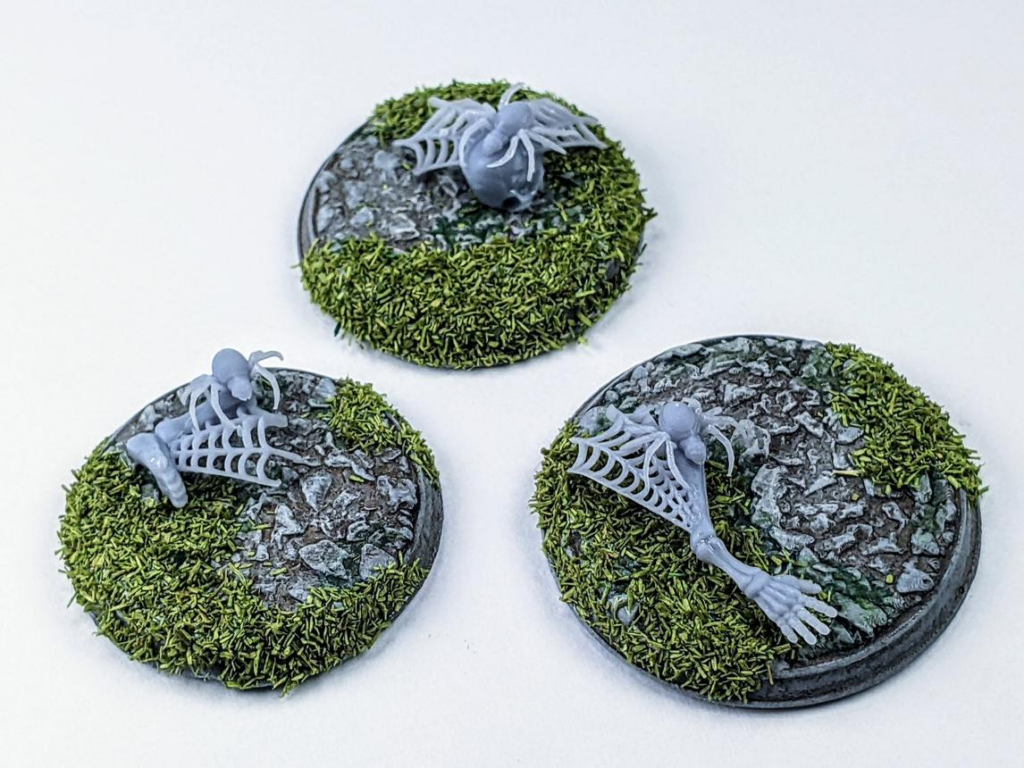
Webs become much more convincing when they interact with the environment.
Stretch strands between rocks.
Connect them to dead branches.
Cover small sections of dungeon walls.
Wrap them around bones or abandoned equipment.
You can even partially trap a skull or weapon inside the web.
Keep the central walking areas somewhat visible.
This prevents the base from becoming visually cluttered.
Small web clusters usually communicate the effect better than one enormous mass.
Painting Spider Eggs and Egg Sacs
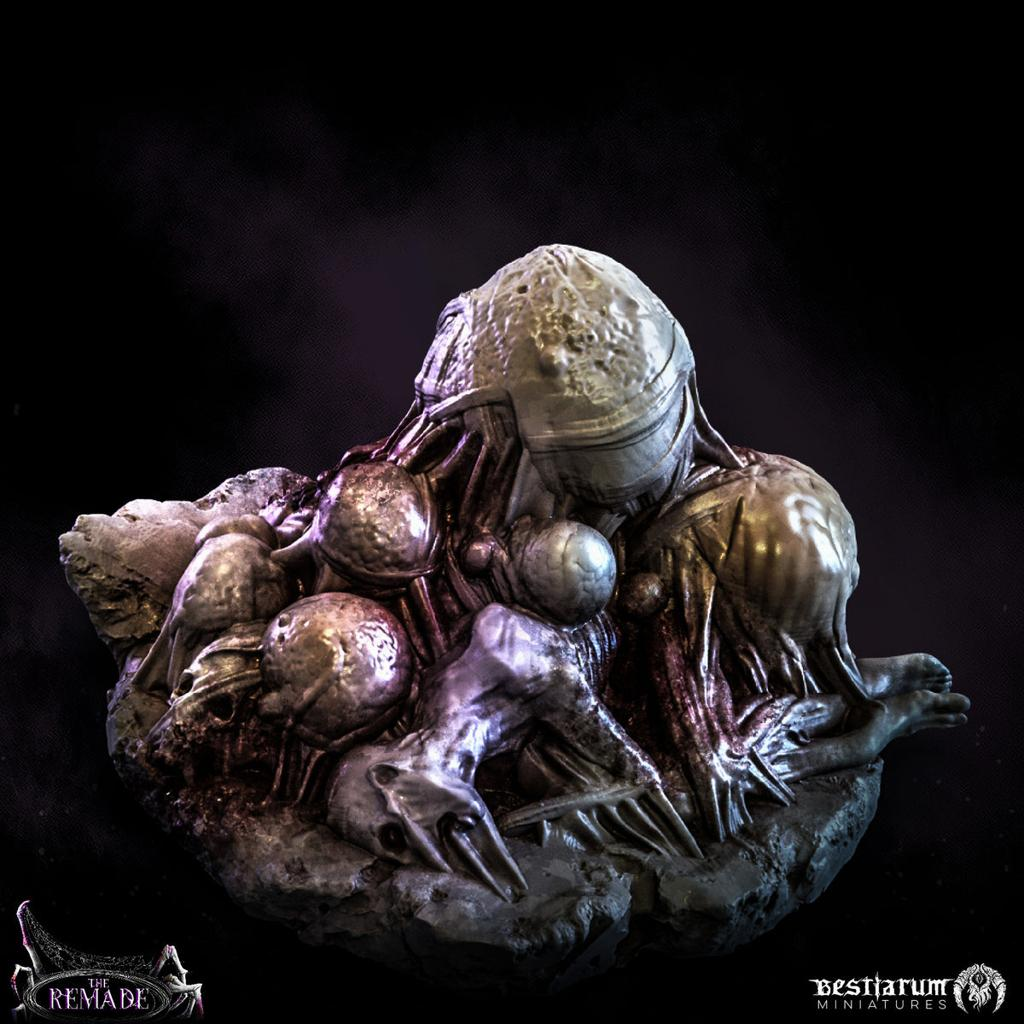
Egg sacs can add disturbing storytelling to a spider base.
Start with grey-beige or pale flesh.
Shade the recesses with grey-brown.
Build toward ivory.
Keep some sections slightly translucent-looking using thin pale glazes.
Individual eggs can be painted with small rounded highlights.
Add thin web strands around the sac.
For corrupted fantasy spiders, the eggs can use pale green, purple, or sickly yellow.
Selective gloss can create a fresh organic appearance.
Painting Magical and Eldritch Spiders
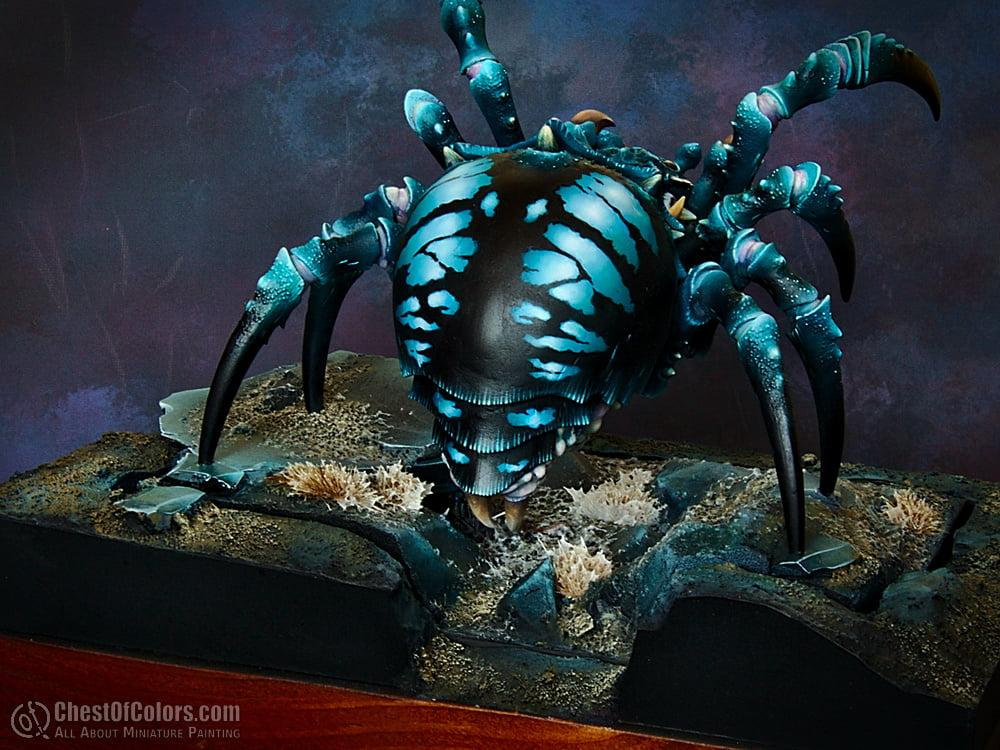
Fantasy spiders don’t need to follow natural biology.
You can create black spiders with glowing purple markings.
Blue spiders can have cyan eyes.
Corrupted spiders might have green venom and exposed pink flesh.
Arcane spiders could contain glowing runes across their abdomen.
The trick is maintaining visual hierarchy.
Keep most of the creature darker.
Then use saturated colors around magical areas.
For glowing effects, transition toward near-white at the center of the light source.
Glaze small amounts of that color onto nearby legs and body surfaces to create OSL.
Creating a Giant Spider Dungeon Base
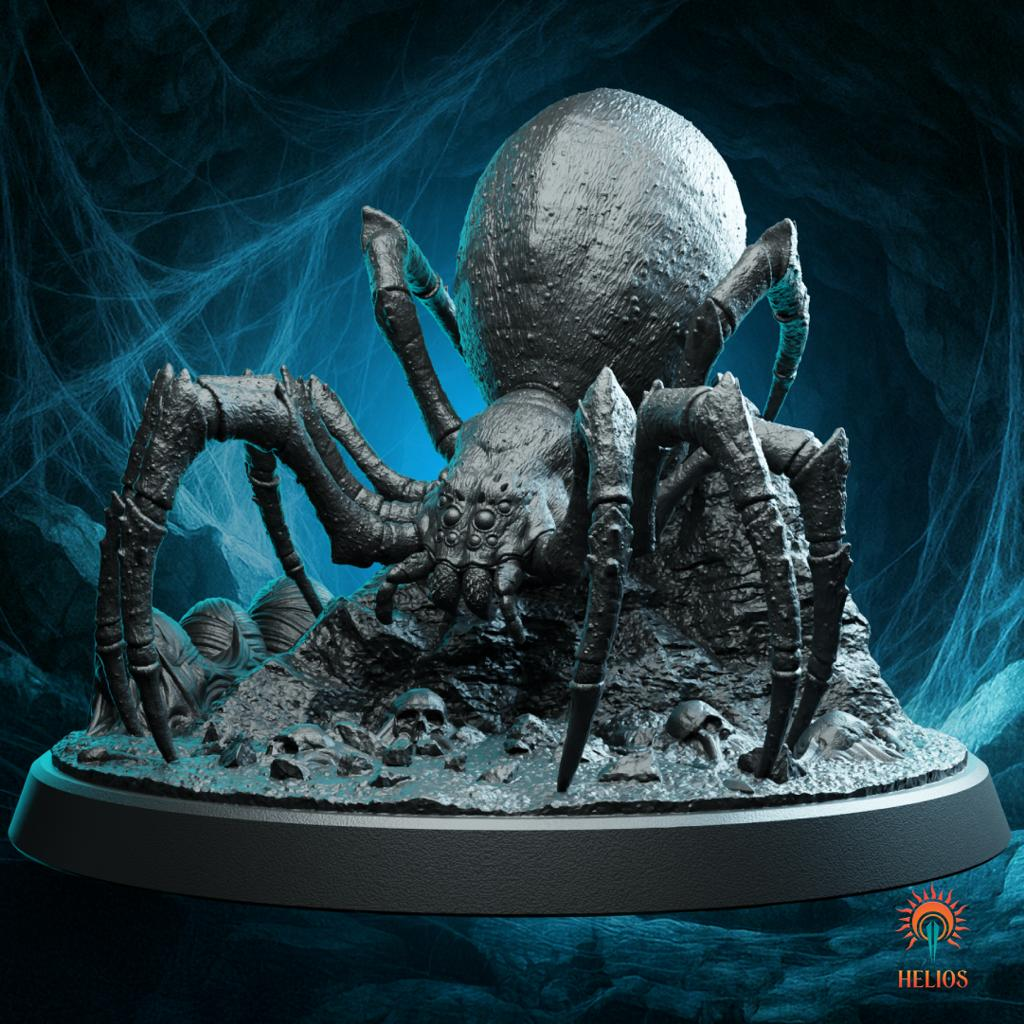
A large spider miniature deserves an environment that tells the same story.
Start with dark stone or cave terrain.
Add bones, broken weapons, rocks, roots, and abandoned equipment.
Then introduce webbing.
Place thicker concentrations near corners and objects.
Add smaller strands connecting different elements.
Spider eggs can appear near protected areas.
Keep the palette dark so the creature remains dominant.
A few pale webs create excellent contrast against black rock.
Small green or purple reflections from venom or magical effects can add atmosphere.
Adding Dirt and Environmental Weathering
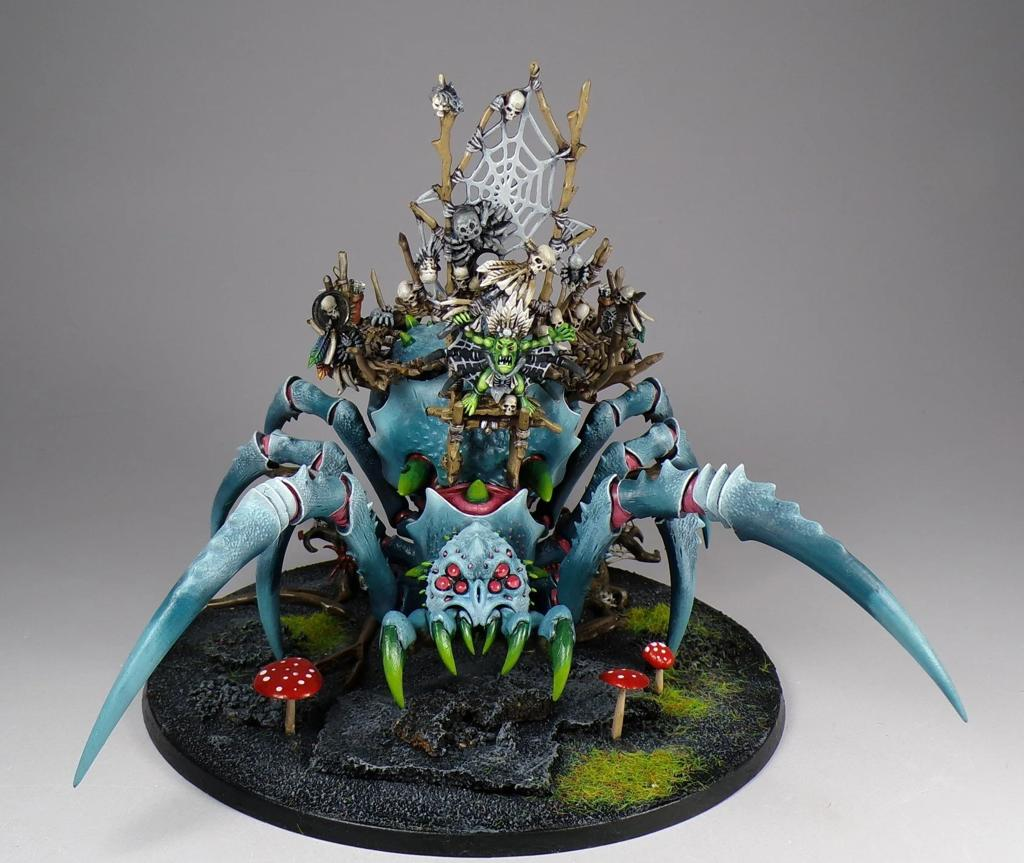
Spiders living in caves, forests, and ruins shouldn’t look perfectly clean.
Apply subtle dirt to the lower legs.
Brown pigments work well in forests.
Grey dust works for caves and ruins.
Green staining can suggest damp environments.
Don’t cover the entire creature.
Environmental weathering should remain strongest near surfaces that physically contact the terrain.
This helps visually connect the spider to its base.
You can also place small pieces of vegetation or debris around the legs.
Common Mistakes When Painting Spider Miniatures
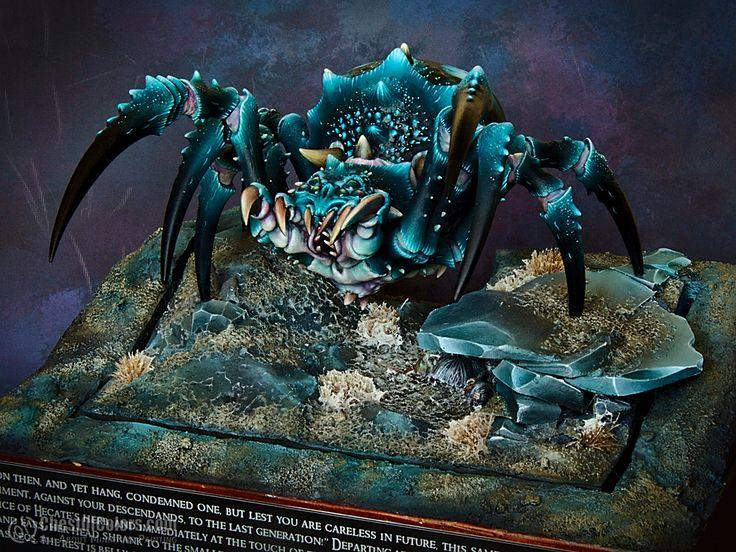
The most common mistake is painting a black spider completely black.
Without lighter reflections, the sculpted details disappear.
Another mistake is treating every leg equally.
The light source should affect which legs receive the strongest highlights.
Avoid making web strands too thick.
Thin webs almost always look more convincing.
Don’t make every marking perfectly symmetrical unless the creature specifically requires it.
Organic patterns benefit from subtle variation.
When painting eyes, keep reflection points consistent.
And when adding venom or moisture, don’t make every surface equally glossy.
Different finishes help separate eyes, skin, hair, fangs, venom, and webbing.
Final Thoughts
Painting a convincing spider miniature requires much more than simply covering it in black paint.
Think about anatomy, segmentation, texture, patterns, reflections, and environmental storytelling.
Use dark colors in the recesses and gradually reveal the shapes with controlled highlights.
Introduce brown, blue, purple, grey, or green into black surfaces.
Use fine strokes for hairy legs.
Keep joints dark to separate segments.
Add patterns to the abdomen when you want stronger visual interest.
Give the eyes sharp reflections.
Make the fangs hard and dangerous.
Use gloss selectively for eyes, venom, and wet mouth areas.
And when creating webs, keep the strands thin and integrate them with the surrounding environment.
These techniques work beautifully for giant spiders, tarantulas, cave spiders, drow creatures, spider demons, corrupted arachnids, undead spiders, and countless other fantasy monsters.
A spider becomes especially memorable when the miniature and its base tell the same story.
Webs stretched across rocks, abandoned weapons, egg sacs, bones, and tiny drops of venom can turn a simple monster into the centerpiece of an entire dungeon scene.
Frequently Asked Questions
What colors should I use to highlight a black spider?
Blue-grey, purple-grey, neutral grey, and even dark green can work. Keep the brightest highlights small so the spider still reads as black.
How do I paint hairy spider legs?
Paint the underlying skin first, then use thin directional strokes with progressively lighter colors to represent individual hairs.
How do I make spider eyes look glossy?
Use a dark base, add a smaller colored reflection, finish with a tiny white highlight, and apply selective gloss varnish.
How do I paint spider venom?
Use a saturated color such as green, build toward a bright yellow-green highlight, and finish with gloss.
What should I use for miniature spider webs?
Specialized miniature web materials work well because they can be stretched into extremely thin strands between terrain elements.
What color should spider webs be?
Grey, light grey, and off-white create realistic webs. Avoid making every strand pure white.
How do I paint a magical spider?
Use a dark main body color with saturated markings, glowing eyes, magical venom, or OSL effects.
How can I make a spider base more interesting?
Add webs, egg sacs, bones, rocks, roots, abandoned equipment, victims, and environmental weathering that fits the creature’s habitat.
If you would like free D&D STL miniatures, visit our homepage and download yours now: