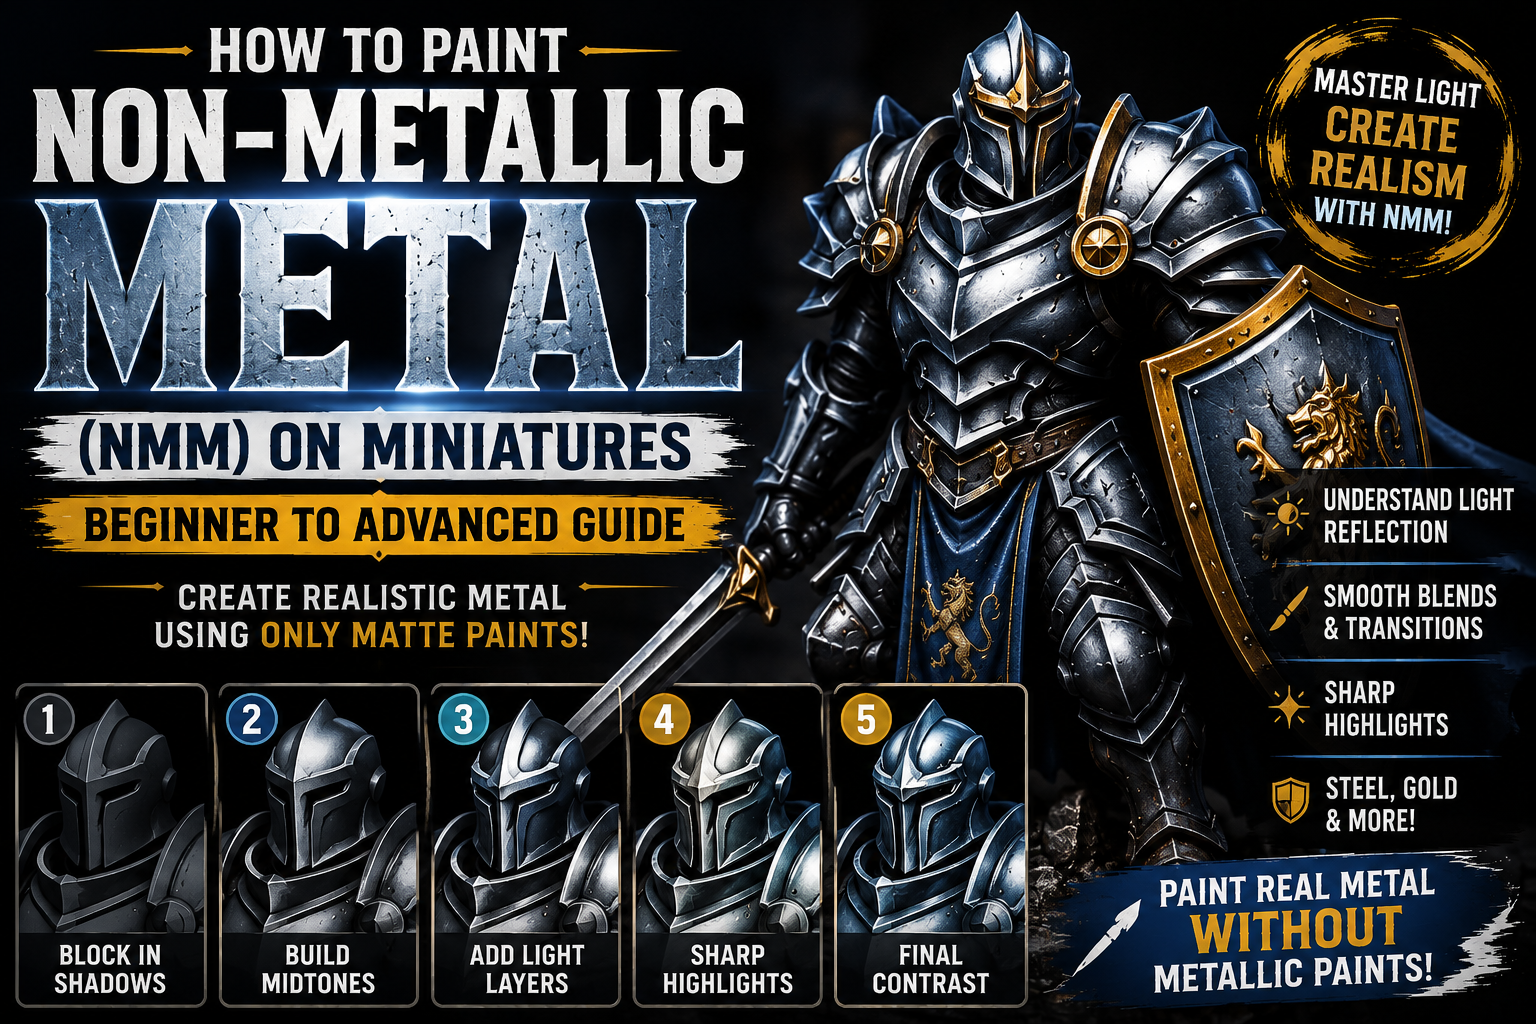
How to Paint Non-Metallic Metal (NMM) on Miniatures (Beginner to Advanced Guide)

Non-Metallic Metal, commonly known as NMM, is one of the most impressive techniques in miniature painting. Instead of using metallic paints, artists create the illusion of polished steel, gold, or bronze using only matte colors and carefully placed highlights.
While it may seem intimidating at first, NMM is based on a simple concept: painting light instead of metal. By controlling contrast, reflections, and smooth color transitions, you can create armor and weapons that appear highly reflective without a single metallic pigment.
Whether you’re painting a heroic paladin, an elven knight, or a legendary sword for your next D&D campaign, mastering NMM will dramatically improve your miniature painting skills.
Understanding Light Reflection

Unlike ordinary surfaces, polished metal reflects its surroundings with extremely high contrast. Bright highlights sit immediately beside very dark shadows, often with only a narrow transition between them.
Before painting, decide where your light source is located. Every reflection on the miniature should follow that same direction. Consistency is far more important than complexity.
Studying photographs of polished steel swords or chrome objects is an excellent way to understand how reflective materials behave.
Choosing the Right Color Palette

For steel NMM, you don’t need metallic paints at all.
A basic palette includes:
- Black
- Dark Grey
- Neutral Grey
- Light Grey
- White
For gold NMM, replace the greys with warm colors such as dark brown, ochre, yellow, ivory, and white.
Using matte paints allows you to control every reflection manually instead of relying on metallic pigments.
Building Smooth Blends

Smooth transitions are the foundation of successful NMM.
Apply thin layers of progressively lighter colors, allowing each one to overlap the previous layer. Rather than jumping directly from black to white, gradually build intermediate tones.
Patience is essential. Several thin coats create a polished appearance, while thick layers often leave visible brush marks that ruin the illusion.
If necessary, use glazing to soften transitions between tones.
Creating Sharp Reflections

Once the blends are complete, add the brightest reflections.
Use pure white sparingly on the sharpest edges, corners, and points where light naturally strikes the surface. These tiny highlights are what convince the eye that the material is reflective metal.
Keep them thin and precise. Too many bright highlights will make the miniature look chalky instead of metallic.
Painting Steel Armor

Large armor plates should display clear transitions from dark to light. Curved shoulder pads, breastplates, and helmets often benefit from bold reflections that follow their shape.
Keep recessed areas almost black while allowing raised surfaces to transition rapidly toward light grey and white.
Every armor panel should have its own reflection pattern based on its angle relative to the light source.
Painting Gold Using NMM

Gold follows the same principles as steel but uses warmer colors.
Begin with dark brown before layering ochre, rich yellow, ivory, and finally small white highlights. Maintaining strong shadows is essential because contrast creates the illusion of polished gold.
Tiny reflections placed along decorative edges make ornate armor, crowns, and magical relics stand out dramatically.
Common NMM Mistakes

Many beginners struggle because they avoid enough contrast.
Common mistakes include:
- Using too many midtones.
- Weak shadows.
- Oversized white highlights.
- Inconsistent light direction.
- Rough blends.
- Rushing between layers.
Most NMM problems can be solved simply by increasing contrast and improving the smoothness of transitions.
Practicing NMM Efficiently

Don’t begin with an entire knight covered in armor.
Instead, practice on simple objects like swords, axes, shields, helmets, or small armor plates. These surfaces allow you to understand reflections without becoming overwhelmed.
As your confidence grows, move on to larger characters with more complex armor and decorative details.
Consistent practice is the fastest path toward mastering Non-Metallic Metal.
Final Thoughts
Non-Metallic Metal is less about advanced brushwork and more about understanding light. By carefully placing deep shadows, smooth transitions, and crisp highlights, you can create stunning illusions of polished steel and gold using only matte paints.
At first, the process may seem slow, but each miniature teaches you how reflections behave. Over time, you’ll develop an instinct for light placement, allowing your fantasy heroes, weapons, and armor to look increasingly realistic without ever opening a bottle of metallic paint.
Frequently Asked Questions
What does NMM mean?
NMM stands for Non-Metallic Metal, a painting technique that simulates reflective metal using matte paints.
Is NMM better than metallic paints?
Neither is better. Metallic paints are faster for tabletop miniatures, while NMM offers greater artistic control and is popular in display painting.
Is NMM difficult to learn?
It requires practice, but understanding light placement is more important than having advanced brush skills.
Which miniature should I practice on first?
Swords, shields, helmets, and simple armor pieces are excellent starting points before attempting full characters.
Can beginners learn NMM?
Absolutely. Starting with small projects and focusing on smooth blends makes the learning process much easier.
If you would like free D&D STL miniatures, visit our homepage and download yours now:https://echoartstudios.net/