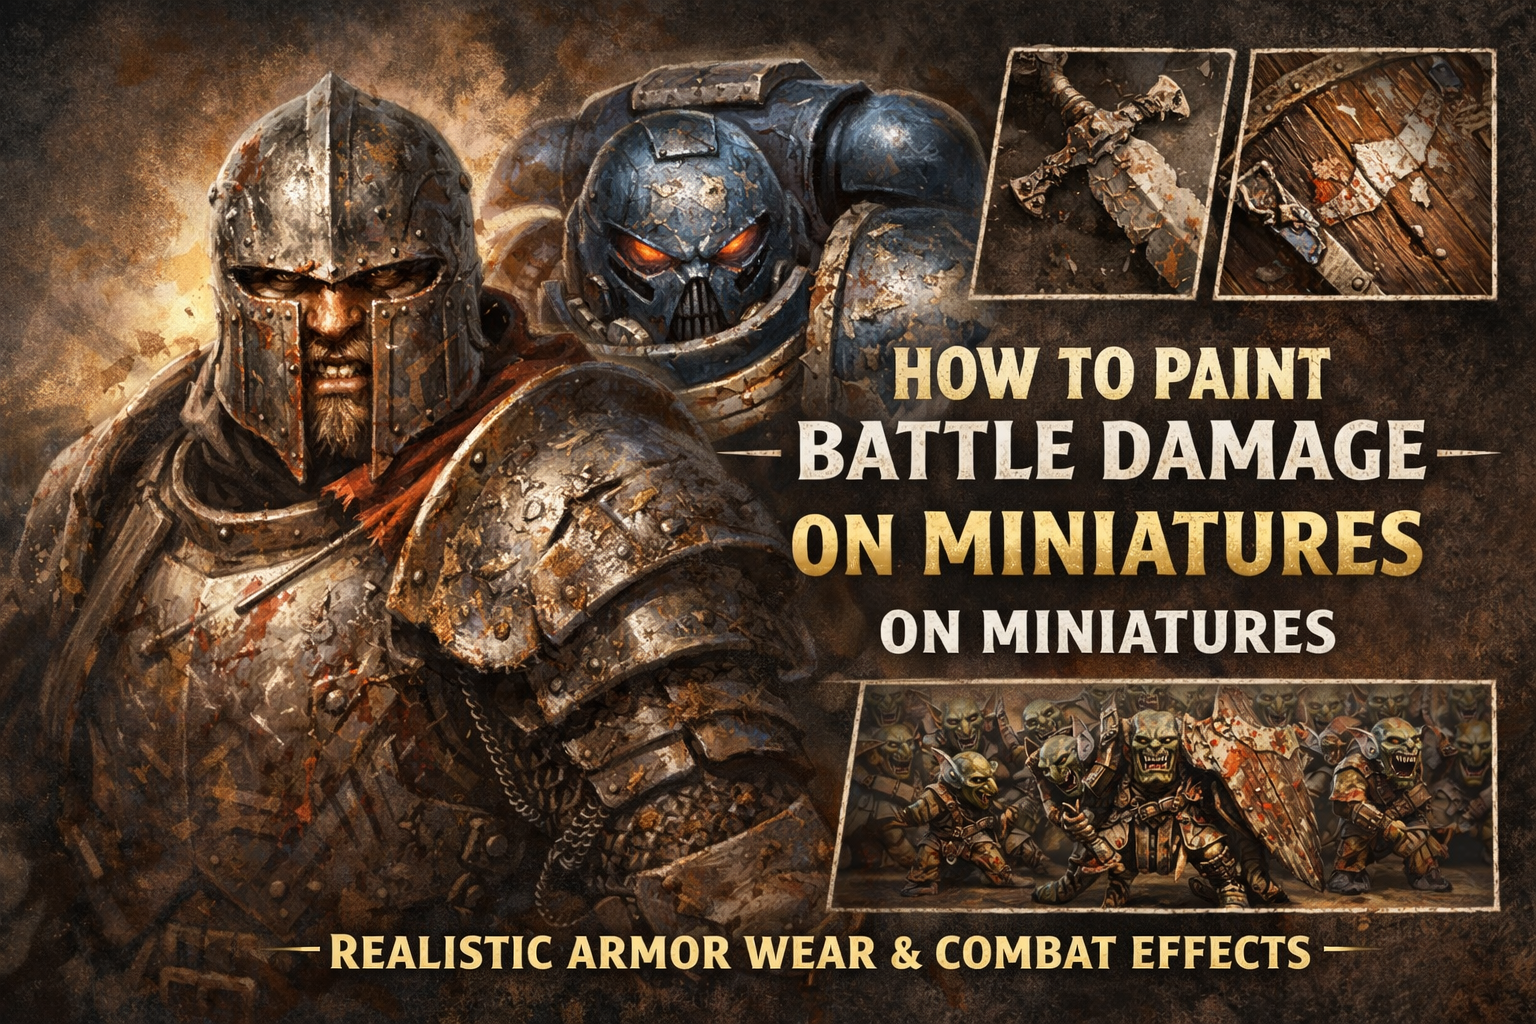
How to Paint Battle Damage on Miniatures (Realistic Armor Wear and Combat Effects)
Painting battle damage on miniatures is one of the best ways to bring realism and storytelling to your models. Whether you’re painting a hardened Warhammer 40K warrior, a battle-scarred barbarian, or a veteran knight for your Dungeons & Dragons campaign, armor that looks worn and damaged tells a story of countless battles.
Perfect armor often looks artificial on the tabletop. Realistic miniatures benefit from subtle scratches, chipped edges, weathered metal, and worn surfaces. These small details create the impression that the character has survived many battles.
In this guide, you will learn professional techniques used by miniature painters to create convincing battle damage effects on armor, shields, and weapons. These methods work perfectly for D&D miniatures, Warhammer armies, and display-level figures.
Why Battle Damage Makes Miniatures Look More Realistic

Real armor used in combat rarely looks perfect. Over time it develops:
- Scratches from weapons
- Dents from heavy impacts
- Worn edges from constant movement
- Dirt and grime from the battlefield
When these details are added to a miniature, the model instantly becomes more believable.
Battle damage also helps emphasize the personality of the character.
For example:
- A knight may have precise sword scratches on armor plates.
- A barbarian might have deep axe marks on shields.
- A veteran soldier may have chipped paint and worn metal.
These storytelling details are what separate basic tabletop paint jobs from truly immersive miniatures.
If you enjoy painting gritty fantasy warriors, many of these techniques pair well with rugged models like those in winter campaigns. Our tutorial on painting Viking warriors for snowy environments explores similar realism techniques:
https://echoartstudios.net/how-to-paint-viking-miniatures-for-a-winter-themed-campaign
Understanding Where Battle Damage Happens

4
One of the most important aspects of painting battle damage is placement.
Damage should appear in logical areas.
Common Damage Locations
Armor edges
Edges receive the most wear because they rub against surfaces and weapons.
Shoulder plates
These areas are exposed during combat.
Shields
Shields often show deep scratches and chipped paint from blocking attacks.
Weapons
Swords, axes, and spears accumulate nicks and worn metal.
Areas That Usually Stay Clean
- Deep recesses
- Inner armor plates
- Protected surfaces
Keeping damage in realistic locations makes the miniature feel more authentic.
Step-by-Step Guide to Painting Armor Scratches

One of the easiest and most effective battle damage techniques is painting scratches.
Step 1 – Paint a Dark Line
Using a fine brush, paint a thin dark line.
Good colors include:
- Dark brown
- Dark grey
- Black
This line represents the depth of the scratch.
Step 2 – Add a Highlight Edge
Next, paint a thin light line just below the dark line.
Use:
- Silver
- Light grey
- Bright steel
This simulates light reflecting off the damaged edge.
Step 3 – Vary the Scratch Length
Make some scratches:
- Long and thin
- Short and shallow
- Slightly curved
Avoid making them all identical.
Natural randomness makes the effect convincing.
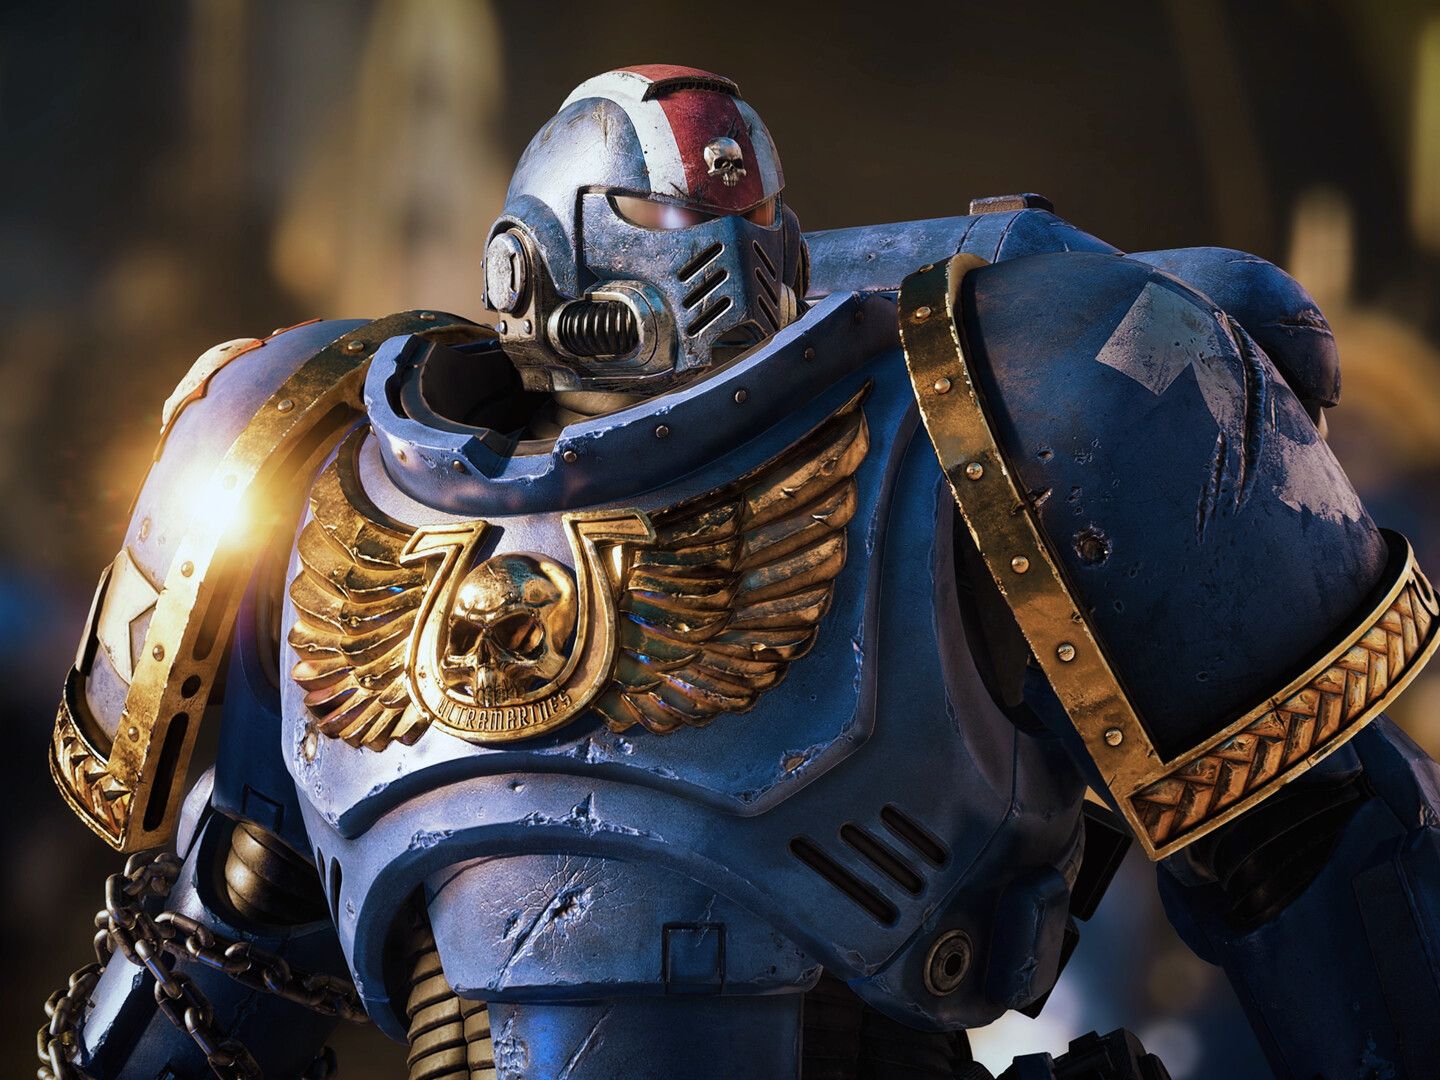
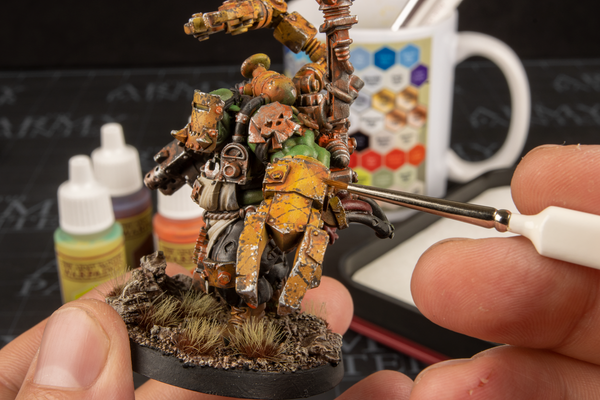
Creating Chipped Paint on Armor
Chipped paint is especially effective for Warhammer armor and painted shields.
Sponge Technique
This method is widely used by professional miniature painters.
Step 1
Take a small piece of sponge.
Step 2
Dip it lightly into dark brown paint.
Step 3
Remove excess paint on paper.
Step 4
Gently dab the sponge on armor edges.
This creates natural-looking chipped paint.
Adding Metal Highlights
To make the chip look deeper:
- Paint a small dark chip.
- Add a tiny silver highlight underneath.
This creates a three-dimensional illusion.
Painting Deep Weapon Damage

Weapons often show deeper damage than armor.
Blade Nicks
Use a small brush to paint tiny triangular shapes along the blade edge.
Then highlight the lower edge with silver.
This simulates chipped metal.
Worn Edges
Lightly drybrush the blade with bright metallic paint.
Focus on the cutting edge.
This creates a polished steel effect where the weapon has been used repeatedly.
Dark Wash for Depth
Apply a thin black or brown wash to deepen shadows and add grime.
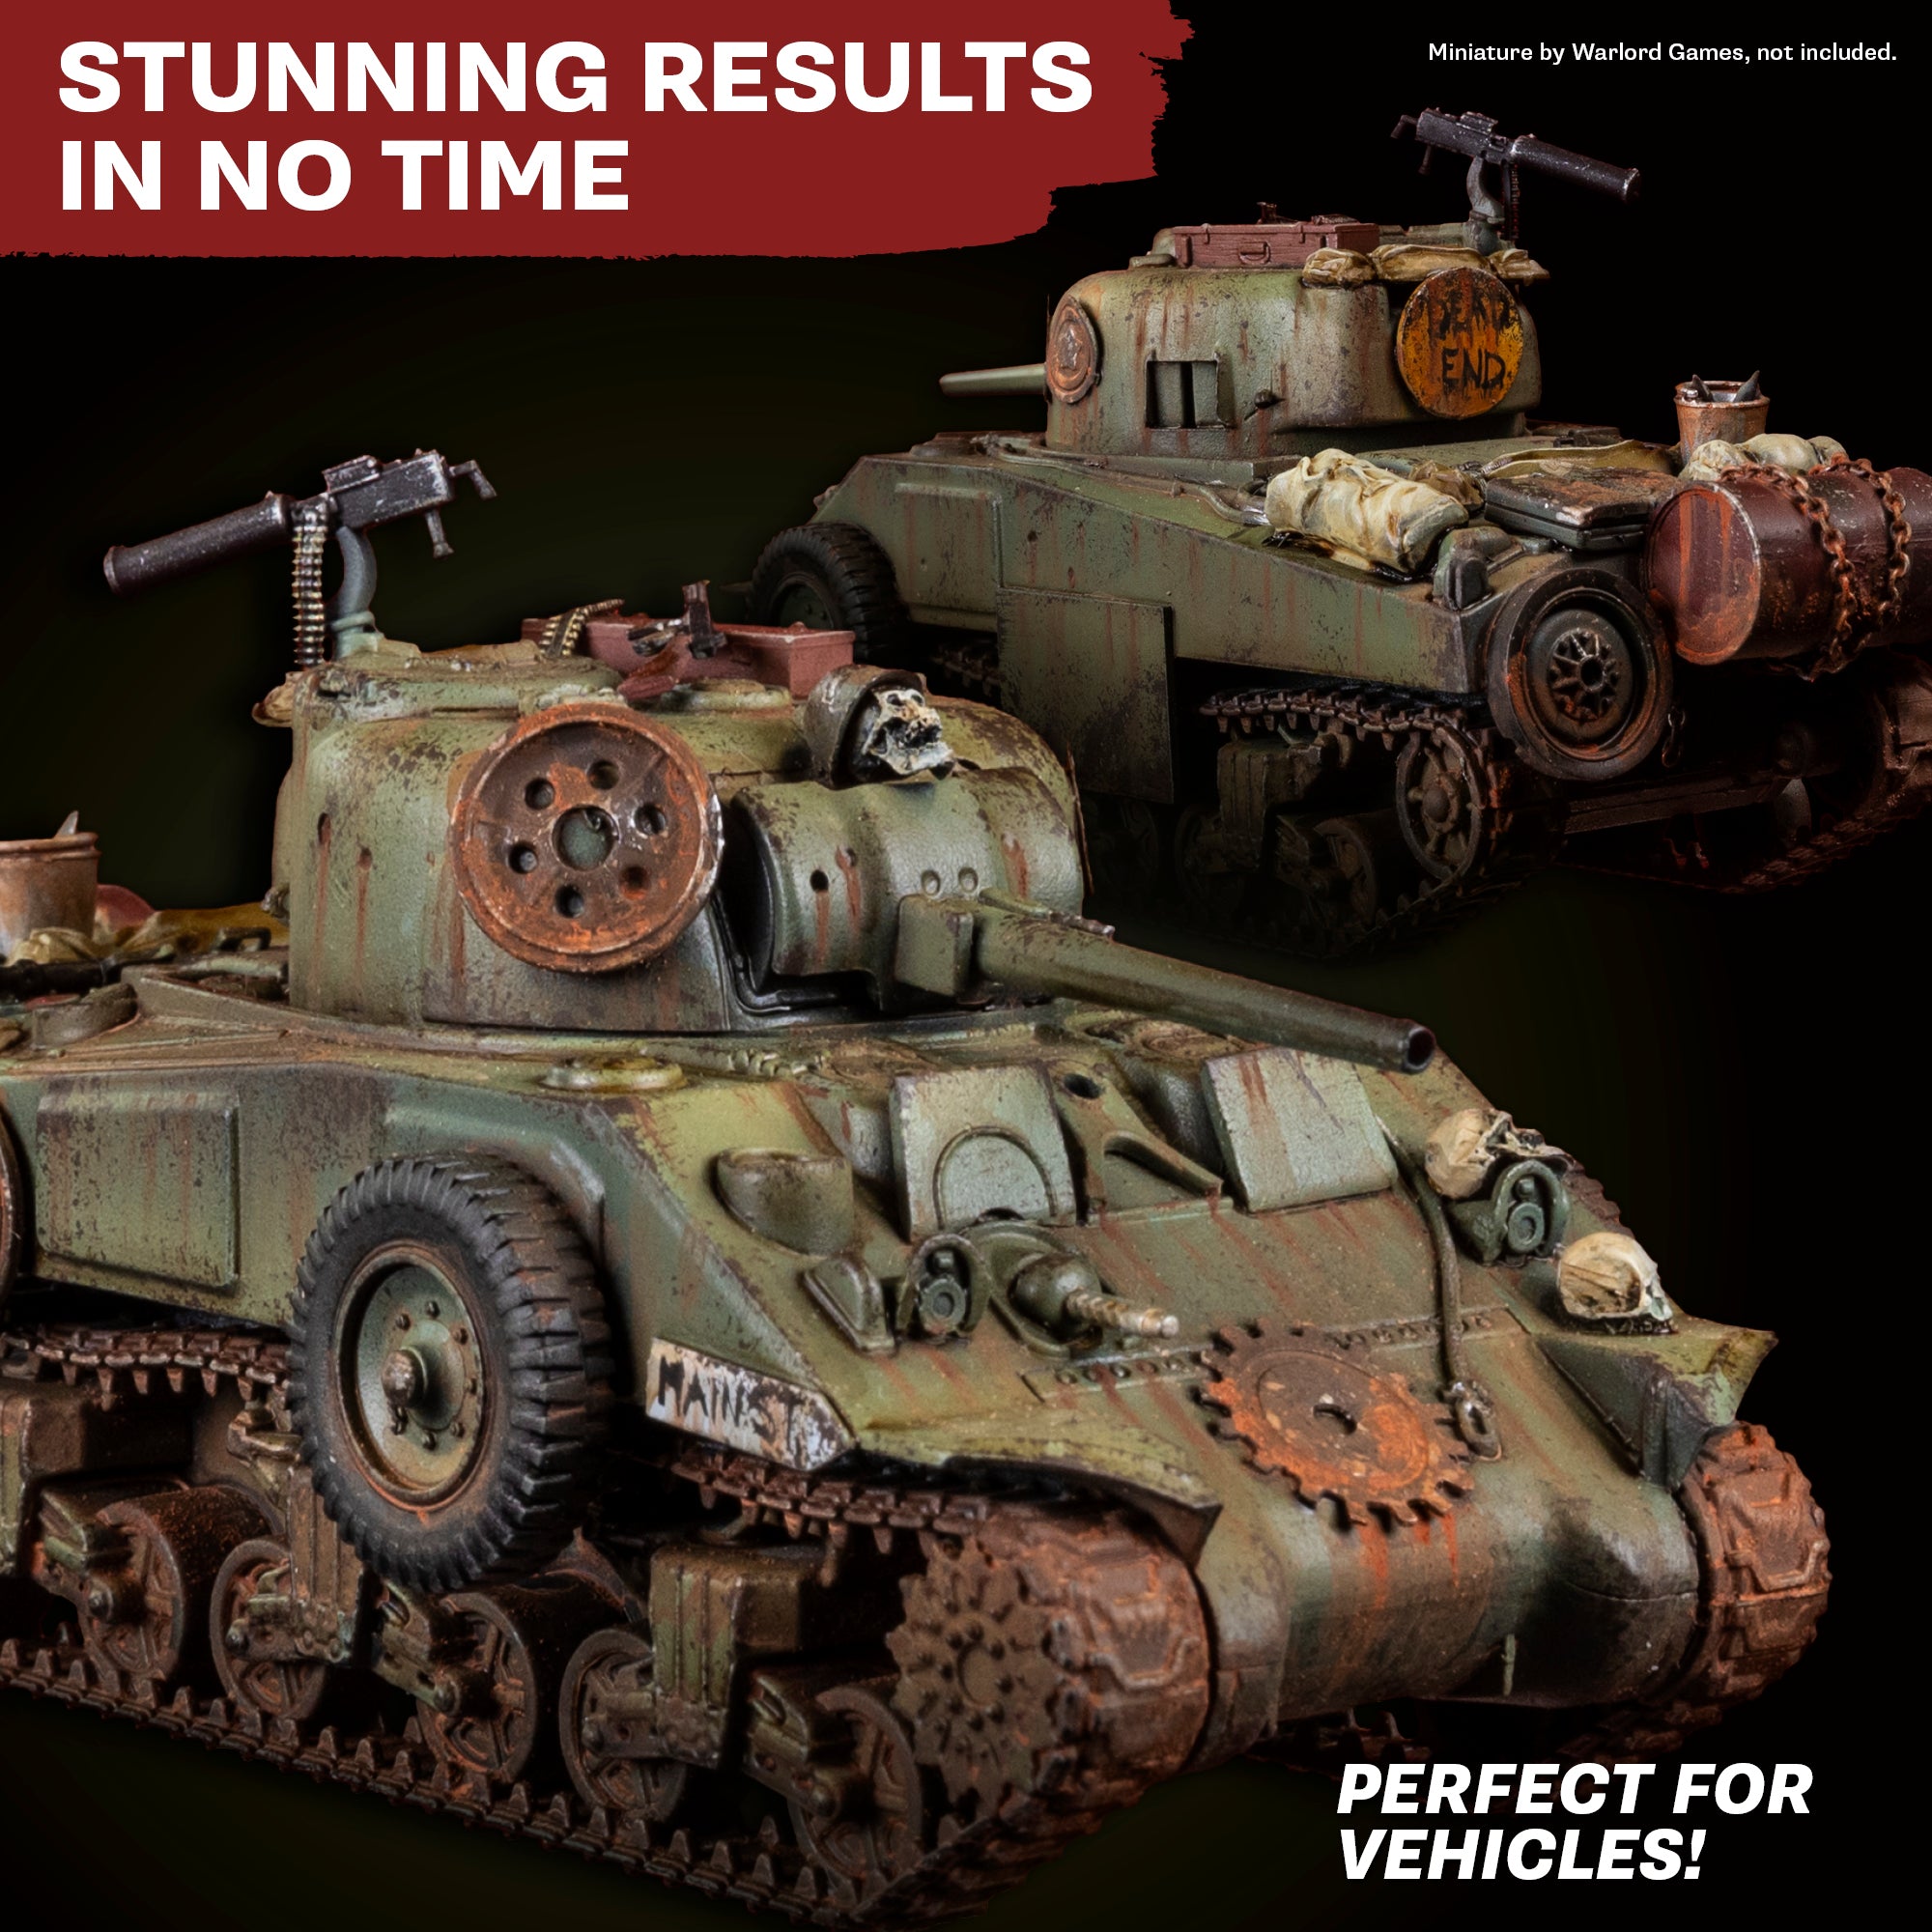
Advanced Weathering Techniques
Once you’re comfortable with basic damage effects, you can push realism further.
Rust Effects
Add rust using:
- Orange
- Brown
- Dark red
Apply these colors in tiny stippled patches.
Dirt and Grime
Use brown washes around armor joints.
This simulates accumulated dirt.
Color Variation
Add subtle glazes of:
- Blue
- Purple
- Brown
These colors mimic oxidized metal and natural wear.
If you want to push your miniature painting even further, you can explore professional-level techniques in this guide on advanced Warhammer miniature painting methods:
https://echoartstudios.net/advanced-techniques-for-painting-warhammer-40000-miniatures-from-intermediate-to-professional-level
Battle Damage for Large Armies
When painting a full army, speed becomes important.
Instead of individually painting every scratch, use batch weathering techniques.
Quick Battle Damage Method
- Sponge dark brown chipping
- Apply quick silver edge highlights
- Use dark wash for grime
This method creates convincing battle damage quickly.
For players painting large Warhammer forces, efficient techniques like these are essential. You can explore faster workflows in this guide on speed painting Warhammer armies:
https://echoartstudios.net/speed-painting-warhammer-40000-miniatures-paint-armies-fast-without-losing-quality
Common Mistakes When Painting Battle Damage
Even experienced painters sometimes overdo battle damage.
Here are mistakes to avoid.
Too Much Damage
If every surface is damaged, the miniature loses realism.
Focus on edges and exposed areas.
Identical Scratches
Natural damage is random.
Vary size and direction.
Ignoring Lighting
Always place highlights where light would naturally reflect.
Skipping Shadows
Every chip or scratch should have a darker base.
This creates depth.
Final Thoughts
Battle damage is one of the most powerful techniques for adding realism to miniatures. Even simple scratches, chipped paint, and worn edges can dramatically improve the visual impact of a model.
Whether you’re painting a single D&D hero or an entire Warhammer army, these techniques help bring your miniatures to life by telling the story of past battles.
Start with simple scratches and chipped edges, then experiment with rust, grime, and weathering. With practice, you will be able to create miniatures that look like they have truly fought their way across countless battlefields.
If you would like free D&D STL miniatures, visit our homepage and download yours now:
https://echoartstudios.net/