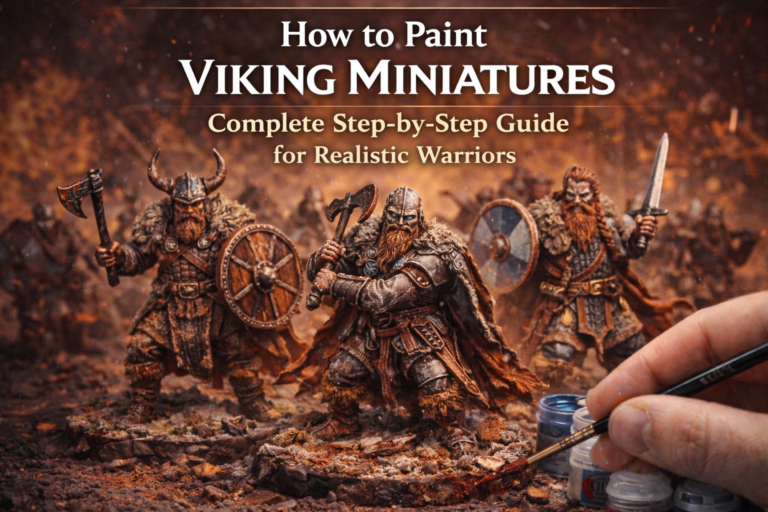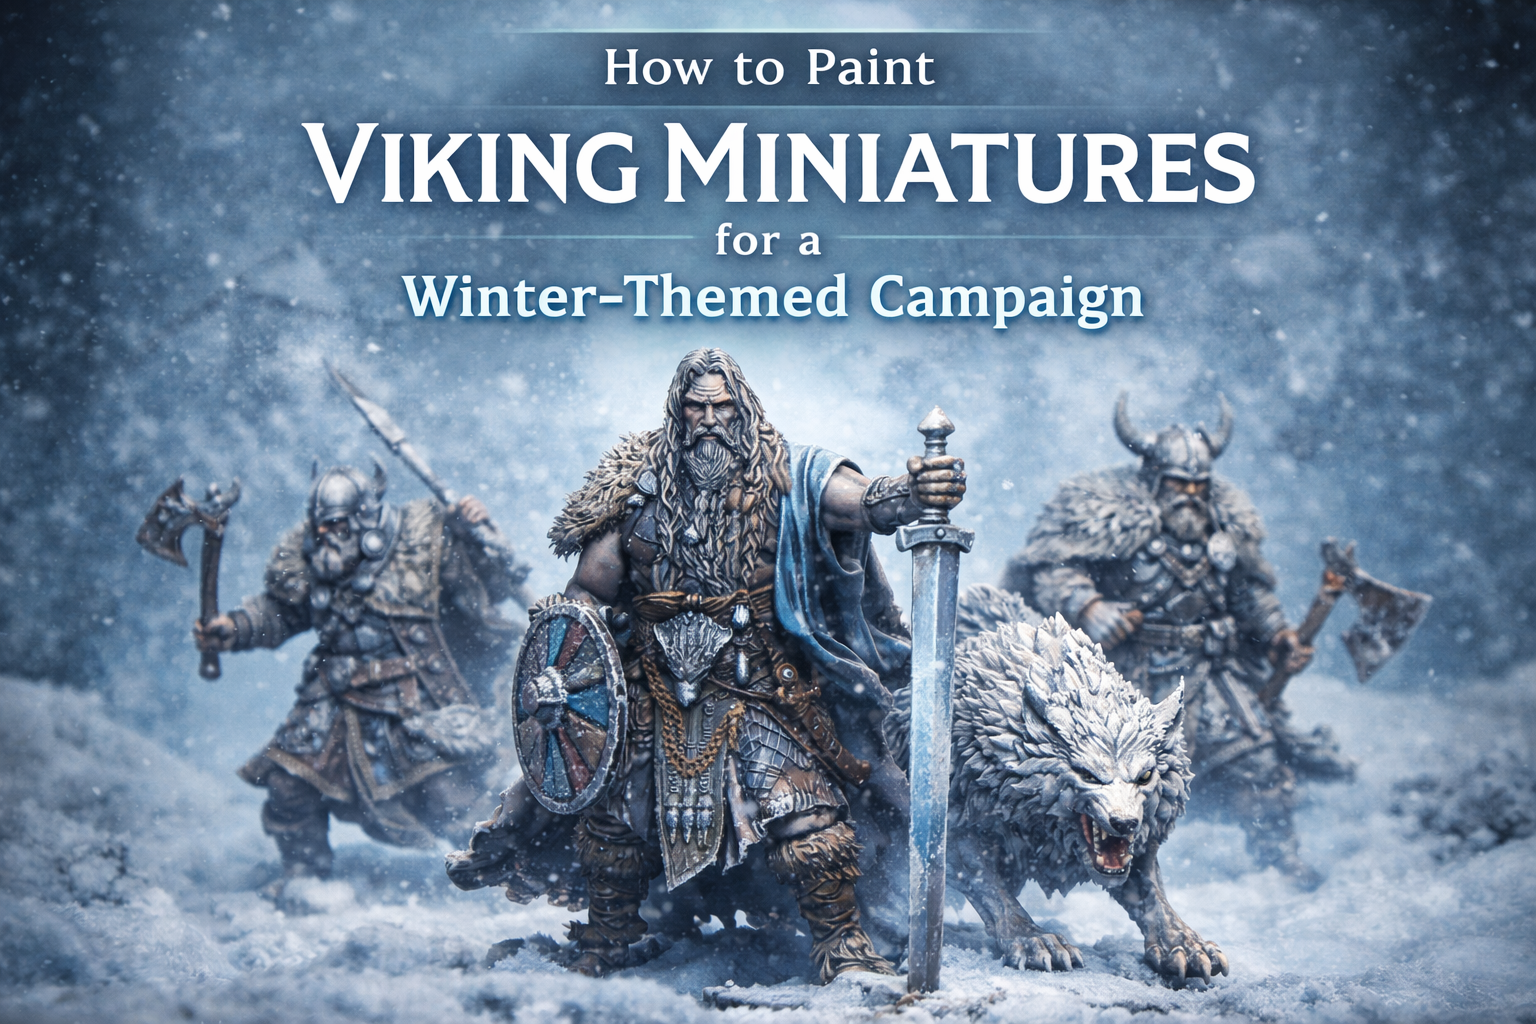
How to Paint Viking Miniatures for a Winter-Themed Campaign
Painting Viking miniatures for a winter-themed campaign requires more than just metallic armor and brown leather. When you’re building a frozen battlefield — whether for a narrative RPG, a skirmish game, or a large-scale wargame — your paint scheme must reflect harsh climates, survival, brutality, and the atmosphere of the North
In this complete guide, you’ll learn how to paint Viking miniatures with realistic cold-weather effects, dramatic contrast, and cohesive army identity, while keeping your workflow efficient and repeatable.
Understanding the visual identity of winter Vikings
Before picking up a brush, you need a clear visual direction.
Winter Vikings should feel:
- Rugged and battle-worn
- Exposed to harsh climates
- Layered in fur, leather, and iron
- Covered in frost, snow, and weathering
The color palette should reflect cold environments: muted blues, greys, desaturated browns, bone tones, and steel.
Avoid overly vibrant colors unless used intentionally for focal points like shields or cloaks.
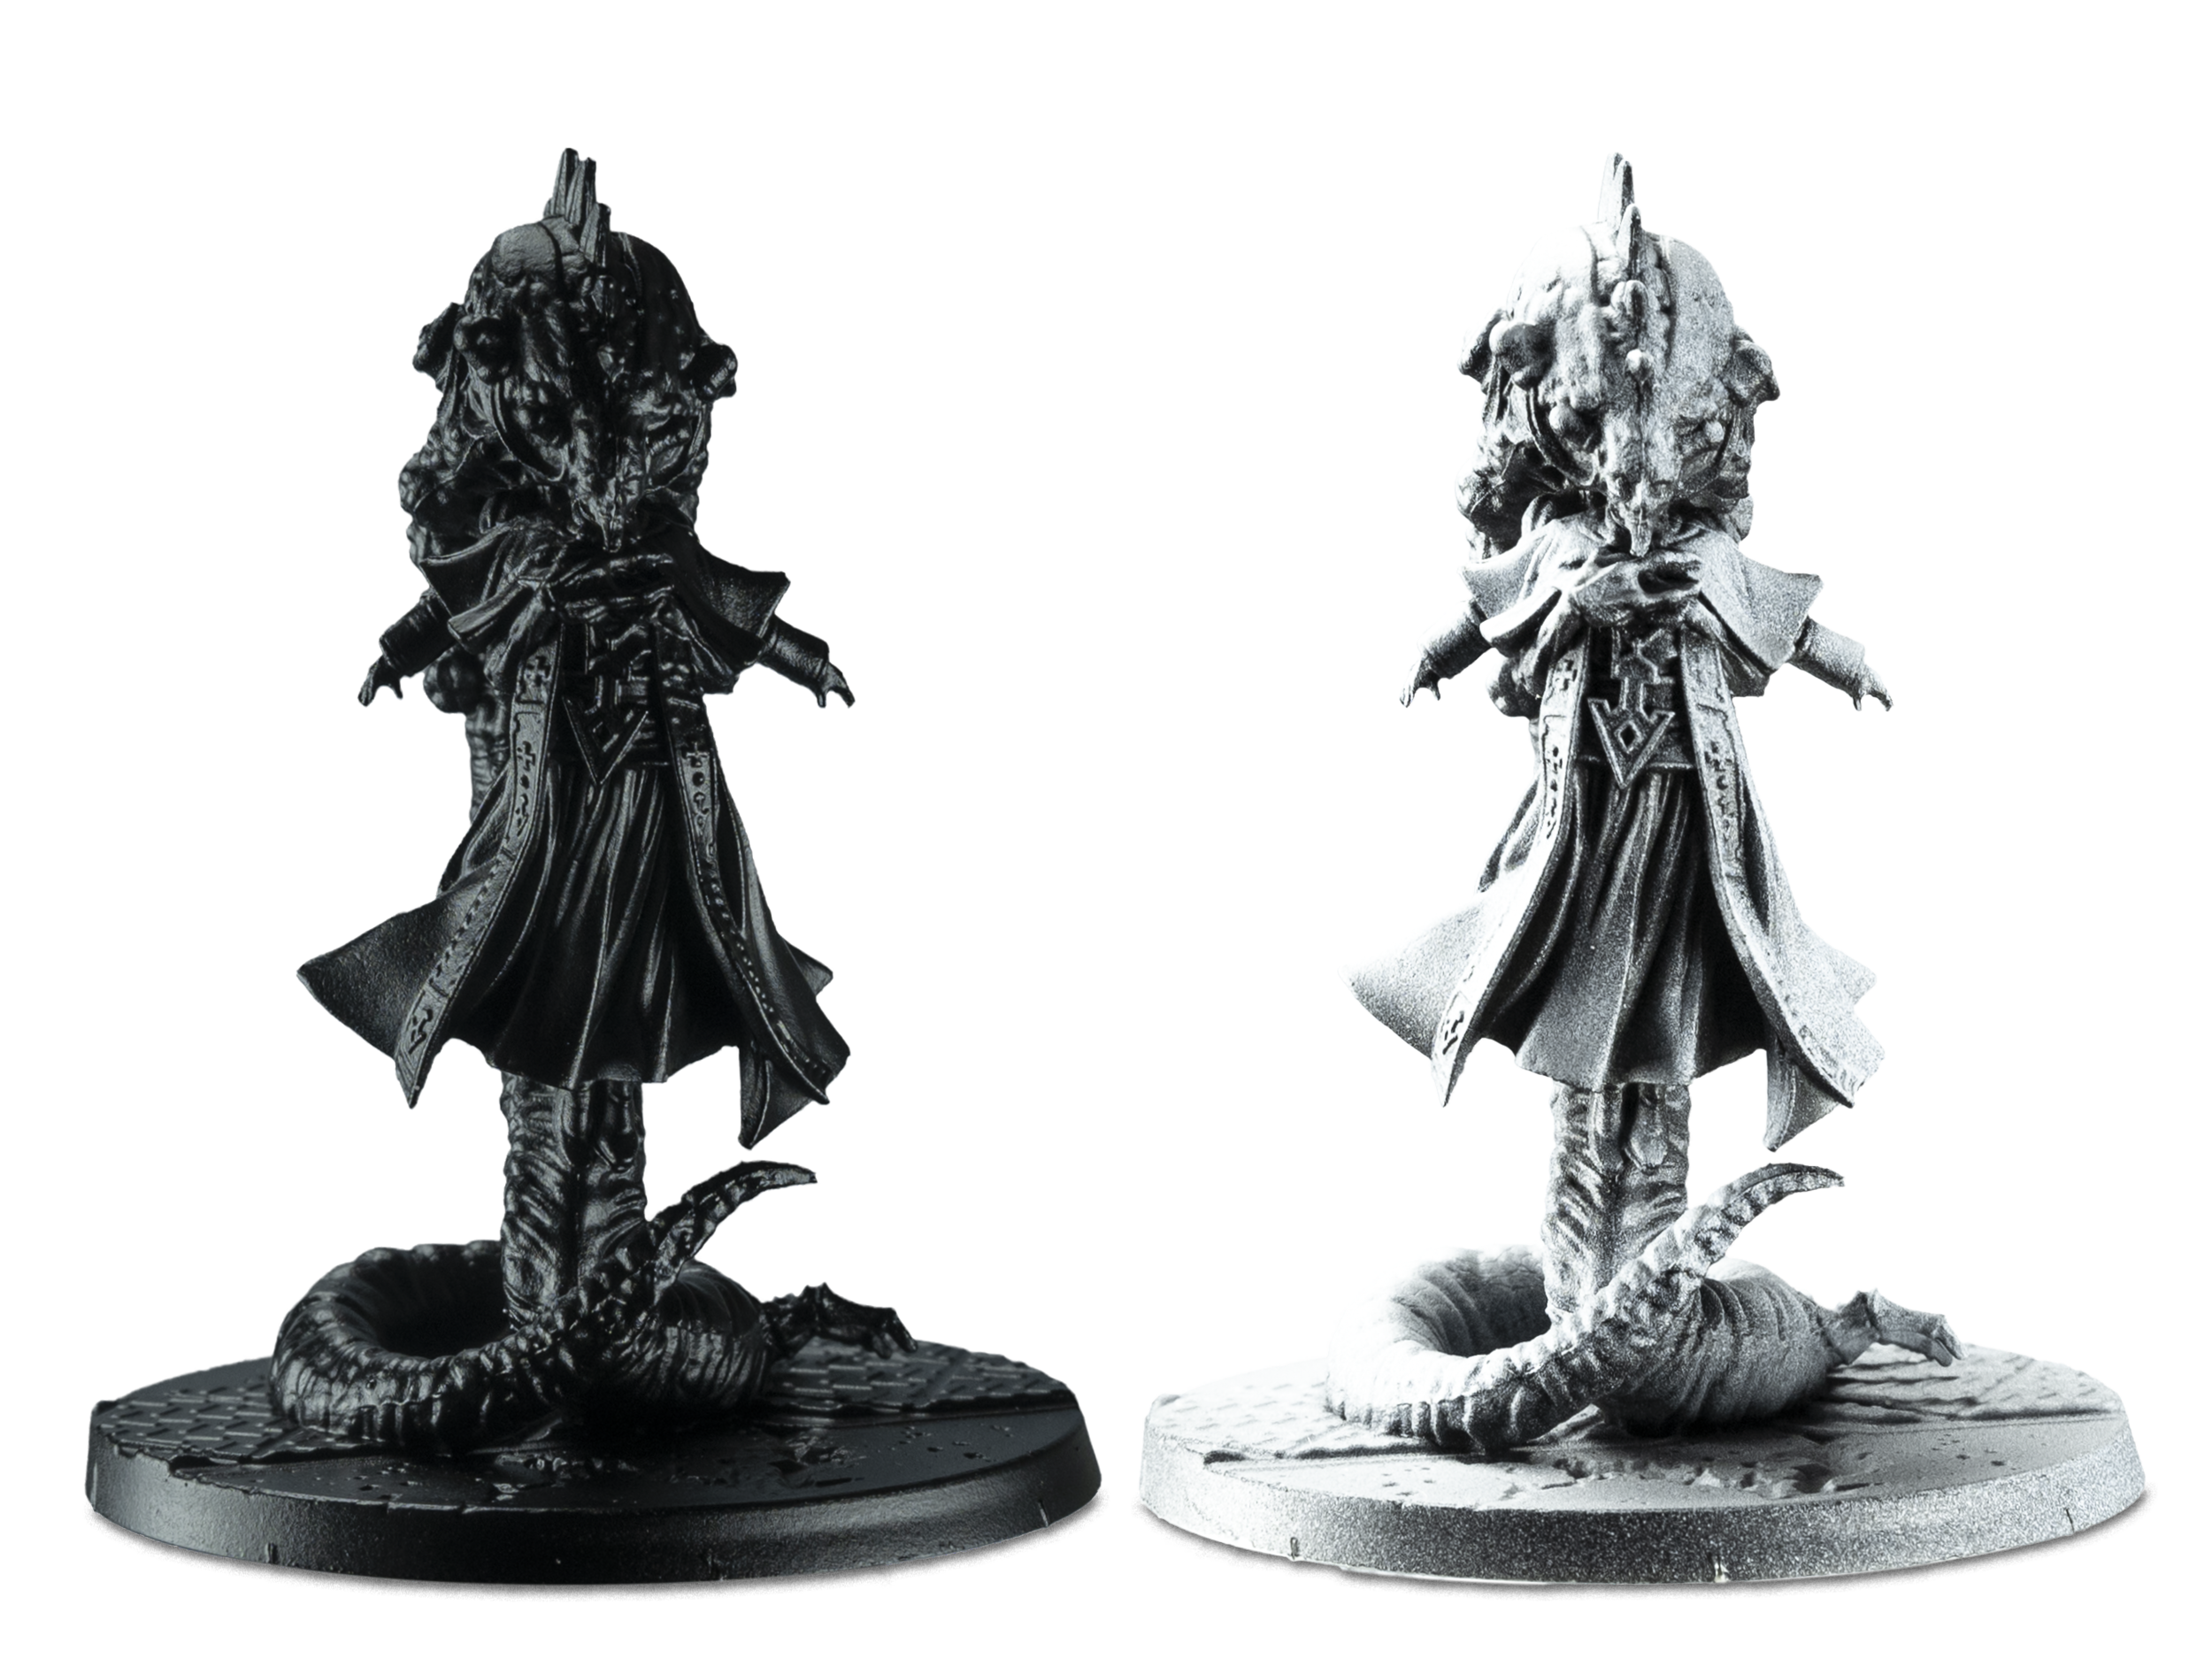
Choosing the right primer for cold environments
Your primer affects the entire mood of the miniature.
For winter Vikings, the best choices are:
- Black primer (for gritty, dark atmosphere)
- Grey primer (balanced and versatile)
- Zenithal priming (recommended for natural lighting guidance)
Zenithal priming is especially powerful in winter themes because it helps you define where cold light hits fur and armor.
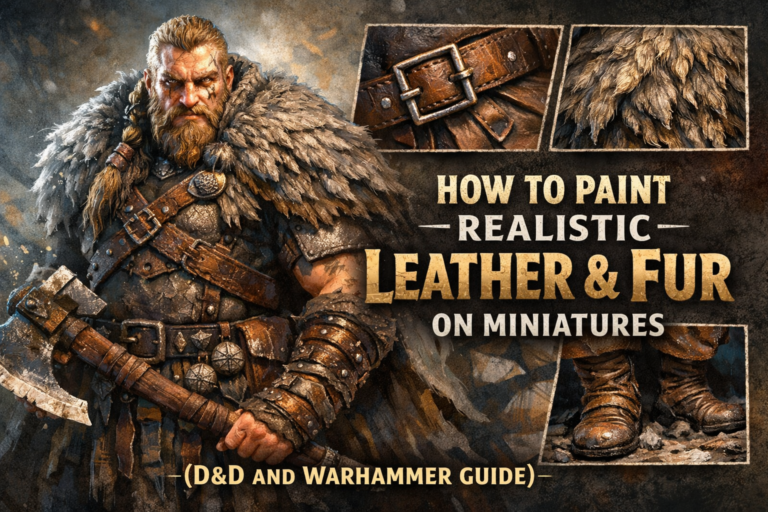
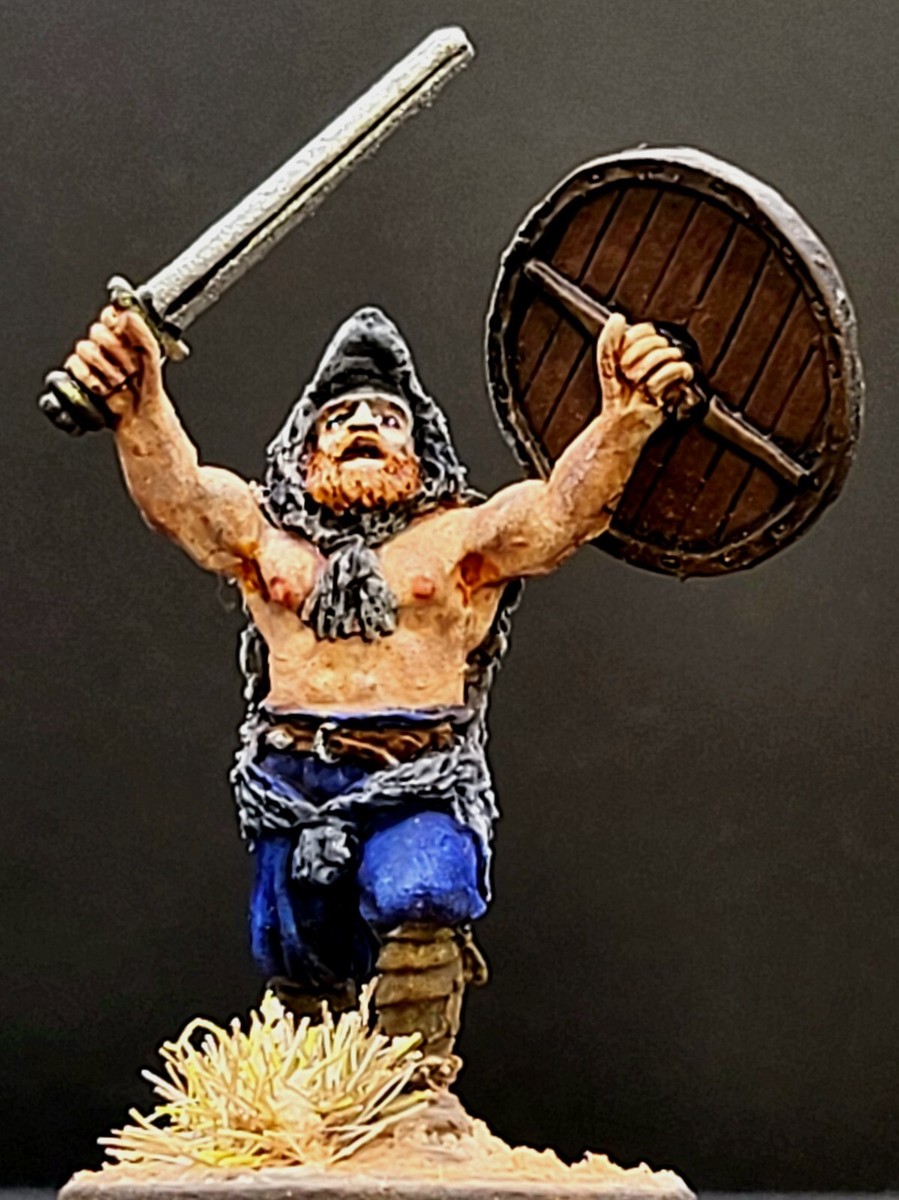
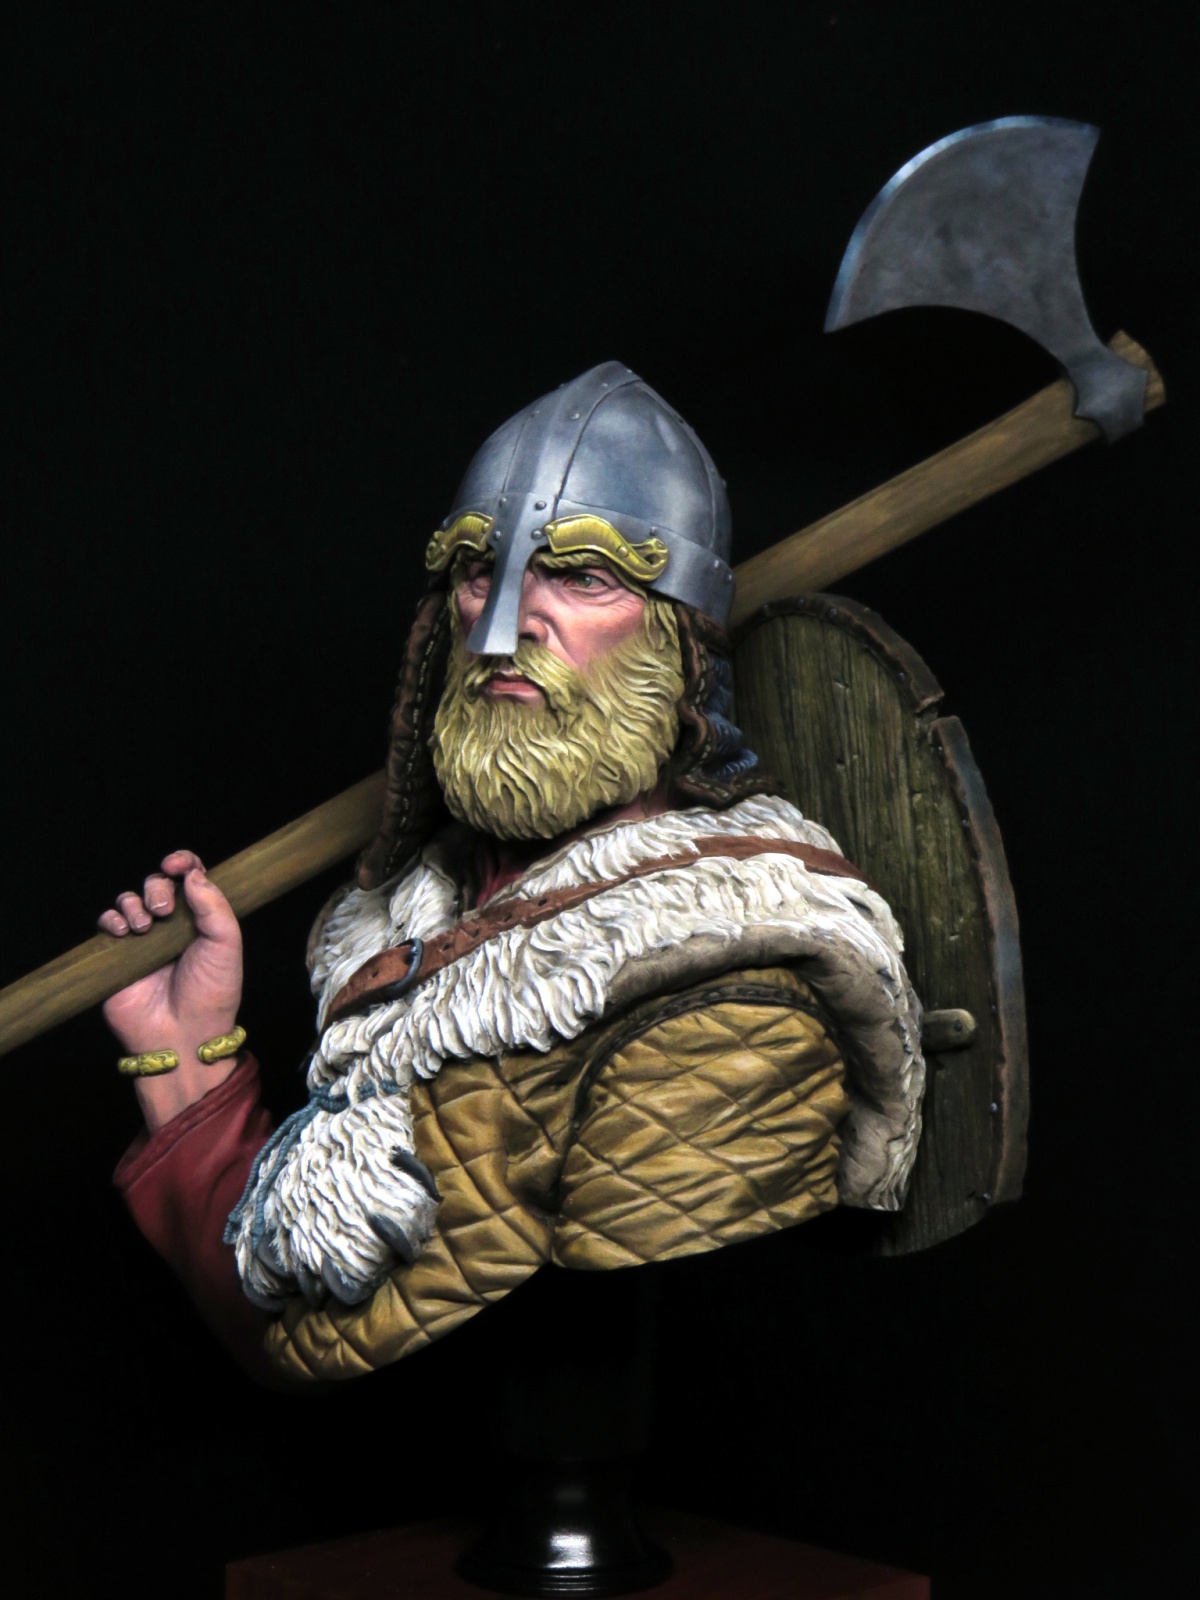
Painting realistic fur and leather
Fur is essential in Viking miniatures. It adds texture and visual richness.
To paint fur realistically:
- Start with a dark brown base
- Apply a controlled wash
- Drybrush progressively lighter tones
- Add small directional strokes for realism
Leather should not look flat. Mix slight color variations (brown + grey + subtle blue) to suggest cold exposure.
Cold steel armor: creating frozen metal effects
Winter armor should not look shiny and polished. It should feel cold.
To achieve this:
- Base coat with dark metallic
- Apply a black or dark blue wash
- Edge highlight with lighter metallic
- Add subtle blue-grey glaze to cool the tone
Avoid excessive brightness. Winter steel reflects less warm light.
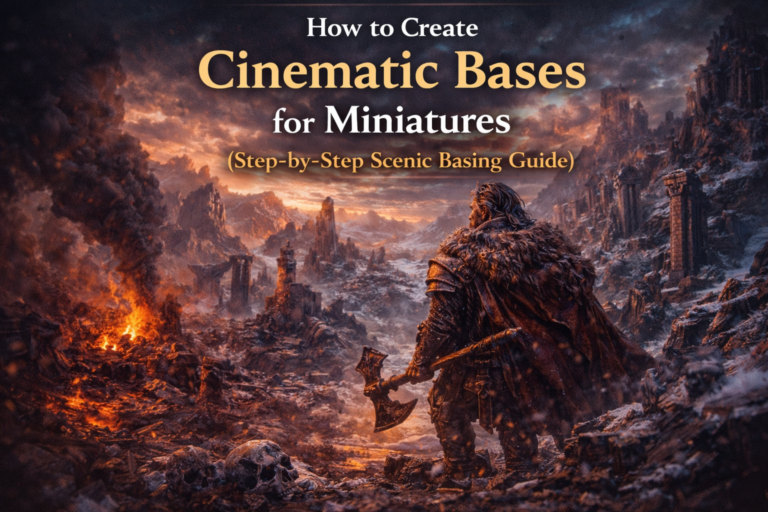
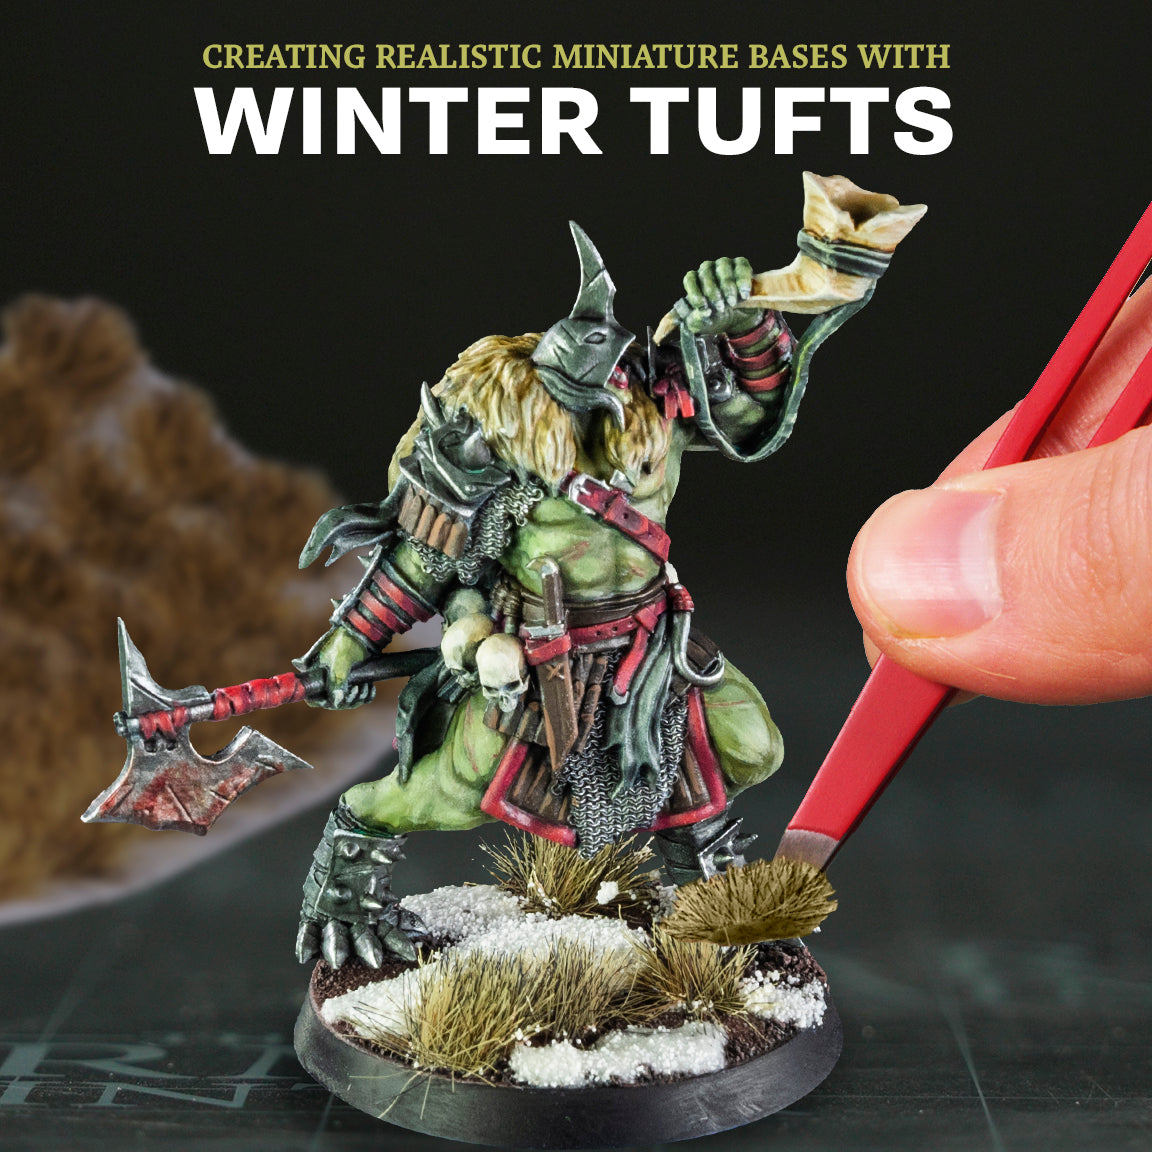
Adding snow and frost effects
Snow effects are what truly sell the winter theme.
To create realistic snow bases:
- Use texture paste or sand
- Paint base dark brown
- Drybrush with light grey
- Add snow texture last
For frost effects on cloaks or beards:
- Lightly drybrush pale blue or off-white
- Focus on edges and upward-facing areas
Less is more. Too much snow can overwhelm details.
Creating contrast in cold color palettes
One challenge in winter-themed miniatures is avoiding dullness.
To maintain strong contrast:
- Push shadows darker than usual
- Keep highlights crisp and sharp
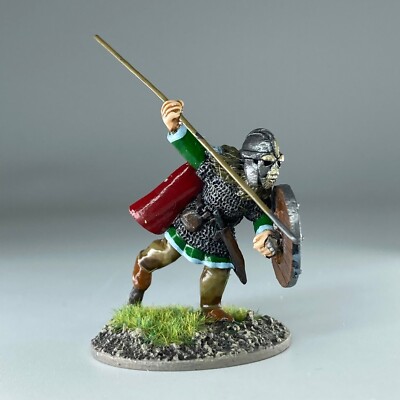
- Use warm accents sparingly (red cloth, glowing runes)
Small warm details dramatically increase visual interest in a cold scheme.
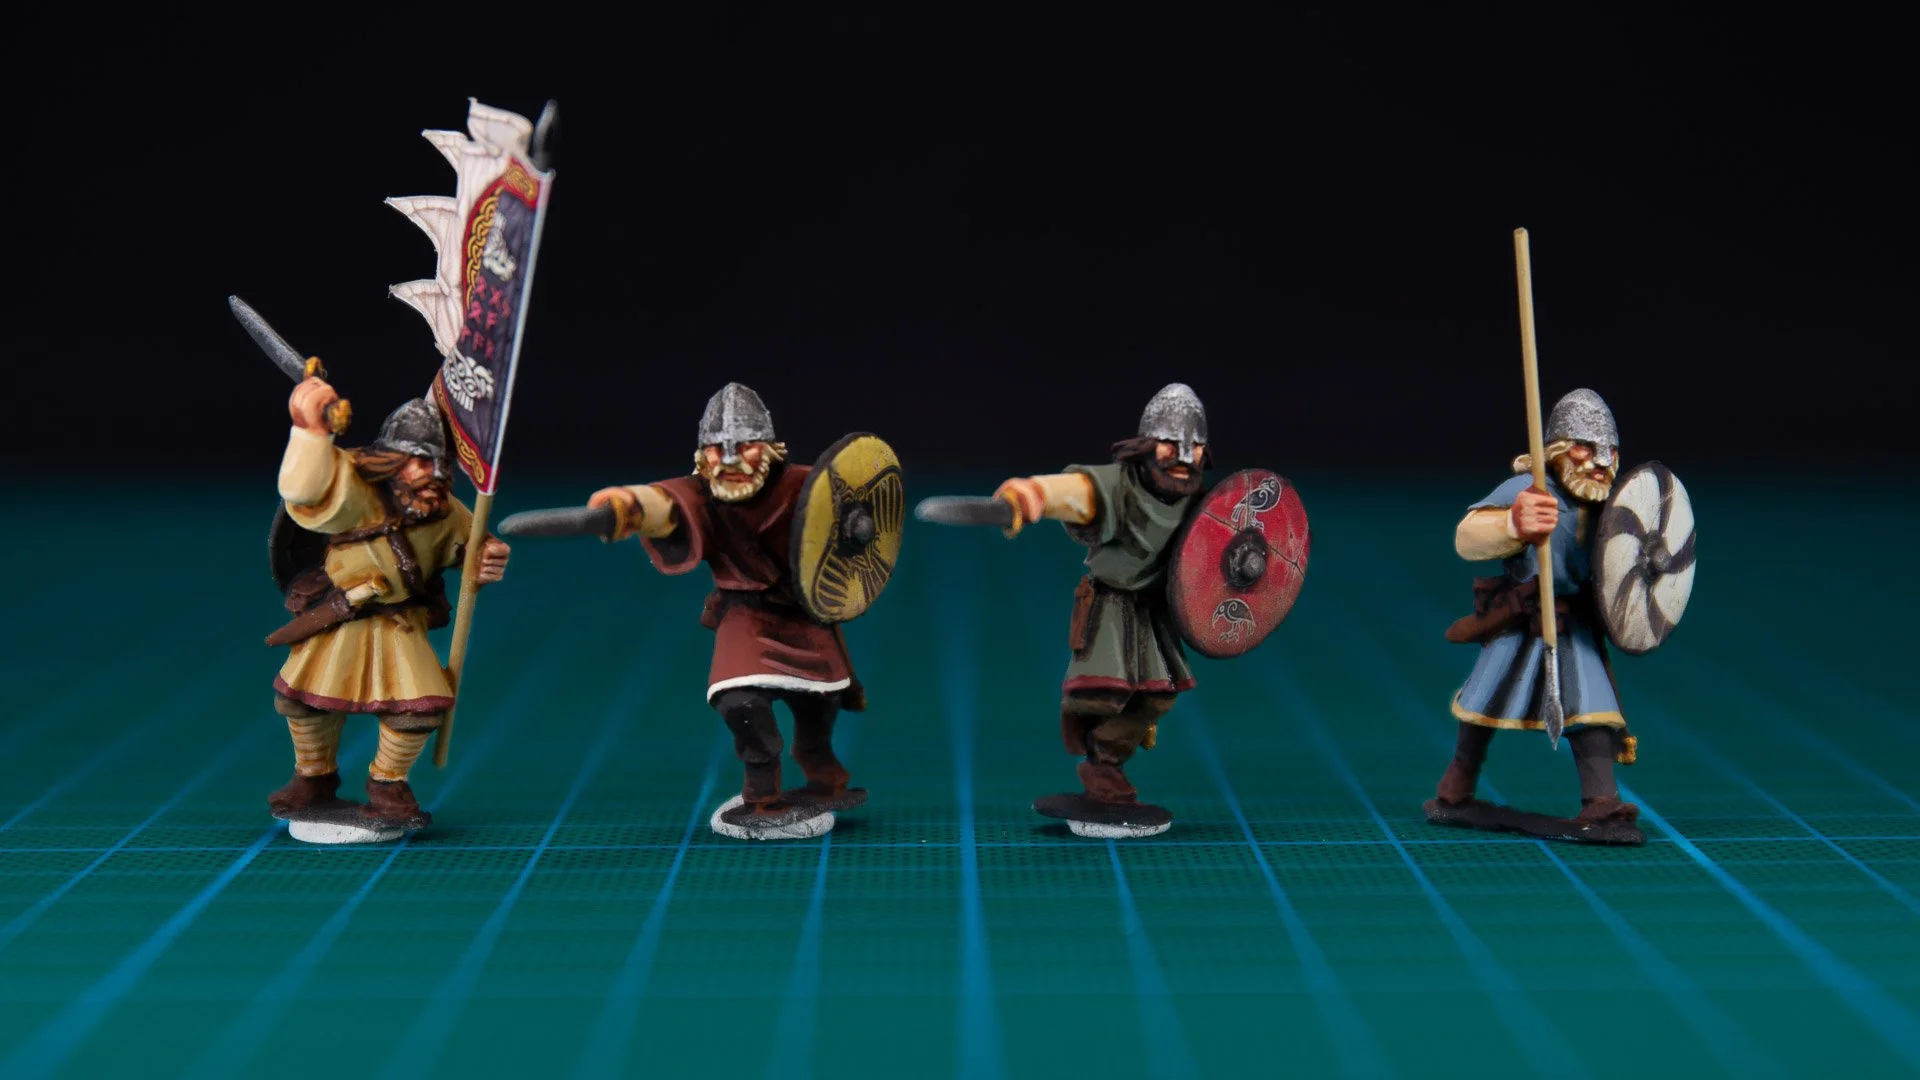
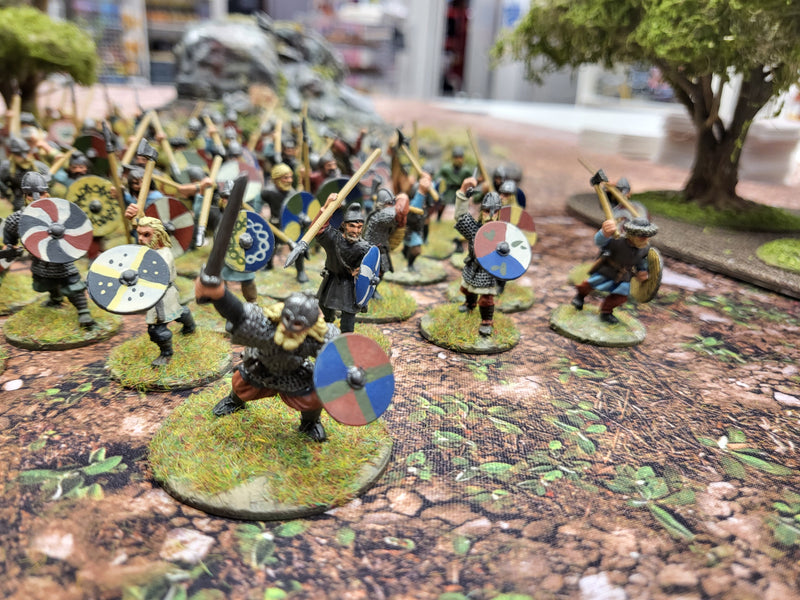
Painting shields as focal points
Viking shields are perfect storytelling surfaces.
Options include:
- Battle damage effects
- Frost cracks
- Rune symbols
- Tribal patterns
Make shields slightly brighter than the rest of the miniature to draw attention.


Weathering and battle damage
Winter campaigns feel harsher when miniatures show wear.
You can add:
- Edge chipping with sponge technique
- Scratches with fine brush
- Mud splatter near boots
- Darkened areas around metal joints
Weathering should enhance realism, not overpower the model.
Batch painting winter armies efficiently
If you’re painting an entire Viking warband:
- Work in groups of 5–10
- Finish one step across all models
- Keep fur colors consistent
- Reserve extra detail for leaders
Consistency is more important than perfection.
Avoiding common mistakes in winter-themed painting
- Overusing pure white
- Making everything grey and flat
- Ignoring contrast
- Applying snow too heavily
Winter themes require balance between subtlety and strong lighting.
Conclusion: bringing your winter Vikings to life
Painting Viking miniatures for a winter campaign is about atmosphere, texture, and storytelling. By controlling contrast, using cold tones strategically, and adding subtle weathering and snow effects, you can create miniatures that feel alive in frozen landscapes.
With practice and a structured workflow, your Viking army can become a cohesive, immersive force that looks powerful both on the tabletop and in display.