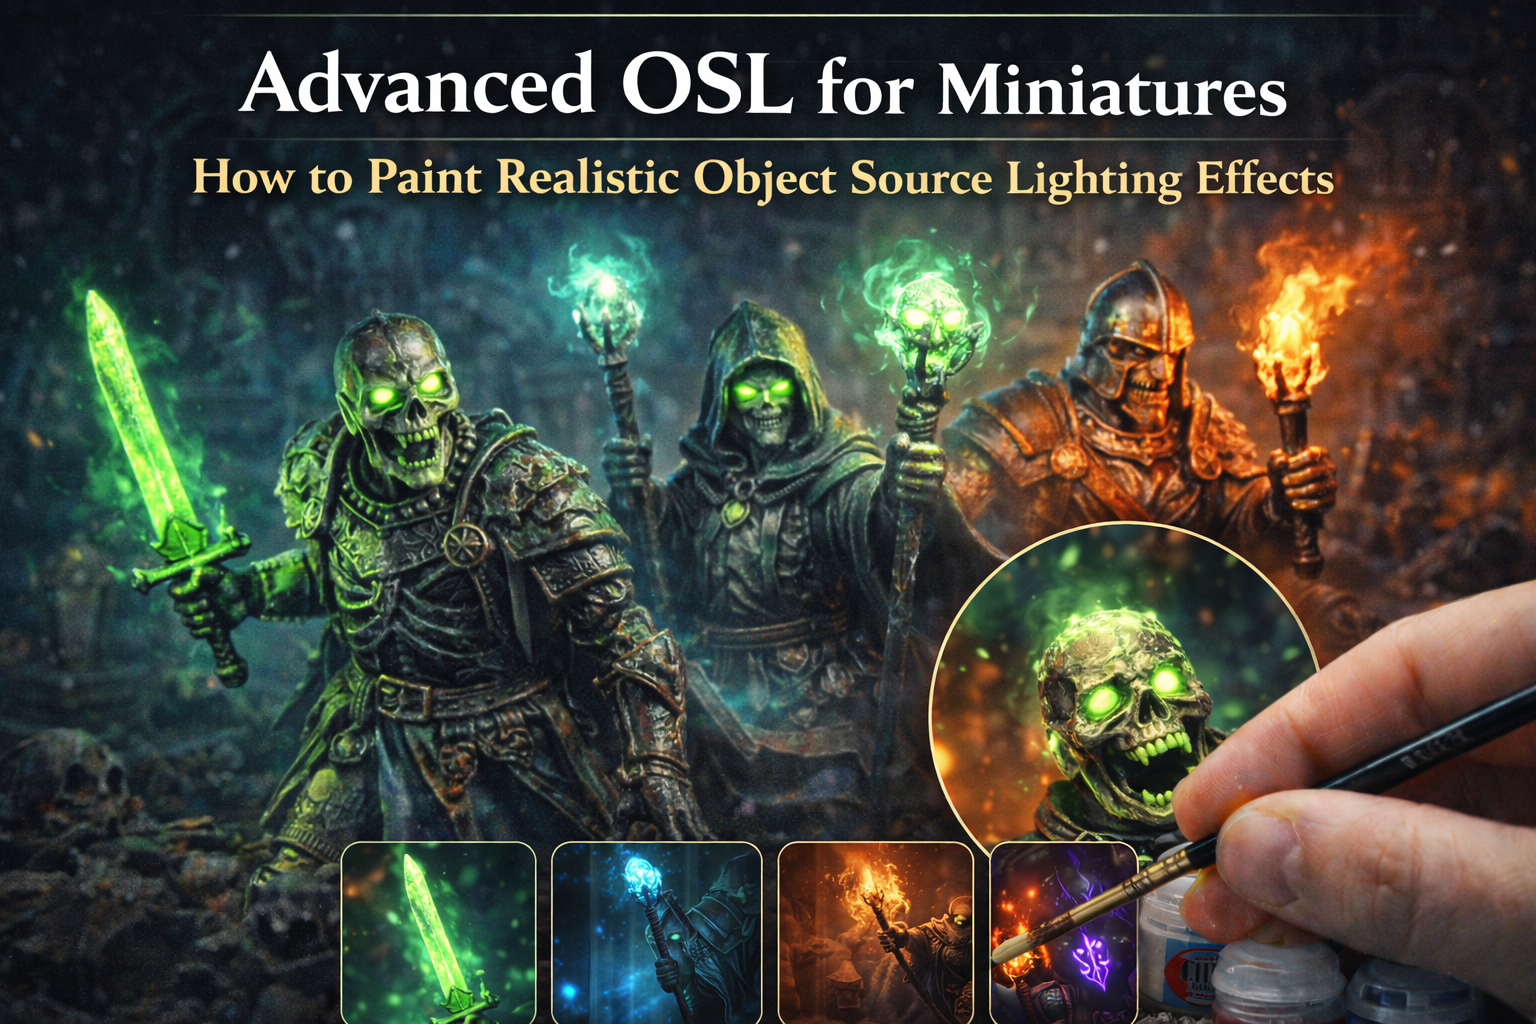
Advanced OSL for Miniatures: How to Paint Realistic Object Source Lighting Effects
Advanced OSL for miniatures (Object Source Lighting) is one of the most impressive techniques in miniature painting. When done correctly, OSL can transform a simple model into a cinematic display piece. Glowing swords, magical runes, lanterns, torches, spell effects — all of these become powerful storytelling tools when light is painted realistically.
In this complete guide, you’ll learn how to paint advanced OSL effects with control, realism, and strong contrast — without making your miniatures look cartoonish or overexposed.
What Is OSL and Why It Matters
Object Source Lighting (OSL) is the technique of painting light emitted from an object onto surrounding surfaces.
Examples include:
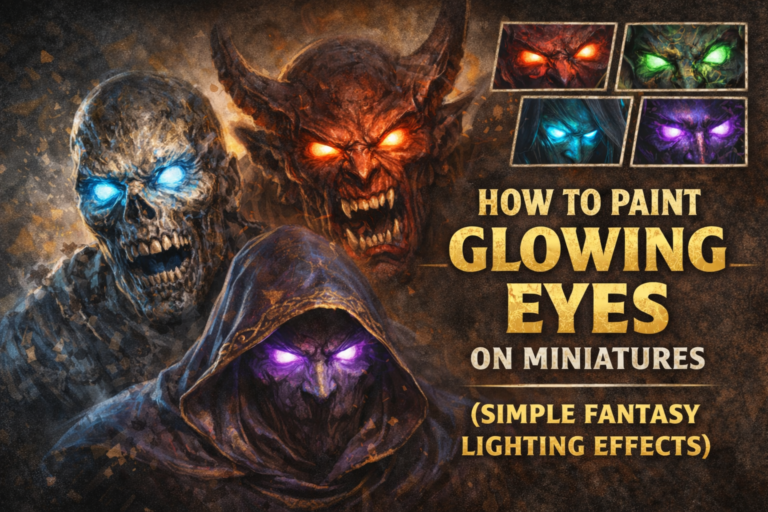
- Glowing eyes
- Magic staffs
- Flaming swords
- Arcane runes
- Lanterns and torches
OSL adds:
- Depth
- Drama
- Focal points
- Narrative power
However, bad OSL can ruin an otherwise great paint job.


4
Understanding Light Logic Before Painting
Before applying any glow, ask yourself:
- Where is the light source?
- How strong is it?
- What surfaces does it hit?
- How far does it reach?
Light follows rules:
- Strongest near the source
- Fades gradually
- Only affects visible surfaces
- Does not wrap around corners
Understanding light logic is more important than paint technique.

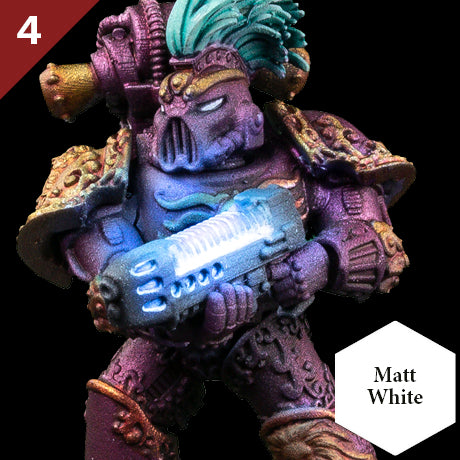
Choosing the Right Glow Color
Glow color affects the entire mood.
Common OSL colors:
- Green (necromantic magic)
- Blue (arcane frost energy)
- Purple (dark sorcery)
- Orange (firelight)
- Red (demonic energy)
High contrast between glow color and base palette creates drama.
Example:
Green glow on dark armor = strong visual impact.

4
Step-by-Step OSL Method
Here is a controlled OSL workflow:
1. Paint the Light Source Brightest
Start with near-white in the center of the source.
For example:
- Paint sword core white
- Paint rune center white
White base makes glow colors pop.
2. Apply Transparent Color Layers
Glaze thin layers of your chosen color over the white.
Build intensity gradually.
3. Extend Glow to Nearby Surfaces
Using very thin paint:
- Lightly glaze surrounding armor
- Focus on raised areas
- Keep glow subtle
Avoid flooding large areas.
4
Controlling Intensity and Realism
Common mistake:
Too much glow.
Realistic OSL should:
- Fade naturally
- Stay strongest near source
- Respect shadows
To reduce over-glow:
- Glaze base color back over outer edges
- Re-darken shadows
- Increase contrast around glow
Contrast makes OSL believable.

4
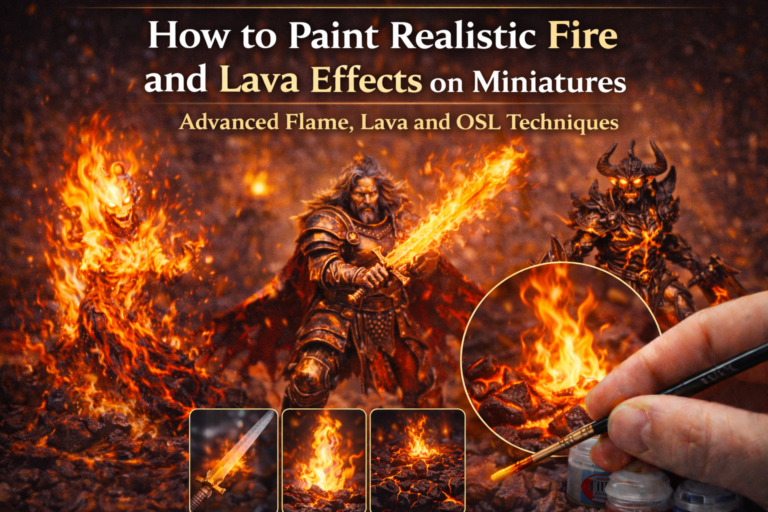
Painting Firelight OSL
Firelight behaves differently.
Characteristics:
- Warm orange core
- Yellow center
- Red outer edges
- Strong shadows
Firelight creates strong contrast and deep shadows.
Remember:
Firelight casts shadows away from the flame.

4
Painting Magical Energy OSL
Magic glow is usually cooler and smoother.
For magical OSL:
- Use cleaner blends
- Avoid dirty washes
- Keep transitions soft
Add tiny white highlights at the brightest points.
This makes energy feel powerful.
4
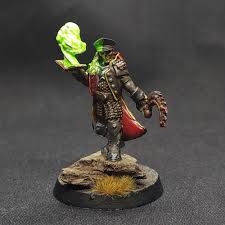
OSL on Undead and Dark Armies
OSL works beautifully on:
- Skeletons
- Necromancers
- Dark knights
- Cultists
Dark palettes amplify glow contrast.
Green or purple glow on desaturated armor is extremely effective.
Leaders benefit most from OSL.

Common OSL Mistakes
- Too much white
- Glow too wide
- Ignoring shadow logic
- Painting glow on hidden surfaces
- No contrast around glow
If everything glows, nothing glows.
Darkness makes light powerful.
When to Use OSL (and When Not To)
Use OSL when:
- You want a focal point
- Painting a hero
- Creating cinematic display
- Photographing miniatures
Avoid heavy OSL on large army units unless you want uniform glow effects.
Less is more.
Final Thoughts
Mastering advanced OSL for miniatures requires understanding light behavior, controlling intensity, and building glow gradually. When executed properly, OSL transforms your models into dramatic storytelling pieces.
By respecting contrast, maintaining shadow depth, and applying glow intentionally, you can elevate your miniature painting to a professional level.