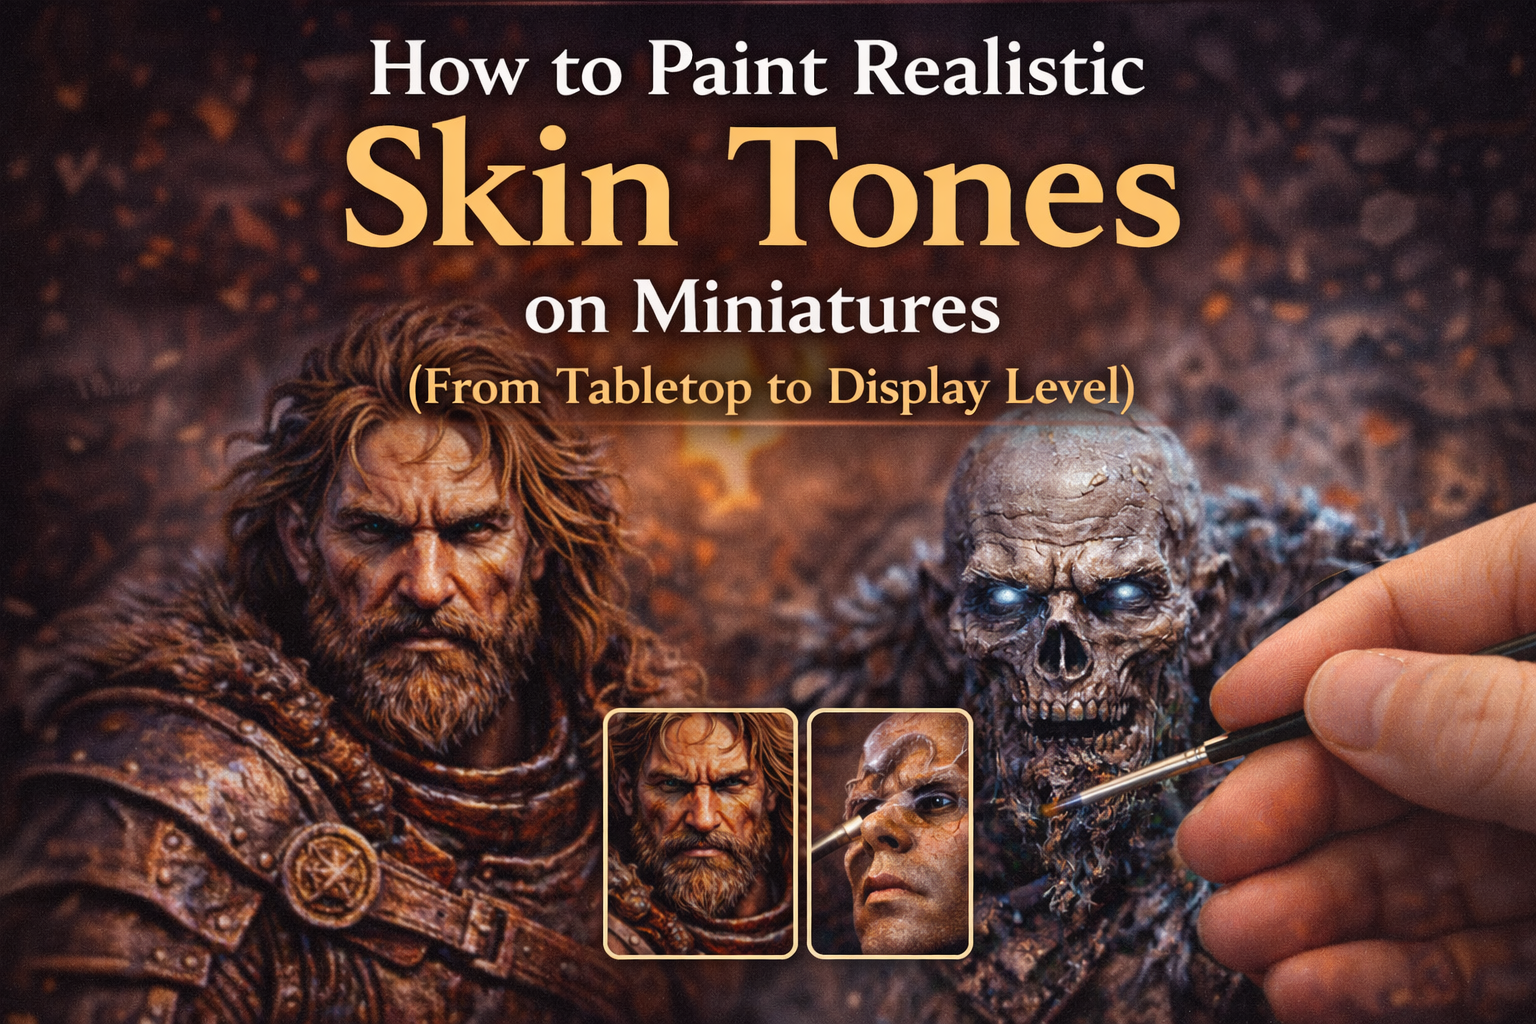
How to Paint Realistic Skin Tones on Miniatures (From Tabletop to Display Level)
How to paint realistic skin tones on miniatures is one of the most transformative skills in miniature painting. Armor, weapons, and effects may catch attention first, but it’s the face and exposed skin that bring a character to life. Whether you’re painting Vikings, undead warriors, barbarian heroes, or grimdark sci-fi champions, believable skin tones instantly elevate the emotional impact of your model.
In this complete guide, you’ll learn how to paint smooth, realistic skin, create depth with color variation, push contrast for display pieces, and adapt skin tones for different themes — from cold Nordic warriors to corrupted undead.
Understanding Skin Before You Paint
Skin is not a single color.
It contains:
- Warm tones (reds, oranges)
- Cool undertones (blues, purples)
- Shadow transitions
- Highlight reflections
Beginners often paint skin as flat beige. Realistic skin requires subtle variation.
Basic Skin Recipe (Clean and Reliable)
This method works for most fantasy miniatures.
Step 1 – Basecoat
Choose a mid-tone flesh color. Slightly desaturate it to avoid cartoonish saturation.
Step 2 – Controlled Shade
Mix brown + red glaze and apply to:
- Eye sockets
- Under cheekbones
- Around nose
- Under chin
Avoid flooding the entire face.
Step 3 – Mid-Tone Rebuild
Reapply base color, leaving recess shading intact.
Step 4 – Highlight
Add lighter flesh tone to:
- Forehead
- Nose bridge
- Cheekbones
- Chin
Smooth transitions are key.

4
Adding Realism with Color Variation
Real skin has subtle variation.
Add:
- Thin red glaze to cheeks and nose
- Slight purple glaze in deep shadows
- Soft blue-grey in under-eye areas
For battle-hardened characters, slight desaturation adds realism.
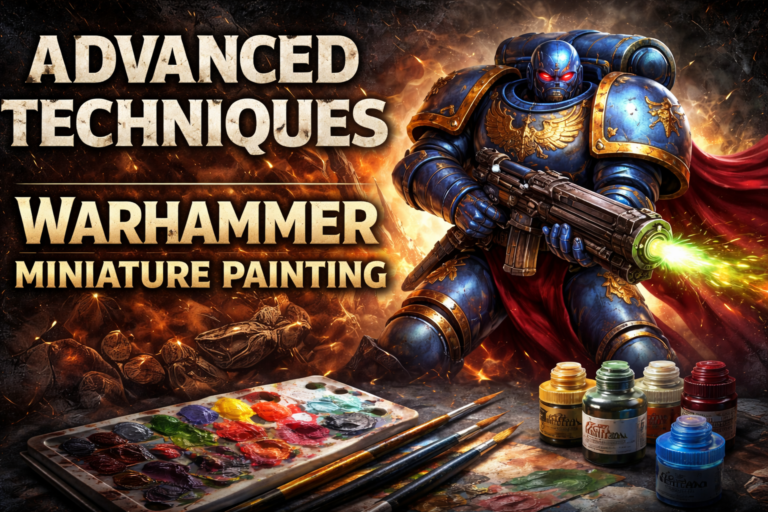
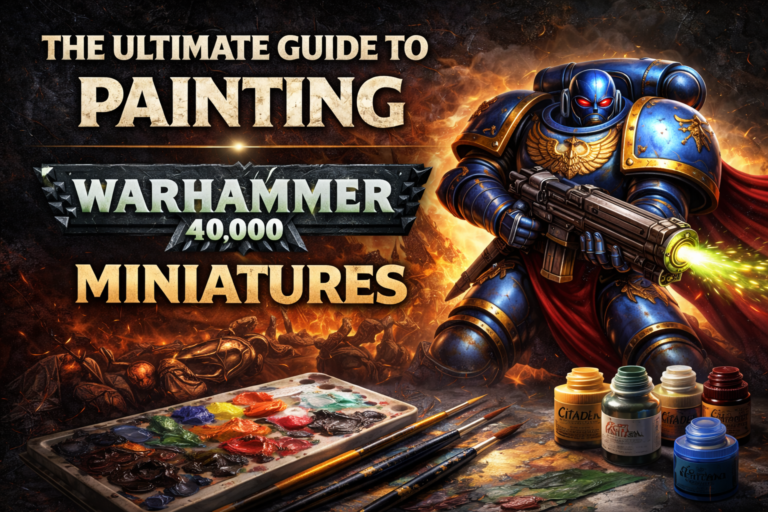
This kind of controlled color refinement becomes especially important when pushing toward display-level painting, similar to the progression discussed in advanced miniature refinement techniques:
https://echoartstudios.net/advanced-techniques-for-painting-warhammer-40000-miniatures-from-intermediate-to-professional-level
Small color shifts create huge realism gains.
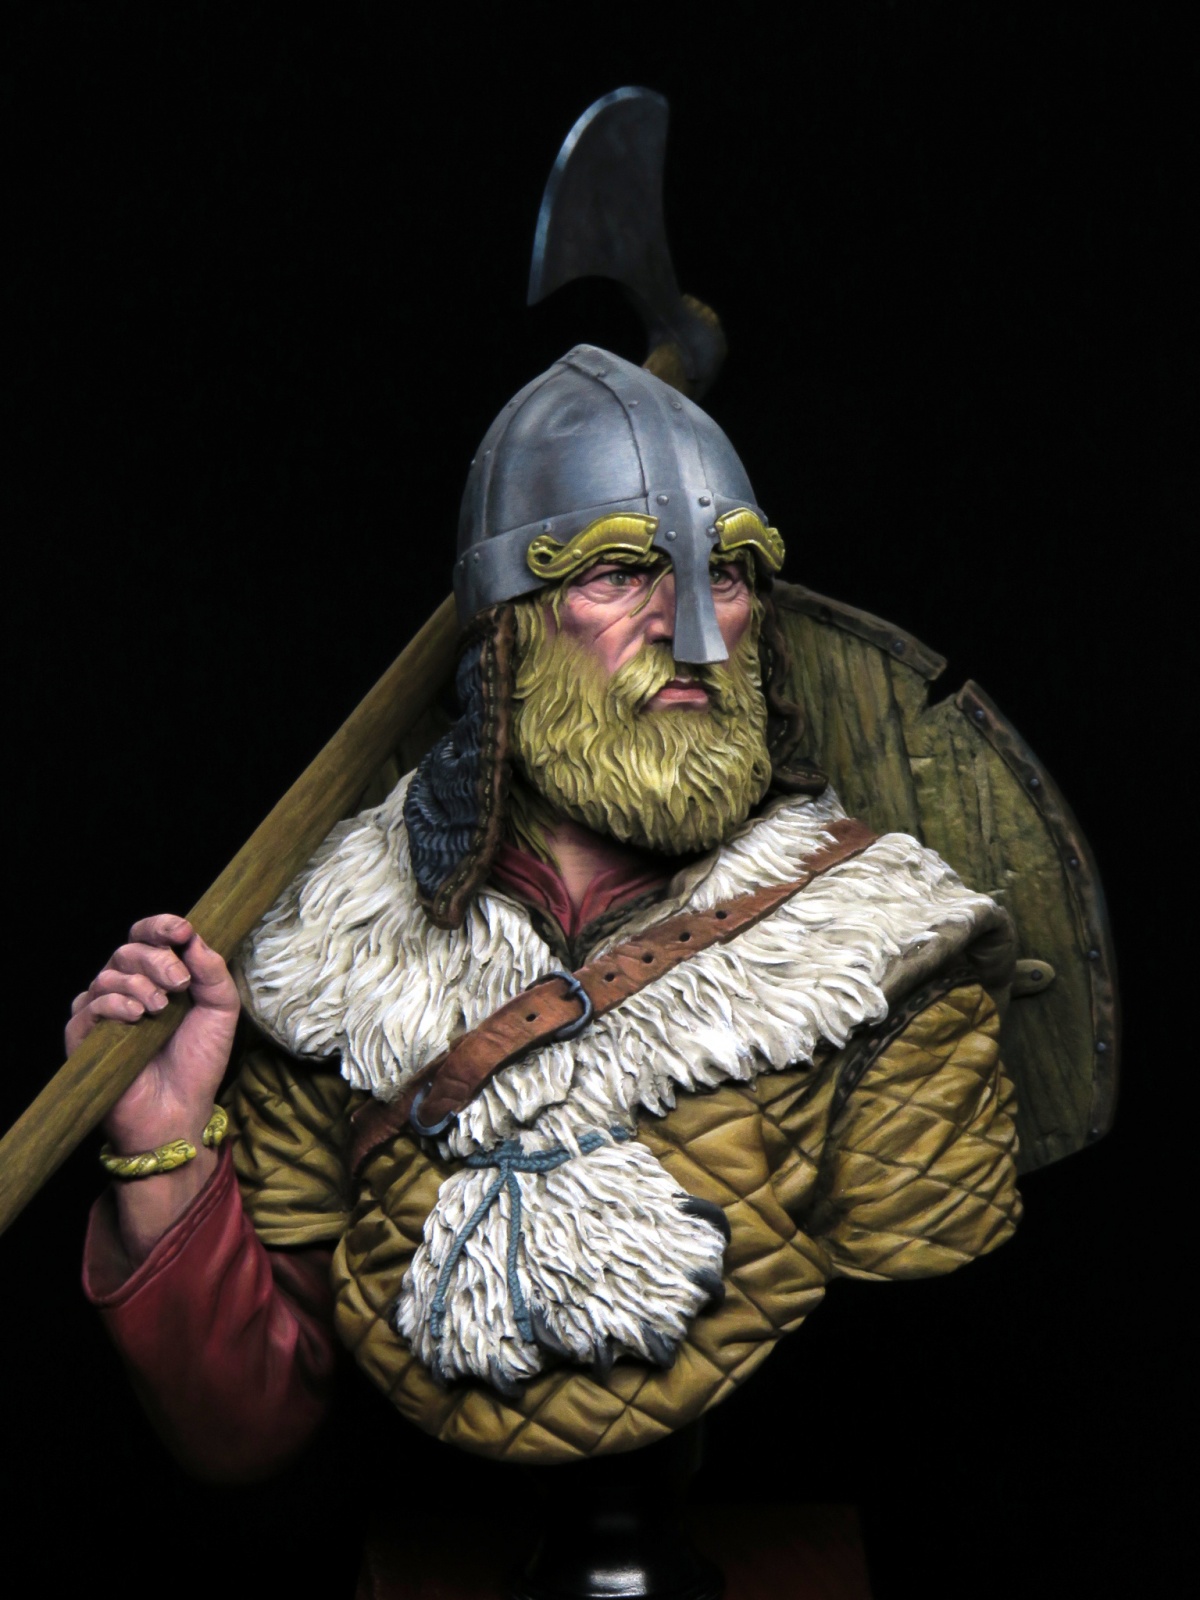
Painting Cold Nordic Skin (Viking Themes)
For winter warriors:
- Add slight blue-grey glaze to shadows
- Reduce saturation overall
- Keep highlights cooler
Nordic skin often looks less saturated under cold lighting.
When working on fur-clad warriors in winter settings, skin tones must harmonize with cold armor and textured materials — a balance often seen in winter-themed Norse miniatures:
https://echoartstudios.net/how-to-paint-viking-miniatures-for-a-winter-themed-campaign
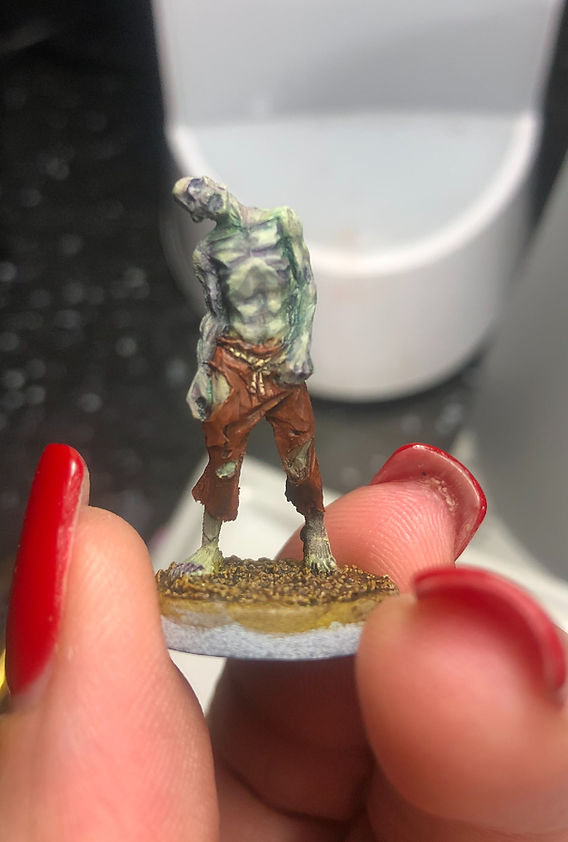
Painting Undead and Pale Skin
Undead skin differs dramatically.
For pale or corrupted skin:
- Use greyish base tones
- Add green or purple glazes
- Keep highlights cool
- Avoid warm reds
For frost-bitten undead, desaturation is critical.
Skin should appear drained and lifeless.
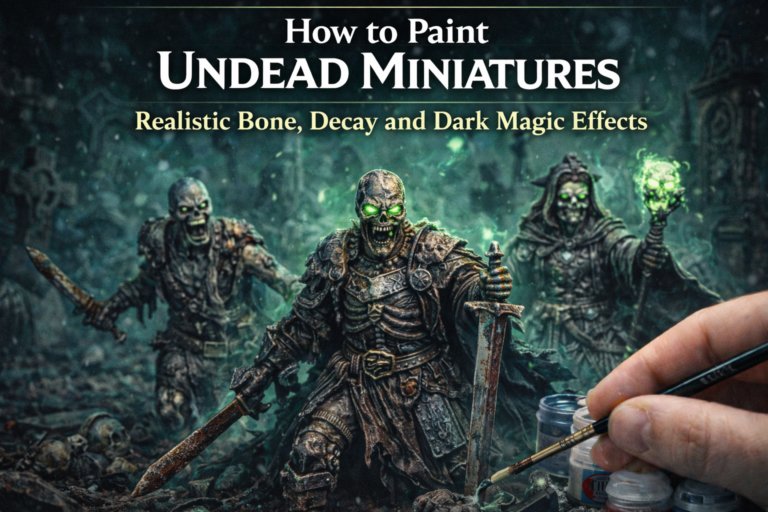
These principles align naturally with undead painting techniques often used in frost-worn skeletal warriors:
https://echoartstudios.net/how-to-paint-draugr-miniatures-with-realistic-frost-and-undead-effects

4
Pushing Contrast for Display Pieces
Display-level skin requires more contrast than tabletop.
Increase:
- Shadow depth
- Highlight brightness
- Edge definition around eyes
Add micro highlights:
- Lower lip
- Nose tip
- Eyebrow ridge
Contrast creates readability at distance.
This refinement separates standard tabletop from competition-ready work.
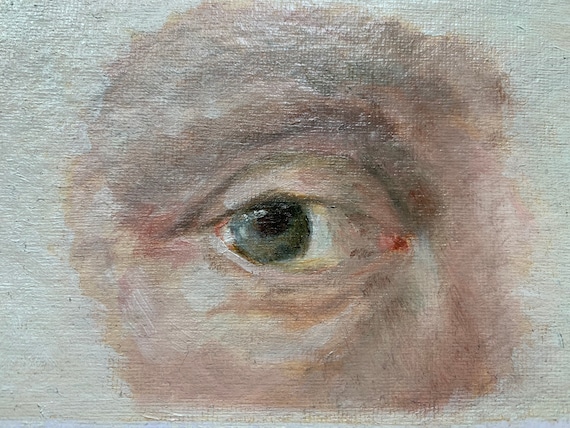
Painting Eyes Without Fear
Eyes define character.
Basic method:
- Paint dark line across eye socket
- Fill white carefully
- Add black pupil
- Reinforce outline
Keep it subtle. Overly large eyes ruin realism.
If unsure, slightly shadow the upper eyelid to reduce intensity.
Speed Painting Skin Efficiently
For large armies:
- Basecoat entire unit
- Apply controlled wash
- Rebuild mid-tone
- Quick highlight
Batch consistency matters more than perfection.
Efficient skin painting pairs well with broader army workflows when balancing speed and visual quality:
https://echoartstudios.net/speed-painting-warhammer-40000-miniatures-paint-armies-fast-without-losing-quality
Leaders can receive extra refinement.
Common Skin Painting Mistakes
- Flat beige tone
- No red variation
- Over-saturated cheeks
- Harsh transitions
- No shadow depth
If skin looks plastic, increase contrast and desaturate slightly.
Environmental Influence on Skin
Environment affects skin appearance.
Cold climate:
- Slightly cooler shadows
- Reduced warmth
Volcanic environment:
- Warmer reflections
- Slight orange tint
Match skin tone to base theme.
Cohesion builds immersion.
Final Thoughts
Learning how to paint realistic skin tones on miniatures requires understanding color variation, controlled blending, and contrast placement. By layering subtle glazes, reinforcing shadows, and pushing highlights carefully, you can transform flat faces into expressive characters.
Whether you’re painting Norse warriors, undead raiders, or sci-fi champions, realistic skin is often the difference between a good miniature and a truly immersive one.
If you would like free D&D STL miniatures, visit our homepage and download yours now:
https://echoartstudios.net/