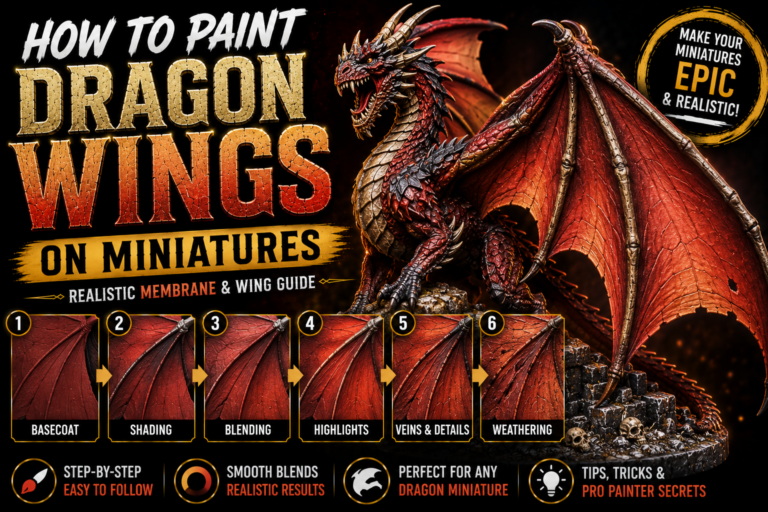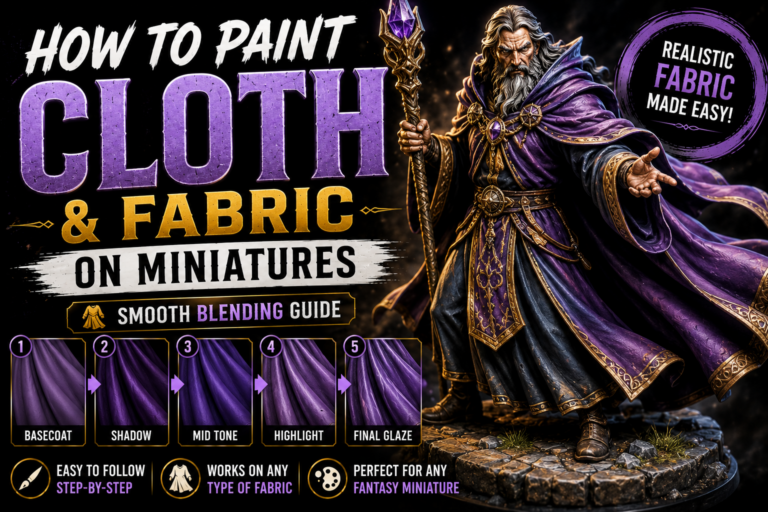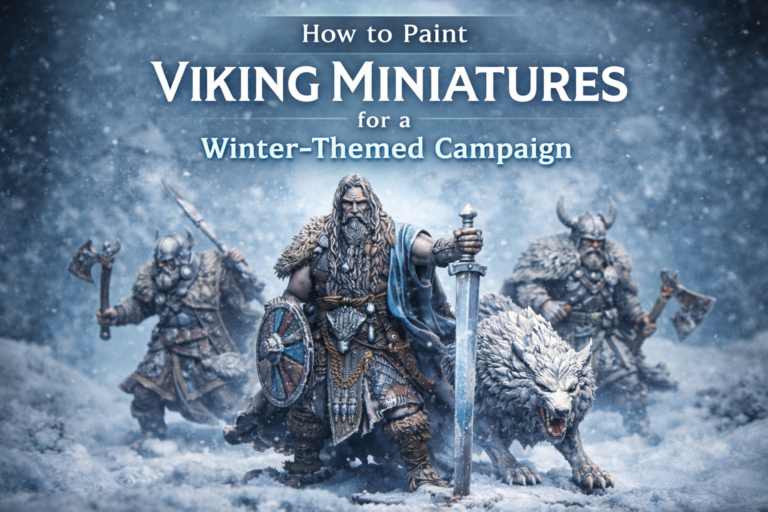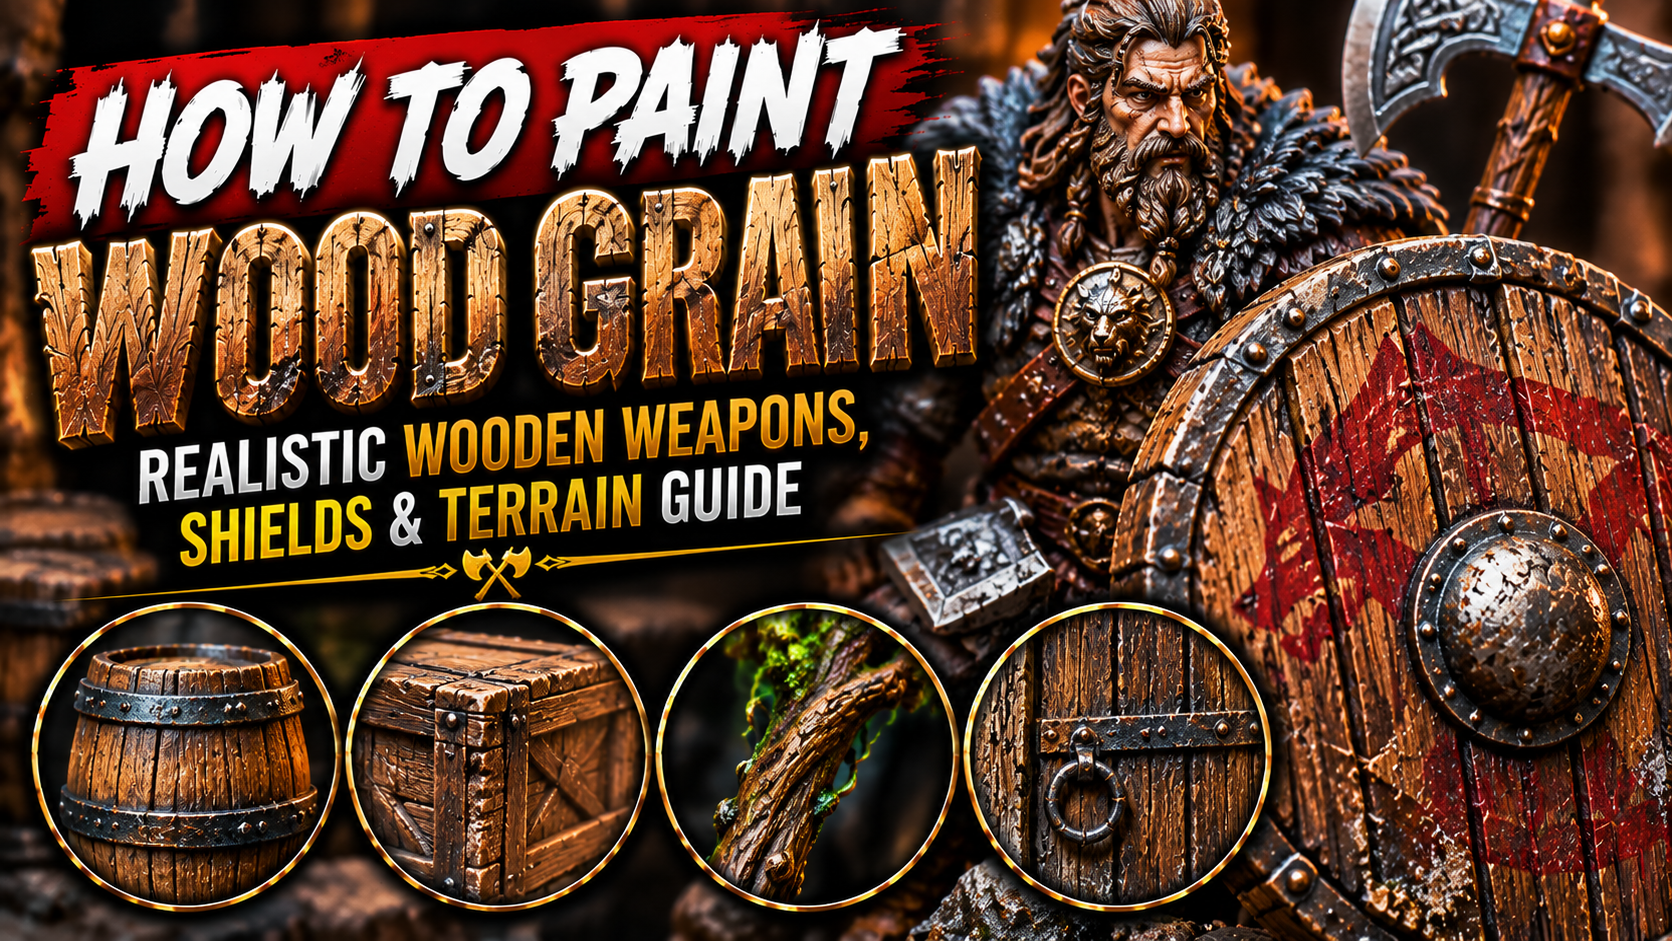
How to Paint Wood Grain on Miniatures (Realistic Wooden Weapons, Shields & Terrain Guide)
Wood is everywhere in fantasy miniatures.
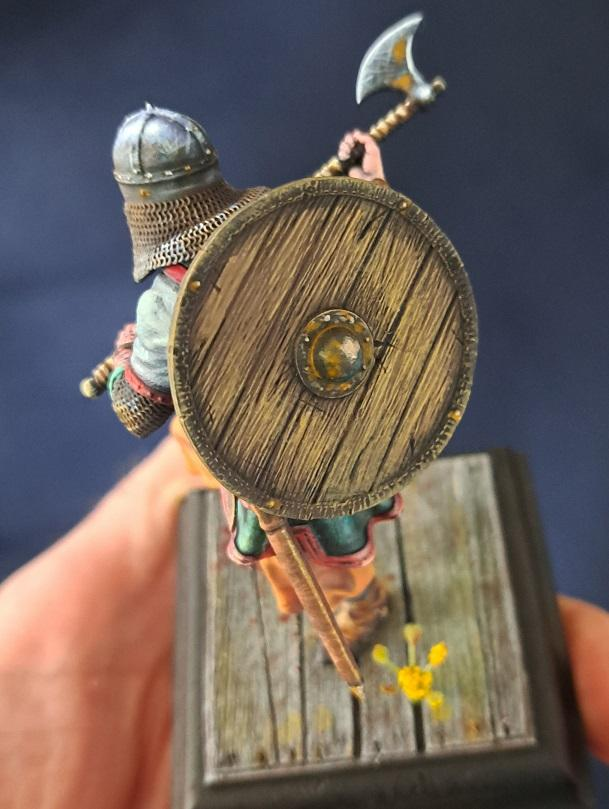
Shields, bows, staffs, barrels, crates, doors, carts, weapon handles, buildings, bridges, dungeon furniture, siege equipment, and miniature bases can all contain exposed wooden surfaces.
Yet wood is often painted as nothing more than brown paint with a lighter brown dry brush.
That approach works from a distance, but realistic wood becomes much more interesting when you introduce grain direction, color variation, knots, scratches, worn edges, stains, and weathering.
The good news is that wood is one of the easiest materials to improve using only a few additional brush strokes.
You don’t need to paint hundreds of tiny lines. Instead, carefully placed grain patterns and controlled highlights can create the illusion of detailed natural timber.
In this guide, you’ll learn how to paint realistic wood grain, old timber, wooden shields, weapon handles, barrels, fantasy terrain, damaged wood, and weathered wooden surfaces.
Understanding How Wood Grain Works
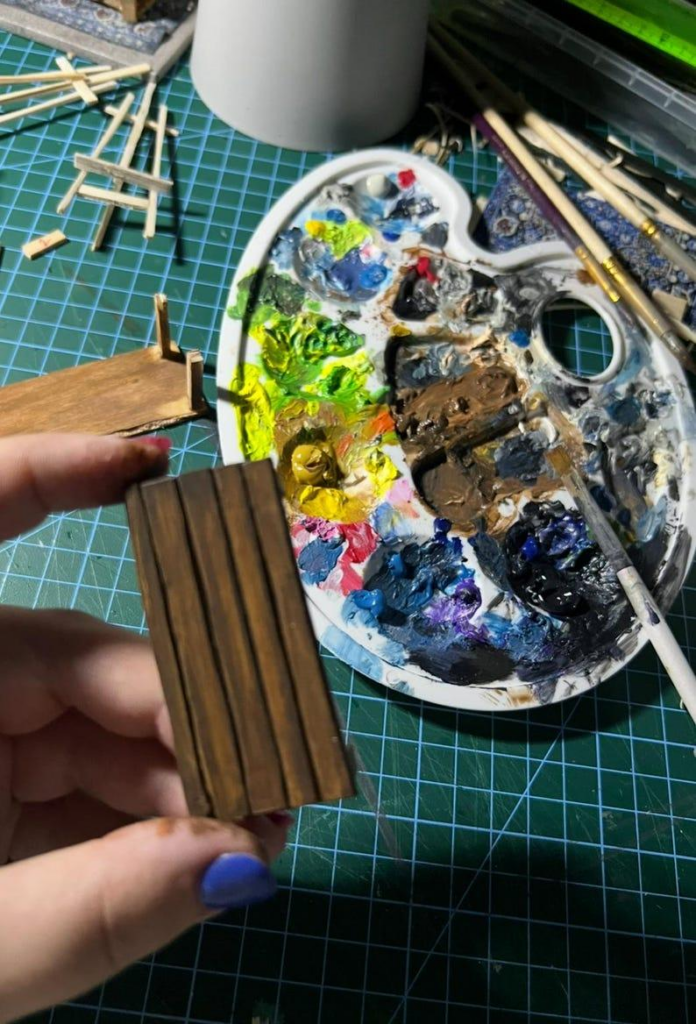
The most important characteristic of wood is direction.
Wood fibers generally travel along the length of a plank, branch, handle, or board.
Your painted grain should follow that same direction.
If you’re painting a long wooden spear shaft, the grain should travel along the shaft.
On a shield made from vertical planks, each plank should contain vertical grain.
On a barrel, the grain follows the individual wooden boards.
This sounds simple, but getting the direction correct immediately makes painted wood more convincing.
Wood grain also isn’t perfectly straight.
Lines curve, separate, reconnect, change thickness, and occasionally flow around knots.
The goal is controlled irregularity.
Choosing a Wood Color Palette
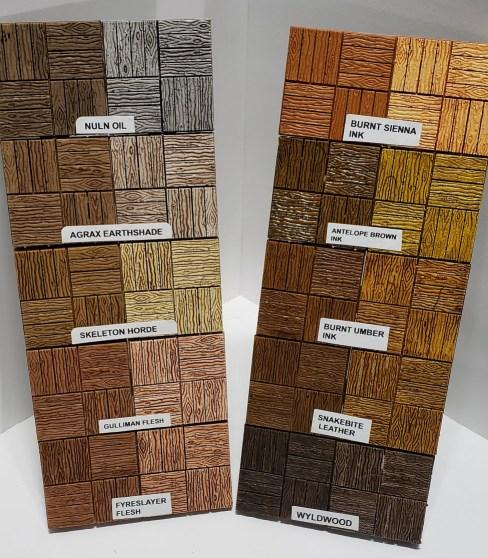
Wood can be almost any shade of brown.
Fresh pale timber might use beige, tan, ochre, and ivory.
Traditional fantasy wood works well with medium brown, reddish brown, tan, and beige.
Old wood can contain grey, brown-grey, green-grey, and almost black recesses.
Dark hardwood can begin with chocolate brown and gradually transition toward reddish brown or warm tan.
Before painting, decide what type of wood the object represents.
A polished wizard’s staff shouldn’t necessarily have the same colors as an abandoned dungeon door.
Even when using fantasy colors, keeping the basic material logic consistent makes the miniature easier to read.
Starting with the Base Coat
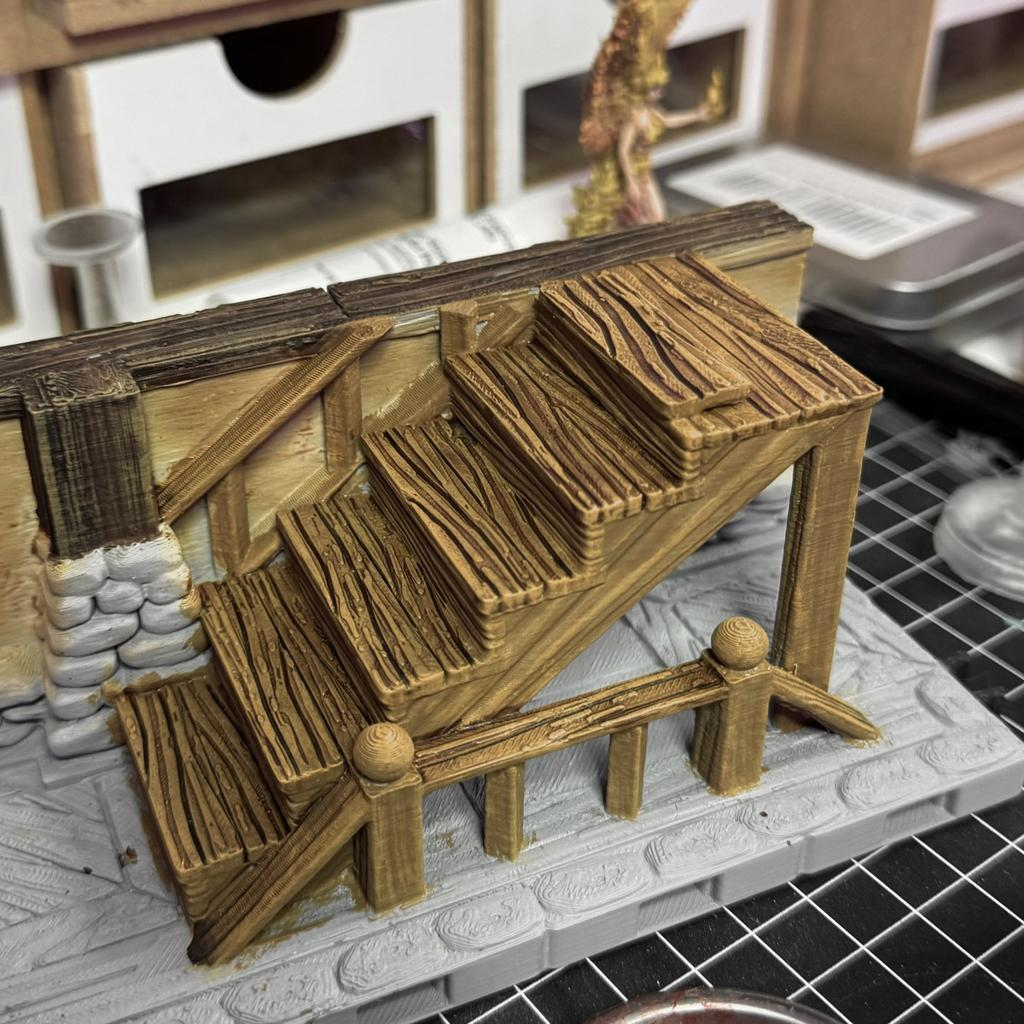
Begin with a medium or dark brown.
The exact color depends on how bright you want the finished wood to become.
For medium wood, a warm chocolate or reddish brown works extremely well.
For pale timber, start with ochre-brown.
For old wood, begin with dark grey-brown.
Apply the paint smoothly and make sure it reaches the recesses between planks.
If the sculpt already contains wood grain texture, avoid applying extremely thick paint.
You want those fine details to remain visible.
Once the base coat is dry, apply a darker wash to emphasize cracks, plank separations, and sculpted grain.
Painting Realistic Wood Grain
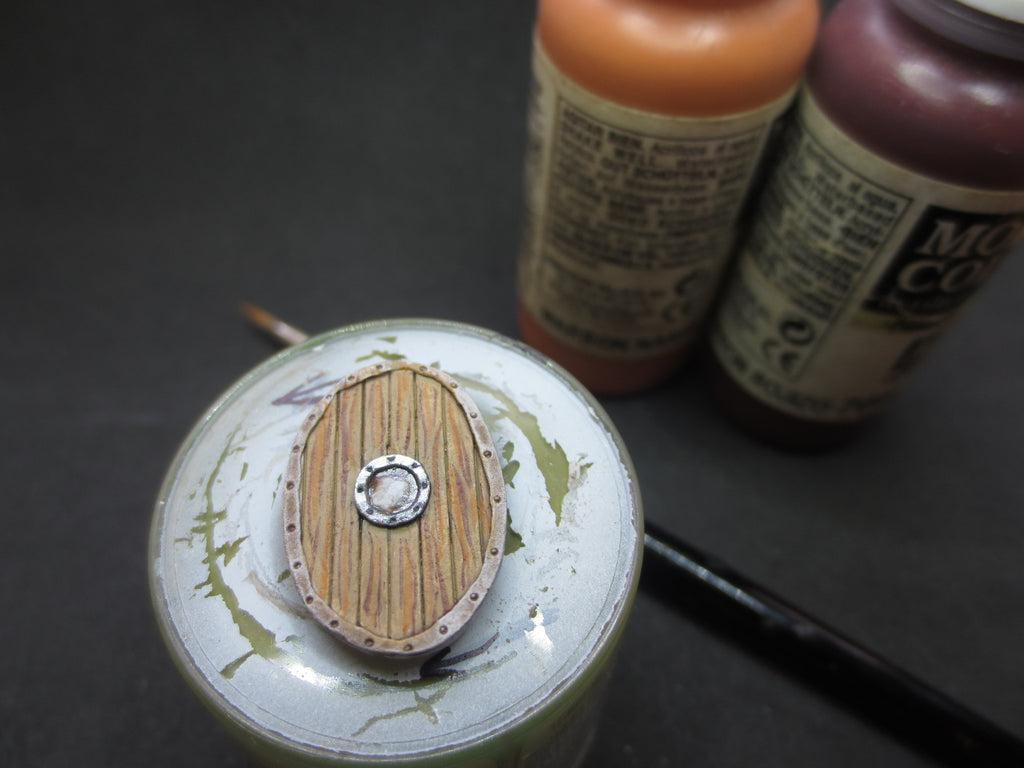
Now you can begin creating the grain.
Use a lighter brown and a fine brush.
Paint thin irregular lines following the direction of the wood.
Avoid drawing perfectly parallel lines.
Some should curve slightly.
Others should disappear.
Some can divide into two lines before reconnecting.
Vary the thickness and length.
You can also create small elongated shapes rather than simple lines.
These suggest deeper patterns inside the timber.
Don’t cover every millimeter.
Leaving areas relatively simple prevents the texture from becoming overwhelming.
The viewer’s eye will fill in much of the missing detail.
Painting Knots in Wood
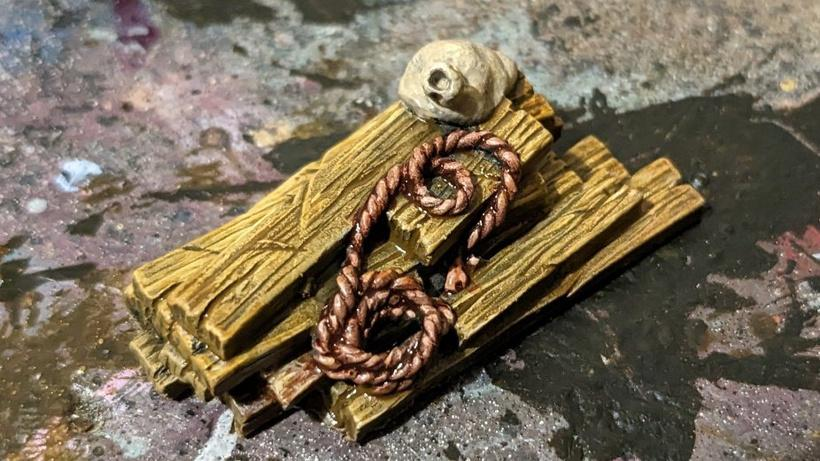
Knots are an excellent way to make wooden surfaces look natural.
Start with a small dark oval or irregular circle.
Then paint curved grain lines flowing around it.
Imagine water moving around a rock.
The surrounding grain should bend around the knot rather than passing directly through it.
Add a lighter brown highlight to one side.
You can place a darker point in the center if you want the knot to appear deeper.
Don’t add knots everywhere.
One or two on a shield or several across a large terrain piece are usually enough.
Too many identical knots create an artificial pattern.
Highlighting Wooden Surfaces
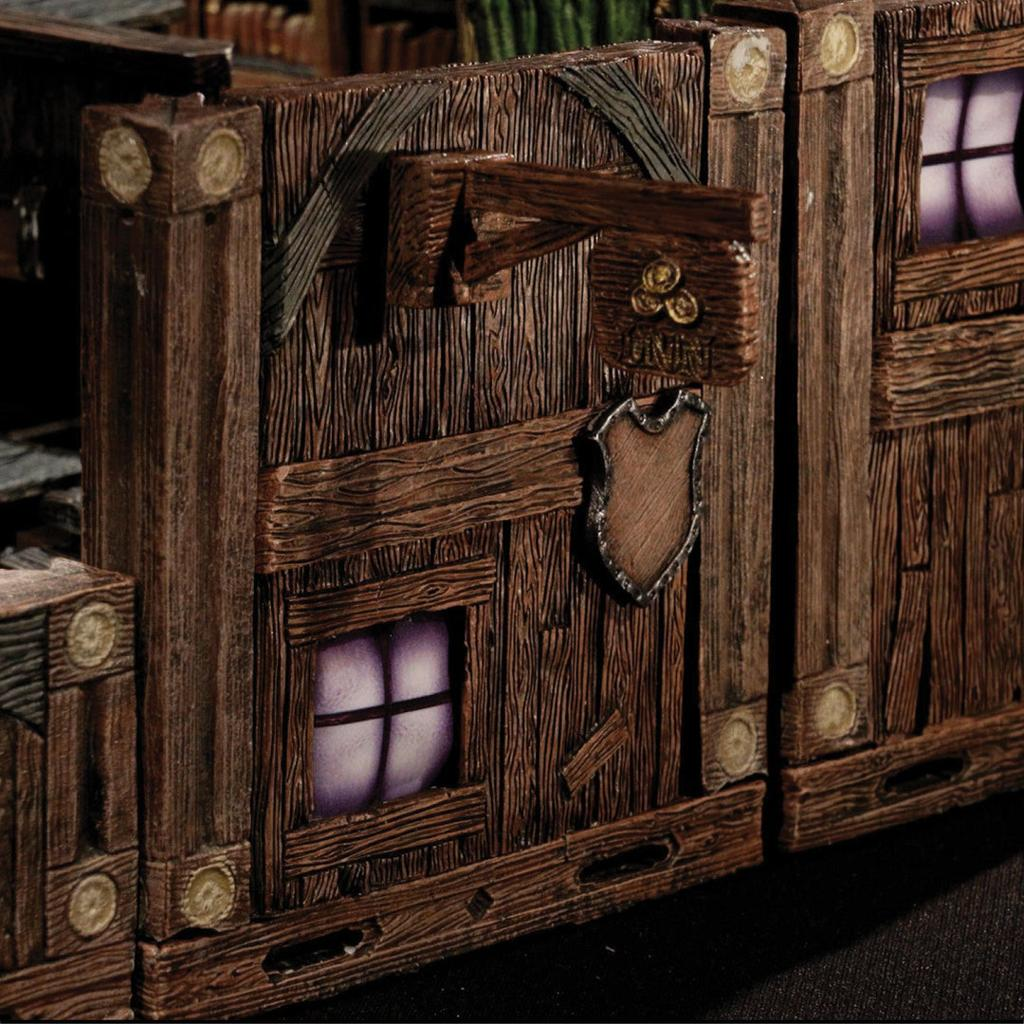
Once the grain is established, reinforce the overall lighting.
Use a lighter brown or tan along exposed edges.
Corners, raised planks, handles, and damaged sections should receive stronger highlights.
You can also highlight selected grain lines.
Don’t brighten every line equally.
Some grain should remain subtle while a few areas catch stronger light.
For extremely worn edges, introduce beige or even a small amount of ivory.
This suggests that repeated contact has removed darker stains and exposed fresh wood underneath.
The combination of painted grain and directional lighting makes the material significantly more convincing.
Painting Wooden Shields
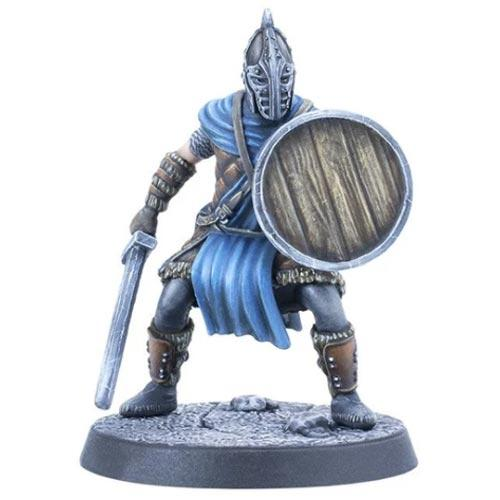
Wooden shields provide an excellent surface for practicing grain.
Start by identifying the individual planks.
Shade the gaps between them strongly.
Then vary the base color slightly from plank to plank.
One board might be slightly warmer.
Another could be darker.
A third could contain more grey.
Keep these differences subtle.
Paint grain independently on each plank while maintaining the correct direction.
Then highlight the exposed edges.
If the shield contains a metal rim, paint it separately and use strong material contrast.
Scratches, dirt, and chipped paint can make a battle-worn shield even more convincing.
Painting Weapon Handles and Staffs
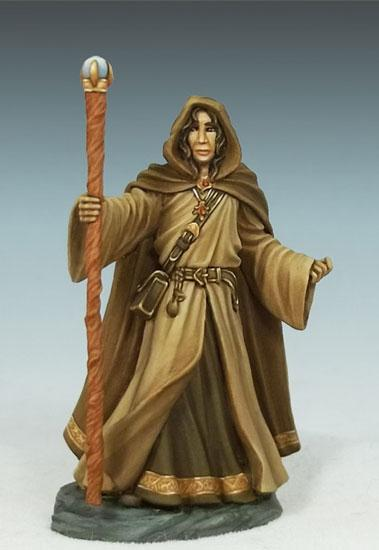
Weapon handles, staffs, bows, and spear shafts require a simpler version of the technique.
Because the surface is narrow, don’t try to paint dozens of grain lines.
Begin with dark brown.
Add several thin lighter streaks following the length of the object.
Then introduce one or two brighter lines on the side facing your light source.
For polished staffs, keep the transitions relatively smooth.
For rough branches, use more irregular texture.
You can also add darker rings, small knots, and subtle color changes.
This is especially effective on wizard staffs and druid weapons where the natural wood should remain visually important.
Painting Barrels and Crates
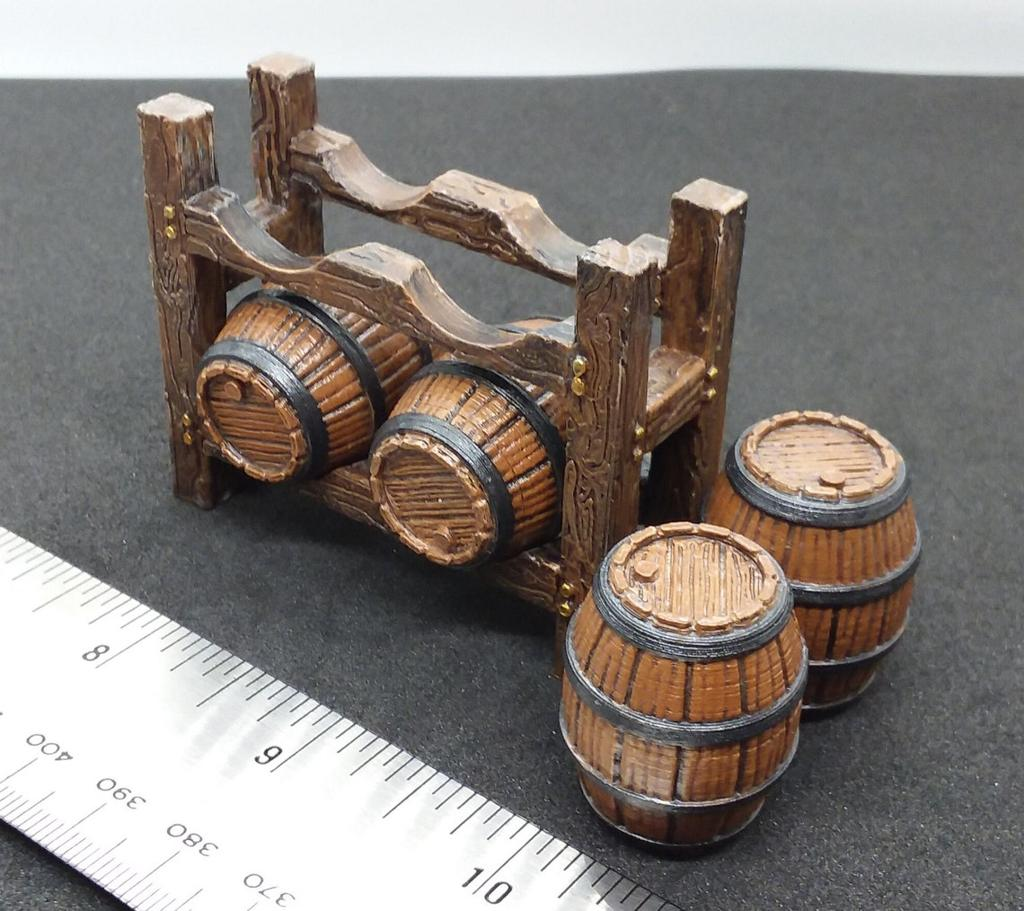
Barrels and crates appear constantly in dungeon scenery.
They are also perfect opportunities for practicing wood quickly.
Begin with a dark brown base coat.
Apply a darker wash.
Then dry brush medium brown across the raised texture.
Follow with a lighter tan dry brush applied more selectively.
For higher-quality results, add several manually painted grain lines afterward.
Barrel boards can vary slightly in color.
Metal bands should be painted separately using dark metallic colors, rust, or weathered iron.
Add scratches and dirt near the bottom.
This makes the object feel like something that has actually been moved around a dungeon or tavern.
Painting Old and Weathered Wood
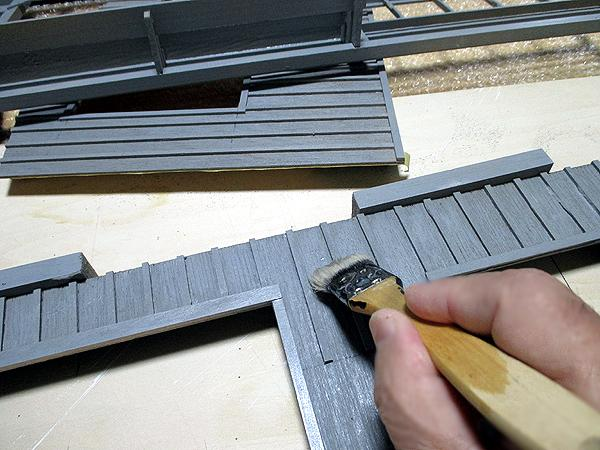
Old wood gradually loses its warm brown appearance.
Sun, moisture, dirt, and age can shift timber toward grey.
Start with dark brown-grey.
Introduce medium grey-brown across the raised surfaces.
Then use pale grey-beige for highlights.
Allow small amounts of the original brown to remain visible.
This creates the impression that the wood has aged rather than simply being painted grey.
You can also add green discoloration around damp areas.
Dark stains near the bottom suggest moisture.
Cracks can be painted almost black with pale highlights along one edge.
This technique works beautifully on abandoned houses, ruined carts, fences, docks, and dungeon doors.
Painting Rotten Wood
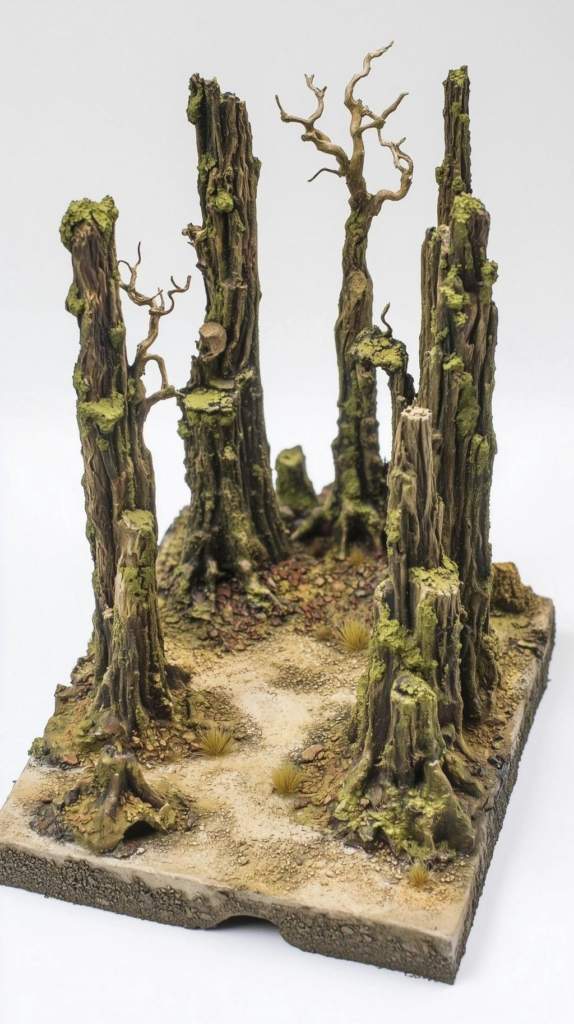
Rotten wood should look darker, softer, and more damaged than ordinary timber.
Use deep brown, black-brown, muted green, and grey.
Concentrate dark colors around cracks and broken areas.
You can stipple green-brown discoloration where moisture has accumulated.
Broken sections should contain strong texture.
Paint the deepest damage almost black.
Then highlight exposed splinters with pale brown or grey-beige.
The contrast between dark rot and lighter broken fibers creates convincing deterioration.
Moss can also be introduced around particularly damp areas.
Keep the distribution irregular.
Painting Scratches and Battle Damage
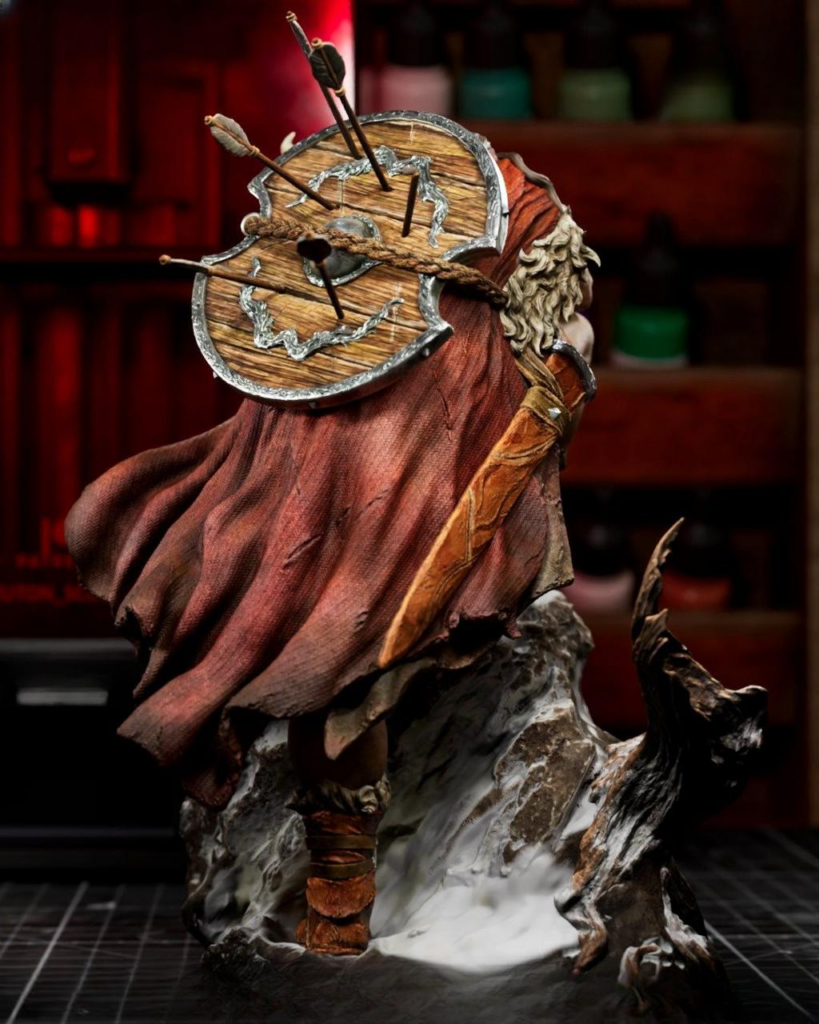
Wooden shields, doors, carts, and weapons often benefit from physical damage.
Start each deep scratch with a thin dark brown line.
Then add a smaller pale line along the lower edge.
This creates the illusion that the surface has been cut.
For deeper damage, use irregular shapes rather than straight lines.
Fresh damage can be painted lighter because newly exposed wood hasn’t yet darkened from dirt and weather.
Old damage should blend more closely with the surrounding surface.
You can also create tiny clusters of scratches around areas that would naturally experience impact.
Painting Burned Wood
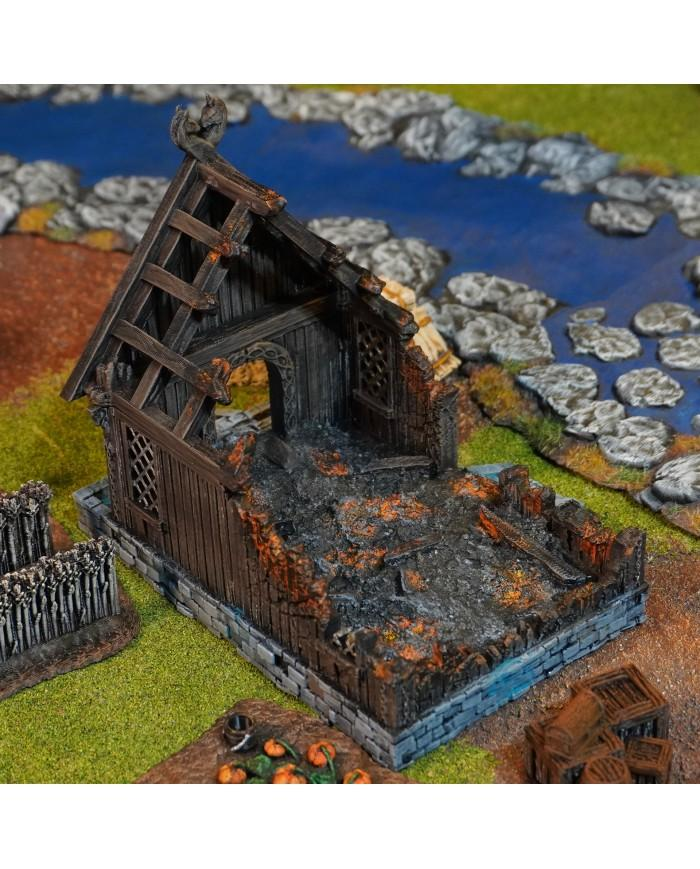
Burned timber can create excellent storytelling on fantasy miniatures and scenery.
Paint the normal wood first.
Then gradually darken the area approaching the burn.
Use dark brown, then brown-black, and finally black.
Avoid creating a perfectly circular black patch.
Fire damage should have irregular boundaries.
You can dry brush grey across some blackened areas to suggest ash.
Near the edge of the damage, warm reddish brown can suggest heat discoloration.
This effect works especially well on burned villages, damaged siege equipment, torches, destroyed doors, and battlefield scenery.
Adding Moss and Dirt to Wood
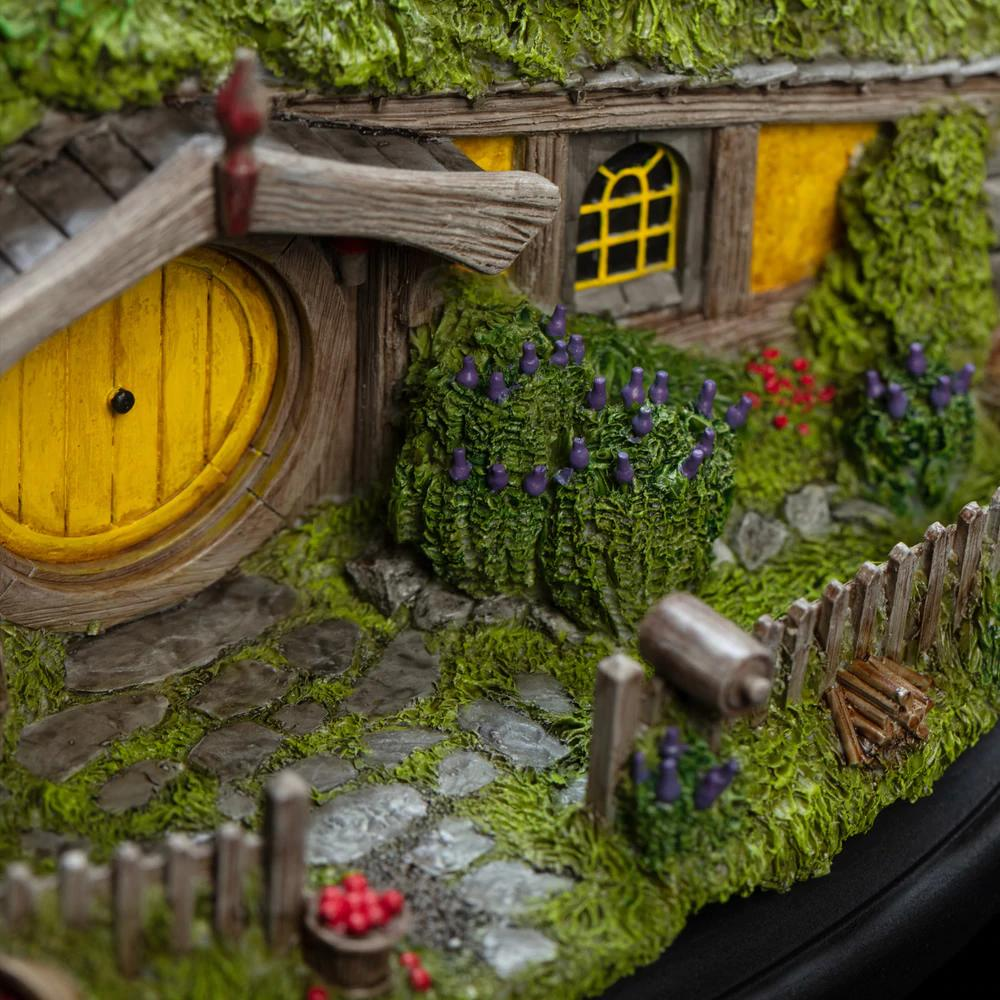
Outdoor wooden structures rarely remain perfectly clean.
Muted green can suggest moss and algae.
Concentrate it around cracks, lower edges, and areas where moisture would remain.
Brown and beige pigments can create dirt and dust.
Don’t cover the entire surface.
Environmental effects should reinforce the structure of the object.
A fence post might have green moss near the ground while remaining relatively clean toward the top.
A dungeon door could contain grime around the bottom and handle.
These details help connect the object to its environment.
Combining Wood with Metal
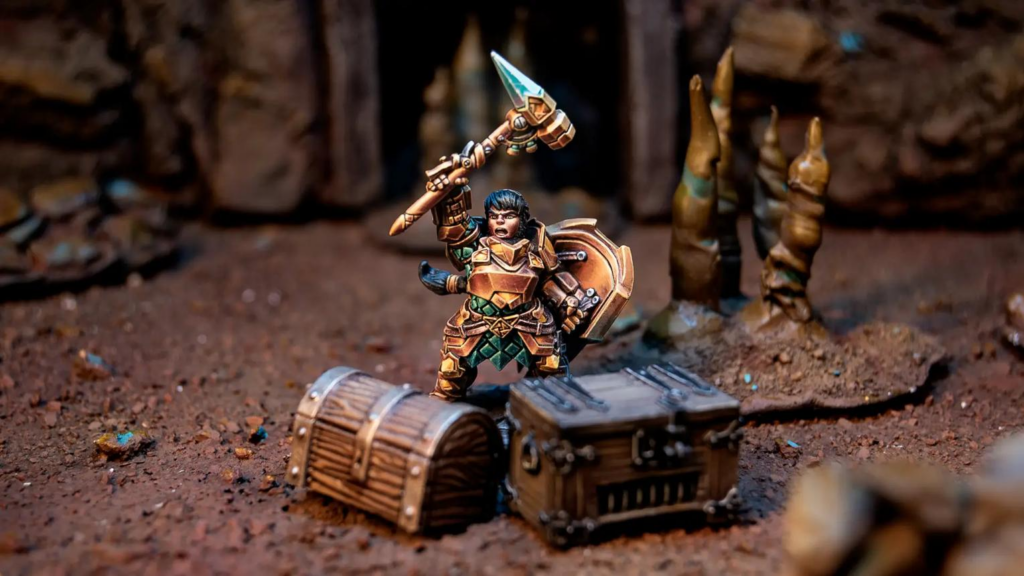
Wood and metal naturally complement each other.
A wooden shield might contain an iron rim.
A chest can have metal hinges.
A spear combines a wooden shaft with a steel blade.
Keep the materials visually distinct.
Wood should contain directional grain and generally softer highlights.
Metal should use sharper reflections and stronger edge highlights.
Rust can spread from metal components onto nearby wood.
Paint subtle orange-brown stains underneath nails, hinges, or bands.
This creates the impression that rain has carried rust down across the timber.
It’s a small detail that adds a surprising amount of realism.
Painting Magical and Fantasy Wood
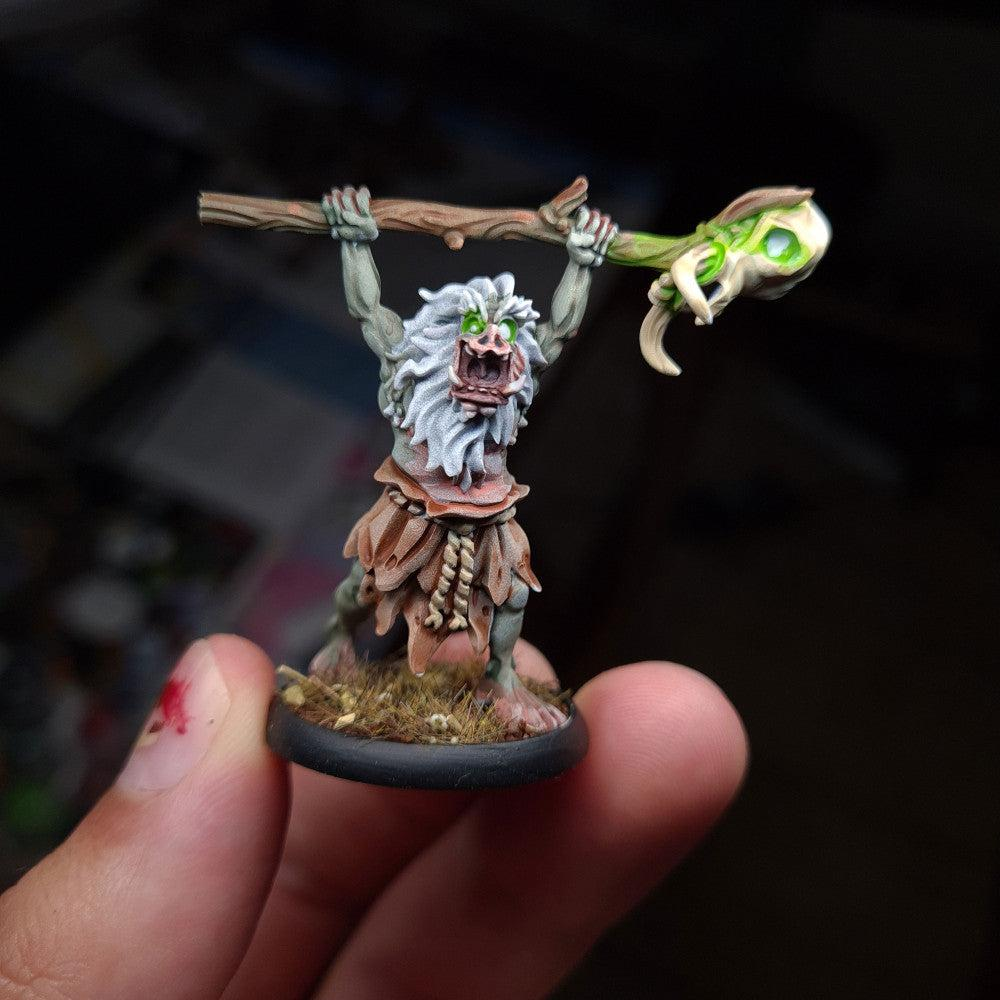
Not every wooden object needs to look natural.
Enchanted forests, magical staffs, and supernatural creatures allow you to experiment.
Dark wood can contain purple shadows.
Elven timber might use pale beige with subtle green tones.
Corrupted wood can include black, purple, and toxic green.
A magical staff can contain glowing runes carved into the surface.
Paint the wood normally first.
Then add the magical effect.
Keeping recognizable wood grain underneath the fantasy colors ensures that the material still reads as timber.
For glowing runes, make the symbols extremely bright and add subtle reflected color to the surrounding wood.
Common Mistakes When Painting Wood
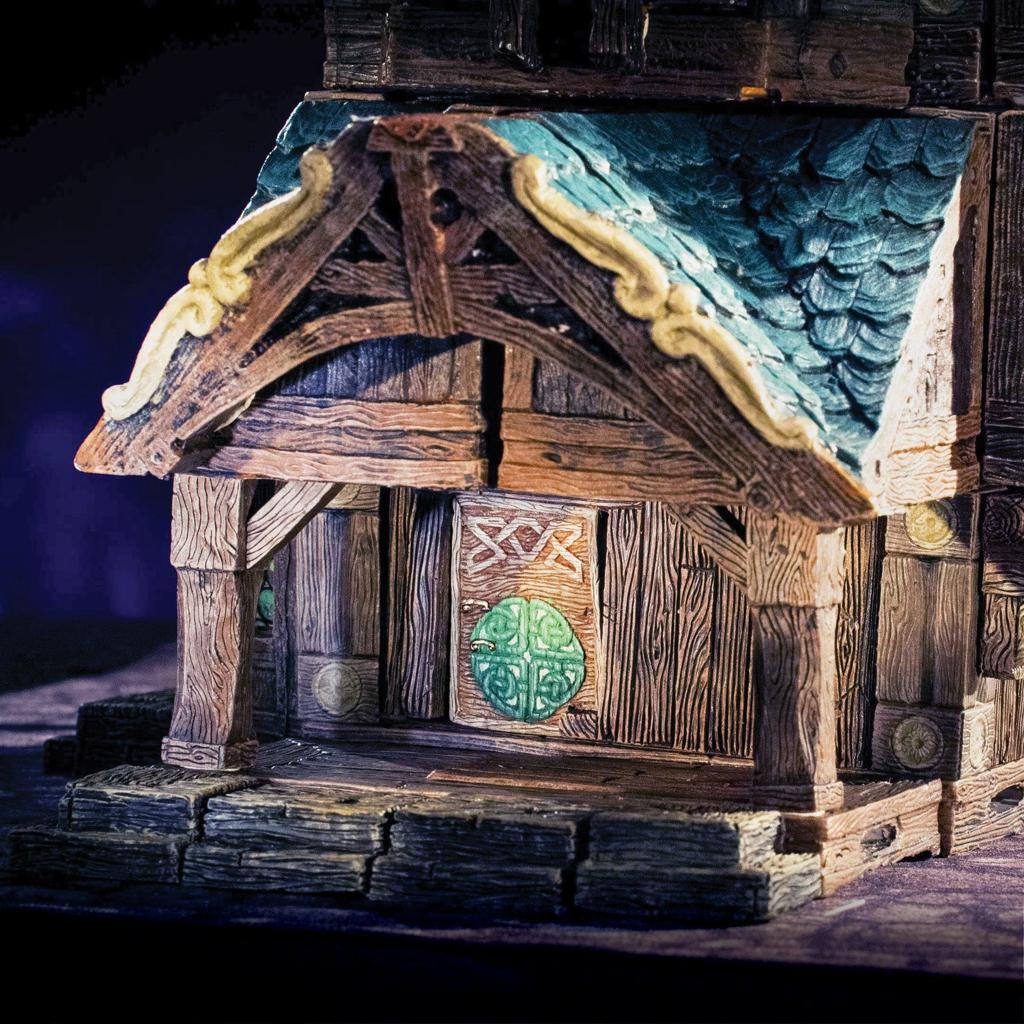
The most common mistake is using one brown across the entire object.
Wood needs variation.
Another problem is painting perfectly straight, evenly spaced grain lines.
Natural grain is irregular.
Avoid making every plank identical.
Slight changes in brightness and color create much more believable wooden structures.
Don’t overuse dry brushing either.
Dry brushing can quickly reveal sculpted grain, but too much creates a dusty surface.
Also remember that grain must follow the direction of the wood.
Finally, consider the environment.
A tavern table, ancient dungeon door, polished bow, and abandoned swamp bridge should not all have identical wood.
Final Thoughts
Painting realistic wood is primarily about direction, variation, and controlled texture.
Start with a darker brown foundation.
Shade the recesses.
Introduce medium brown and tan across raised areas.
Then paint thin irregular grain lines following the direction of the timber.
Add occasional knots, scratches, stains, and worn edges.
For old wood, introduce grey.
For rotten wood, add dark brown, muted green, and damaged texture.
For polished wood, keep the grain cleaner and use smoother highlights.
Most importantly, think about the history of the object.
A newly crafted bow should look very different from a door that has been standing inside an abandoned dungeon for centuries.
These techniques can be used on shields, bows, staffs, weapon handles, barrels, crates, buildings, carts, dungeon furniture, bridges, fences, bases, and almost any other wooden element found on fantasy miniatures.
Once you understand how a few carefully positioned grain lines can change the appearance of a surface, wood becomes one of the fastest and most satisfying materials to paint.
Frequently Asked Questions
What colors should I use to paint realistic wood?
Dark brown, medium brown, tan, beige, and ivory provide a versatile natural wood palette. Grey and muted green are useful for weathered timber.
How do I paint wood grain on a miniature?
Use a fine brush to paint thin irregular lines following the direction of the wood. Vary their length, thickness, and curvature.
Should every plank be the same color?
No. Slight variations between individual boards create a much more natural appearance.
How do I paint old grey wood?
Begin with dark brown-grey, build lighter grey-brown layers, and highlight with pale grey-beige while leaving some warm brown visible.
How do I paint scratches in wood?
Paint a thin dark line and place a smaller pale highlight along one edge to create the illusion of depth.
Is dry brushing good for wooden terrain?
Yes. Dry brushing works very well for quickly revealing sculpted grain, especially on barrels, crates, buildings, and large terrain pieces.
How do I paint rotten wood?
Use dark brown, black-brown, grey, and muted green. Concentrate the darkest colors around damaged and damp areas.
Can wood have magical colors?
Absolutely. Purple shadows, green tones, glowing runes, and supernatural colors can all work as long as the underlying grain remains visible.
If you would like free D&D STL miniatures, visit our homepage and download yours now: