
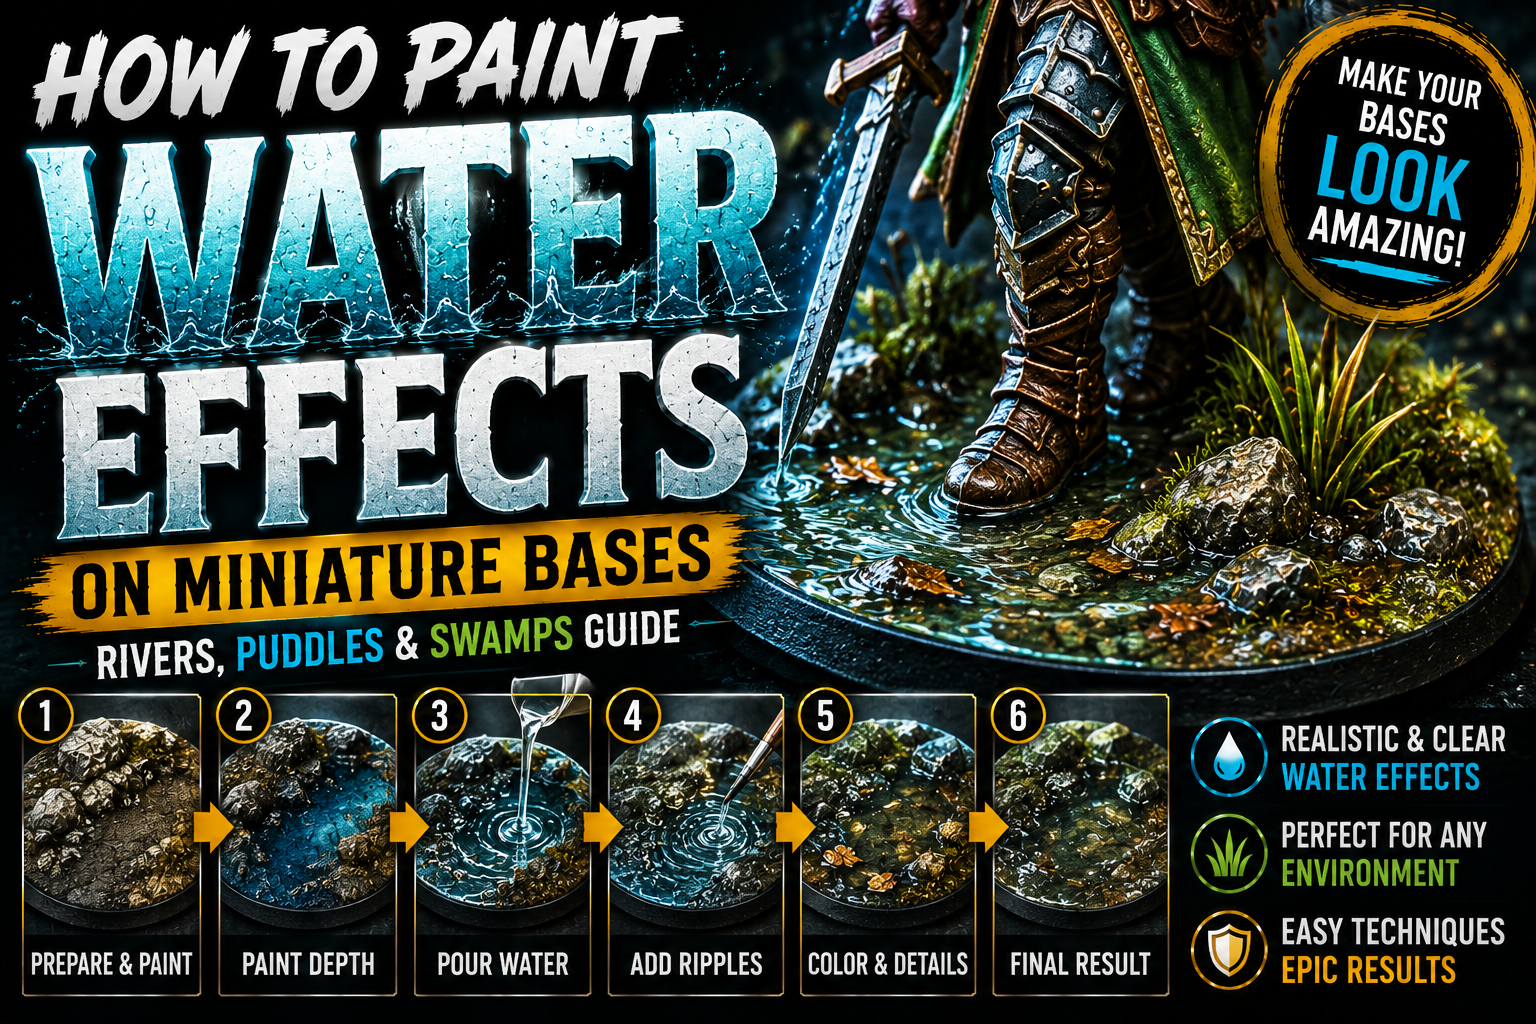
How to Paint Water Effects on Miniature Bases (Realistic Rivers, Puddles & Swamps Guide)

A realistic water base can completely transform a miniature. Whether you’re creating a peaceful forest stream, a muddy swamp, a rain-soaked battlefield, or a crystal-clear magical pond, convincing water effects add depth, realism, and storytelling that immediately stand out on the tabletop.
Many painters stop after painting rocks and dirt, but adding water creates an entirely new level of immersion. The secret isn’t simply pouring clear resin—it’s understanding how water reflects light, interacts with the environment, and naturally collects in low areas.
In this guide, you’ll learn how to paint and create realistic water effects for miniature bases using layering, color transitions, and finishing techniques.
Understanding Real Water

Before creating water, observe it in nature.
Shallow water is often almost transparent, allowing rocks and sand beneath to remain visible. Deeper water becomes darker, reflecting the sky and surrounding landscape.
Water is rarely a single color. It constantly changes depending on depth, lighting, and what lies underneath.
Studying real streams, ponds, and rivers will dramatically improve your miniature bases.
Choosing the Right Color Palette

Your palette depends on the environment.
Popular combinations include:
- Crystal Blue
- Turquoise
- Deep Blue
- Olive Green
- Mud Brown
- Dark Grey
Paint the base underneath first, since the transparent water layer will reveal those colors later.
Preparing the Base

Before adding any water effect, finish the surrounding terrain.
Paint rocks, dirt, vegetation, and sand completely before pouring resin or applying water products.
Make sure the area is sealed to prevent leaks.
Good preparation is the foundation of a convincing water scene.
Painting Depth Before Adding Water

Realistic depth begins with paint.
Apply darker colors to the deepest areas and gradually blend into lighter tones near the edges.
This creates the illusion that the water becomes deeper toward the center.
Even a thin layer of clear resin will appear surprisingly deep when painted correctly underneath.
Creating Clear Water

Once the painted base has dried, apply your preferred clear water product.
Pour slowly to avoid trapping bubbles.
If bubbles appear, remove them carefully before the material fully cures.
Multiple thin layers often produce better clarity than one thick pour.
Patience results in crystal-clear water.
Adding Ripples and Movement

Not all water should look perfectly still.
Streams, rivers, and magical pools benefit from gentle ripples.
Use transparent water gel or texture paste to sculpt subtle waves after the clear layer has cured.
Keep the movement consistent with the direction of the current.
Small ripples often look more realistic than dramatic waves.
Painting Swamps and Magical Water

Fantasy settings allow creative freedom.
Swamps often combine green and brown tones with floating leaves, moss, and muddy edges.
Magical pools can feature glowing blue, purple, or emerald colors beneath the water.
Adding tiny plants, roots, or stones beneath the surface creates incredible realism.
Common Mistakes to Avoid

Avoid these common mistakes:
- Pouring water over an unfinished base.
- Using one flat color underneath.
- Making every pond perfectly smooth.
- Ignoring surrounding vegetation.
- Pouring resin too thick.
- Forgetting depth gradients.
Natural water is constantly changing and rarely looks perfectly uniform.
Final Thoughts
Water effects are one of the most satisfying ways to elevate a miniature base. By combining thoughtful painting, transparent materials, subtle color variation, and realistic textures, you can create rivers, puddles, marshes, magical pools, and lakes that immediately capture attention.
Whether you’re painting a lone adventurer crossing a stream or an ancient dragon emerging from a swamp, convincing water effects help tell a richer story.
Frequently Asked Questions
What’s the easiest water effect for beginners?
A shallow puddle is the simplest project because it requires very little resin and allows you to practice painting depth.
Should I paint the base before adding water?
Yes. The colors underneath create the illusion of depth once the transparent water layer is applied.
How do I avoid bubbles in clear resin?
Pour slowly, use thin layers, and remove bubbles before the resin cures.
Can I make magical glowing water?
Absolutely. Blue, green, purple, or turquoise paints beneath the clear layer create fantastic magical effects.
What’s the biggest mistake when creating water effects?
Skipping the painted depth underneath. Transparent water looks flat without carefully planned color transitions.
If you would like free D&D STL miniatures, visit our homepage and download yours now:https://echoartstudios.net/