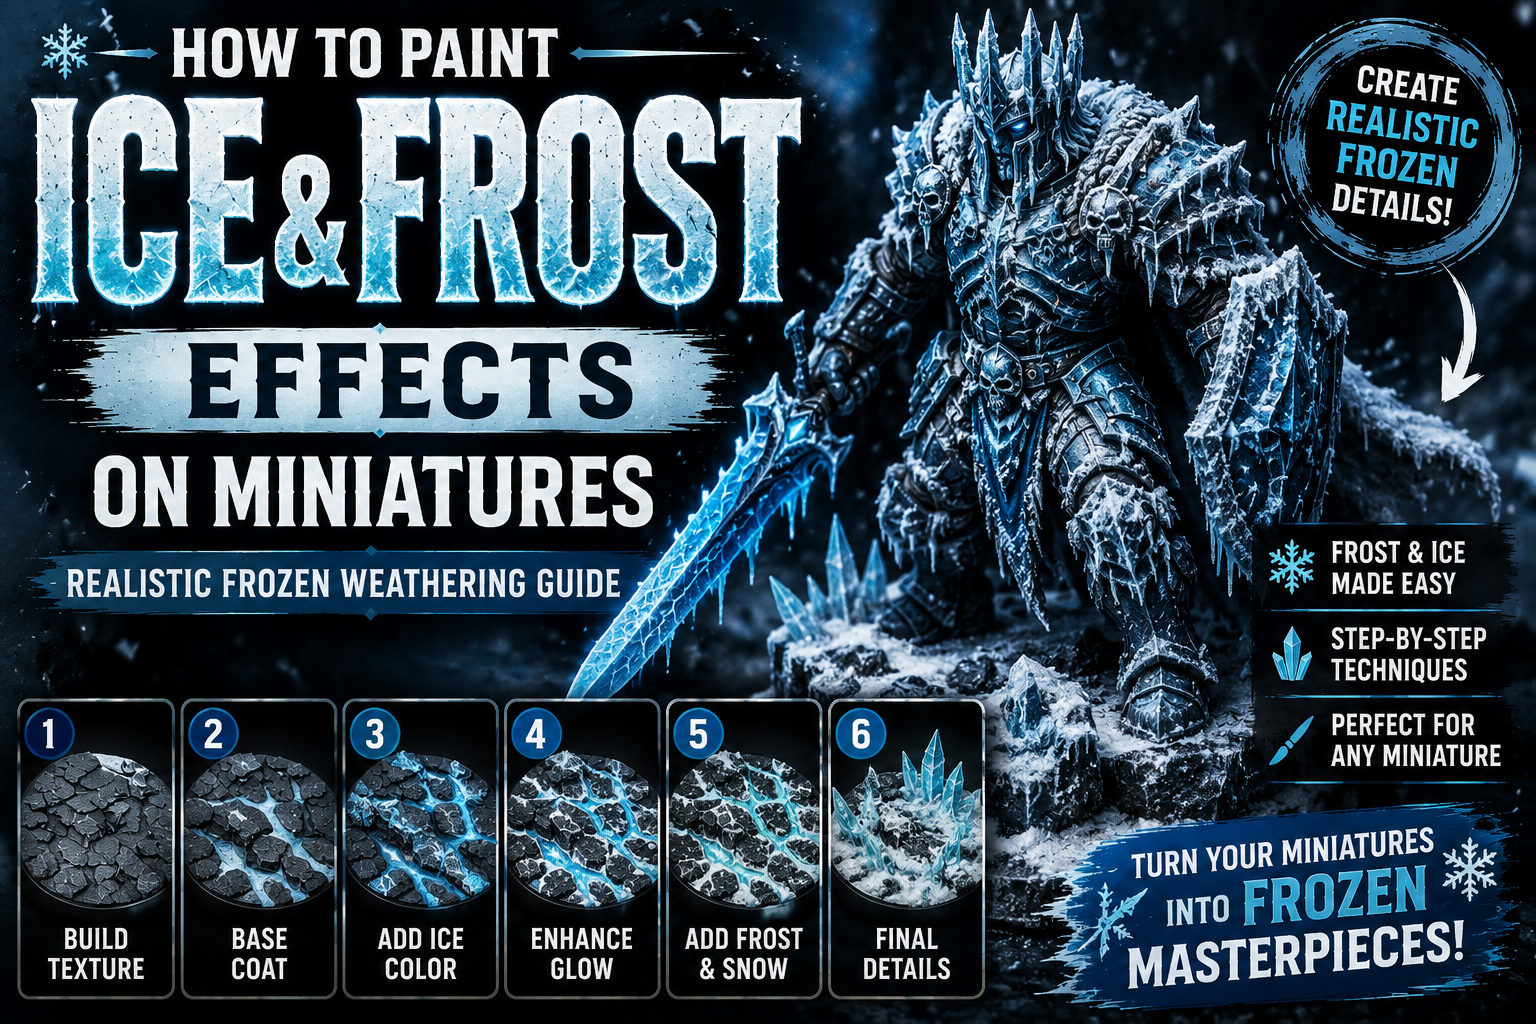
How to Paint Ice and Frost Effects on Miniatures (Realistic Frozen Weathering Guide)

Winter-themed miniatures have a unique presence on the tabletop. Frost-covered armor, frozen weapons, and icy bases instantly create the feeling of an unforgiving environment, making characters appear as if they’ve marched through blizzards or emerged from ancient frozen ruins.
The biggest mistake painters make is using only blue and white. Real ice contains subtle greys, turquoise reflections, transparent edges, and soft transitions that give it depth. Frost behaves differently from snow, forming thin crystalline layers that catch light in unique ways.
In this guide, you’ll learn how to paint realistic ice and frost effects for fantasy miniatures using simple techniques suitable for both beginners and experienced painters.
Understanding Ice and Frost

Ice and frost are often confused, but they create different visual effects.
Solid ice appears smooth, translucent, and reflective. Frost forms as tiny crystals that settle on exposed surfaces, creating a soft, textured appearance.
Think about where cold naturally accumulates. Frost develops around armor edges, shields, weapons, cloaks, hair, and the tops of boots, while thick ice usually forms on stationary objects or magical weapons.
Studying frozen rocks, tree branches, and icicles provides excellent inspiration before painting.
Choosing the Right Color Palette

A realistic frozen palette relies on cool tones.
Use colors such as:
- White
- Ice Blue
- Light Grey
- Turquoise
- Pale Blue
- Dark Blue
Avoid making every surface bright blue. Most frozen objects are actually light grey or white with subtle blue reflections.
Thin layers help preserve smooth transitions and create the illusion of transparency.
Painting Frozen Weapons

Begin by painting the weapon using your normal metallic or grey colors.
Next, apply thin glazes of light blue across the blade while leaving parts of the original metal visible. Concentrate brighter blue near the center of the blade and soften the transitions toward the edges.
Finish with thin white highlights along the sharpest edges to create the appearance of frozen steel reflecting cold light.
Small cracks painted with pale blue add even more realism.
Creating Frost on Armor

Frost should appear subtle rather than completely covering the armor.
Use a dry brush loaded with very little white paint to gently catch raised edges and decorative details. Follow with thin blue glazes around deeper recesses to suggest cold reflected light.
Focus frost where moisture would naturally settle, such as helmet crests, shoulder plates, gauntlets, and shield rims.
This restrained approach creates a convincing frozen effect without hiding the sculpted details.
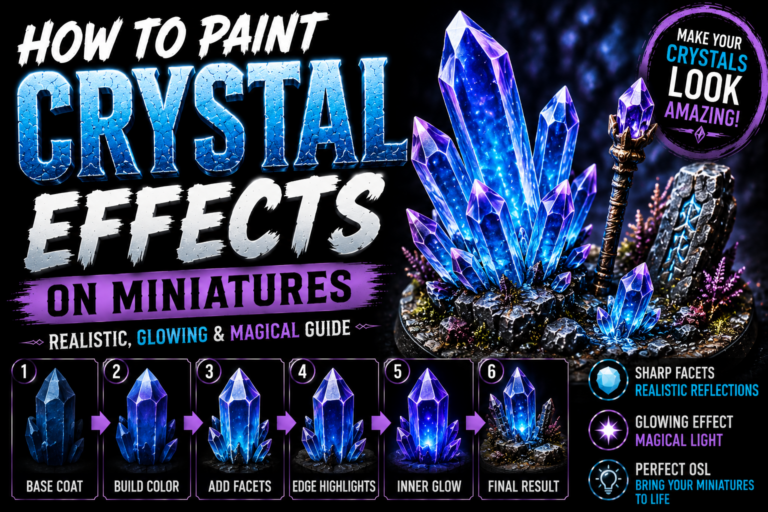
Painting Ice Crystals

Ice crystals make excellent details for bases and magical scenery.
Paint them from dark blue at the base toward light blue and finally white at the tips. Sharp edge highlights help each crystal appear transparent and reflective.
Applying a gloss varnish after painting enhances the illusion of real ice without changing the surrounding matte finish of the miniature.
Clusters of different crystal sizes create a more natural appearance.
Building a Frozen Base

A frozen base completes the story.
Combine textured snow with patches of exposed ice, scattered rocks, and frozen puddles. Keep the snow uneven rather than perfectly flat, allowing footprints, cracks, or exposed ground to break up the surface.
Small icicles hanging from rocks or ruined structures add another layer of realism while reinforcing the harsh environment.
Adding Magical Frozen Glow

Magic ice often emits a subtle glow.
Thin pale blue into a glaze and gently apply it around enchanted weapons, crystal formations, or magical runes. Concentrate the strongest glow closest to the light source and gradually fade it into nearby surfaces.
Keeping the glow soft prevents it from overpowering the miniature while still suggesting magical energy.
Common Mistakes to Avoid

Avoid these common mistakes:
- Using only bright blue.
- Painting frost too heavily.
- Forgetting white highlights.
- Making ice completely opaque.
- Covering every surface with snow.
- Ignoring natural light reflections.
Balanced colors and restrained weathering create much more believable frozen effects.
Final Thoughts
Ice and frost effects are all about subtlety. Gentle blue reflections, crisp white highlights, and carefully placed weathering can transform an ordinary miniature into a hero battling through frozen wastelands or defending an ancient glacier fortress.
With practice, you’ll learn to combine smooth transitions, realistic textures, and controlled lighting to create winter-themed miniatures that immediately stand out on the tabletop.
Frequently Asked Questions
What’s the difference between ice and frost?
Ice is smooth and translucent, while frost consists of tiny crystals that settle on exposed surfaces.
Should I use gloss varnish?
Gloss varnish works well on ice crystals, frozen water, and magical ice, but most frost effects look better with a matte finish.
What colors make realistic ice?
White, light grey, pale blue, turquoise, and small amounts of dark blue create the most convincing frozen effects.
Can I add frost to any miniature?
Yes. Frost works especially well on warriors, monsters, dragons, undead, and winter-themed terrain.
How do I make ice look transparent?
Use thin glazes, preserve smooth transitions, and finish with crisp white highlights on the edges.
If you would like free D&D STL miniatures, visit our homepage and download yours now:https://echoartstudios.net/