How to Paint Glowing Runes on Miniatures (Magical Symbols & OSL Guide)

Glowing runes are one of the easiest ways to make a fantasy miniature feel genuinely magical. Whether they’re carved into an ancient sword, engraved across a warrior’s armor, glowing from a wizard’s staff, or hidden inside forgotten dungeon ruins, illuminated symbols immediately attract attention.
The secret isn’t simply painting the runes with a bright color. To make them appear to actually emit light, you need strong contrast, a bright inner core, smooth color transitions, and subtle Object Source Lighting (OSL) on the surrounding surfaces.
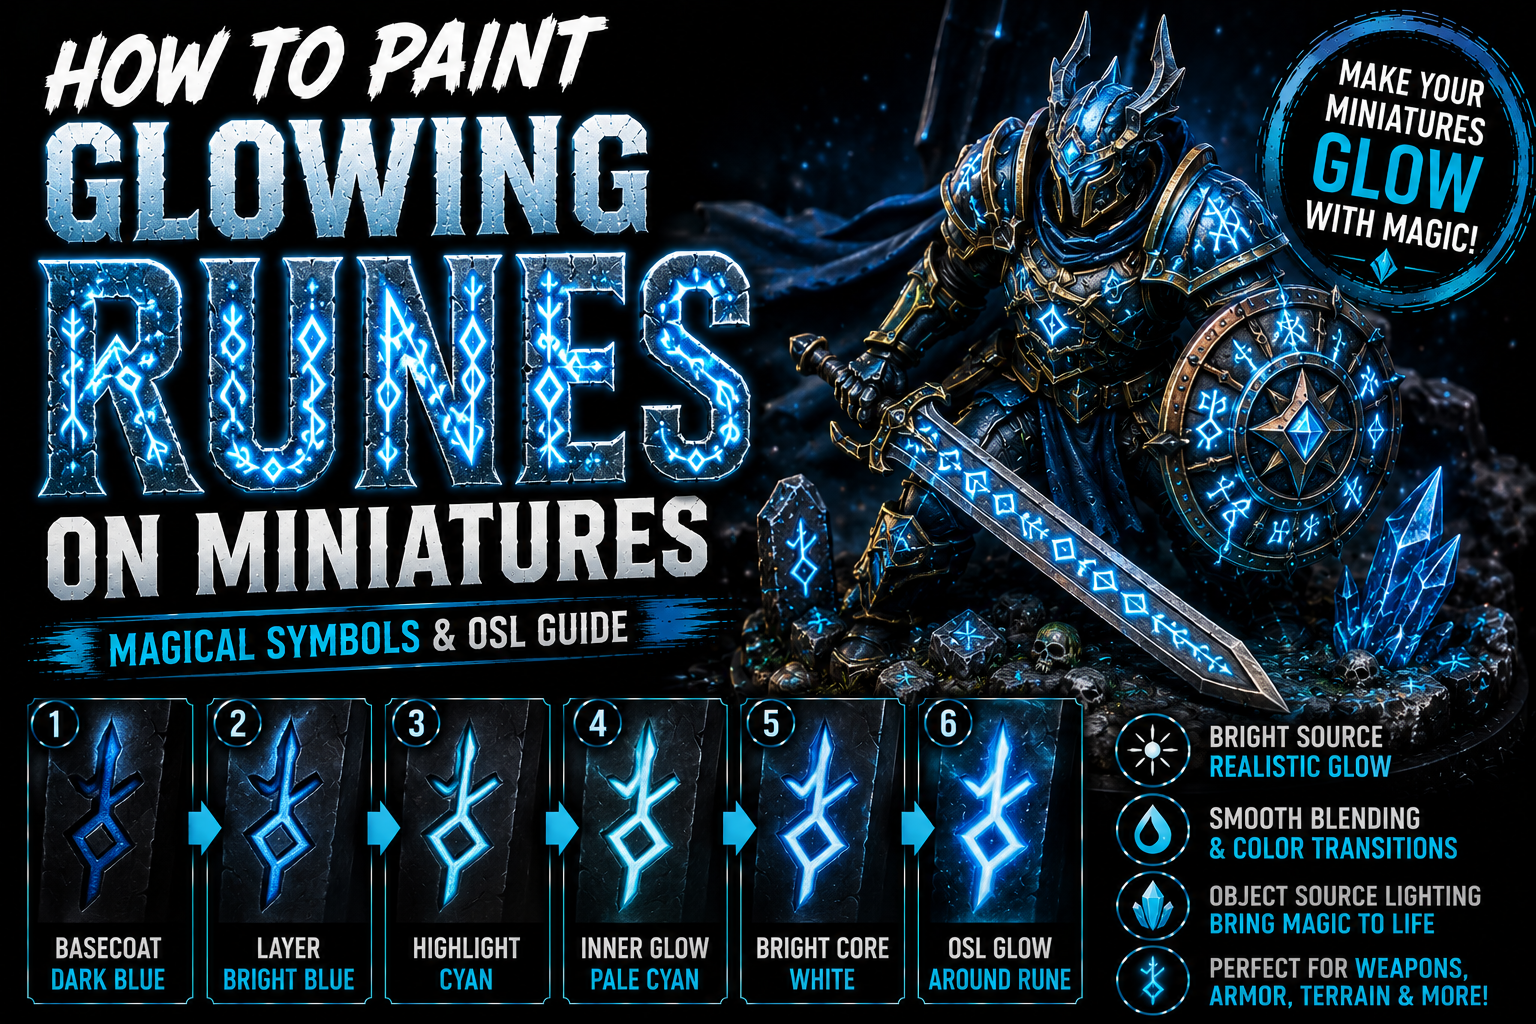
In this guide, you’ll learn how to paint realistic glowing runes on miniatures using layering, glazing, highlights, and simple OSL techniques.
Understanding How Glowing Runes Work

Think of each rune as a tiny light source embedded inside the miniature.
The center should contain the brightest color, while the surrounding glow gradually becomes weaker as it moves away from the symbol.
A convincing glowing rune usually contains three areas:
- Extremely bright inner core
- Saturated magical color around the core
- Soft reflected light on nearby surfaces
The difference in brightness between these areas creates the illusion that the rune is producing real light.
Choosing Your Rune Colors

Different colors can completely change the personality of your miniature.
Popular combinations include:
- Blue and Cyan – Arcane Magic
- Green – Necromancy or Corruption
- Purple – Ancient Sorcery
- Red – Demonic or Fire Magic
- Gold – Divine Energy
- Turquoise – Mystical or Elven Magic
Whatever color you choose, prepare several variations ranging from dark and saturated to extremely bright.
For blue runes, for example:
Dark Blue → Electric Blue → Cyan → Pale Cyan → White
This progression creates convincing depth.
Painting the Rune Base

Finish painting the surrounding object before beginning your runes.
If they’re carved into armor, complete the metal first. If they’re engraved into stone, finish your stone texture and weathering before adding magical light.
Then carefully fill the rune with a dark version of your chosen color.
Use thin paint and a fine brush so the original sculpted details remain visible.
Don’t worry about creating the glow yet.
At this stage, concentrate on making every symbol clean and readable.
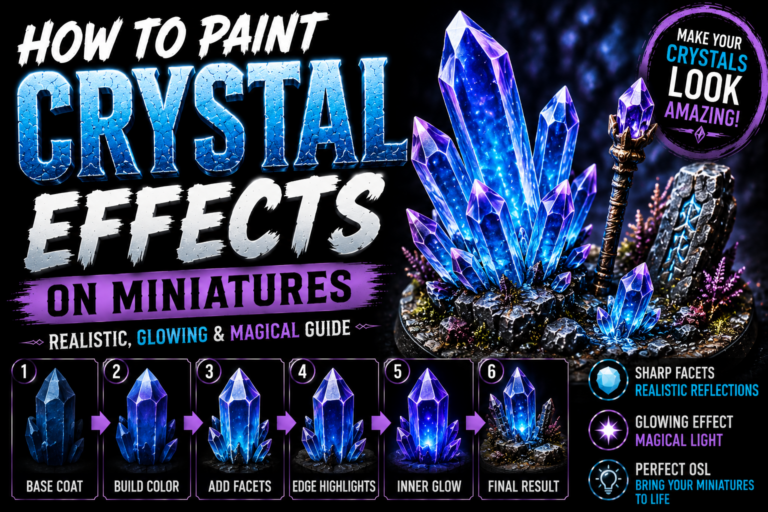
Building the Inner Glow
Once your base color has dried, begin increasing the brightness.
Paint a lighter color inside the previous layer while leaving some of the darker color visible around the edges.
Continue making each new highlight progressively smaller.
For a blue rune, you could use:
Dark Blue → Blue → Cyan → Pale Blue → White
Reserve pure white for extremely small areas inside the rune.
This tiny white core creates the illusion of intense magical energy.
Creating Object Source Lighting

Now it’s time to make the rune actually appear illuminated.
Thin your main magical color into a transparent glaze and gently apply it around the symbol.
The strongest reflected light should appear directly beside the rune.
As the light moves farther away, gradually reduce its intensity.
Don’t completely cover the original surface underneath.
Metal should still look metallic. Stone should still look like stone.
The colored glaze represents light falling onto the material rather than replacing its original color.
Painting Glowing Runes on Weapons

Swords, axes, hammers, and staffs are perfect surfaces for glowing symbols.
Runes can follow the center of a sword blade, surround the head of a warhammer, or appear carved into an ancient magical staff.
Because weapons often contain reflective surfaces, even small amounts of OSL can create dramatic results.
Allow some magical color to reflect along nearby edges while keeping the brightest point inside the rune itself.
This makes the weapon appear genuinely enchanted.
Painting Runes on Armor and Shields

Armor gives you much more space to experiment with magical lighting.
Runes can appear across shoulder plates, helmets, shields, gauntlets, and chest armor.
Pay attention to the shape of each surface.
Light spreading across a curved shoulder plate should follow that curve, while a rune on a flat shield creates a more symmetrical glow.
Following the physical shape of the miniature dramatically improves the realism of your OSL.
Painting Ancient Runestones and Dungeon Terrain

Glowing symbols work incredibly well on terrain.
Ancient temples, dungeon walls, magical portals, statues, standing stones, and forgotten ruins can all benefit from illuminated inscriptions.
Start with a dark environment and introduce bright runes afterward.
The contrast between old weathered stone and intense magical light creates a powerful fantasy atmosphere.
You can even apply subtle colored glazes to nearby rocks and ground surfaces to make the entire scene react to the magical energy.
Making Your Runes Look More Powerful

If your runes don’t look bright enough, adding more white isn’t always the solution.
Increase the contrast instead.
Darken the surrounding areas slightly while keeping the center extremely bright.
A tiny white highlight surrounded by saturated cyan can appear much brighter than a large area covered entirely with white.
Contrast is one of the most important tools when painting magical light.
Common Mistakes to Avoid

Avoid these common mistakes:
- Making the surrounding glow brighter than the rune.
- Spreading OSL too far across the miniature.
- Using thick, opaque paint for reflected light.
- Making every rune equally bright.
- Skipping the white inner highlight.
- Ignoring the shape of nearby surfaces.
Remember that the rune itself is always the source of the light.
Everything surrounding it should become progressively darker.
Final Thoughts
Glowing runes can completely change the appearance of a fantasy miniature.
The technique is based on a simple principle: bright source, softer surrounding light.
Start with a saturated base color, gradually build brighter layers toward the center, finish with tiny white highlights, and then use transparent glazes to create reflected light around the symbol.
These techniques work beautifully on enchanted swords, magical armor, shields, wizard staffs, ancient ruins, dungeon terrain, portals, and countless D&D miniatures.
Once you master glowing runes, you’ll have a powerful technique for making almost any fantasy miniature look more magical and dramatic.
Frequently Asked Questions
What’s the easiest color for glowing runes?
Blue and cyan are excellent choices because they transition naturally from dark blue into bright white.
Should the center of the rune be white?
The brightest portions should contain tiny white highlights, but the surrounding color should remain visible.
Can I paint glowing runes without an airbrush?
Absolutely. Thin glazes applied with a regular brush can create excellent OSL.
How far should the glow extend?
Usually only a short distance. Magical light should become weaker quickly as it moves away from the rune.
Can I use this technique on dungeon terrain?
Yes. Runestones, portals, dungeon walls, statues, and ancient ruins are perfect surfaces for glowing symbols.
What’s the biggest mistake when painting glowing runes?
Making the glow equally bright everywhere instead of maintaining a very bright source surrounded by progressively weaker light.
If you would like free D&D STL miniatures, visit our homepage and download yours now:
https://echoartstudios.net/