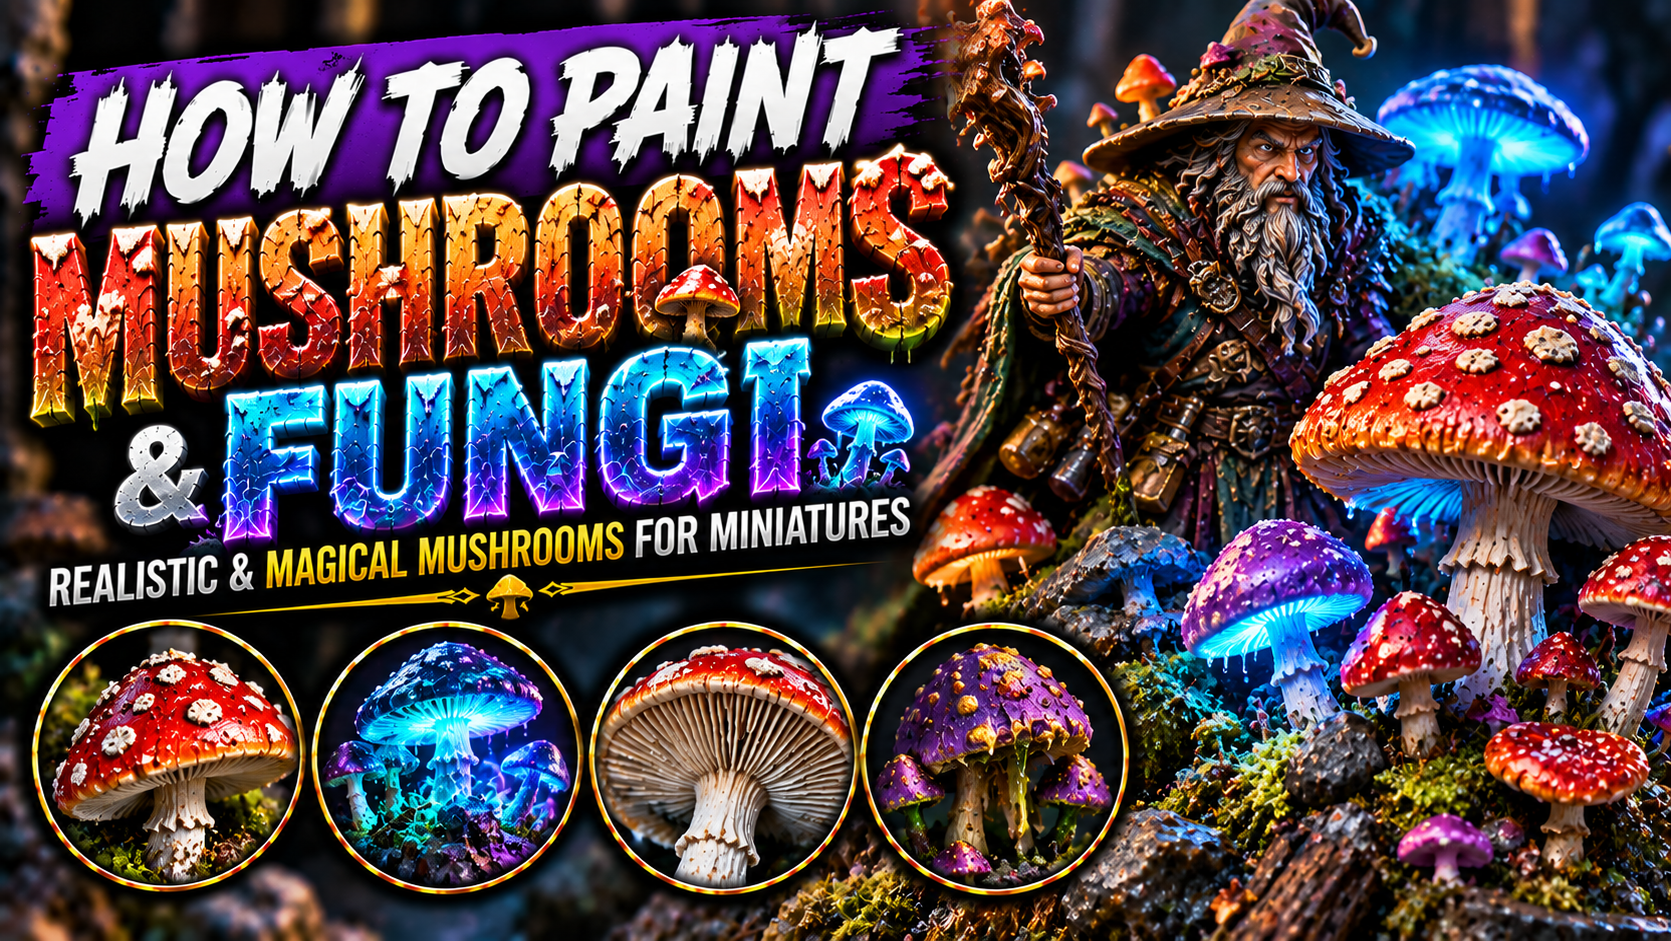
How to Paint Mushrooms and Fungi on Miniatures (Realistic & Magical Fantasy Fungi Guide)
Mushrooms are one of the easiest ways to transform an ordinary miniature base into a mysterious fantasy environment.
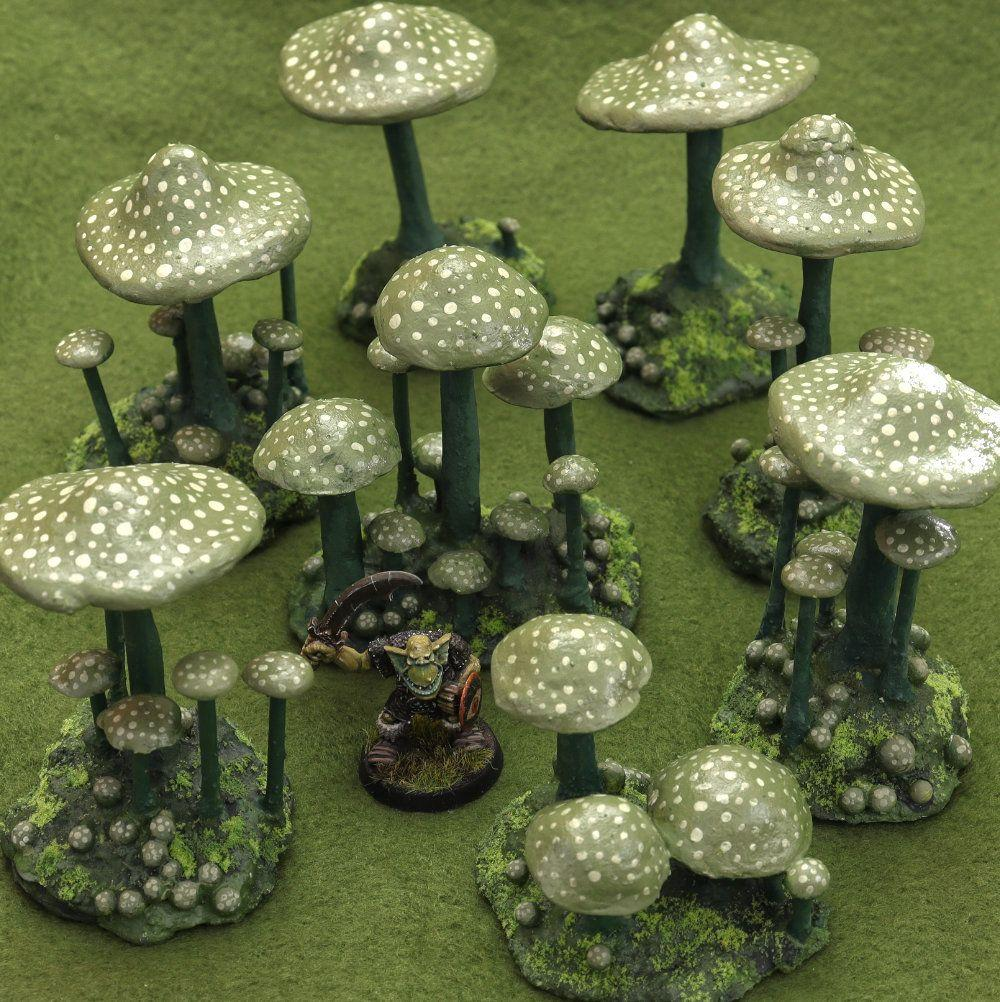
They can appear in enchanted forests, underground caves, abandoned ruins, swamps, corrupted dungeons, Underdark environments, or around ancient monsters and creatures.
And unlike ordinary vegetation, mushrooms give painters enormous creative freedom.
They can be natural brown and beige, poisonous red and white, pale and decaying, covered in slime, or glowing with intense blue, purple, turquoise, and green magical light.
The biggest mistake when painting mushrooms is treating the entire mushroom as one simple color.
Real fungi contain subtle gradients, translucent edges, spots, texture, discoloration, and strong differences between the cap, stem, and gills underneath.
In this guide, you’ll learn how to paint realistic mushrooms, poisonous fungi, glowing fantasy mushrooms, mushroom clusters, gills, spots, slime, decay, and magical fungal environments for your miniatures.
Understanding Mushroom Shapes and Surfaces
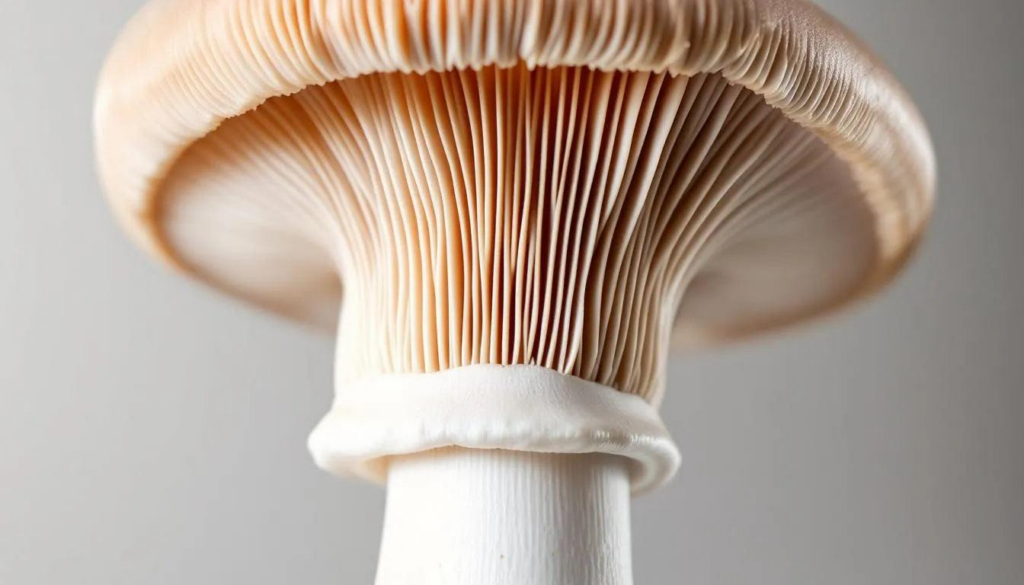
Before choosing colors, look at how mushrooms are constructed.
Most recognizable mushrooms contain three important areas:
Cap → Gills → Stem
The cap is usually the most colorful part.
The underside contains gills or pores, which often create strong natural texture.
The stem tends to be lighter and more desaturated.
Fantasy mushrooms can exaggerate all of these characteristics.
Caps can become enormous.
Stems can twist into strange shapes.
Gills can glow.
Multiple mushrooms can grow together into large colonies.
Understanding these separate surfaces helps prevent the entire mushroom from looking like one solid piece of plastic.
Choosing a Mushroom Color Palette
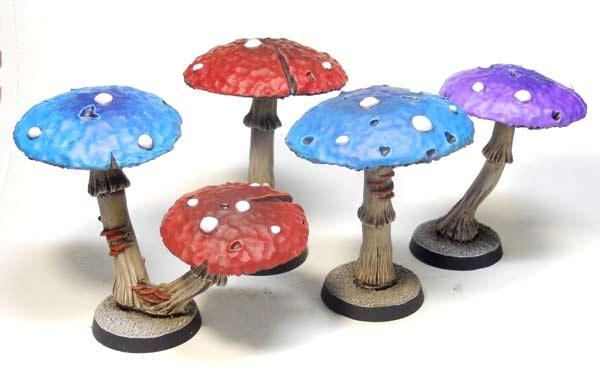
Natural mushrooms offer an enormous range of colors.
Common palettes include:
Dark Brown → Brown → Tan → Beige
Dark Red → Red → Orange-Red → Pale Orange
Grey-Brown → Grey → Cream → Ivory
Fantasy mushrooms can go much further:
Dark Purple → Purple → Magenta → Pink
Dark Blue → Turquoise → Cyan → White
Black-Green → Emerald → Lime → Yellow-Green
Try to maintain enough contrast between the cap and stem.
If both use identical colors, the structure becomes harder to read.
A strong dark-to-light progression also helps tiny mushrooms remain visible on tabletop miniatures.
Painting Natural Brown Mushrooms
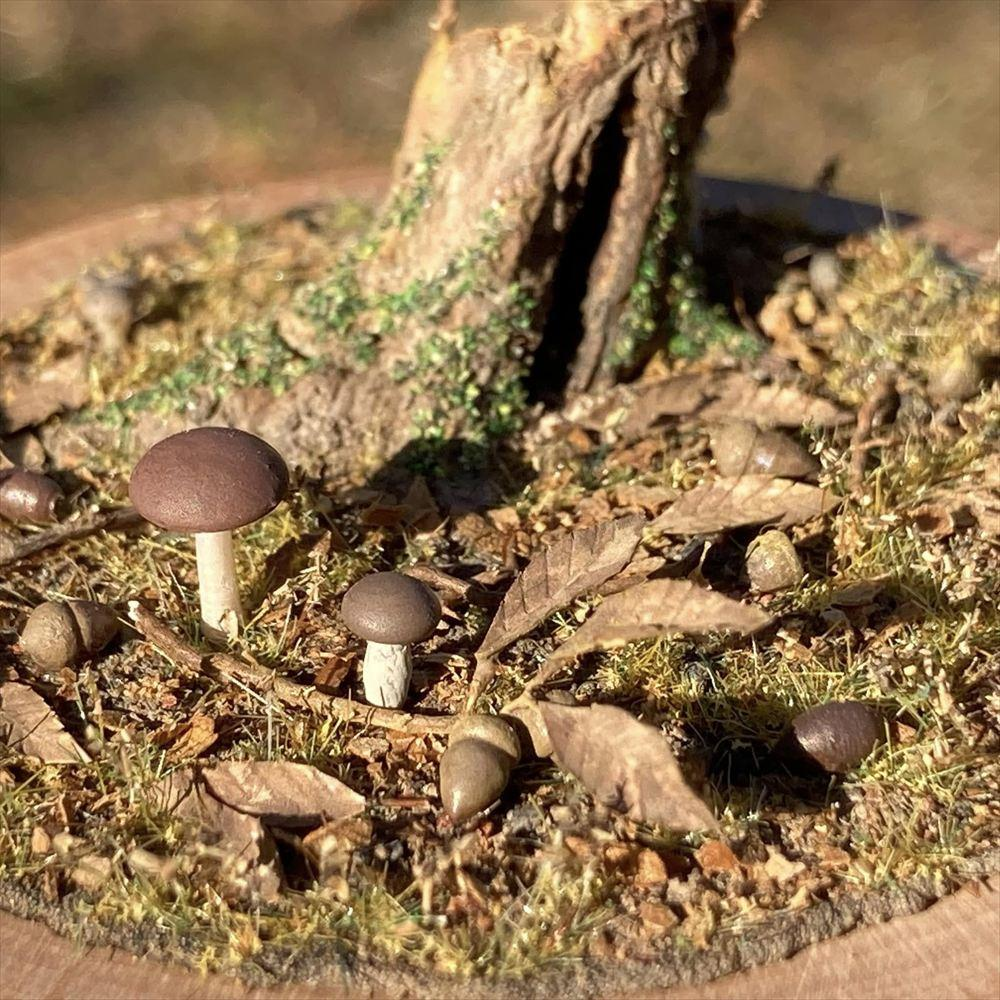
Brown mushrooms work beautifully on forest bases, caves, ruins, and damp environments.
Begin with dark brown.
Apply medium brown across the majority of the cap while leaving the deepest color around recesses.
Introduce warm tan toward the upper surface.
Finish with small beige highlights.
Don’t create a perfectly smooth gradient.
Subtle stippling makes the surface appear more organic.
The stem can begin with grey-brown before transitioning toward beige or ivory.
Add a small amount of dark brown around the base where the mushroom meets the ground.
This helps visually connect it to the environment.
Painting Classic Red and White Mushrooms
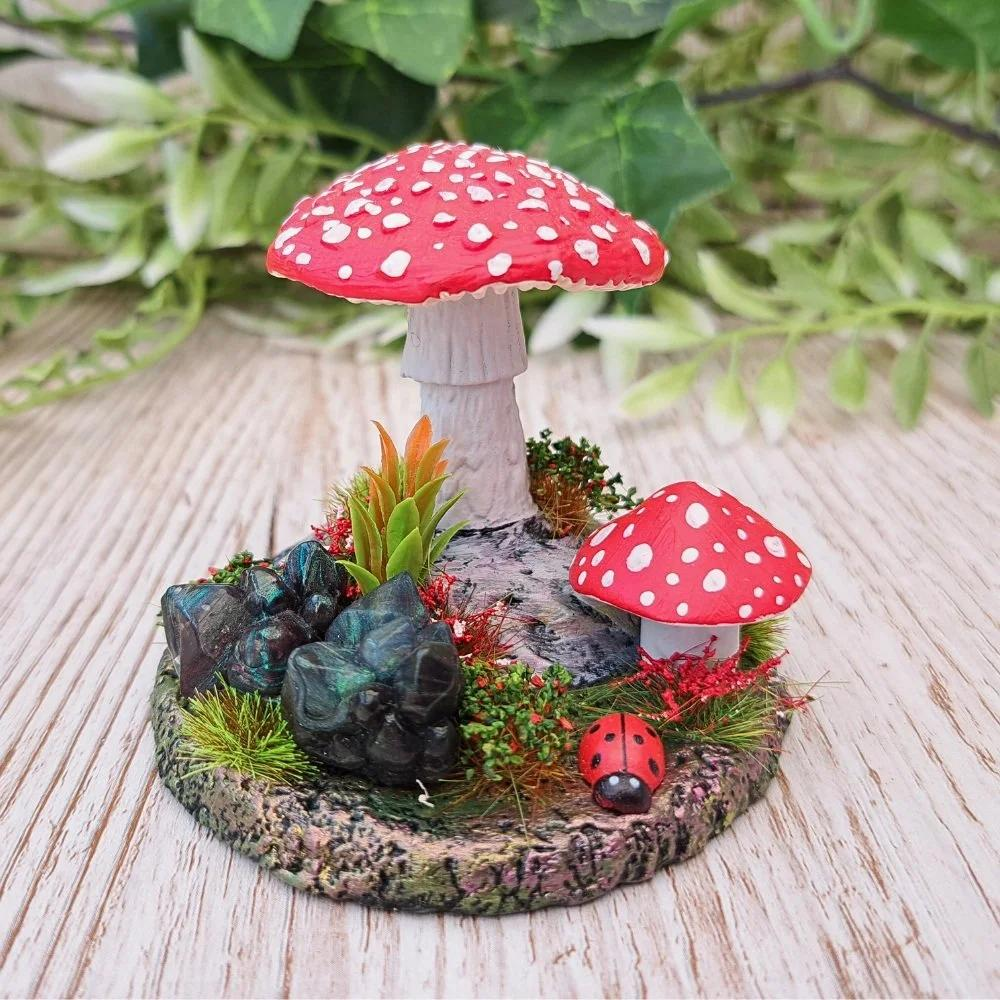
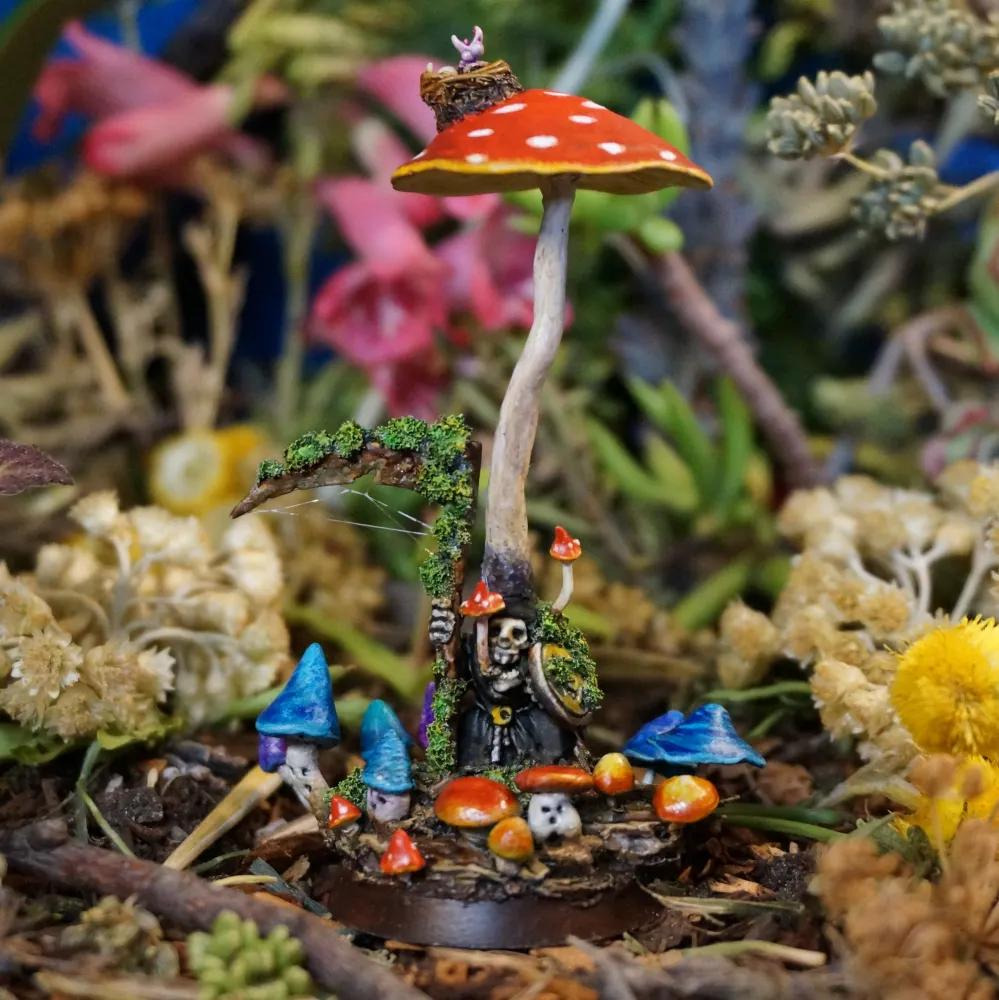
Red mushrooms with white spots instantly communicate a fantasy forest.
Begin with dark burgundy or red-brown.
Build toward a strong saturated red.
Introduce orange-red toward the brightest areas.
Then add small orange or pale red highlights.
The white spots should not all be identical.
Vary their size.
Some can be tiny dots.
Others can form irregular patches.
Start the spots with light grey or beige before adding a smaller pure white highlight.
This gives them dimension instead of making them look like flat painted dots.
Painting Mushroom Gills
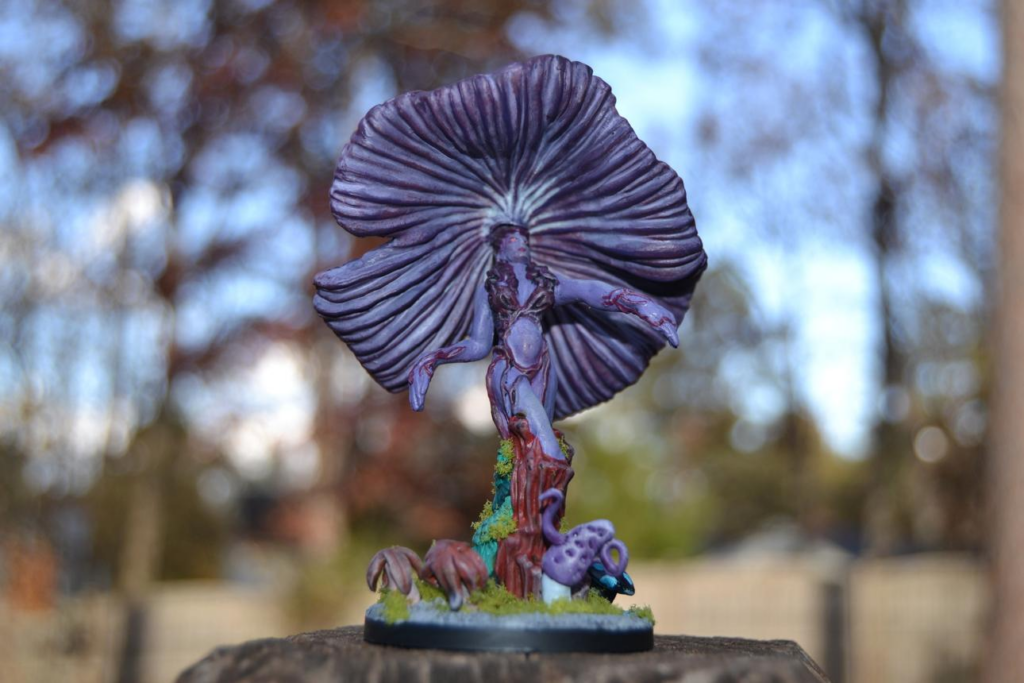
The underside of a mushroom can become one of its most interesting details.
Begin with a darker color than the final gills.
For natural mushrooms, grey-brown works well.
Then carefully highlight the raised gill lines using beige.
Add ivory to selected edges.
Don’t paint every individual line equally bright.
Some should remain darker.
This variation creates depth.
A thin shadow where the gills connect to the stem also helps separate the structures.
For magical mushrooms, the gills are an excellent place to introduce glowing colors.
Painting Mushroom Stems
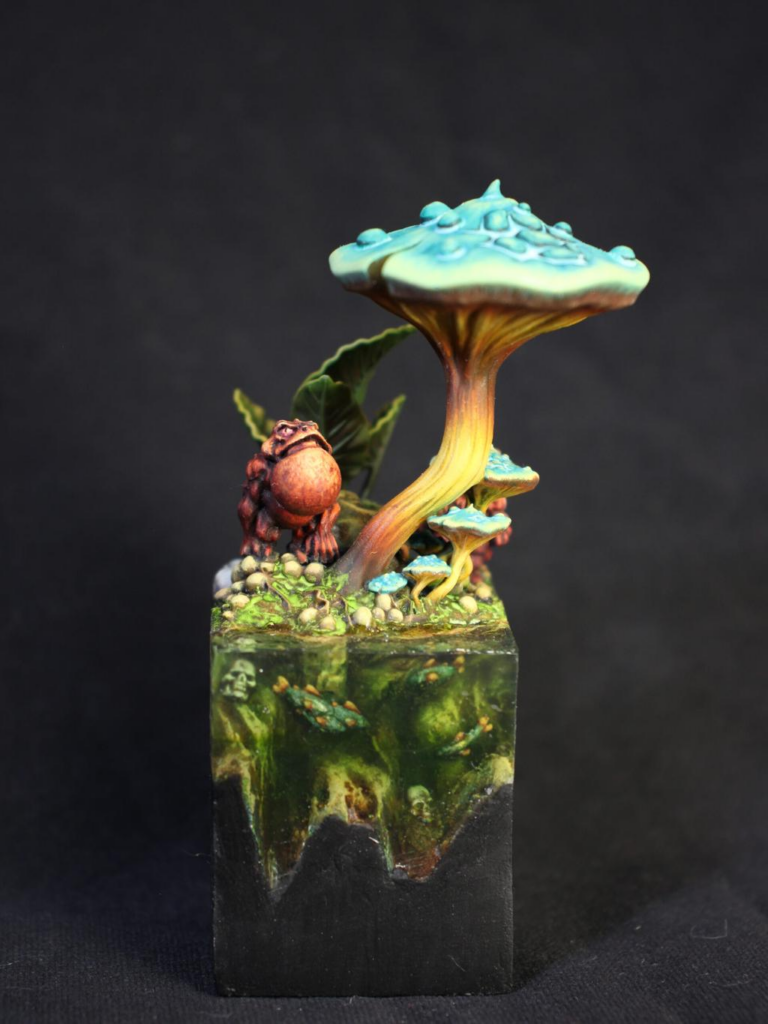
Stems are often neglected because the cap attracts most of the attention.
However, a properly painted stem dramatically improves the final result.
Start with a muted shadow color.
Grey-brown, beige-grey, purple-grey, or green-grey can all work.
Apply your main lighter tone while preserving shadows underneath the cap.
Then add thin vertical highlights.
These lines reinforce the fibrous texture of the stem.
Keep the brightest highlights toward the upper-facing areas.
Near the ground, introduce dirt, moss, or darker staining.
This prevents the mushroom from looking artificially attached to the base.
Creating Mushroom Spots and Texture
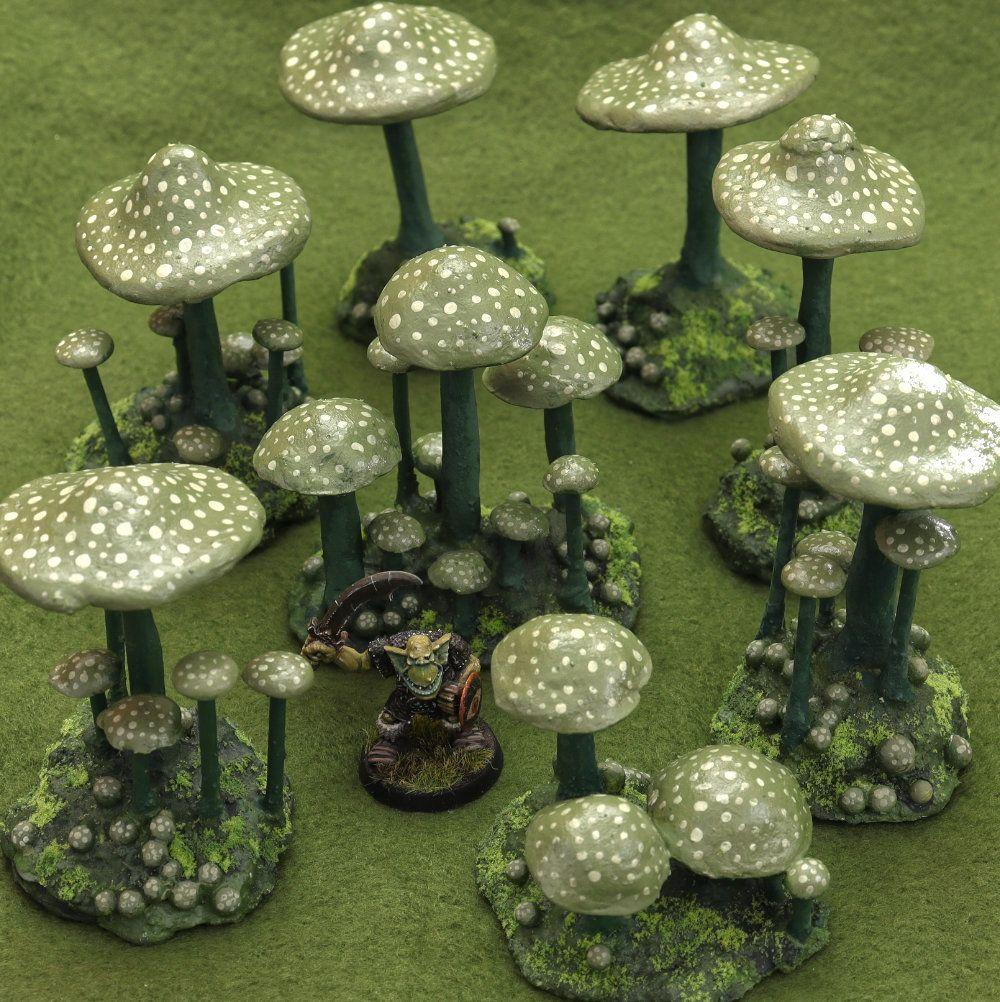
Mushroom caps are rarely perfectly smooth and uniform.
Stippling is one of the best techniques for adding texture.
Use a lighter version of your main cap color.
Apply tiny irregular dots.
Concentrate them around selected areas rather than covering everything evenly.
You can also introduce darker spots.
Some fantasy fungi might contain cracks, bumps, pustules, or raised growths.
Paint these features using stronger highlights.
The important part is avoiding predictable patterns.
Organic textures should feel slightly random.
Painting Poisonous Mushrooms
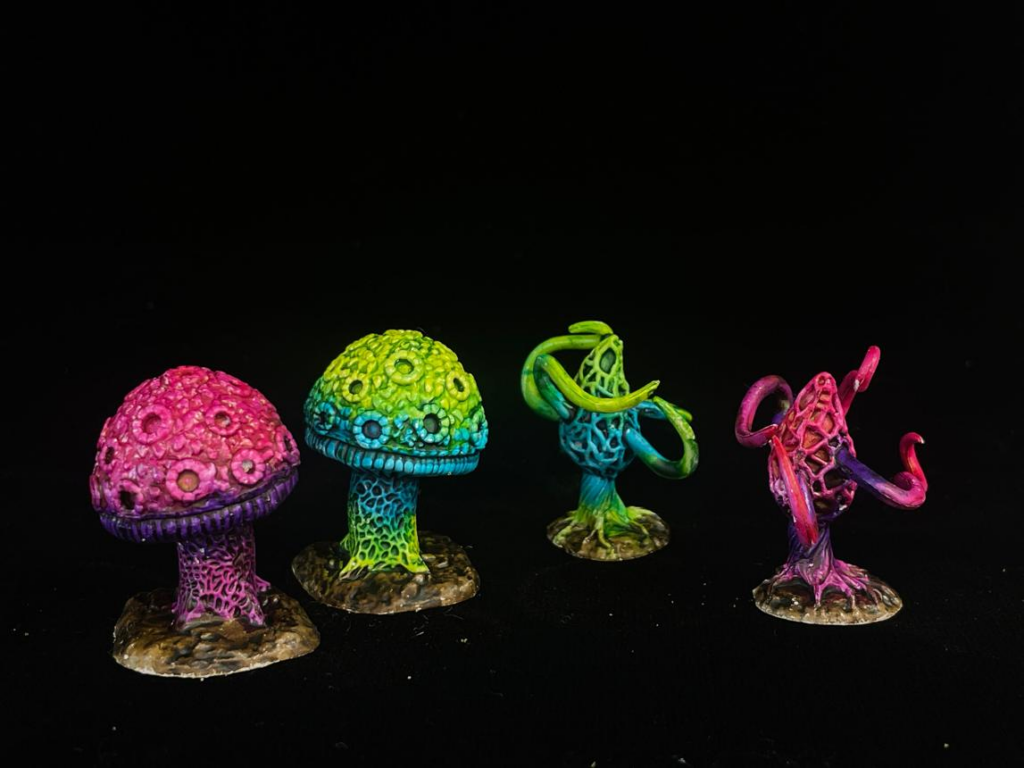
Poisonous fungi are perfect for dangerous forests and monster bases.
Strong warning colors work particularly well.
Red, orange, yellow, purple, and intense green can all suggest toxicity.
Start with a dark saturated base.
Build toward increasingly bright colors.
Then introduce pale spots or markings.
You can exaggerate the contrast beyond what appears in nature.
For example:
Dark Purple → Magenta → Red → Orange
This creates a dangerous exotic appearance.
A small amount of gloss can make the cap look moist.
You can also add slime around the stem or nearby ground.
Painting Glowing Blue Mushrooms
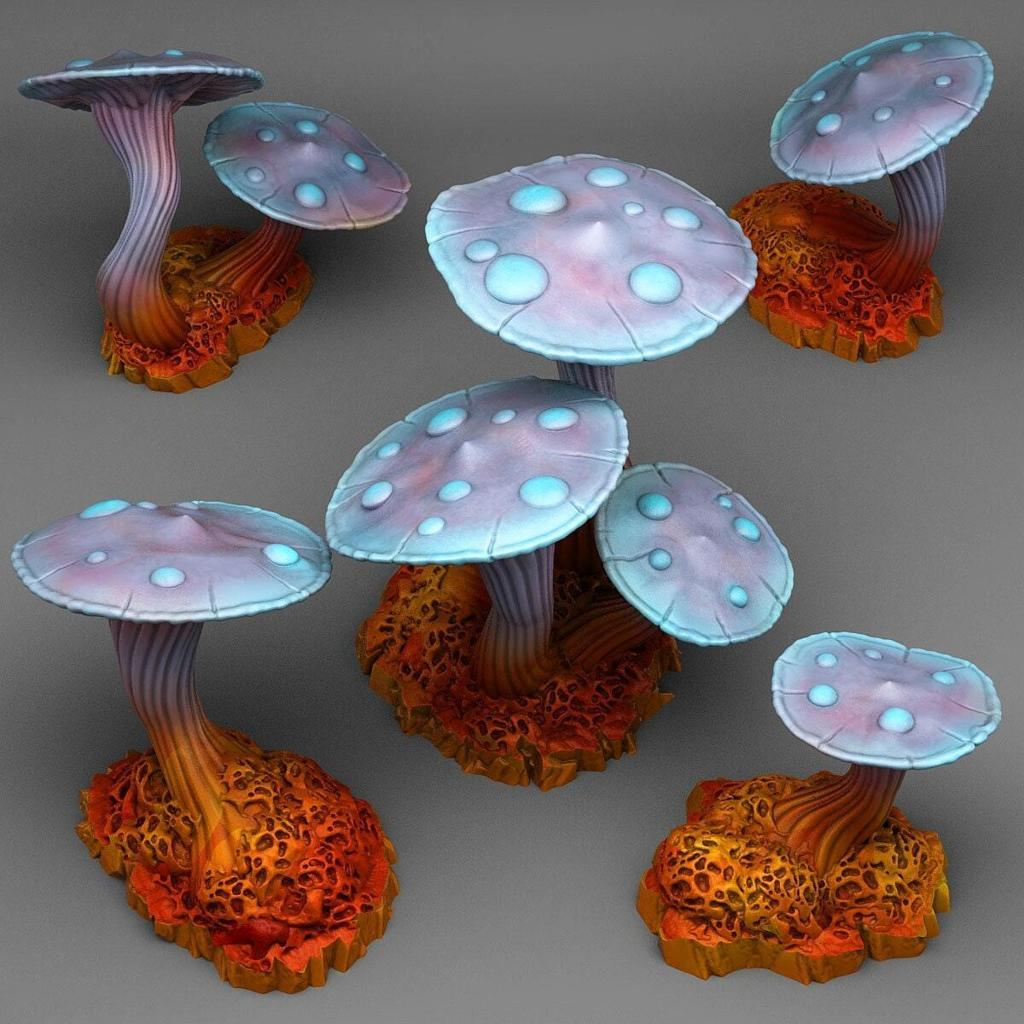
Glowing mushrooms are one of the most effective fantasy effects.
Begin with dark blue.
Introduce saturated turquoise.
Then build toward cyan.
Finish with almost-white blue.
The brightest color should appear where the light originates.
This could be the gills, spots, cap edges, or entire mushroom depending on your design.
Then glaze diluted blue or turquoise onto nearby terrain.
Rocks, dirt, roots, and neighboring mushrooms should receive some reflected light.
This is what transforms a bright mushroom into a mushroom that appears to actually glow.
Painting Purple Magical Mushrooms
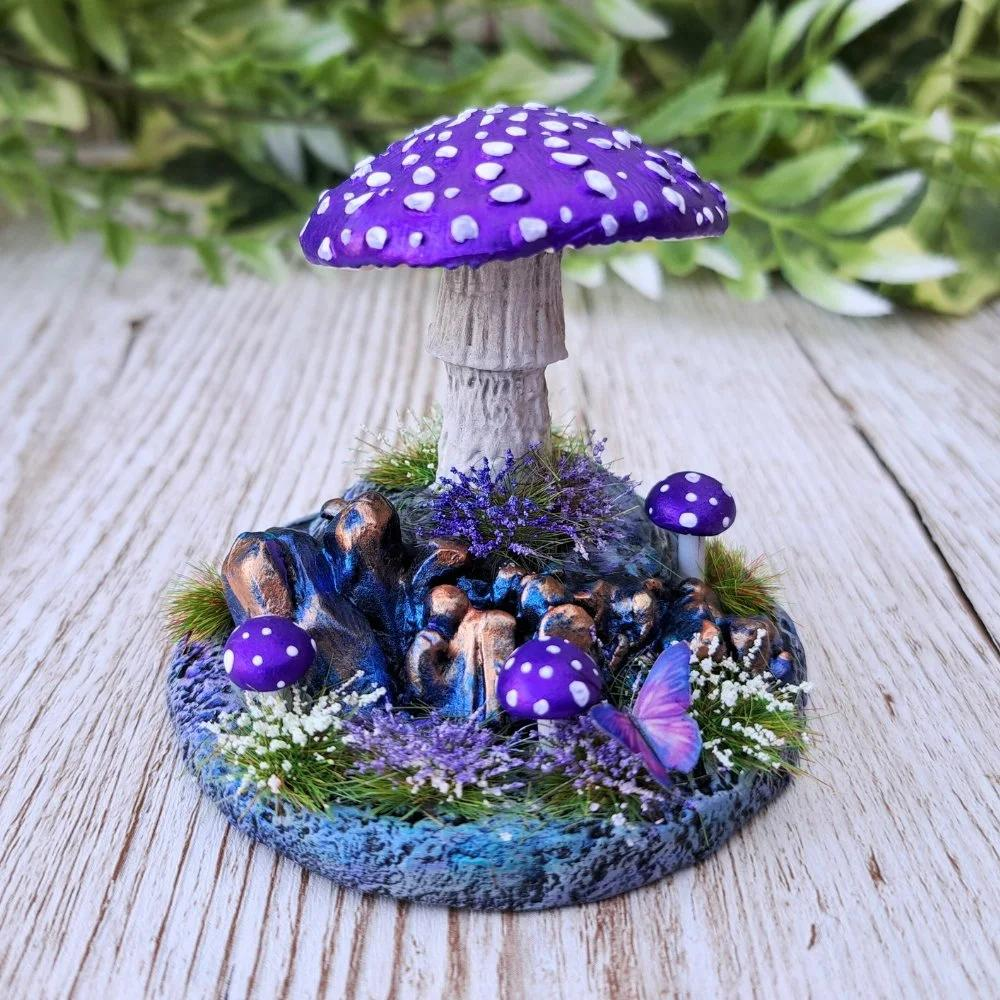
Purple works especially well for arcane environments.
Begin with almost-black purple.
Apply deep violet across the main cap.
Build toward saturated purple.
Then introduce magenta.
Finish with pale pink or lavender highlights.
The gills can use a contrasting color.
Turquoise beneath a purple cap creates an especially strong magical appearance.
You can also paint tiny luminous spots across the cap.
Keep the surrounding environment relatively dark so the saturated colors remain visually dominant.
Creating Object Source Lighting from Mushrooms
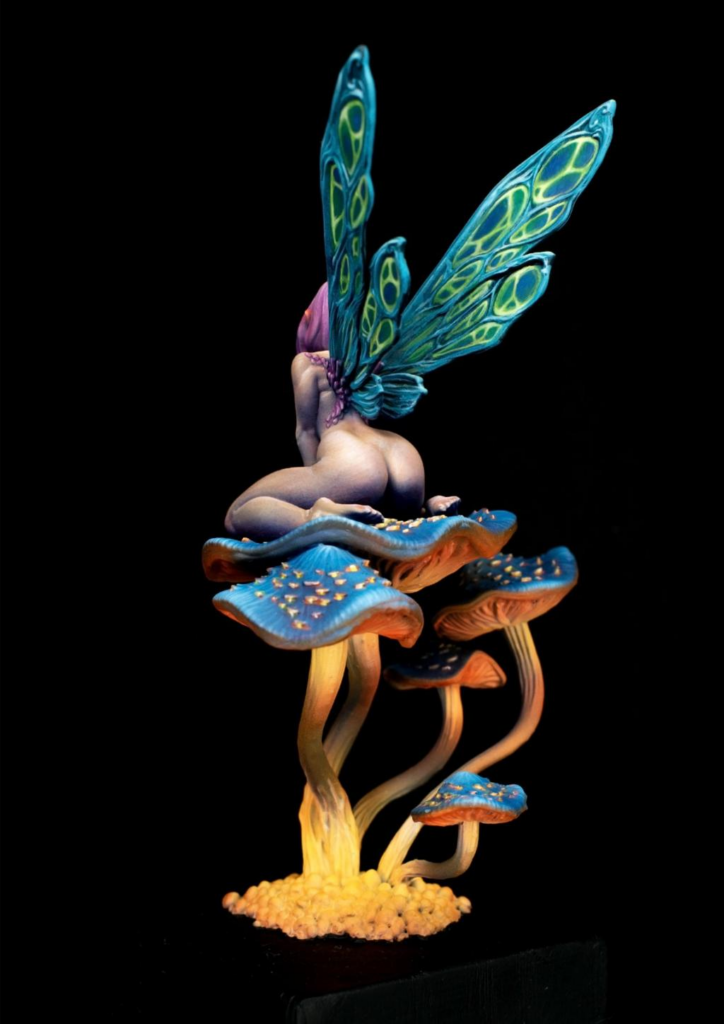
Object Source Lighting, or OSL, makes magical mushrooms dramatically more convincing.
First, establish the mushroom as the brightest object.
For a blue mushroom, the center of the glow might approach pure white.
Then transition outward:
White → Cyan → Turquoise → Dark Blue
Afterward, apply thin turquoise glazes onto nearby surfaces.
Imagine where the light would physically reach.
The ground directly underneath should receive stronger illumination.
The underside of nearby rocks may remain dark.
A character’s boots could receive a small amount of colored reflection.
The farther the surface is from the mushroom, the weaker the effect should become.
Painting Mushroom Clusters
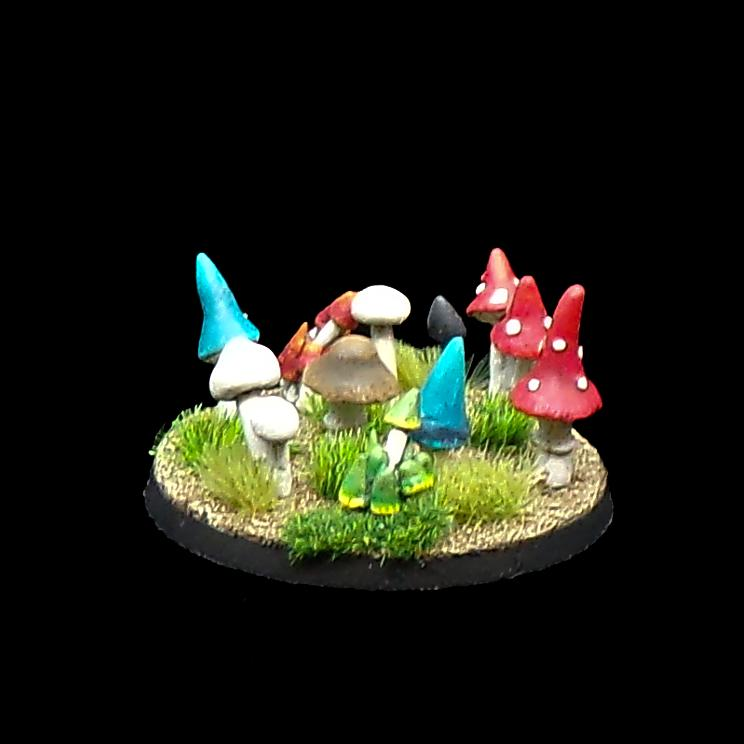
A single mushroom can look interesting.
A cluster creates an environment.
Use different sizes.
Place larger mushrooms near several smaller ones.
Avoid arranging them in perfectly even rows.
Nature creates irregular groups.
You can also vary the colors slightly within the same colony.
One red mushroom might lean slightly orange.
Another might contain darker burgundy.
Small differences make the cluster more believable.
Overlap mushrooms whenever possible.
This creates depth and makes the group appear naturally grown rather than individually placed decorations.
Painting Old and Decaying Mushrooms
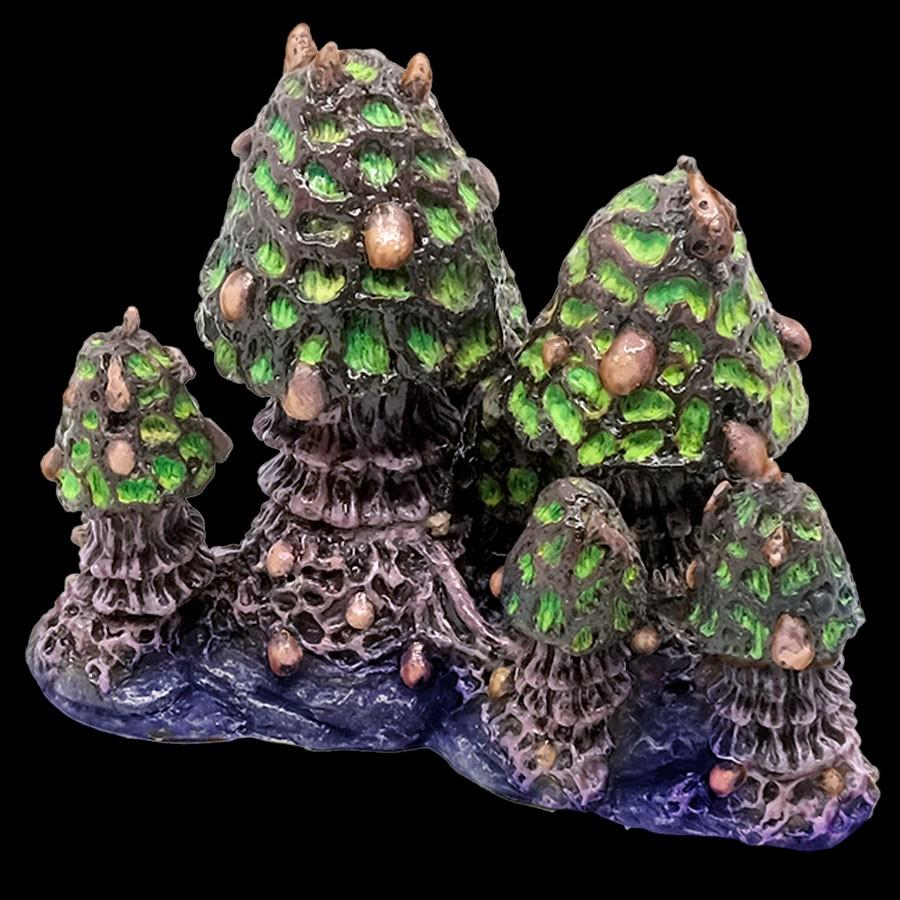
Not every mushroom should look healthy.
Old fungi can add an unsettling atmosphere.
Start with desaturated brown, grey, beige, or pale yellow.
Introduce darker discoloration around damaged areas.
Paint cracks using thin dark lines.
Highlight one side of selected cracks with a pale color.
This creates depth.
You can also add dark brown or green staining.
Broken cap edges should be lighter than the surrounding surface.
For rotten mushrooms, add subtle gloss around selected damaged areas to suggest moisture.
Adding Slime and Moisture
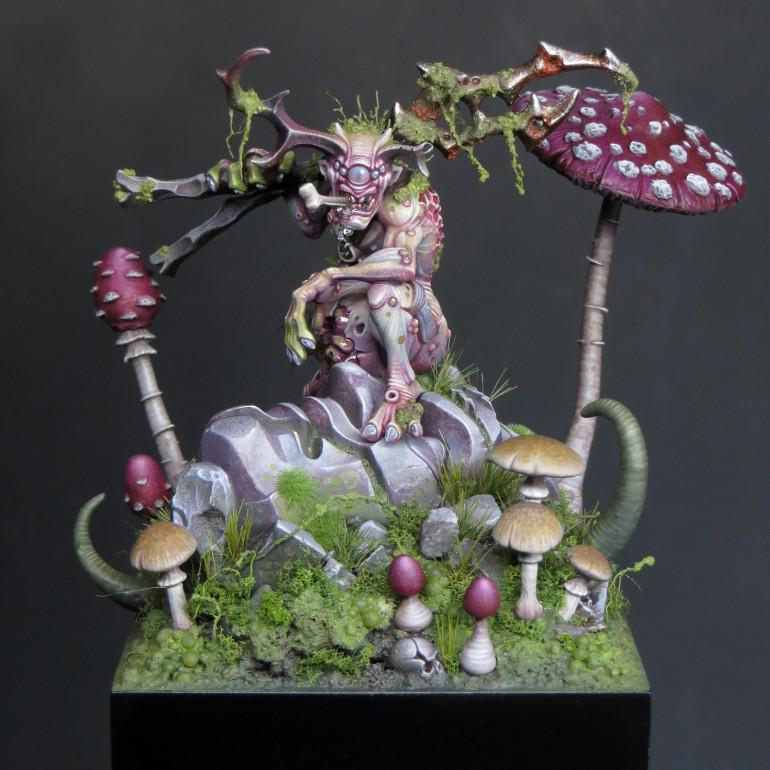
Mushrooms often grow in damp environments.
A little moisture can dramatically improve realism.
After finishing the paint job, apply selective gloss varnish.
Concentrate it around the cap, lower stem, or nearby ground.
Don’t make everything equally glossy.
You can also create slime using transparent gel products.
Tint the slime slightly green, yellow, brown, or turquoise depending on the environment.
Small strings of slime between mushrooms can work particularly well for corrupted or monstrous fungi.
Adding Moss and Forest Debris
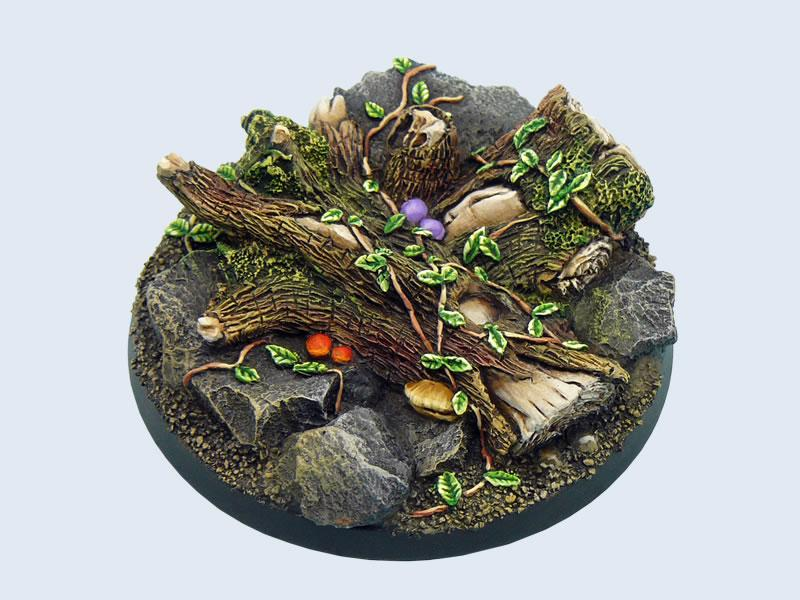
Mushrooms rarely exist in isolation.
Surround them with environmental details.
Moss, roots, fallen leaves, bark, stones, grass, and broken branches work particularly well.
Keep these elements slightly darker and less saturated than your main mushrooms.
This ensures the fungi remain the focal point.
For magical mushrooms, surrounding vegetation can receive subtle colored reflections.
For natural mushrooms, use earthy green and brown tones.
A few scattered leaves can also help establish scale.
Creating an Underdark Mushroom Environment
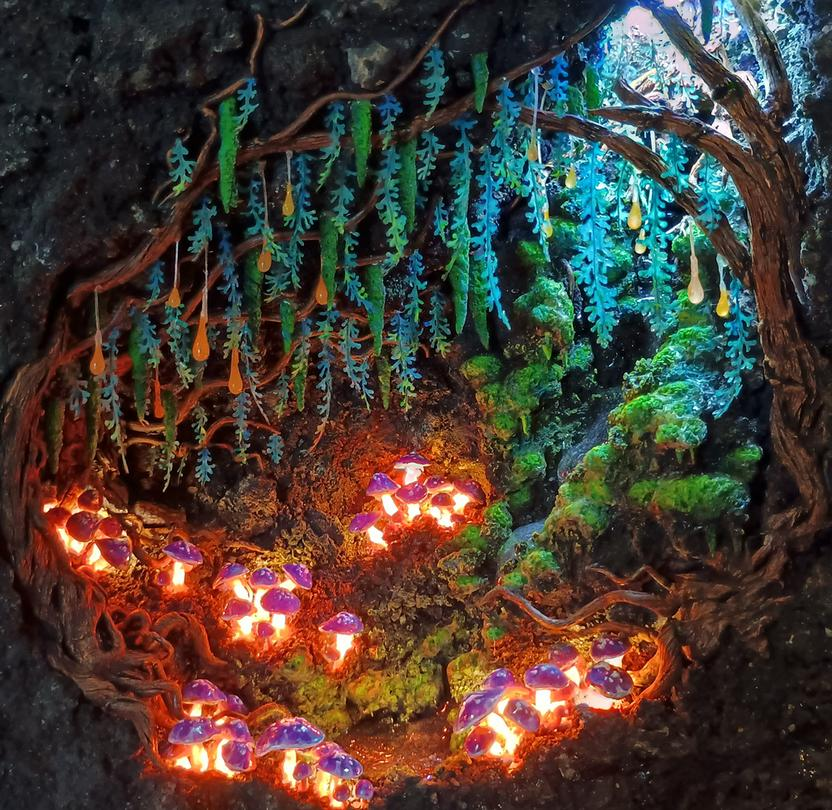
Large fungal environments are perfect for underground fantasy settings.
Begin with dark terrain.
Use charcoal grey, black-brown, purple-black, and dark blue.
Then introduce mushrooms in brighter colors.
Blue, turquoise, violet, pink, and pale green work beautifully.
Use multiple sizes.
Some can remain natural while others glow.
Add rocks and strange vegetation between them.
Because the environment is dark, even relatively small bright highlights will appear intense.
Use OSL carefully to connect glowing mushrooms to surrounding surfaces.
Painting Corrupted Fungal Growth
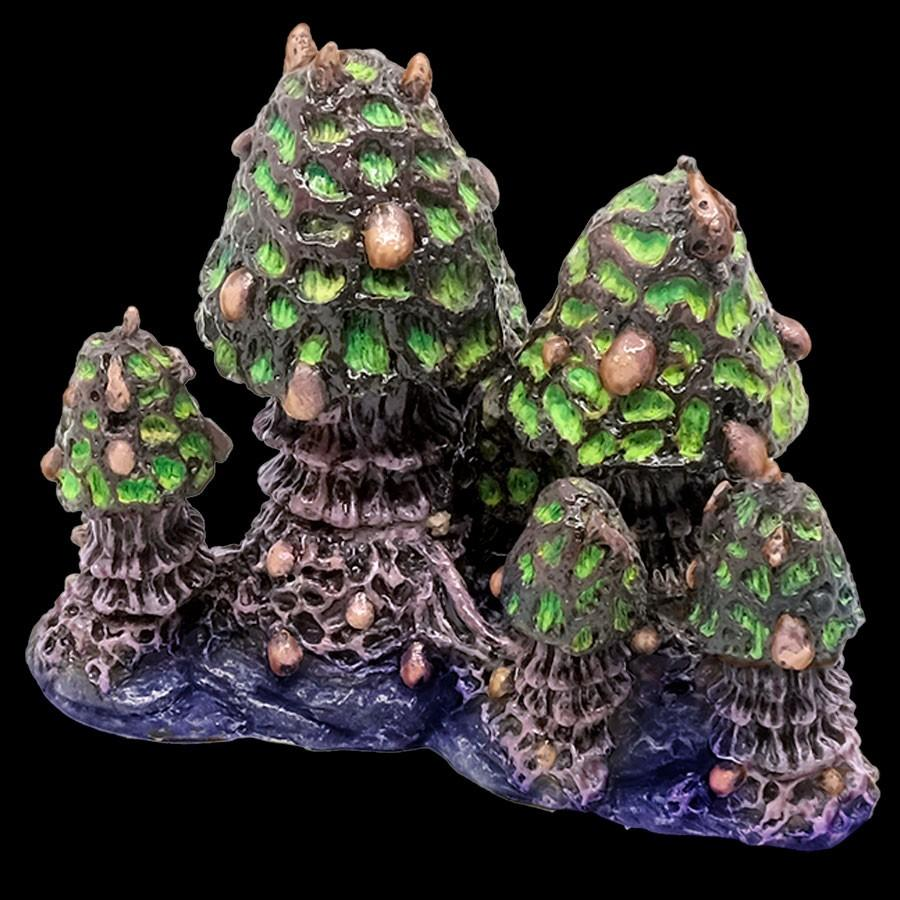
Corrupted fungi can appear almost biological.
Use unpleasant colors such as yellow-green, purple, pale flesh, bruised red, and dark brown.
Blend some mushrooms into surrounding organic growth.
Add small pustules or bubbles.
Use gloss selectively to suggest moisture.
Dark red around the base can imply that the fungus is feeding on something beneath the ground.
You can also combine mushrooms with bones, corpses, roots, or corrupted vegetation.
The goal is to blur the line between ordinary fungus and monstrous living tissue.
Common Mistakes When Painting Mushrooms
One common mistake is using only one color across the entire mushroom.
Separate the cap, gills, and stem.
Another mistake is making every mushroom identical.
Vary size, orientation, color, and brightness.
Avoid perfectly uniform white spots.
Organic markings should vary.
When painting glowing mushrooms, don’t simply paint them bright blue or green.
Add reflected light to the environment.
Without reflected light, the mushroom looks colorful rather than luminous.
Don’t overuse gloss either.
Selective moisture usually looks more realistic than making the entire base extremely shiny.
Finally, integrate mushrooms into the ground with dirt, moss, roots, and environmental staining.
Final Thoughts
Mushrooms are an incredibly versatile detail for fantasy miniatures.
They can make a forest feel ancient, a cave feel alive, a dungeon feel corrupted, or an Underdark environment feel completely supernatural.
Start by separating the cap, stem, and gills.
Use strong shadow-to-highlight transitions.
Add irregular spots, stippling, discoloration, and organic texture.
For realistic mushrooms, stay within earthy brown, beige, red, grey, and muted green palettes.
For magical fungi, push saturation with turquoise, blue, purple, magenta, and toxic green.
When creating glowing mushrooms, remember that the surrounding environment must react to the light.
Add subtle OSL to rocks, roots, ground, vegetation, and nearby characters.
Finally, use mushroom clusters rather than isolated pieces whenever you want to create a convincing environment.
A few carefully painted fungi can completely transform the storytelling of a miniature base.
Frequently Asked Questions
What colors work best for fantasy mushrooms?
Red, orange, purple, blue, turquoise, green, pink, and pale yellow all work well. Natural mushrooms benefit from brown, beige, grey, and muted red.
How do I paint white spots on red mushrooms?
Start with light grey or beige spots and add smaller pure white highlights afterward.
How do I paint mushroom gills?
Begin with a darker base and carefully highlight the raised lines using beige, ivory, or your chosen magical color.
How do I make mushrooms look wet?
Apply selective gloss varnish to the caps, lower stems, and damp ground.
How do I paint glowing mushrooms?
Use a dark-to-bright gradient ending near white, then glaze the glow color onto nearby surfaces.
Which colors work best for glowing mushrooms?
Cyan, turquoise, blue, purple, magenta, and toxic green are particularly effective.
How do I make mushroom clusters look natural?
Mix different sizes and orientations, overlap some mushrooms, and avoid placing them at equal distances.
How do I create an Underdark mushroom base?
Use dark terrain with brightly colored fungal clusters, rocks, strange vegetation, and controlled OSL from glowing mushrooms.
If you would like free D&D STL miniatures, visit our homepage and download yours now: