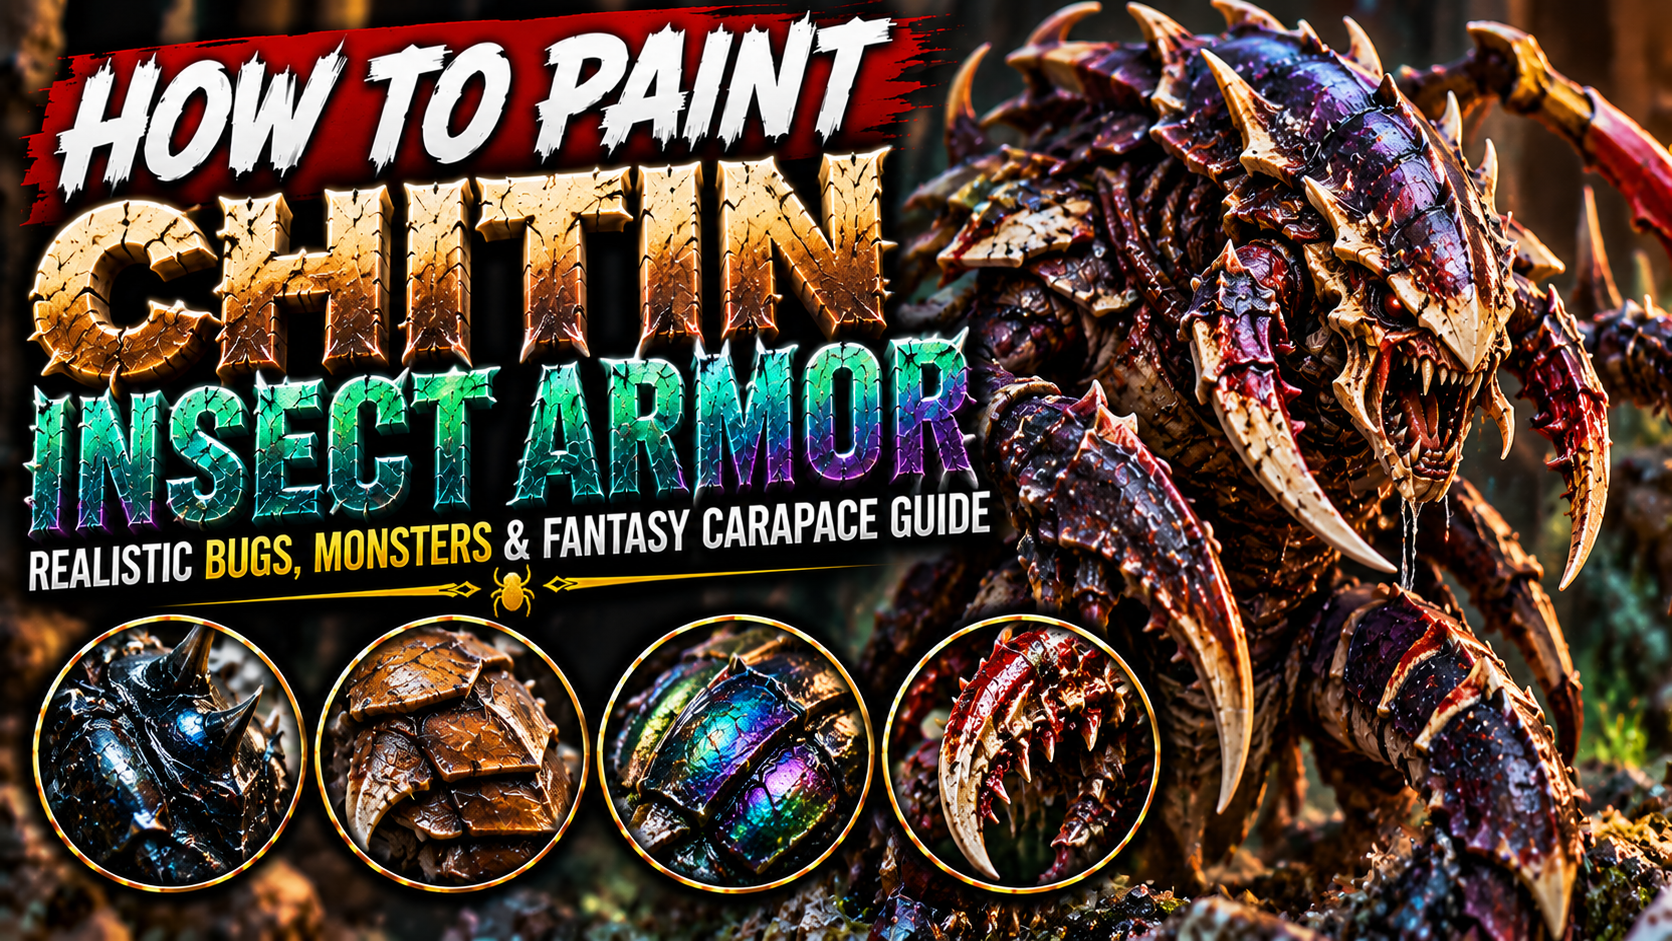
How to Paint Chitin and Insect Armor on Miniatures (Realistic Bugs, Monsters & Fantasy Carapace Guide)
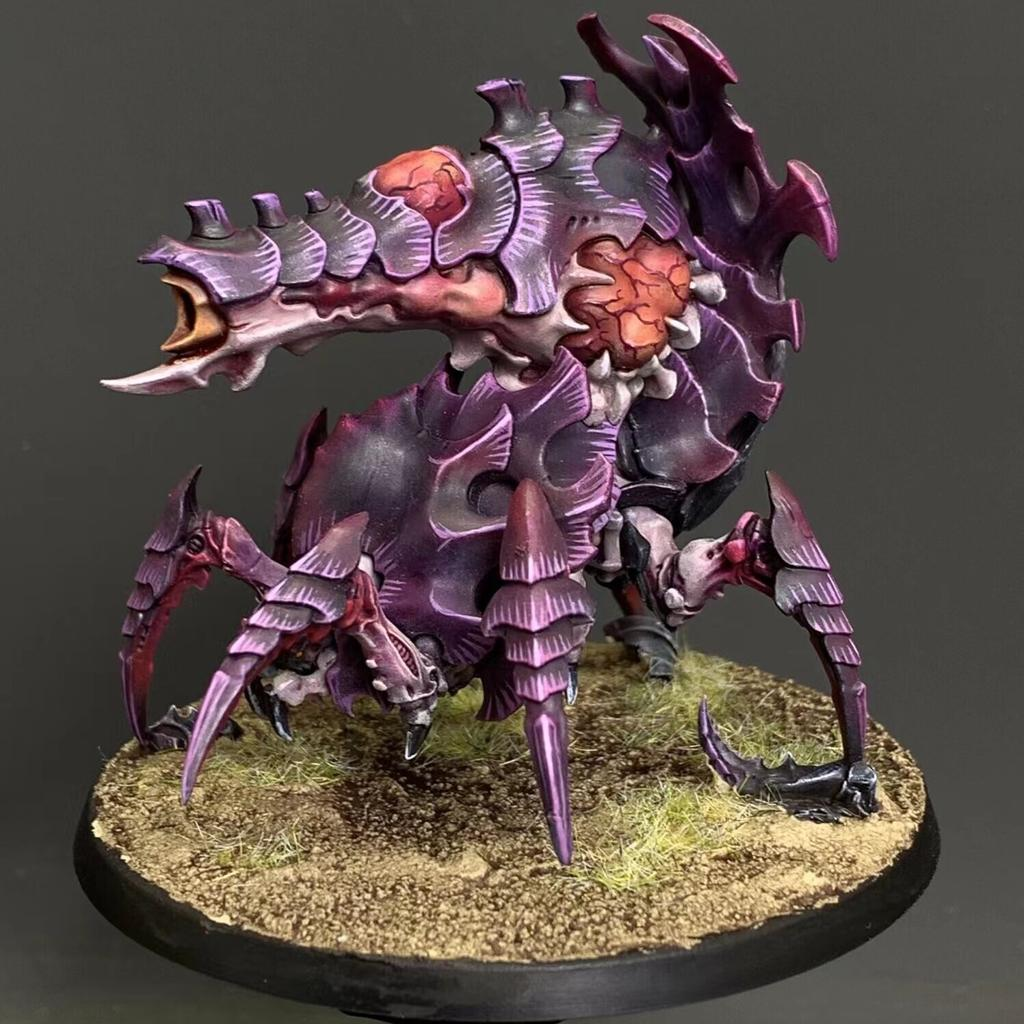
Chitin is one of the most distinctive surfaces you can paint on fantasy miniatures.
Giant insects, alien creatures, beetle-inspired monsters, spider demons, underground horrors, armored parasites, and countless D&D creatures use hard external shells instead of conventional skin or armor.
The interesting part is that chitin can look completely different depending on how it is painted.
It can be dark and glossy like a beetle shell, dry and cracked like an ancient exoskeleton, colorful and iridescent like an exotic insect, or corrupted and monstrous with damaged plates and exposed flesh underneath.
The biggest mistake when painting chitin is treating it exactly like metal armor.
Chitin usually needs more organic transitions, subtle texture, segmented highlights, and careful control of gloss.
In this guide, you’ll learn how to paint realistic chitin, insect shells, segmented armor, beetle carapaces, claws, damaged plates, iridescent colors, and monstrous fantasy exoskeletons.
Understanding How Chitin Looks
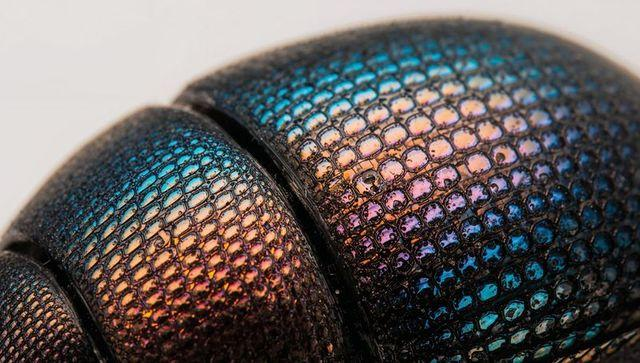
Chitinous armor usually consists of overlapping plates rather than one continuous surface.
These plates create natural shadow lines.
Look at beetles, crabs, insects, spiders, and other arthropods for inspiration.
You’ll notice that many shells contain smooth areas combined with tiny scratches, imperfections, color transitions, and highly reflective edges.
The surface can range from completely matte to extremely glossy.
This gives miniature painters a lot of freedom.
A desert insect might have pale, dusty chitin.
A dungeon creature could have dark brown or black armor.
A magical monster might have blue, purple, green, or iridescent plates.
The important thing is maintaining the visual structure of the shell.
Choosing a Chitin Color Palette
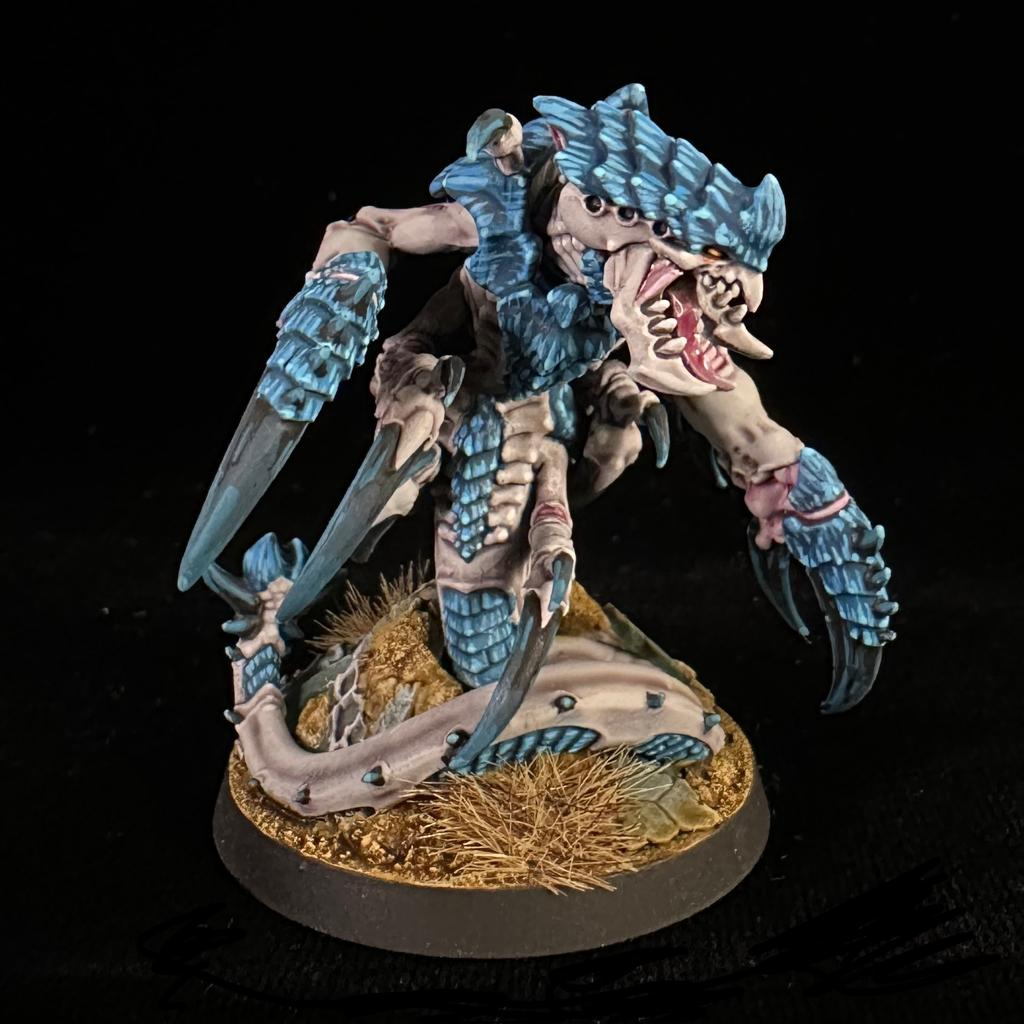
A strong chitin palette usually contains at least four stages:
Deep Shadow → Main Shell Color → Edge Highlight → Extreme Highlight
For dark brown chitin, you could use:
Black-Brown → Dark Brown → Orange-Brown → Pale Tan
For black beetle armor:
Black → Blue-Black → Dark Blue-Grey → Pale Blue-Grey
For green insect armor:
Black-Green → Forest Green → Yellow-Green → Pale Yellow-Green
For purple fantasy chitin:
Black-Purple → Deep Purple → Magenta → Pale Pink
Keeping the deepest recesses extremely dark creates strong separation between individual armor plates.
This is particularly important on small miniatures where details can disappear easily.
Starting with a Dark Base Coat
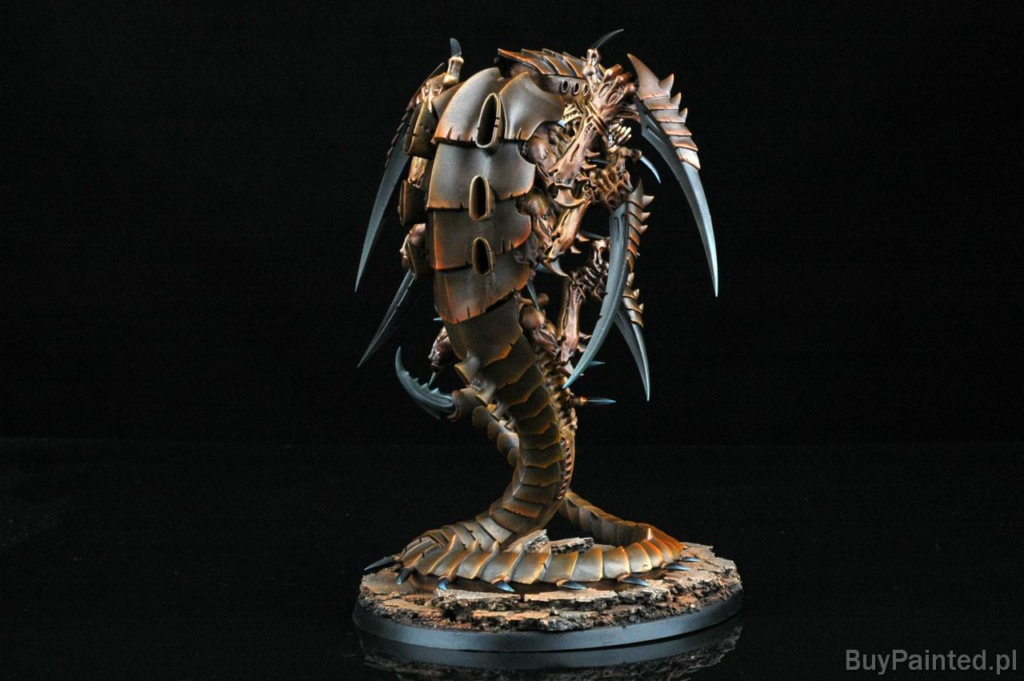
A dark base coat works extremely well for most chitin.
Black, dark brown, dark purple, or dark blue-green are excellent starting points.
Apply the color evenly across the shell.
Make sure paint reaches the recesses between armor plates.
These dark recesses will later create natural separation.
Don’t worry if the miniature looks extremely dark at this stage.
Most of the visual information will appear as you gradually build brighter colors across the raised surfaces.
Leaving deep shadows visible also creates stronger contrast.
Building the Main Chitin Color
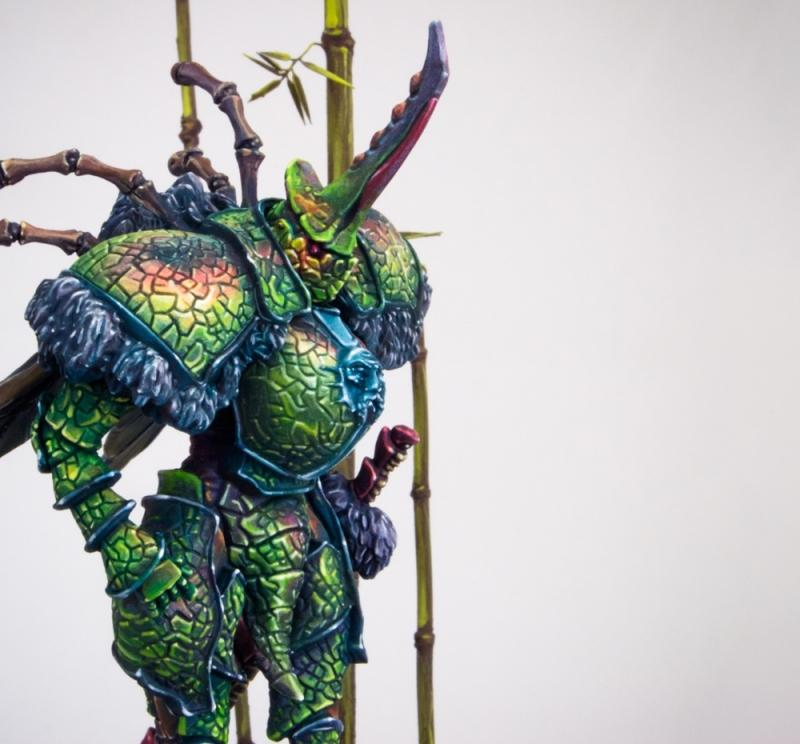
Once the dark base is established, begin introducing your primary shell color.
Avoid covering the entire plate.
Leave the original dark color visible near joints, recesses, and underneath overlapping sections.
Apply the midtone across roughly the outer portions of each plate.
Then introduce a slightly lighter version toward the edges.
This creates a natural gradient.
Unlike conventional armor, chitin often benefits from slightly irregular transitions.
The shell is organic.
Perfectly smooth gradients can sometimes make it look manufactured.
A combination of glazing and controlled brush texture usually produces the most convincing result.
Painting Segmented Armor Plates
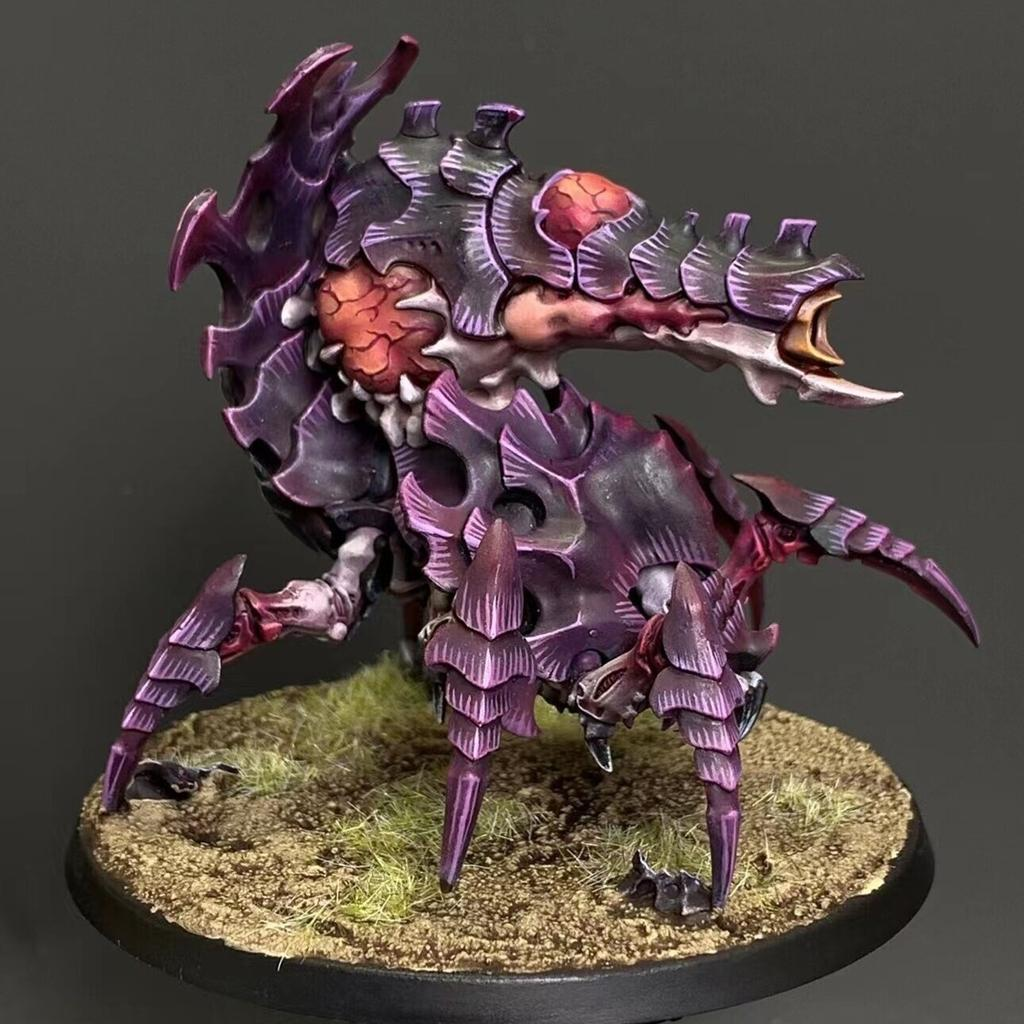
Segmentation is one of the most important characteristics of insect armor.
Each plate should be visually readable.
Keep the deepest color where one plate overlaps another.
Then brighten toward the exposed edge.
This creates the illusion that every plate has thickness.
You can exaggerate this slightly on tabletop miniatures.
Use a thin bright highlight along the lower or outer edge of selected plates.
Don’t highlight every edge equally.
Focus the brightest highlights toward your imagined light source.
The result should resemble naturally overlapping biological armor rather than separate metal panels.
Creating the Classic Chitin Stripe Effect
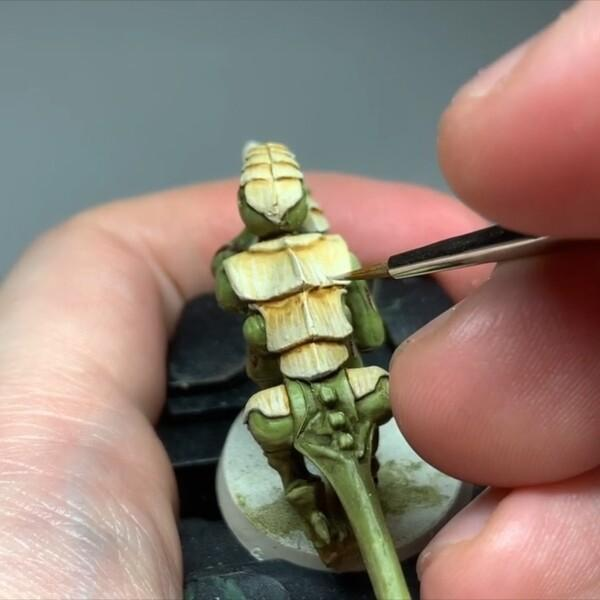
One popular fantasy miniature technique uses thin highlight lines running inward from the edges of the armor.
This works particularly well on Tyranid-like monsters, giant insects, crustaceans, and alien creatures.
Begin with the normal edge highlight.
Then pull several thin lines inward.
Make them different lengths.
Some should be short.
Others can extend farther into the plate.
Add a second, brighter color to the shortest lines nearest the edge.
This creates a layered organic texture.
Avoid spacing the lines perfectly.
Slight irregularity makes the effect look much more natural.
Painting Glossy Beetle Shells
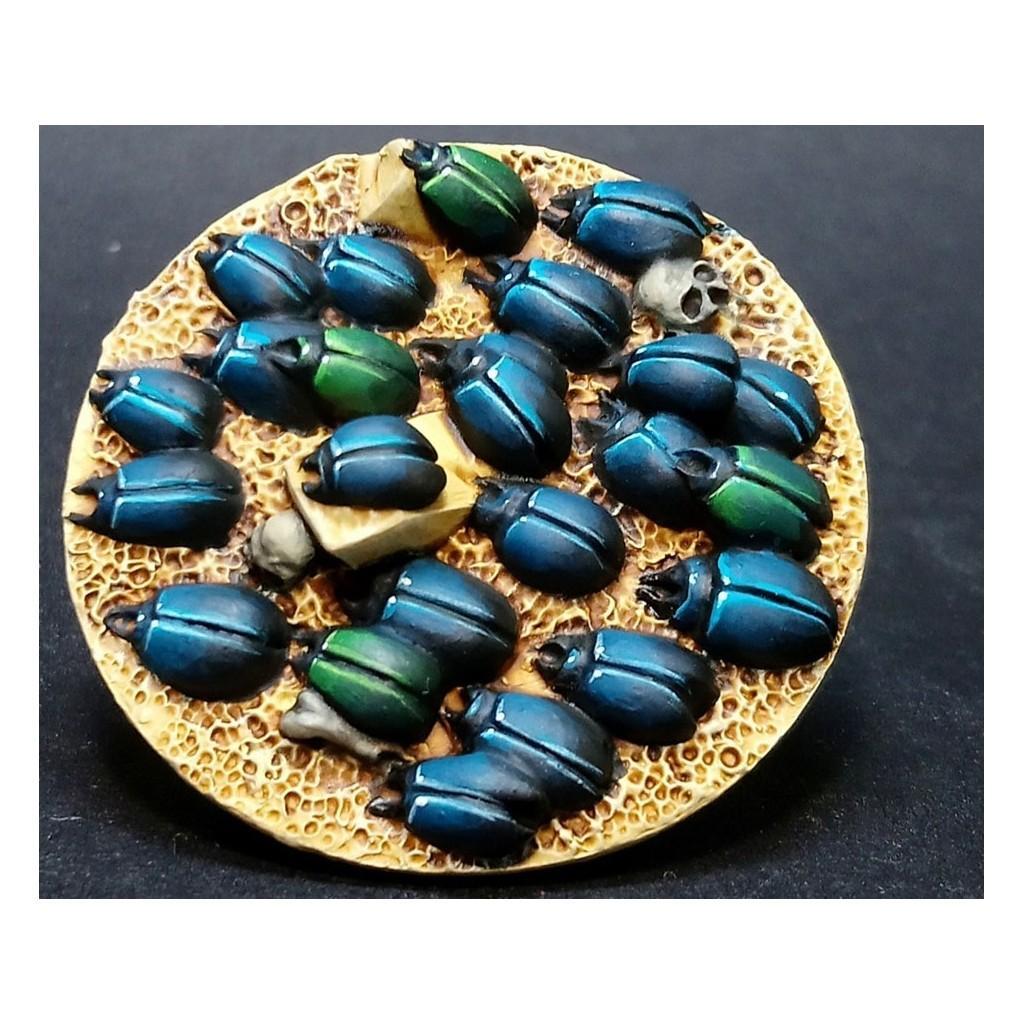
Beetles often have extremely reflective shells.
To recreate this effect, increase the contrast dramatically.
Keep large areas very dark.
Then create relatively sharp highlights.
For black beetle armor, introduce dark blue or dark green into the reflections.
Build toward blue-grey or green-grey.
Finally, add very small pale reflections.
These highlights should be concentrated rather than spread evenly across the entire surface.
After painting, selective gloss varnish can enhance the effect.
The combination of painted reflections and physical gloss creates a much more convincing shell than gloss varnish alone.
Painting Iridescent Chitin
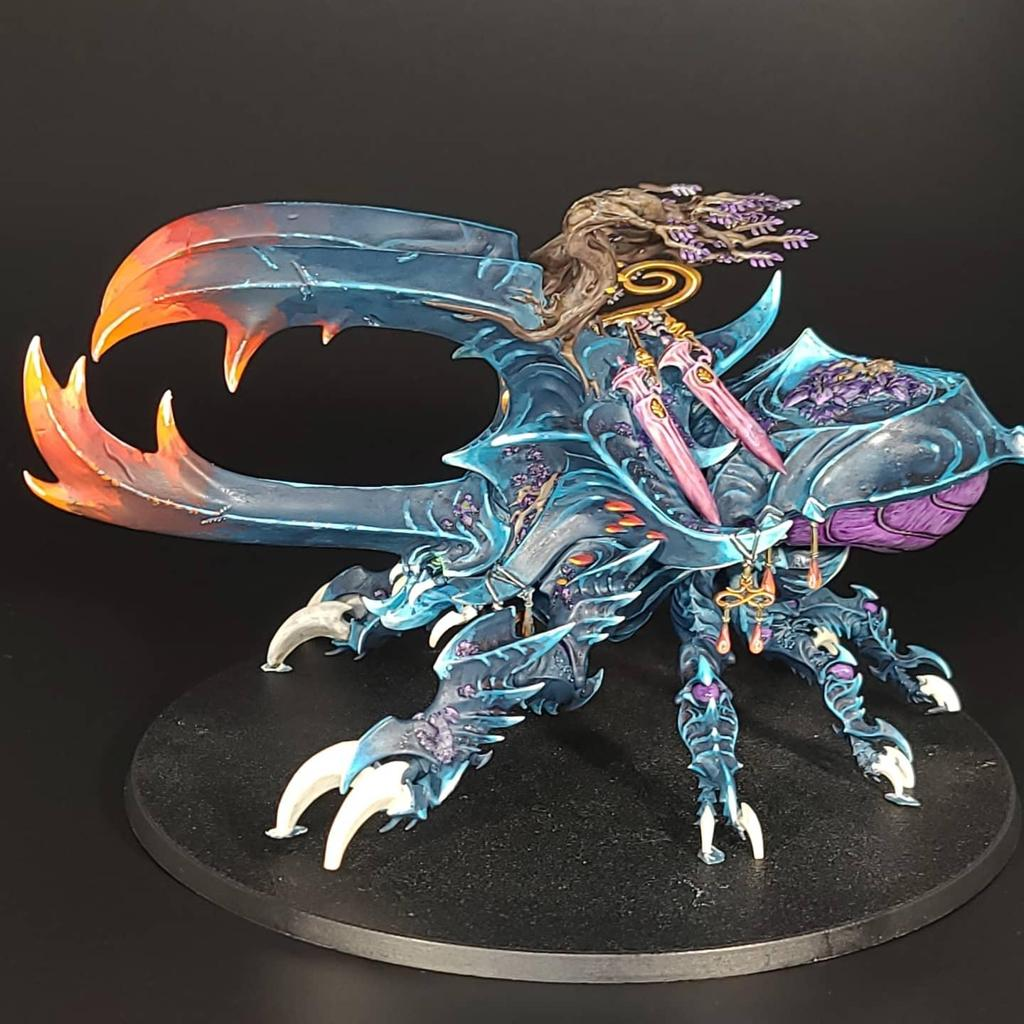
Some insects display dramatic color shifts across their shells.
You can imitate this without specialized color-shifting paint.
Start with a very dark base.
Then glaze different colors into different areas.
For example:
Dark Blue → Purple → Magenta
or:
Green → Turquoise → Blue
Keep the transitions soft.
Then add sharp pale reflections across selected edges.
The trick is allowing several colors to exist on the same armor plate without blending them into one muddy tone.
Thin glazes work particularly well.
Metallic or color-shifting paints can also be introduced carefully, but they’re not necessary for the effect.
Painting Black Chitin
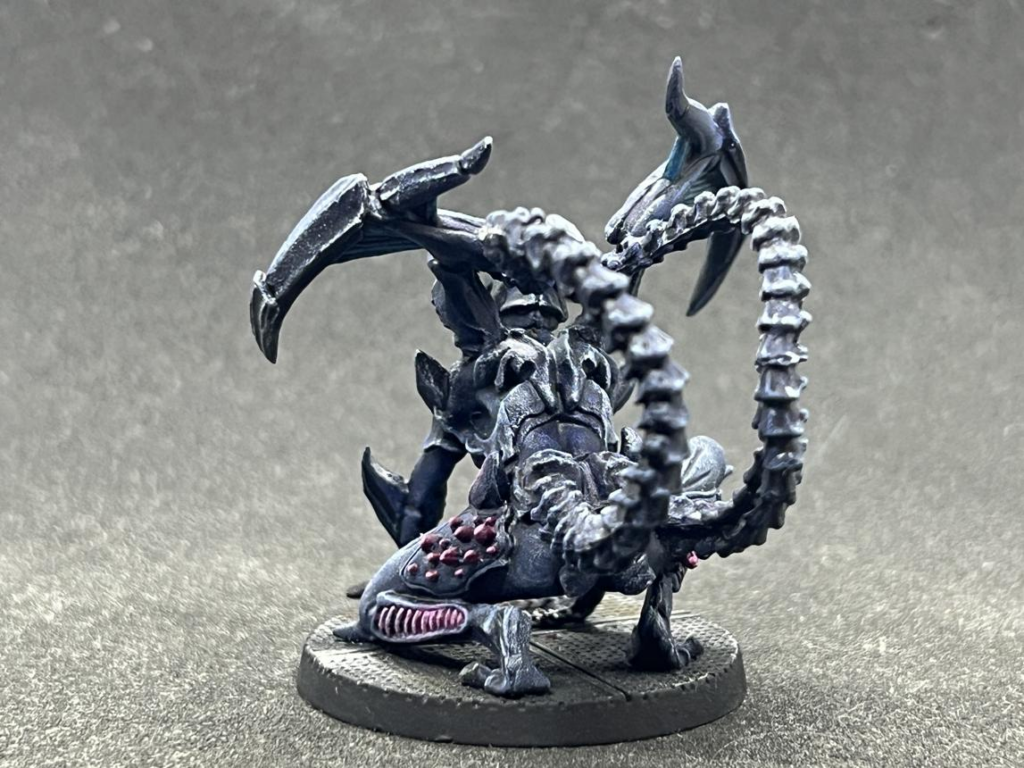
Black chitin can look extremely intimidating, but painting it entirely black removes most of the sculpted detail.
Instead, treat black as the shadow color.
Begin with pure or near-black.
Introduce subtle blue-black, purple-black, or green-black across exposed surfaces.
Then highlight the edges using dark grey mixed with your chosen secondary color.
Finish with very small pale highlights.
The miniature should still read as black.
The surrounding colors simply reveal its shape.
Gloss varnish can be applied selectively to make the shell appear polished or wet.
Painting Brown and Natural Chitin
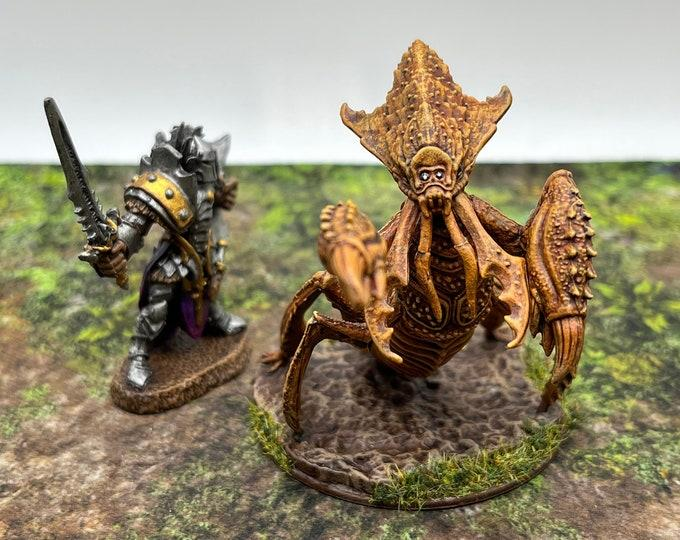
Brown chitin works beautifully for giant beetles, desert insects, underground creatures, and more naturalistic monsters.
Begin with very dark brown.
Build toward medium brown.
Introduce reddish brown or orange-brown across exposed sections.
Finish with tan or pale beige highlights.
This creates a warm organic shell.
You can also introduce subtle black staining around joints.
For desert creatures, add dusty beige pigments around the legs and lower armor.
For underground monsters, darker brown and grey create a dirtier appearance.
Natural chitin becomes particularly convincing when several related brown tones appear across different plates.
Painting Claws and Mandibles
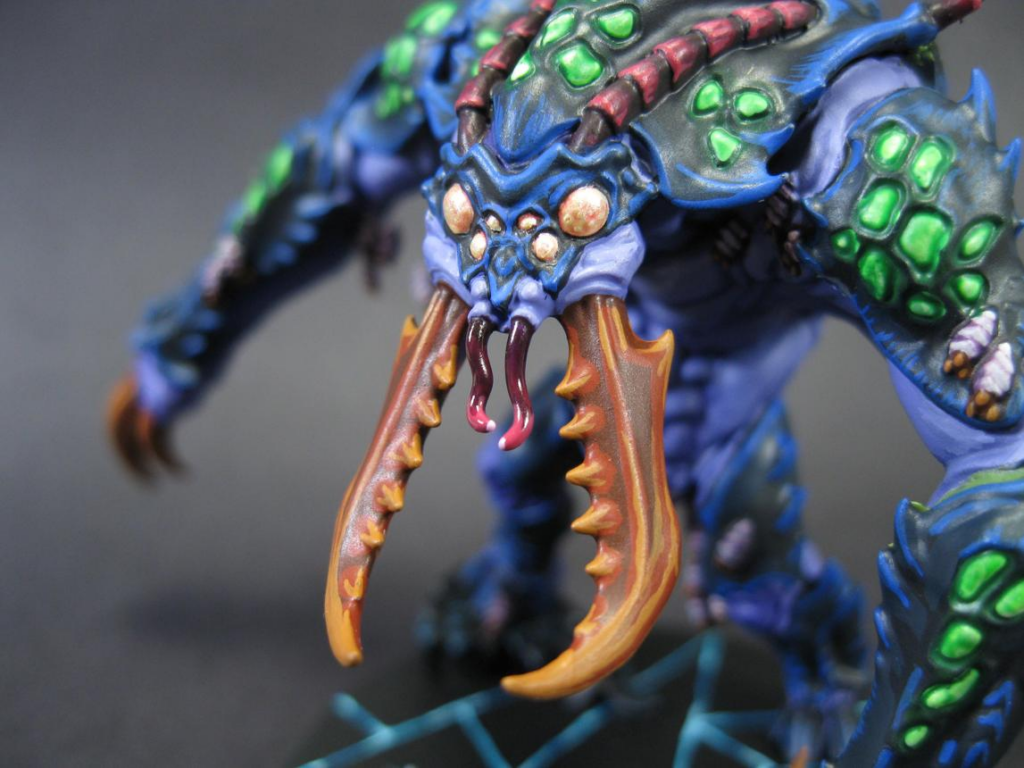
Claws, mandibles, horns, and pincers usually benefit from stronger gradients.
Start dark near the attachment point.
Gradually move toward a lighter color near the tip.
For natural claws, try:
Black-Brown → Brown → Tan → Ivory
Alternatively, reverse the gradient for certain creatures.
Sharp edge highlights make the tips appear harder.
Keep the transition relatively smooth.
You can also add tiny scratches near the working surfaces of mandibles or claws.
This suggests repeated use.
A final pinpoint of ivory on the sharpest tip makes the structure appear especially dangerous.
Painting Damaged Chitin
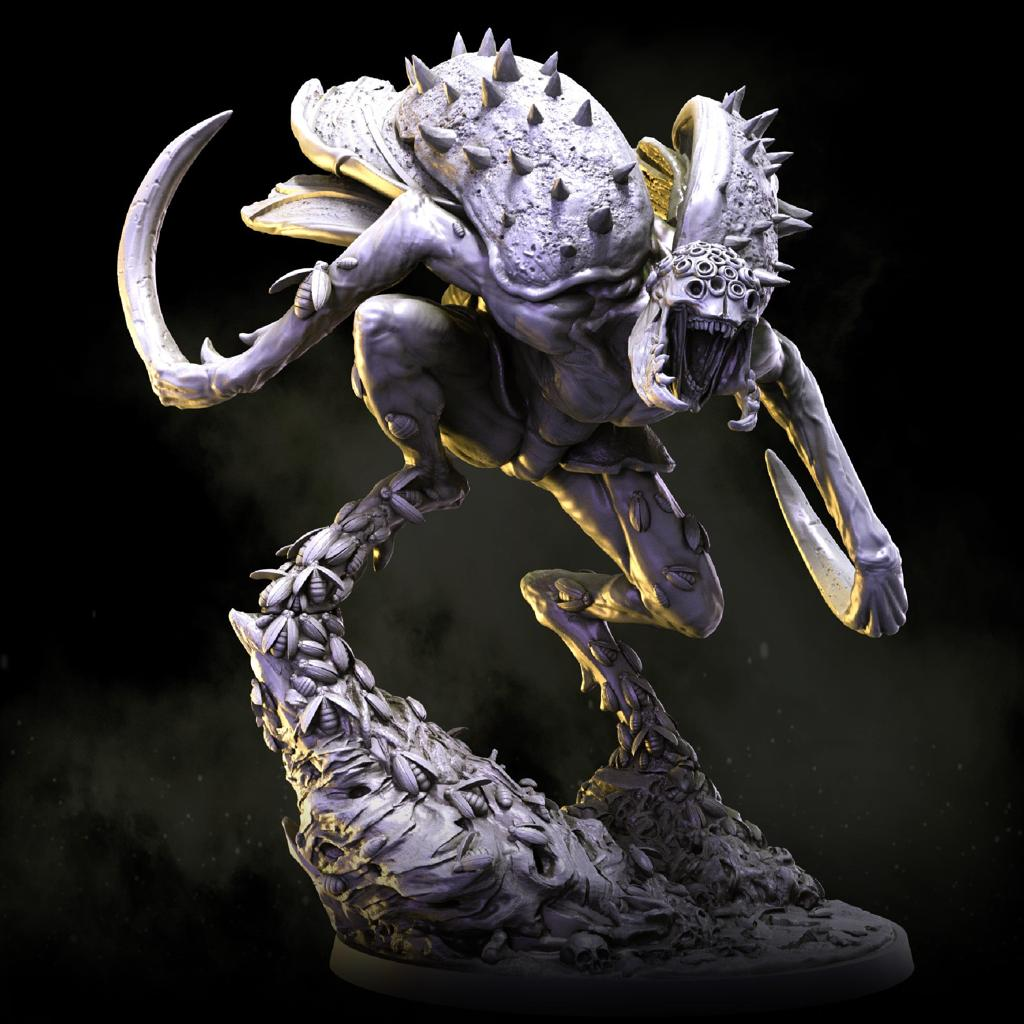
Battle damage makes monstrous armor much more interesting.
Start by painting thin dark scratches.
Then place a smaller bright line underneath one side.
This creates the illusion of depth.
For deeper damage, paint an irregular dark brown or black shape.
Add a pale shell-colored highlight along the lower edge.
Inside severe cracks, introduce dark red, purple, or fleshy tones.
This suggests exposed tissue underneath the broken shell.
Keep the damage concentrated in logical areas such as claws, shoulders, head plates, and exposed armor edges.
Too many scratches can make the shell visually confusing.
Painting Cracked and Ancient Chitin
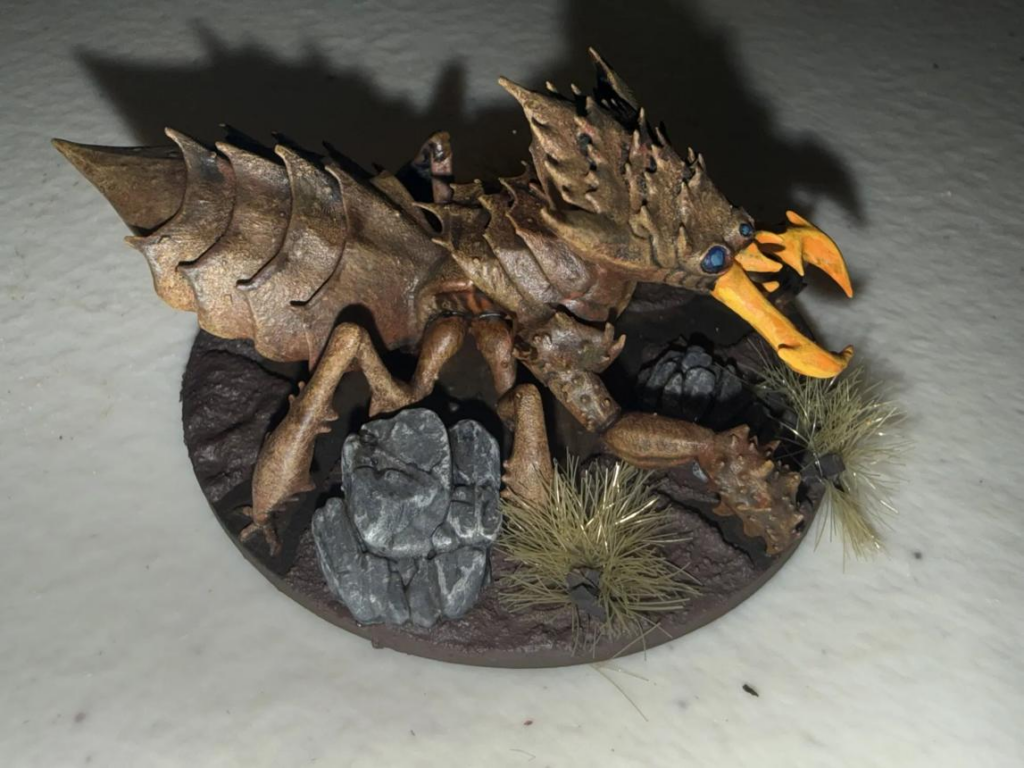
Ancient monsters can have dry, weathered shells.
Begin with your normal chitin colors.
Then introduce thin irregular cracks using a darker tone.
Highlight one side of selected cracks.
This creates the impression that the shell has physically separated.
Stipple small pale marks across heavily weathered sections.
Reduce gloss compared with healthy chitin.
Matte varnish can make old shell appear dry and brittle.
You can also introduce desaturated grey, beige, or bone colors into the highlights.
This technique works especially well for undead insects, ancient dungeon monsters, and creatures living in harsh environments.
Painting the Soft Tissue Between Plates
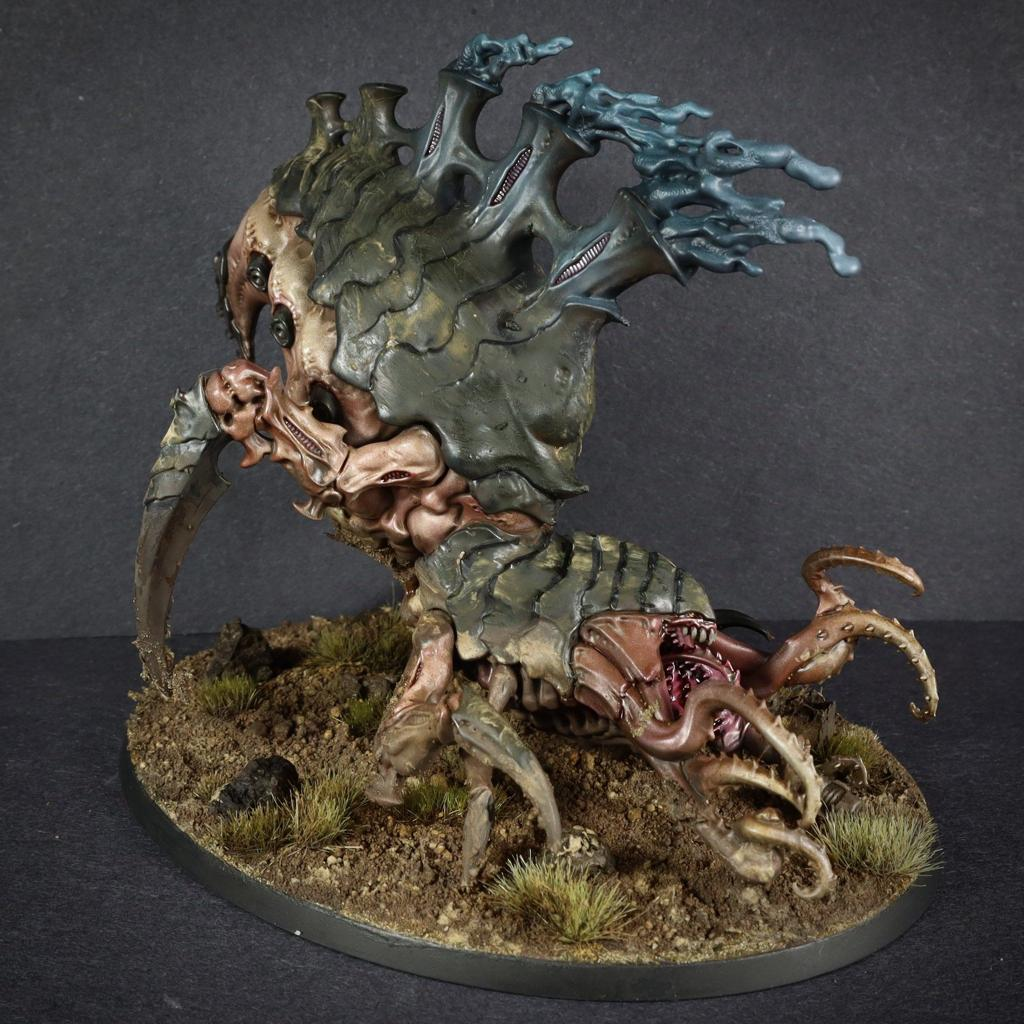
The material between armor plates provides an important contrast.
Don’t paint everything using the same chitin color.
Soft joints can be dark purple, red-brown, grey, pink, or desaturated flesh.
Begin dark.
Then carefully highlight raised folds.
Keep these areas less reflective than the hard shell.
This difference in finish helps distinguish materials.
A glossy black carapace beside matte purple flesh immediately feels more believable.
You can also add subtle red or violet glazes where the tissue connects to the shell.
This creates a convincing biological transition.
Adding Dirt and Environmental Weathering
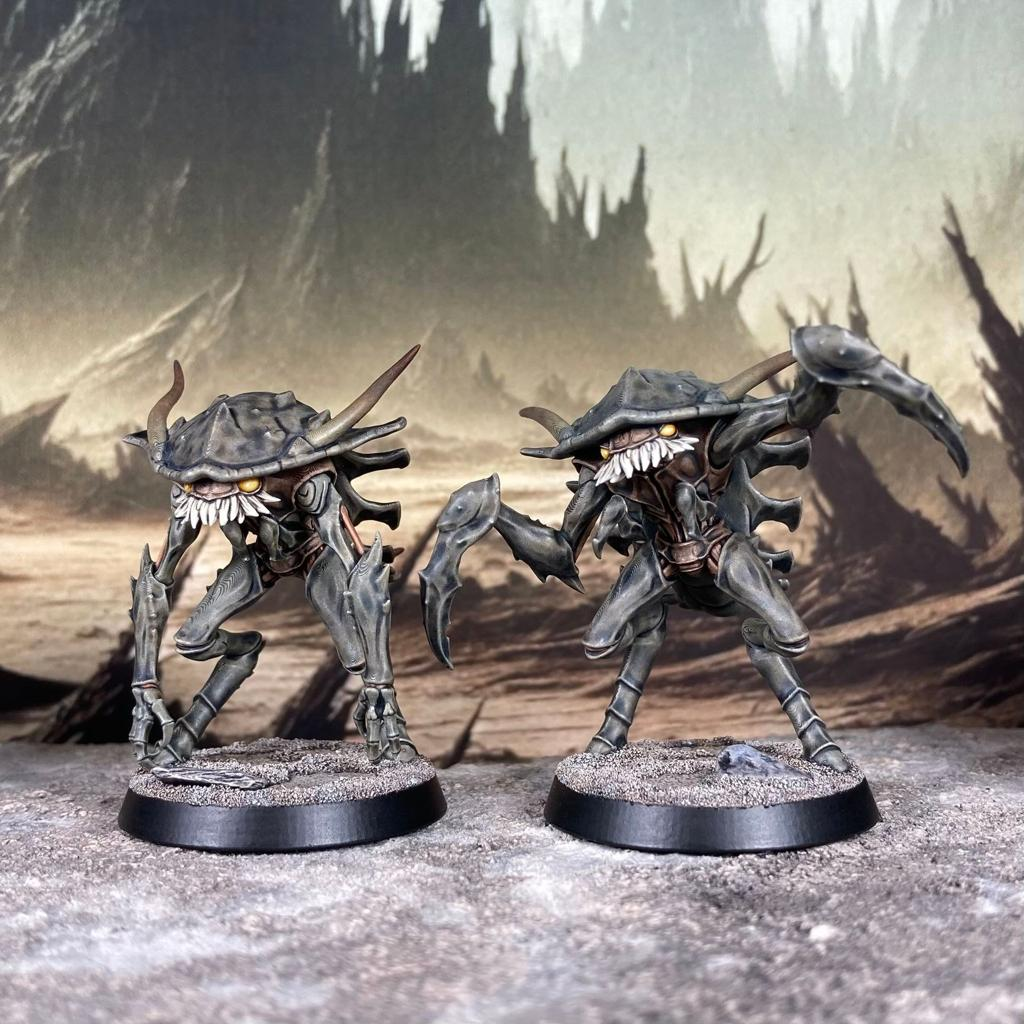
A creature should visually belong to its environment.
Desert insects can collect dust around their feet and lower armor.
Swamp creatures might have green algae or mud.
Cave monsters can accumulate grey dirt and earthy pigments.
Apply environmental effects primarily to lower areas.
Keep them subtle.
If you completely cover your carefully painted chitin, you’ll lose the contrast and texture.
Pigments, stippling, thin glazes, and dry brushing can all work.
Make sure some weathering appears on both the miniature and its base.
This visually connects them.
Creating Magical Chitin
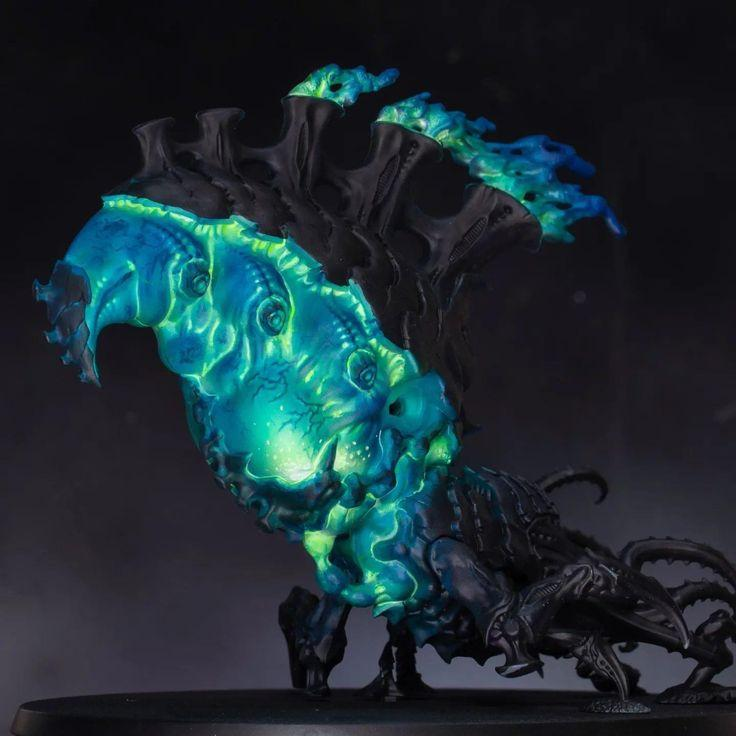
Fantasy creatures allow you to push chitin far beyond natural insect colors.
You can create glowing cracks underneath black armor.
You can paint bright blue crystalline shells.
Purple plates can contain pink magical reflections.
Green armor can glow with toxic energy.
Start with a dark shell.
Then introduce saturated colors around the magical source.
Finish with very bright highlights.
If the chitin itself emits light, reflect some of that color onto nearby flesh, claws, ground, and armor plates.
This creates Object Source Lighting.
Keep the source brighter than the surfaces receiving the reflected light.
Matte vs Gloss Chitin
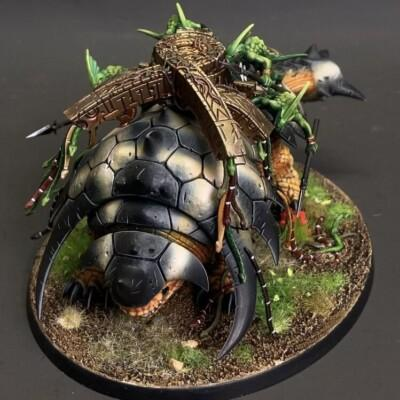
The final varnish can dramatically change the appearance of your miniature.
Glossy chitin feels fresh, hard, wet, or beetle-like.
Satin creates a more subtle natural shell.
Matte chitin feels dry, dusty, ancient, or weathered.
You don’t need to choose only one.
Combining finishes can create excellent material separation.
For example, use satin across most of the shell and gloss on selected reflective plates.
Keep soft tissue relatively matte.
Use gloss around wet mouths, exposed wounds, or slime.
This creates several different materials even when their colors are similar.
Common Mistakes When Painting Chitin
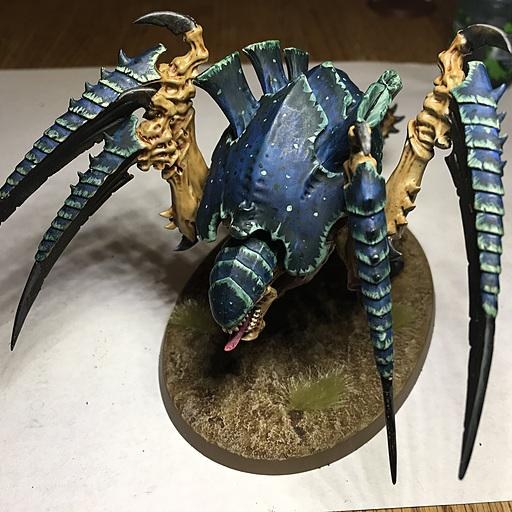
One common mistake is highlighting every armor plate exactly the same way.
This creates repetition and removes the influence of your light source.
Another mistake is making the shell completely smooth.
Subtle scratches, stripes, color variations, and texture help reinforce the organic material.
Avoid filling the recesses between plates with bright colors.
Dark separation is essential.
Don’t rely exclusively on gloss varnish to create a shiny shell.
Paint the reflections first.
The varnish should enhance the illusion rather than create it by itself.
Finally, remember to distinguish hard chitin from the softer material underneath.
Different colors, highlights, and surface finishes make the creature much more believable.
Final Thoughts
Realistic chitin is built through segmentation, contrast, organic texture, and controlled reflections.
Begin with a dark base.
Preserve deep shadows between armor plates.
Gradually build your main shell color toward the exposed edges.
Use thin irregular stripes or scratches to introduce biological texture.
For glossy beetle shells, keep the contrast strong and reflections sharp.
For natural chitin, use brown, beige, orange, and earthy variations.
For ancient monsters, introduce cracks, desaturated colors, and matte surfaces.
For fantasy creatures, experiment with iridescent transitions, glowing cracks, saturated colors, and magical reflections.
Most importantly, separate the different materials.
Hard chitin, soft joints, claws, exposed flesh, slime, and environmental dirt should not all receive the same treatment.
When each surface behaves differently under the imaginary light, even a bizarre fantasy monster begins to feel believable.
Frequently Asked Questions
What colors work best for realistic chitin?
Dark brown, black, green, blue-black, reddish brown, and muted orange work well for natural chitin. Fantasy creatures can use almost any palette.
Should chitin be glossy?
It depends on the creature. Beetle-like shells often look excellent with satin or gloss finishes, while old or desert chitin can remain matte.
How do I highlight black chitin?
Use subtle blue-black, green-black, or purple-black midtones before adding controlled grey or pale edge highlights.
How do I paint chitin stripes?
Paint thin irregular lines inward from the armor edge, using progressively brighter colors as the lines approach the edge.
How do I make chitin look damaged?
Paint a dark scratch or chip first, then add a thin bright highlight underneath one edge to create depth.
How do I paint iridescent insect armor?
Glaze several neighboring colors such as blue, purple, and magenta across a dark shell and finish with sharp pale reflections.
What color should the joints between chitin plates be?
Dark purple, red-brown, grey, muted flesh, and deep red all work well depending on the creature.
How do I make chitin look different from metal armor?
Use more organic gradients and textures, preserve irregular color transitions, and vary the surface finish instead of relying on conventional metallic reflections.
If you would like free D&D STL miniatures, visit our homepage and download yours now: