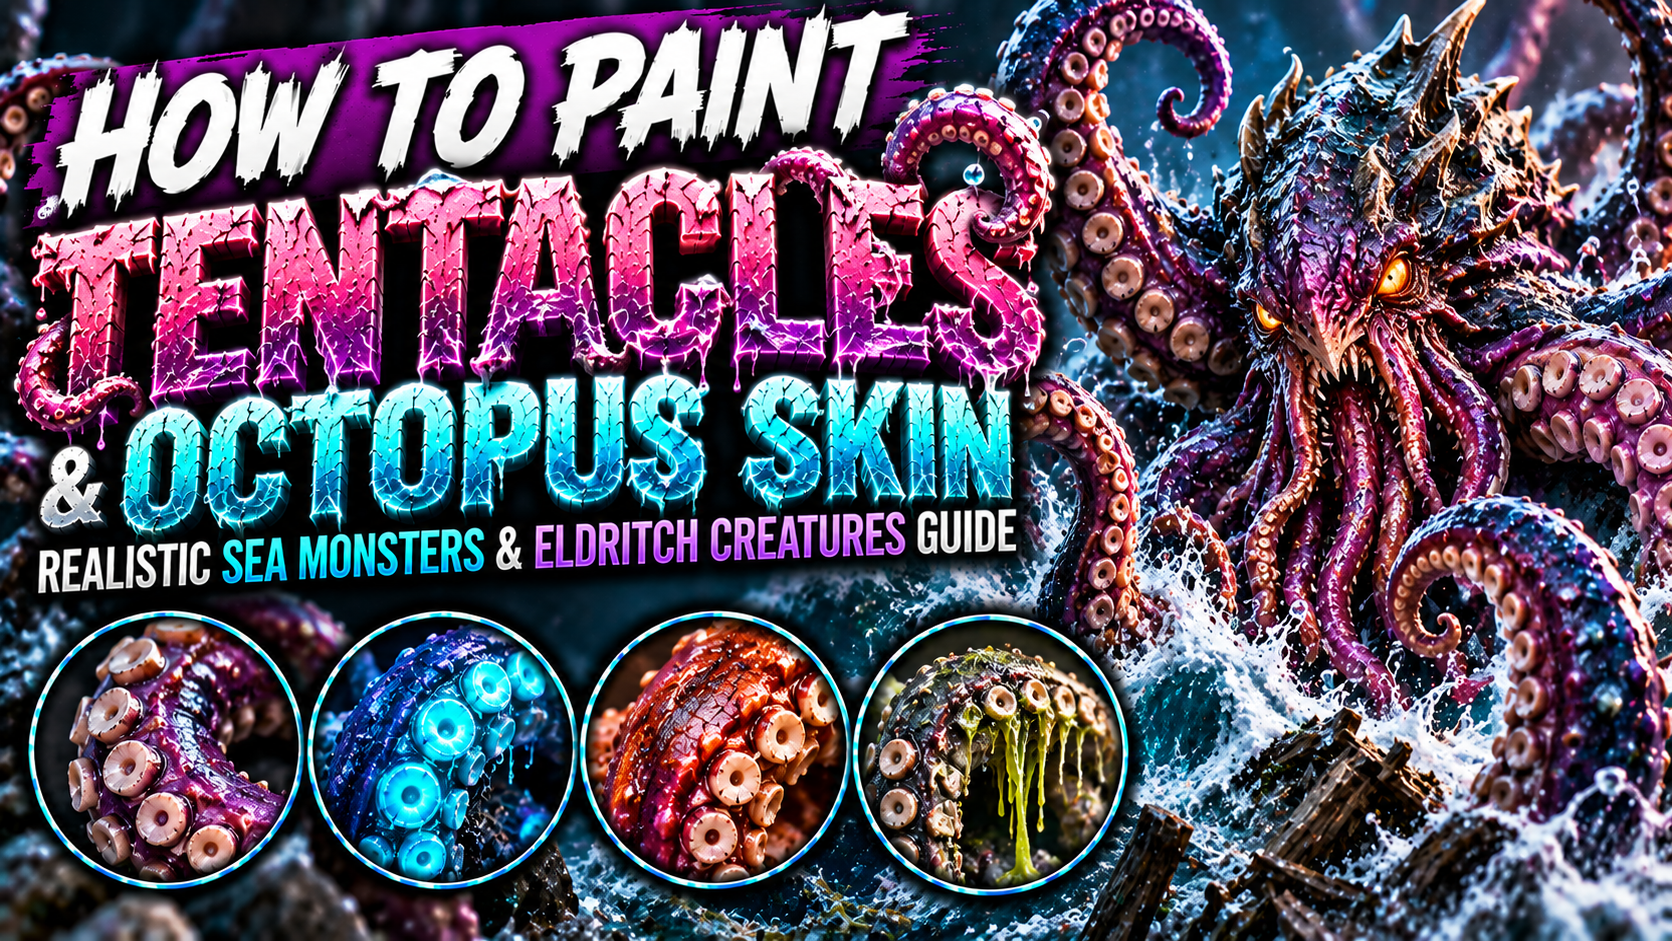
How to Paint Tentacles and Octopus Skin on Miniatures (Realistic Sea Monsters & Eldritch Creatures Guide)
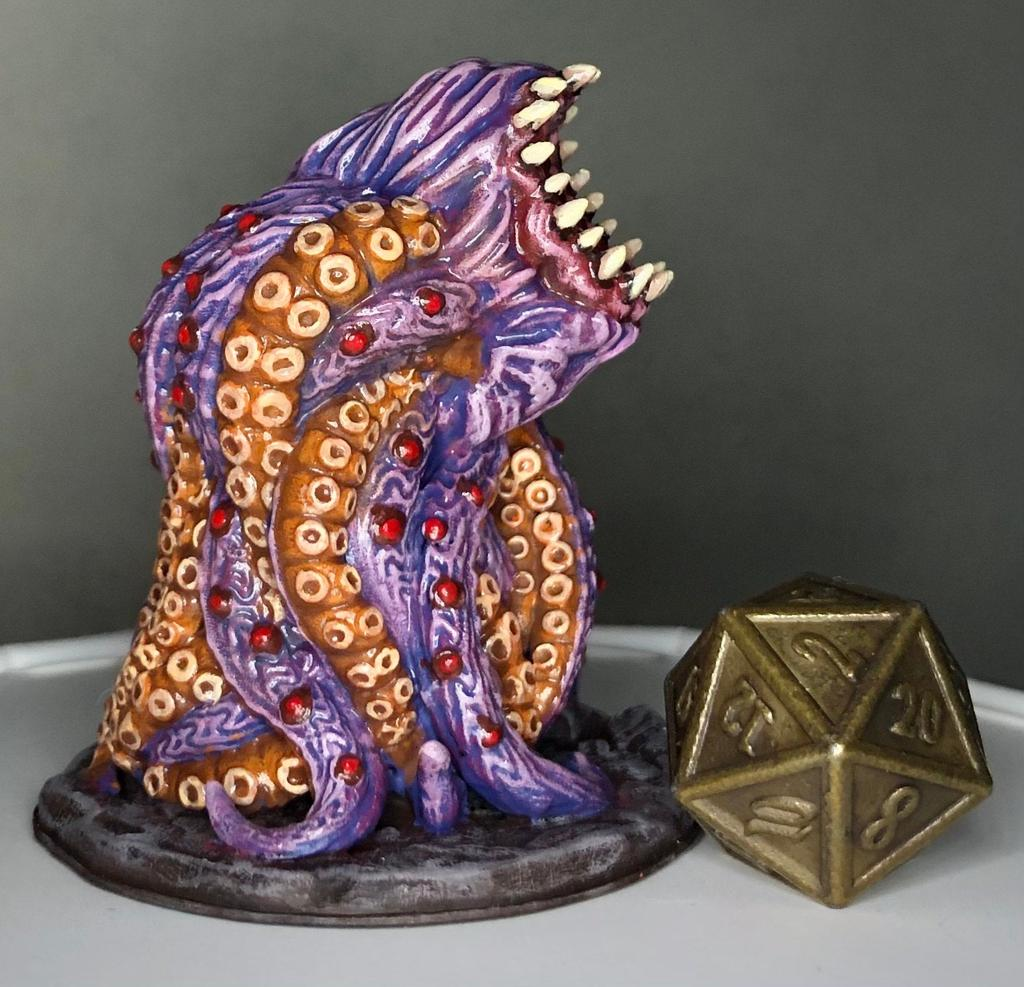
Tentacles are one of the most recognizable features of fantasy and horror miniatures.
They appear on krakens, sea monsters, mind flayers, eldritch horrors, mutated creatures, demons, alien beasts, and countless monsters inspired by the deep ocean.
They are also extremely fun to paint because tentacles allow you to combine several unusual surfaces on a single miniature: smooth skin, wet reflections, suckers, spots, stripes, translucent tissue, slime, wounds, and dramatic color transitions.
The biggest mistake when painting tentacles is treating them like ordinary arms or tails.
Tentacles usually need to look soft, organic, flexible, and wet. Their colors should transition naturally along their curved shapes, while highlights need to reinforce the impression of moisture.
In this guide, you’ll learn how to paint realistic tentacles, octopus skin, suckers, mottled patterns, wet surfaces, slime, damaged tissue, deep-sea colors, and supernatural eldritch creatures.
Understanding Tentacle Anatomy
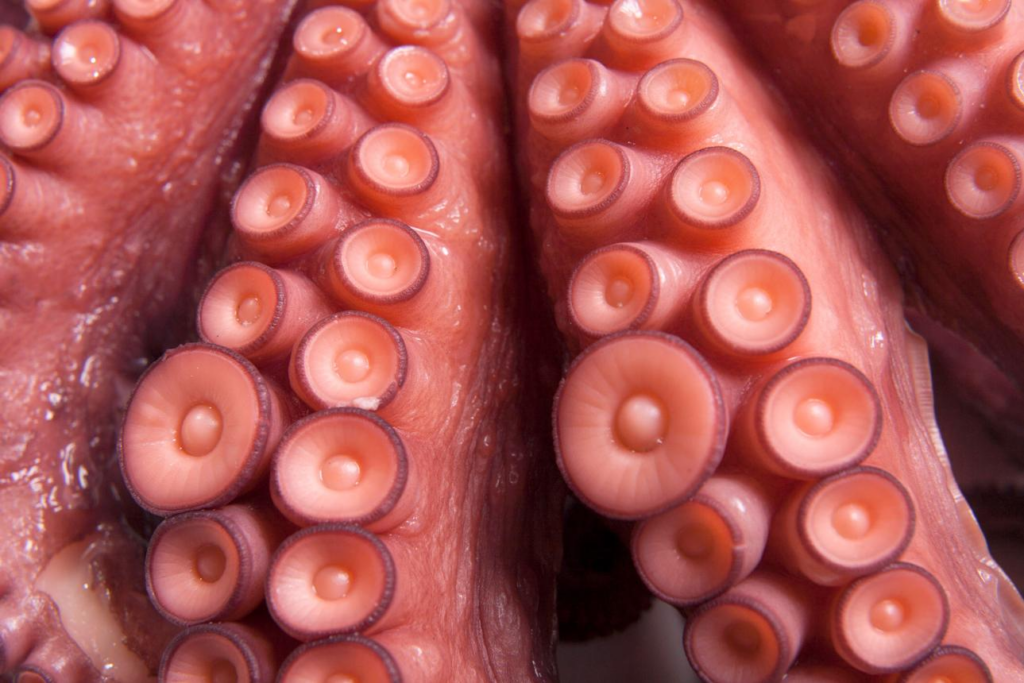
Tentacles may look simple, but their shape creates interesting lighting.
Most are essentially long cylinders that gradually become thinner toward the tip.
This means highlights usually follow the length of the tentacle rather than cutting directly across it.
The underside may contain suckers.
The upper surface can contain spots, stripes, bumps, or changing colors.
Tentacles also bend repeatedly.
Each curve changes how light reaches the surface.
Instead of highlighting the entire tentacle equally, imagine where your light source is located and brighten the sections facing it.
This immediately creates more believable volume.
Choosing a Tentacle Color Palette
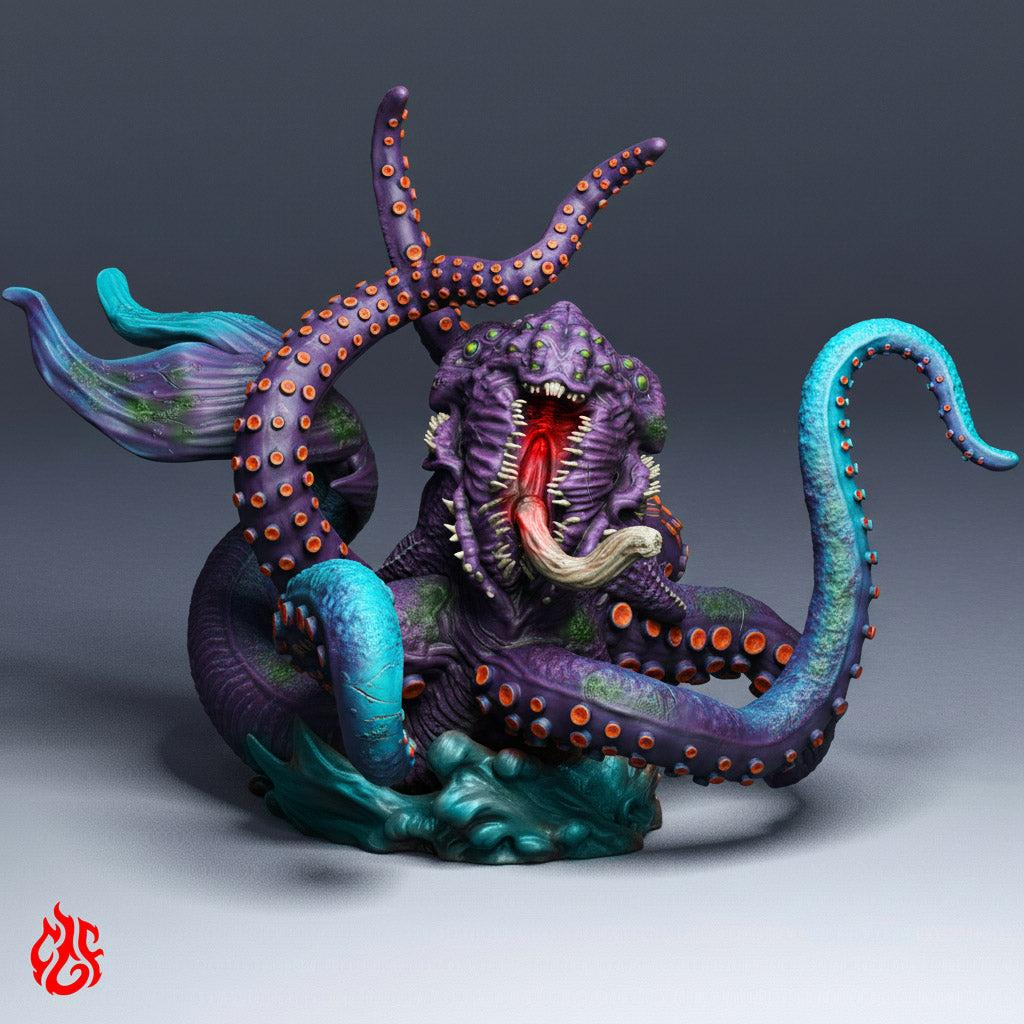
Real marine animals provide almost unlimited inspiration.
Natural palettes can include:
Dark Red → Burgundy → Red → Coral
Dark Purple → Violet → Magenta → Pink
Dark Blue → Blue-Grey → Turquoise → Pale Blue
Brown → Red-Brown → Orange → Beige
For eldritch creatures, you can push the colors much further:
Black-Purple → Purple → Magenta → Toxic Pink
or:
Black-Green → Emerald → Turquoise → Cyan
A useful approach is choosing one dominant skin color and one contrasting color for the underside and suckers.
This creates visual separation without making the creature chaotic.
Starting with a Dark Base Coat
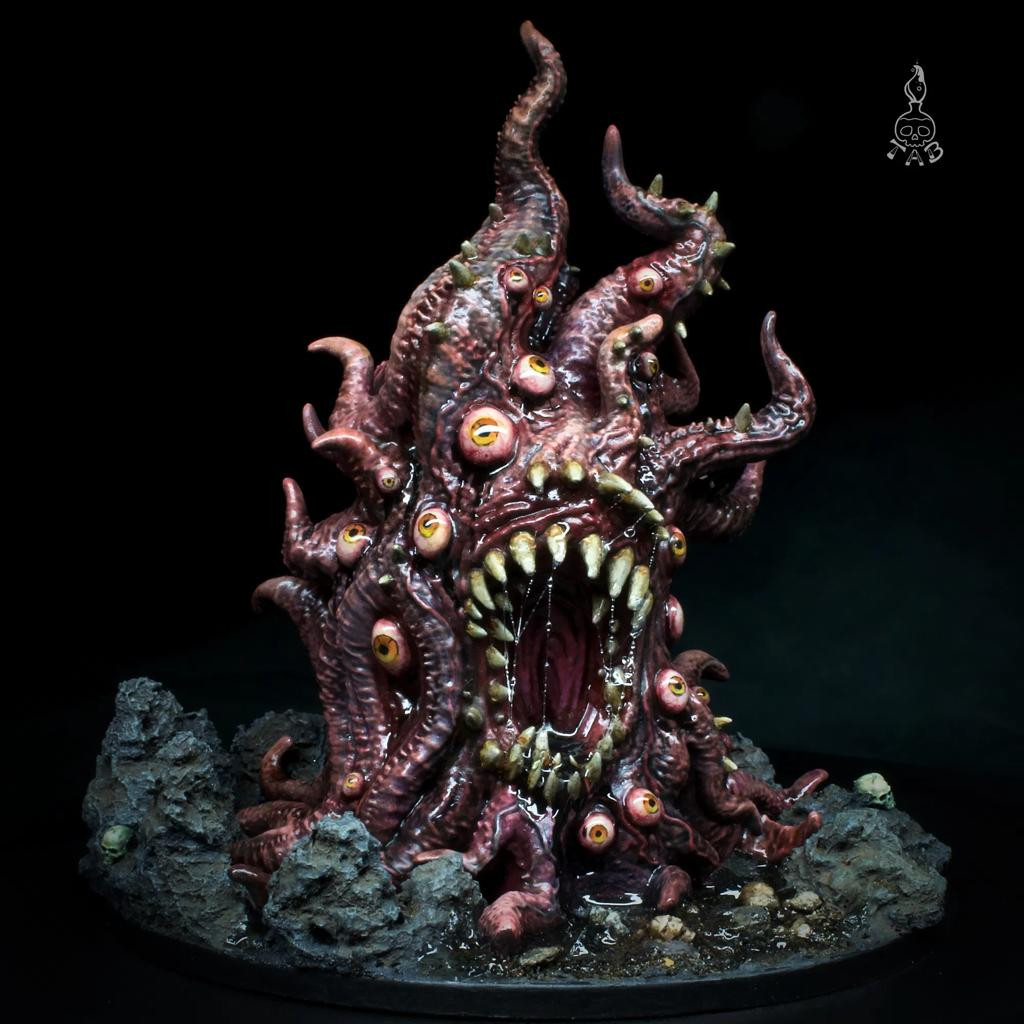
A darker base makes organic monsters much easier to shade.
Deep purple, burgundy, dark blue, dark green, or dark brown all work well.
Apply the base evenly.
Make sure paint reaches between suckers, folds, wrinkles, and overlapping tentacles.
These deep colors will become your natural shadows.
Avoid immediately covering everything with the midtone.
Leaving dark recesses visible gives the miniature much more depth.
This becomes especially important when multiple tentacles overlap.
Strong shadows help viewers understand which tentacle sits in front of another.
Building Smooth Tentacle Gradients
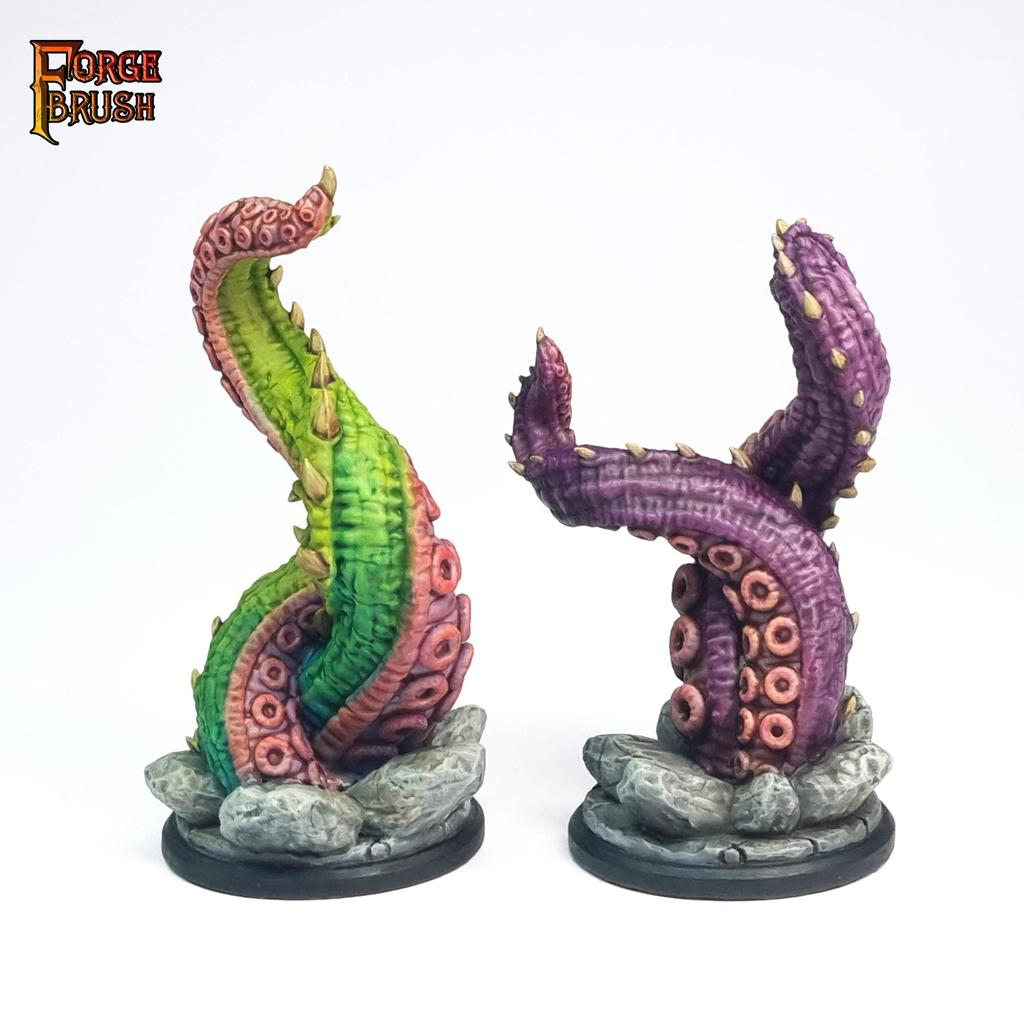
Tentacles look particularly good with gradual color transitions.
Apply your main midtone across the upper portions.
Then introduce progressively lighter colors along the surfaces facing the light.
Because tentacles are curved, keep the transition relatively smooth.
Glazing works extremely well.
Thin several layers of paint and gradually build the brightness.
You can also transition colors along the length.
For example:
Purple Base → Magenta Middle → Pale Pink Tip
This creates a dramatic fantasy appearance while reinforcing the shape.
Avoid making every tentacle transition at exactly the same point.
Small variations feel more organic.
Painting Octopus Skin Texture
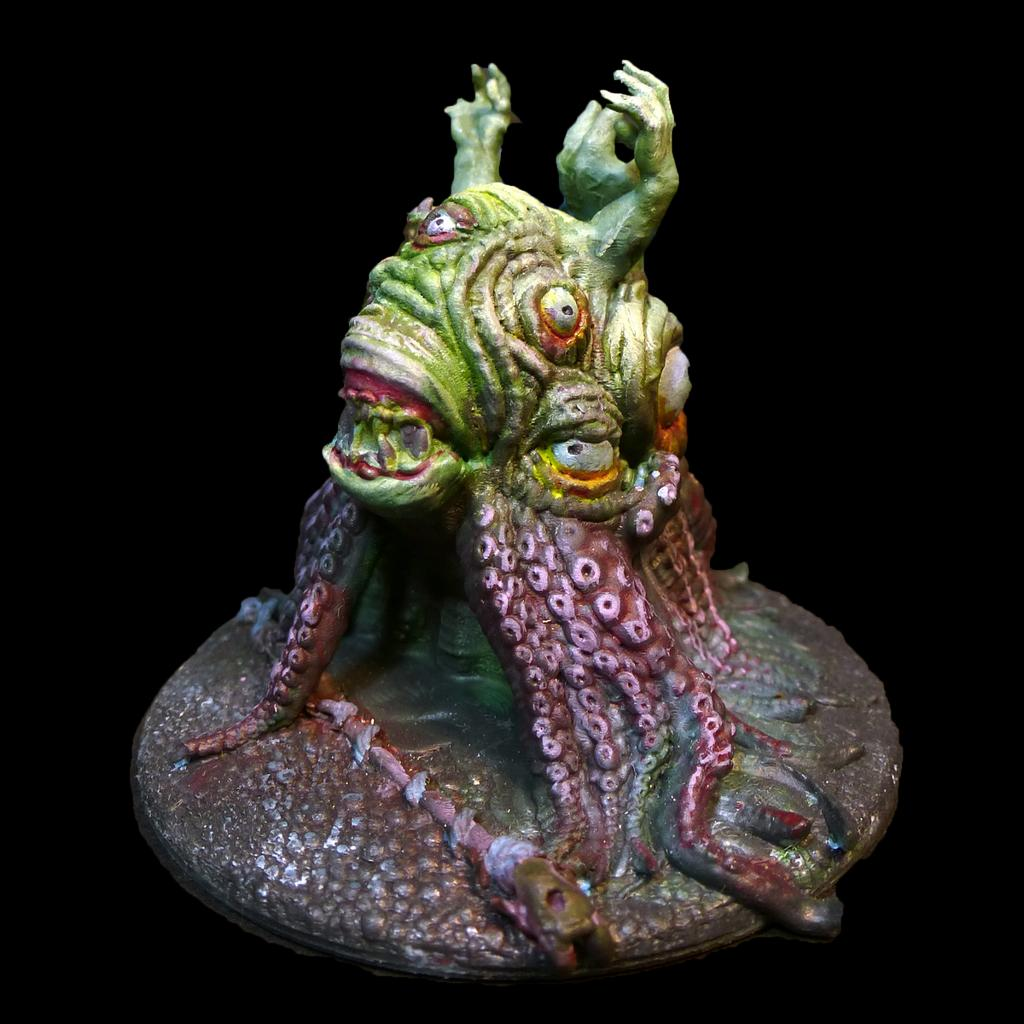
Octopus skin is rarely perfectly uniform.
Introduce small variations using stippling.
Take a slightly lighter version of your midtone and apply tiny irregular marks across selected areas.
Then add darker spots.
Some areas can contain dense texture.
Others should remain relatively smooth.
The goal isn’t to cover the miniature in dots.
You’re breaking up large areas of identical color.
Thin glazes can soften the texture afterward if the contrast becomes too strong.
This technique works particularly well on large krakens and sea monsters where broad tentacles would otherwise appear empty.
Painting Tentacle Suckers
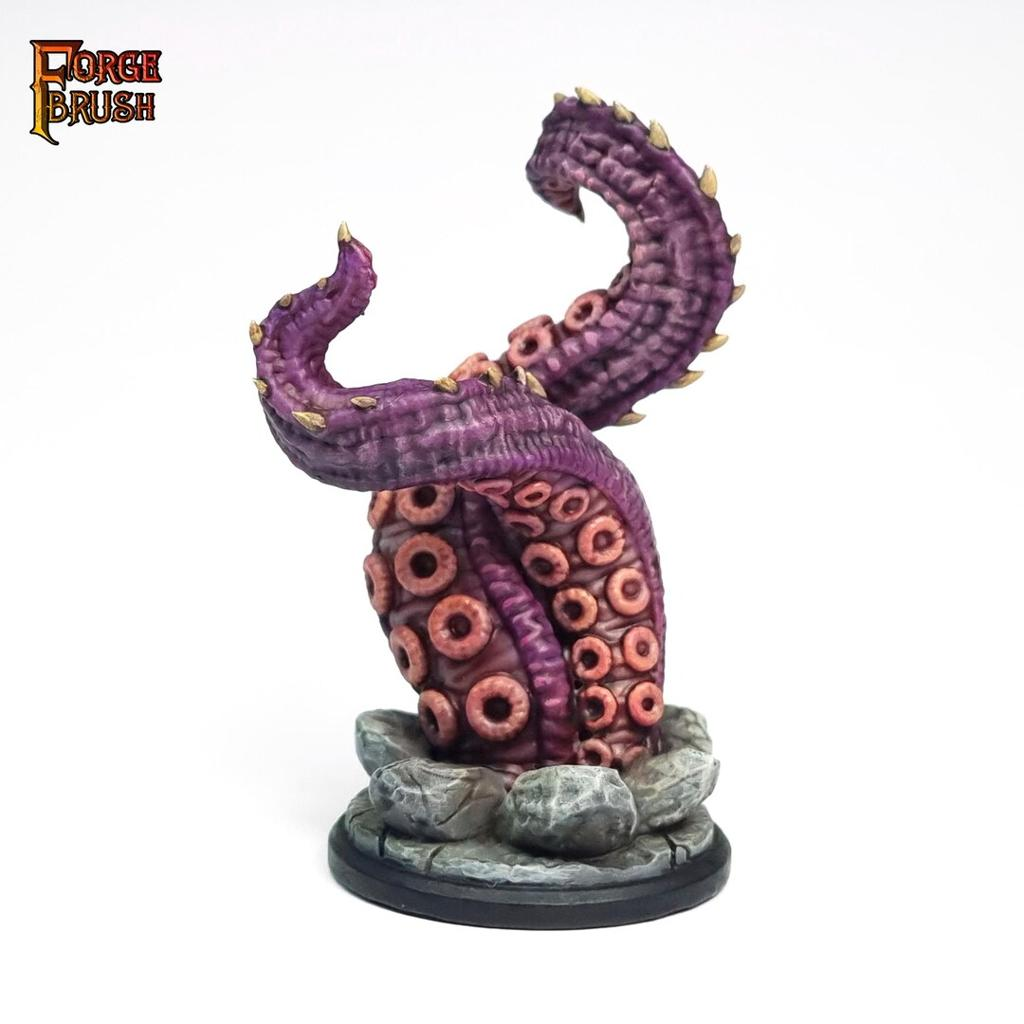
Suckers are one of the most important details.
They should usually contrast with the surrounding tentacle.
If the skin is purple, try pale pink or flesh-colored suckers.
For green tentacles, pale yellow-green or beige can work.
Start with a darker version of the sucker color.
Then paint the raised ring with your main tone.
Add a smaller highlight to the edge.
Keep the central depression darker.
This creates depth.
On larger suckers, a tiny bright reflection can make them appear moist.
Don’t paint every sucker equally bright.
Suckers facing away from the light should remain darker.
Painting Pale Tentacle Undersides
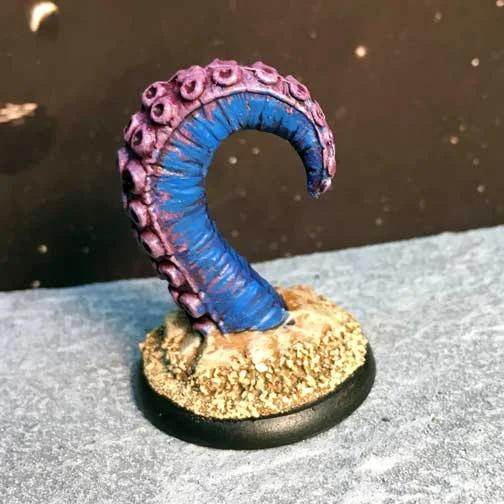
Many marine animals have lighter undersides.
This creates excellent visual contrast.
Begin with a darker flesh, pink, beige, or purple-grey.
Build toward a lighter tone.
Keep the transition between the upper and lower skin slightly irregular.
A perfectly straight dividing line can look artificial.
Blend small amounts of the upper color into the underside.
Then highlight the most exposed areas using pale flesh or ivory.
This technique also helps the suckers remain visible without requiring extremely bright colors.
Creating Spots and Mottled Patterns
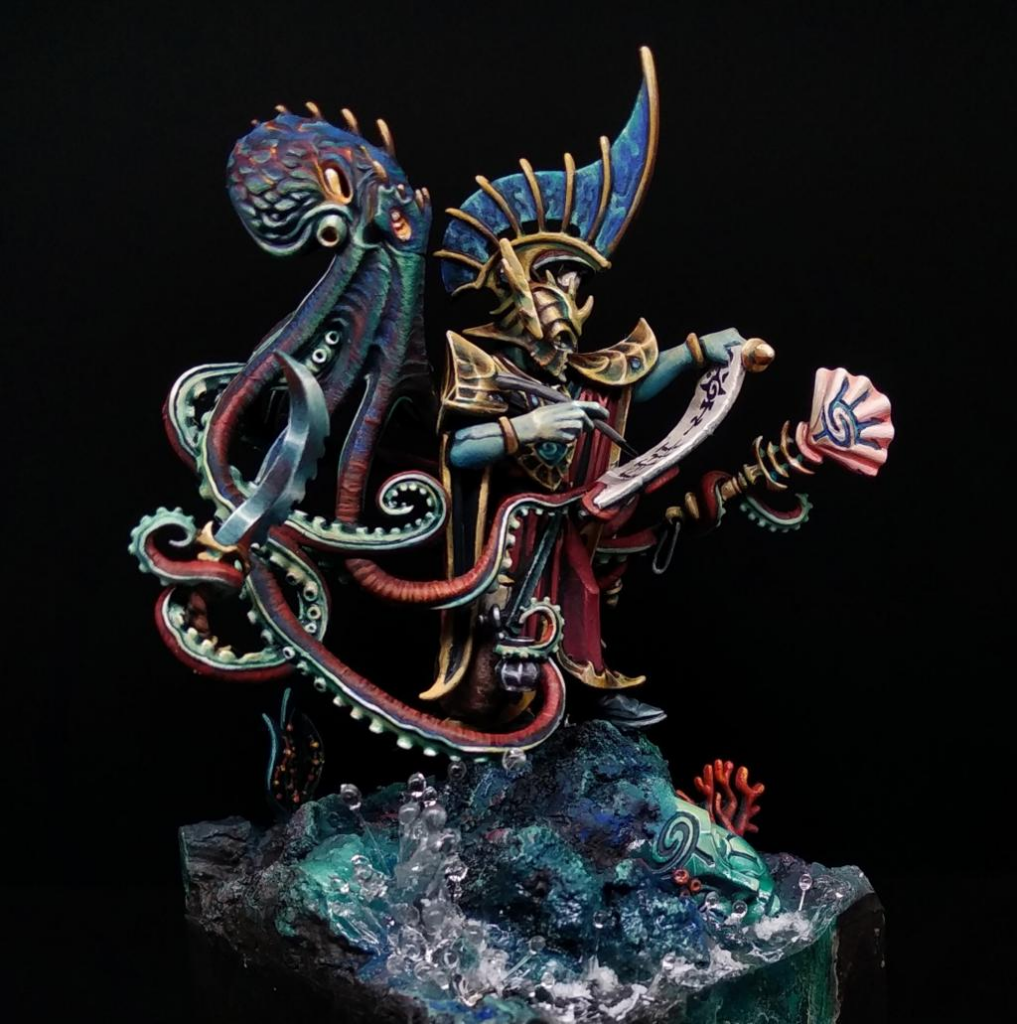
Octopuses and other marine creatures often display complex skin patterns.
You can reproduce these using controlled stippling.
Choose a darker or lighter version of your main skin color.
Apply irregular clusters of tiny spots.
Some spots can overlap.
Others can remain isolated.
Avoid evenly spacing them.
For more dramatic fantasy creatures, introduce a second color.
Turquoise spots over purple skin can create an exotic deep-sea appearance.
Orange spots over dark red can create a more natural marine look.
Glaze the original skin color over the pattern if you need to integrate it.
Painting Striped Tentacles
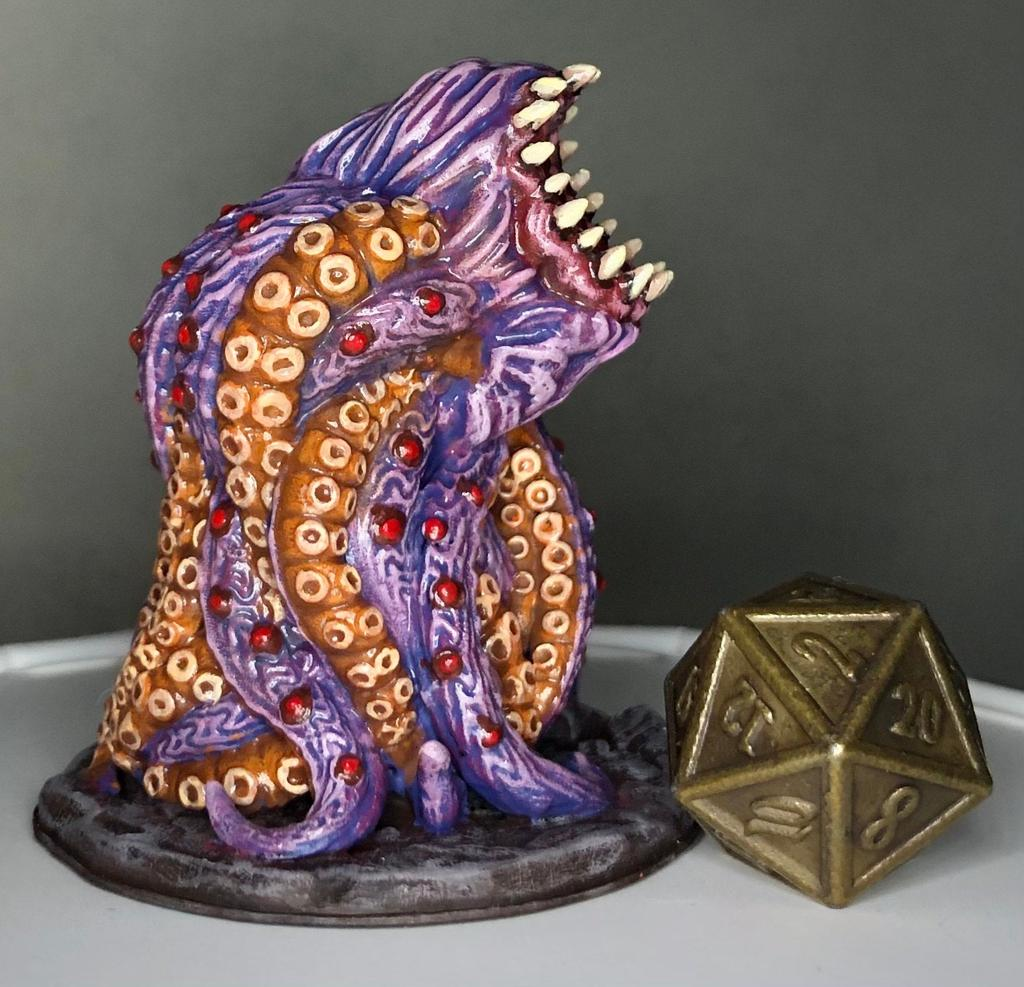
Stripes can make large monsters much more visually interesting.
Begin with your finished base skin.
Then paint irregular bands around selected sections.
Don’t make every stripe identical in width.
Real biological patterns vary.
Soften the stripe edges using thin glazes.
You can also break some stripes into spots.
For sea monsters, dark purple stripes over red skin work particularly well.
For alien creatures, black stripes over turquoise or green can create a dangerous exotic appearance.
Keep highlights consistent across both colors so the tentacle still reads as one curved object.
Making Tentacles Look Wet
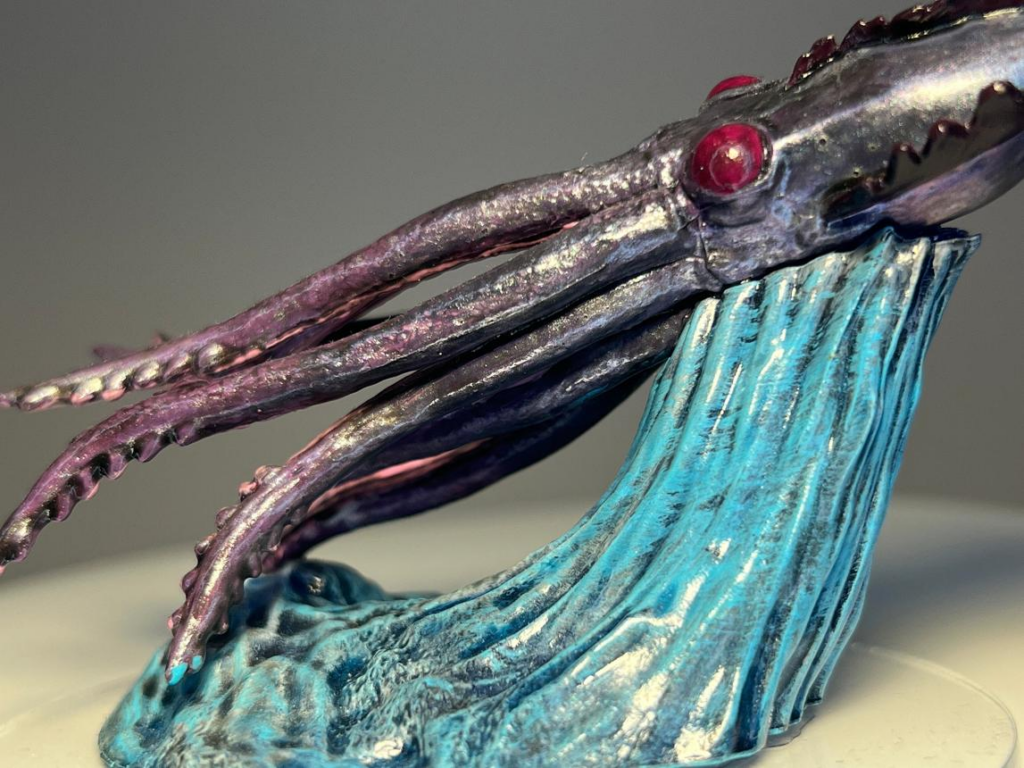
Surface finish is extremely important.
Tentacles usually look more convincing when slightly glossy.
However, don’t rely entirely on varnish.
Paint the reflections first.
Use thin pale highlights along selected curved surfaces.
Keep them relatively sharp.
Add small pinpoint highlights around suckers and raised bumps.
Then apply satin or gloss varnish.
Selective gloss is often more effective than coating the entire miniature.
Concentrate it around tentacles, mouths, suckers, and other wet tissue.
The combination of painted highlights and real reflections creates convincing moisture.
Adding Slime to Tentacles
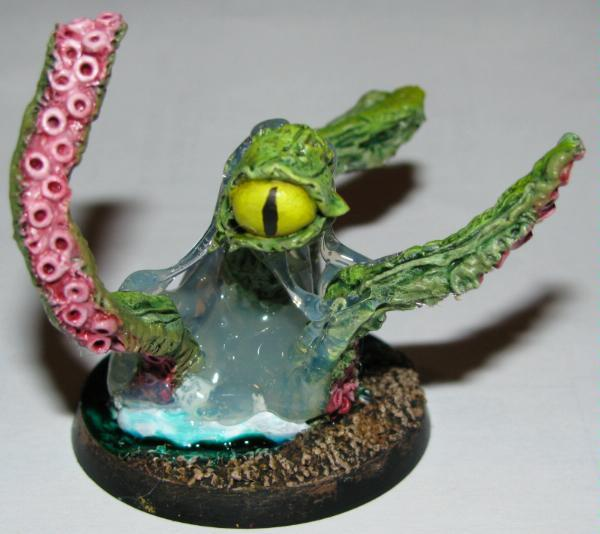
Slime can push the wet effect even further.
Transparent gel or specialized effects products work well.
Apply small amounts between suckers, around the mouth, or where tentacles touch surfaces.
Avoid covering everything.
A few concentrated areas are more convincing.
You can tint slime using very small amounts of green, yellow, blue, or brown.
Clear slime works especially well on natural creatures.
Bright green slime creates a corrupted or poisonous monster.
Strings of slime between tentacles can create a disturbing biological appearance.
Painting Deep-Sea Tentacles
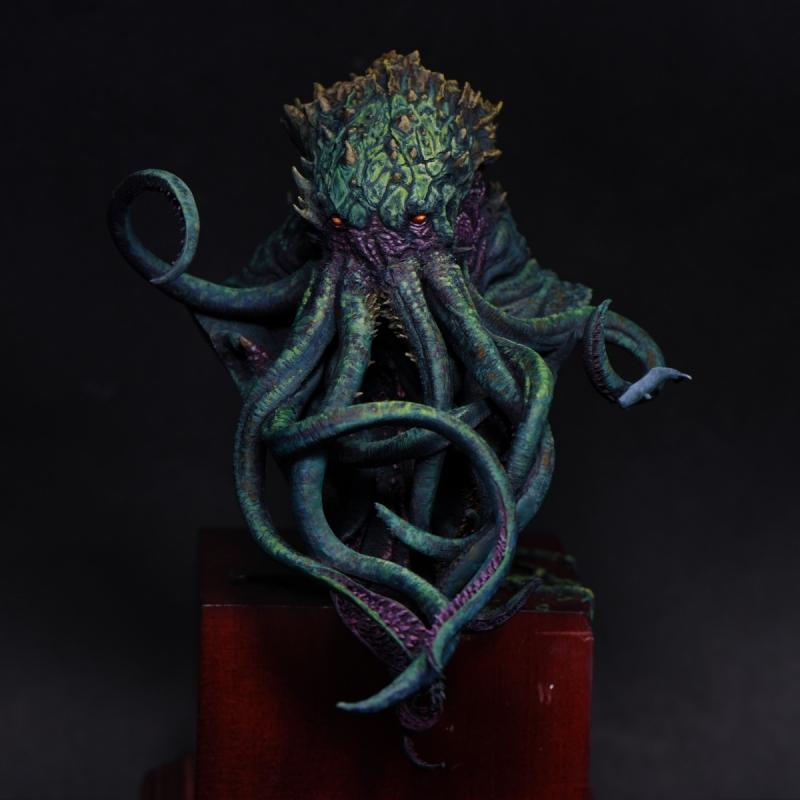
Deep-sea creatures provide excellent inspiration for fantasy monsters.
Use extremely dark colors.
Black-blue, purple-black, dark turquoise, and deep red work beautifully.
Then introduce small areas of intense color.
Turquoise spots, blue lines, or glowing dots can imitate bioluminescence.
Keep most of the creature dark.
This allows the luminous markings to dominate.
For the brightest points, transition toward cyan and finally near-white.
The surrounding tentacle can receive subtle blue or turquoise reflections.
This makes the markings appear to emit light.
Creating Bioluminescent Tentacles
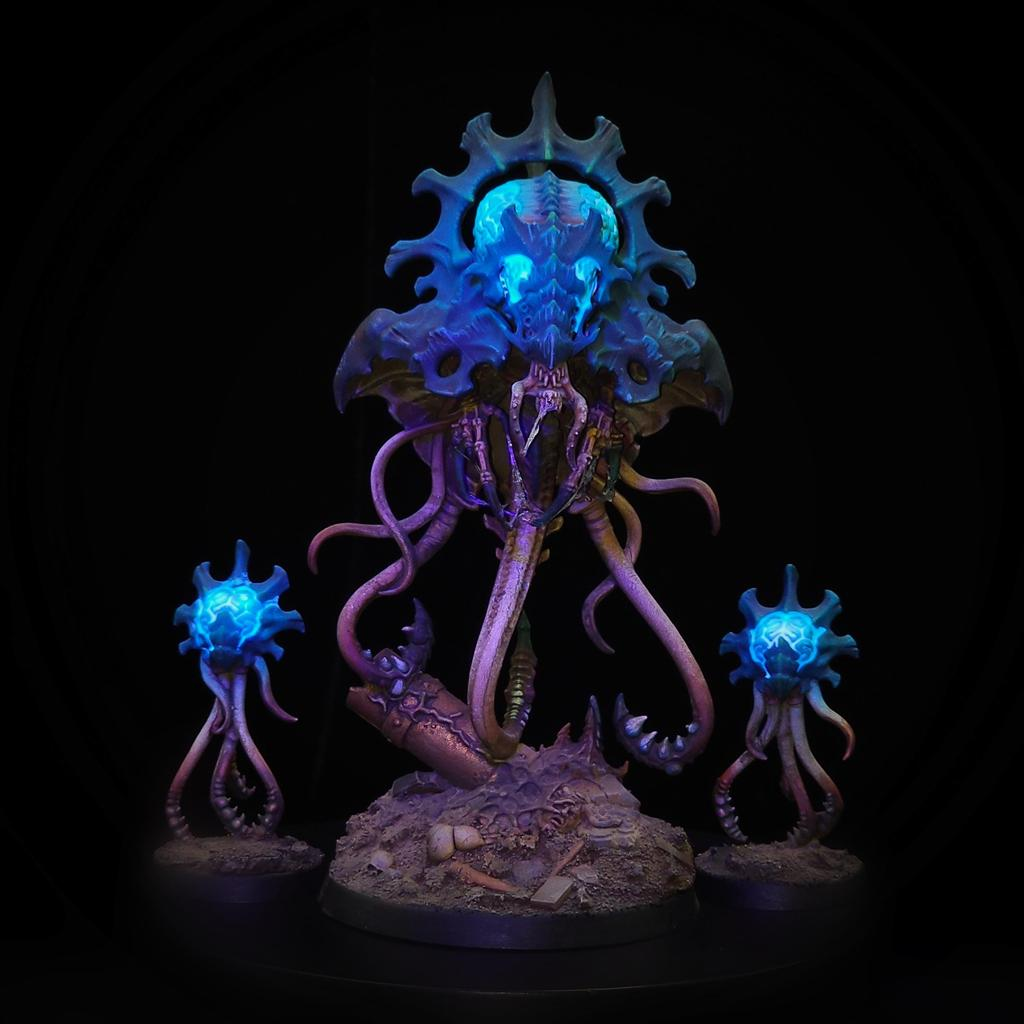
Fantasy tentacles can contain glowing veins, suckers, spots, or tips.
Choose your light source.
For example, the suckers could glow turquoise.
Start with dark turquoise around them.
Then paint the suckers cyan.
Finish the centers with pale cyan or white.
Afterward, glaze turquoise onto nearby skin.
The reflected light should become weaker as it moves away from the source.
You can use the same technique with green, purple, red, or magical blue.
Bioluminescence is especially effective when the rest of the creature remains dark.
Painting Damaged Tentacles
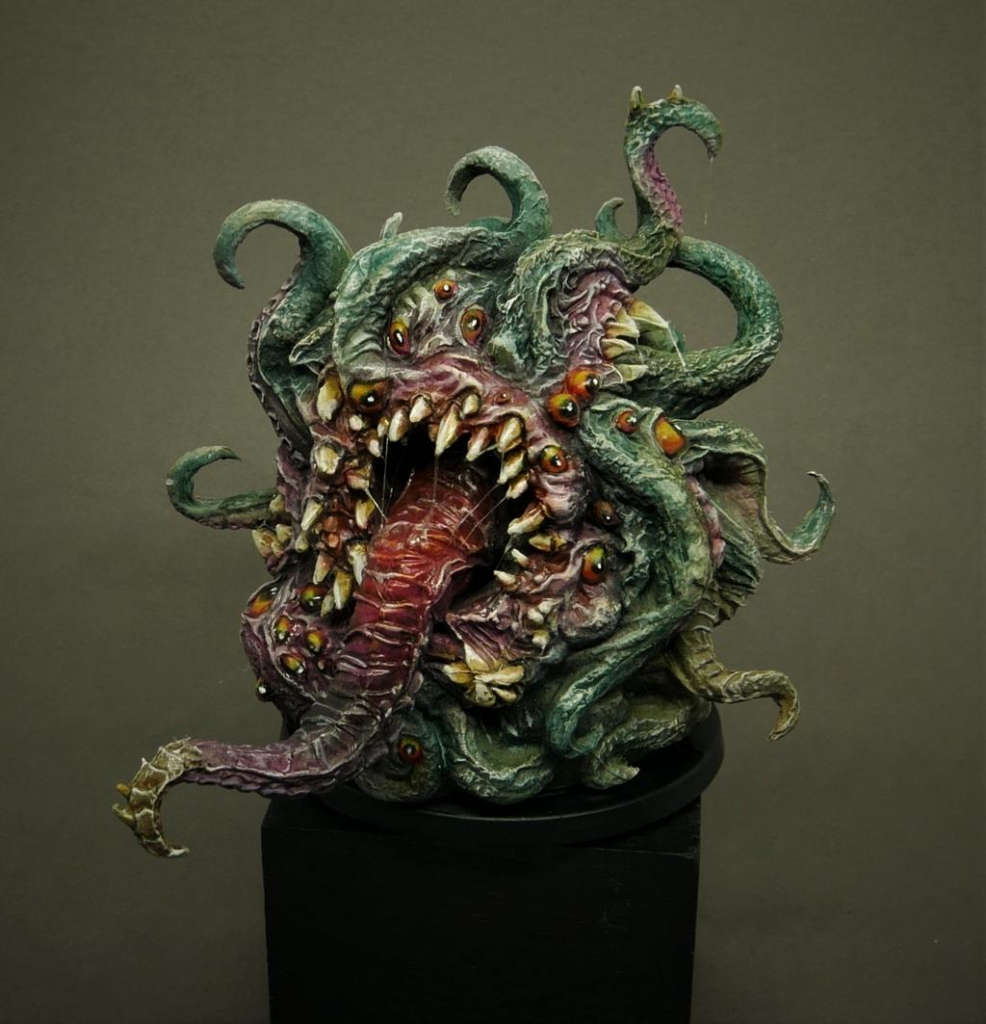
Battle damage creates another opportunity for material contrast.
Paint cuts using dark red or burgundy.
Inside deeper wounds, introduce purple-red or almost black.
Highlight the edges using the normal skin color mixed with pale flesh.
Fresh wounds can receive brighter red.
Add selective gloss to create moisture.
You can also create torn suckers, scars, bite marks, or severed tentacles.
Avoid placing identical wounds everywhere.
Concentrate damage in areas where combat would logically occur.
Painting Eldritch Tentacles
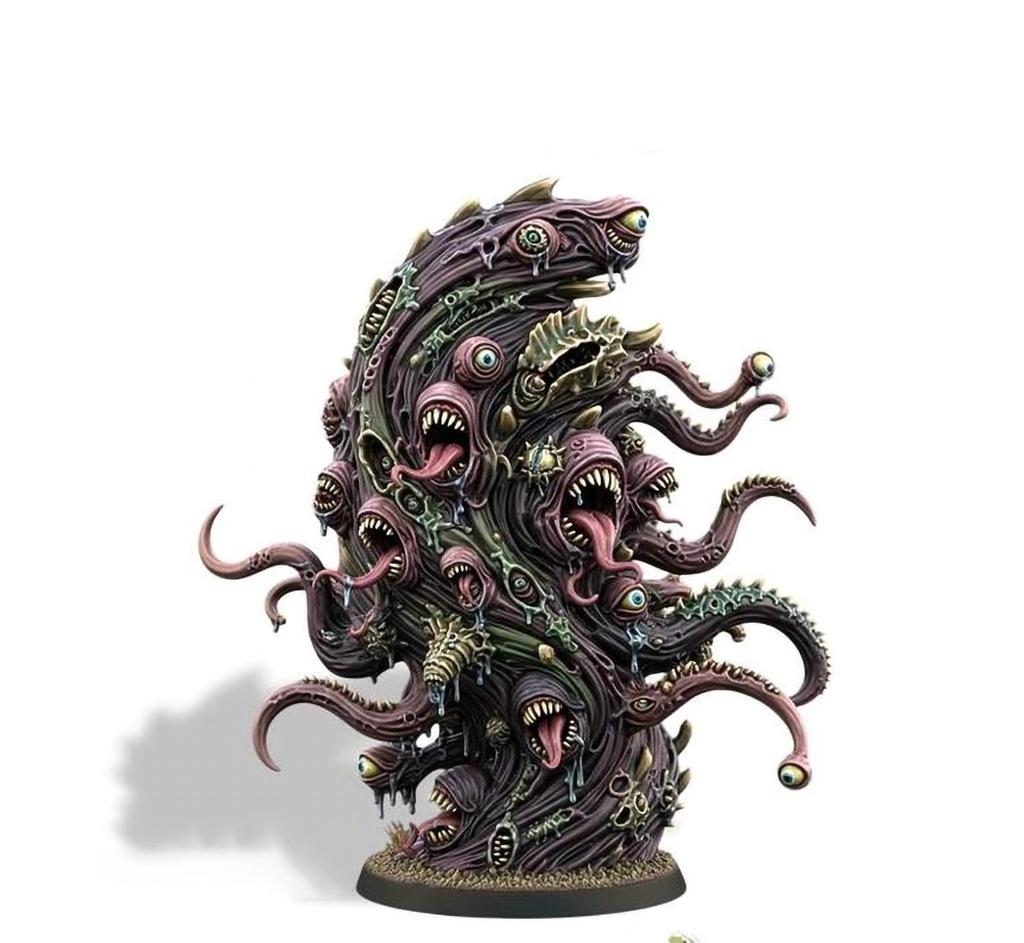
Eldritch creatures allow you to ignore natural color limitations.
Purple skin can transition into turquoise.
Black tentacles can contain glowing magenta cracks.
Green suckers can surround blue mouths.
The key is maintaining a clear visual hierarchy.
Choose one dominant color.
Then select one or two accent colors.
If every surface uses a completely different saturated color, the miniature can become visually confusing.
Dark shadows help unify the palette.
You can also use unnatural gradients to make the creature feel genuinely otherworldly.
Painting a Kraken or Giant Sea Monster
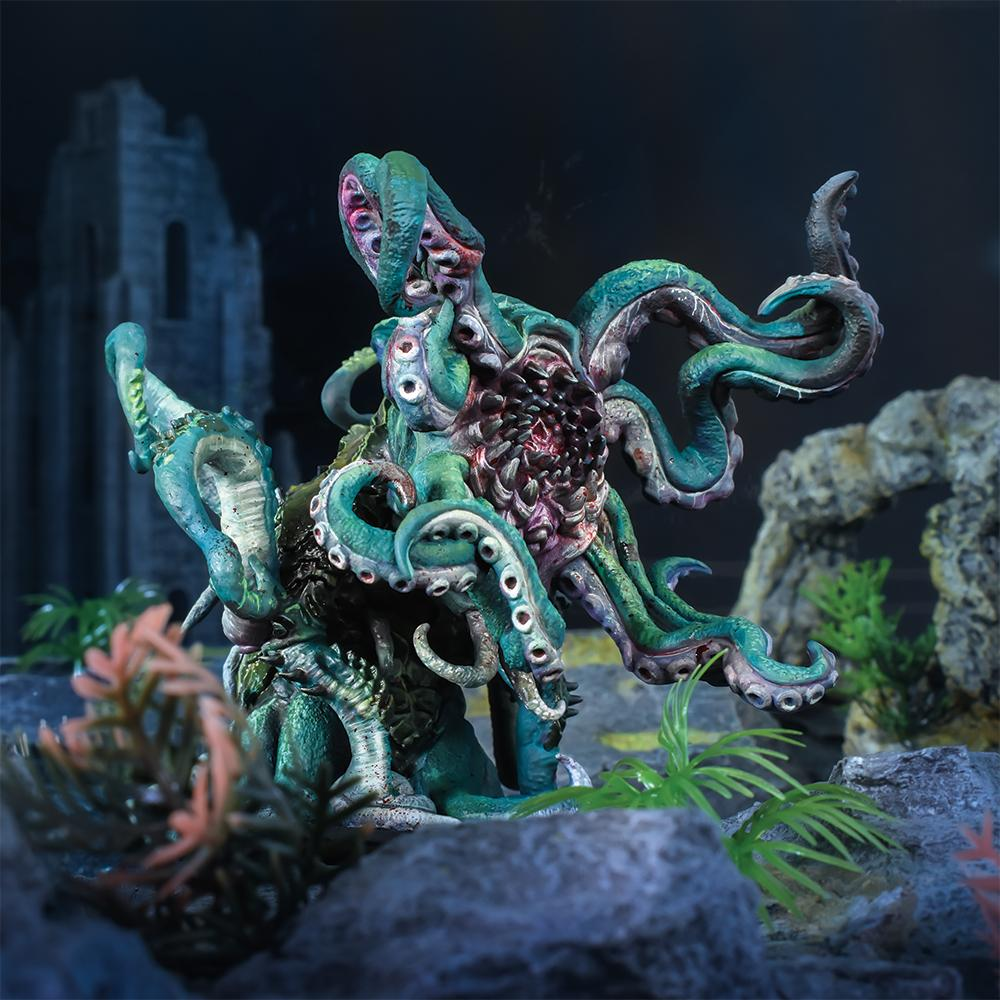
Large sea monsters require slightly different planning because they contain enormous amounts of skin.
Avoid painting every tentacle identically.
Some can be darker.
Others can contain more spots.
The upper body can use stronger highlights than lower tentacles.
Keep deep shadows where tentacles overlap.
Use lighter undersides to create separation.
Add wet reflections across the highest surfaces.
Water effects around the creature’s base can reinforce scale.
Foam, waves, broken ships, rocks, and debris make the monster feel enormous.
Connecting Tentacles to the Environment
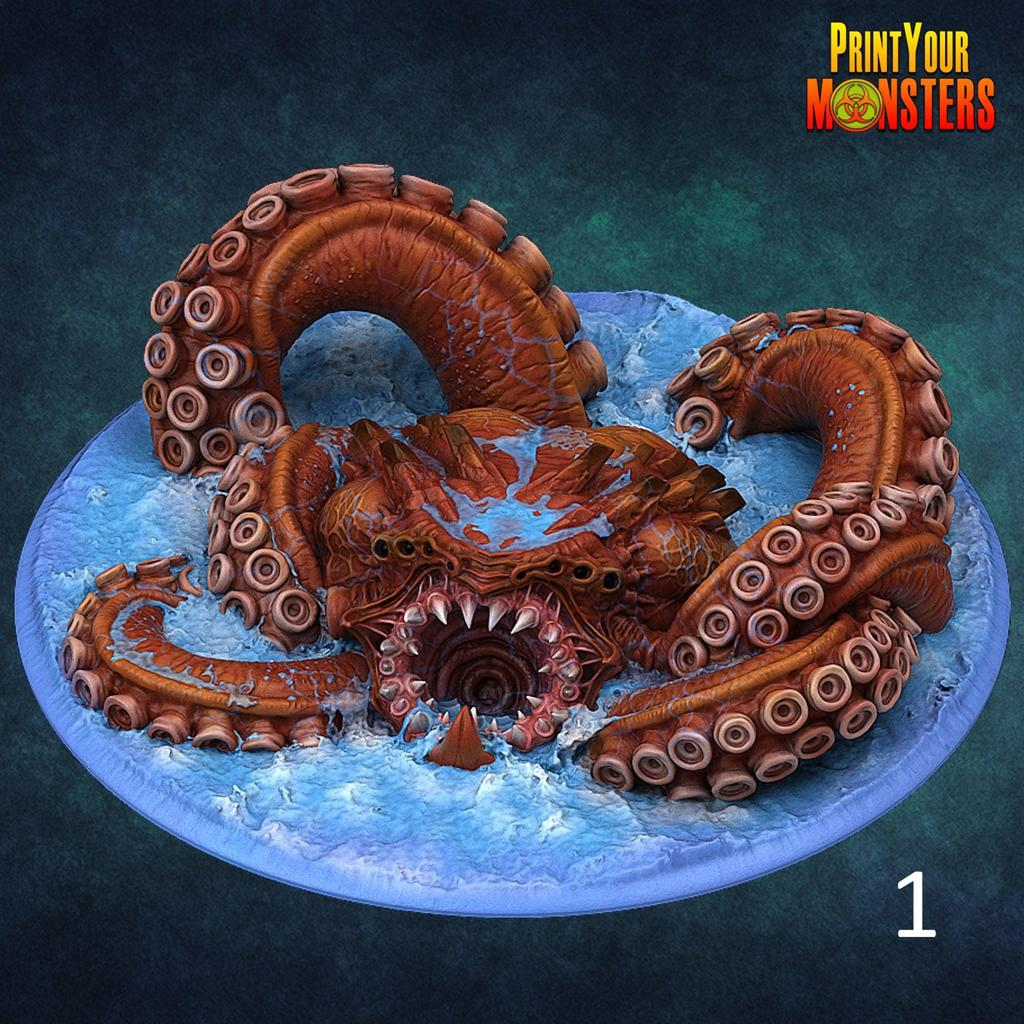
A creature becomes more believable when it interacts with its base.
Tentacles emerging from water should appear wet.
Tentacles dragging through mud should collect dirt underneath.
A cave monster might have dust or slime around the lower sections.
If the tentacle wraps around a rock, create a shadow where the surfaces meet.
Water ripples can appear around submerged tentacles.
Small splashes or foam can appear around moving limbs.
Environmental interaction prevents the miniature from looking like it was simply placed on top of a finished base.
Common Mistakes When Painting Tentacles
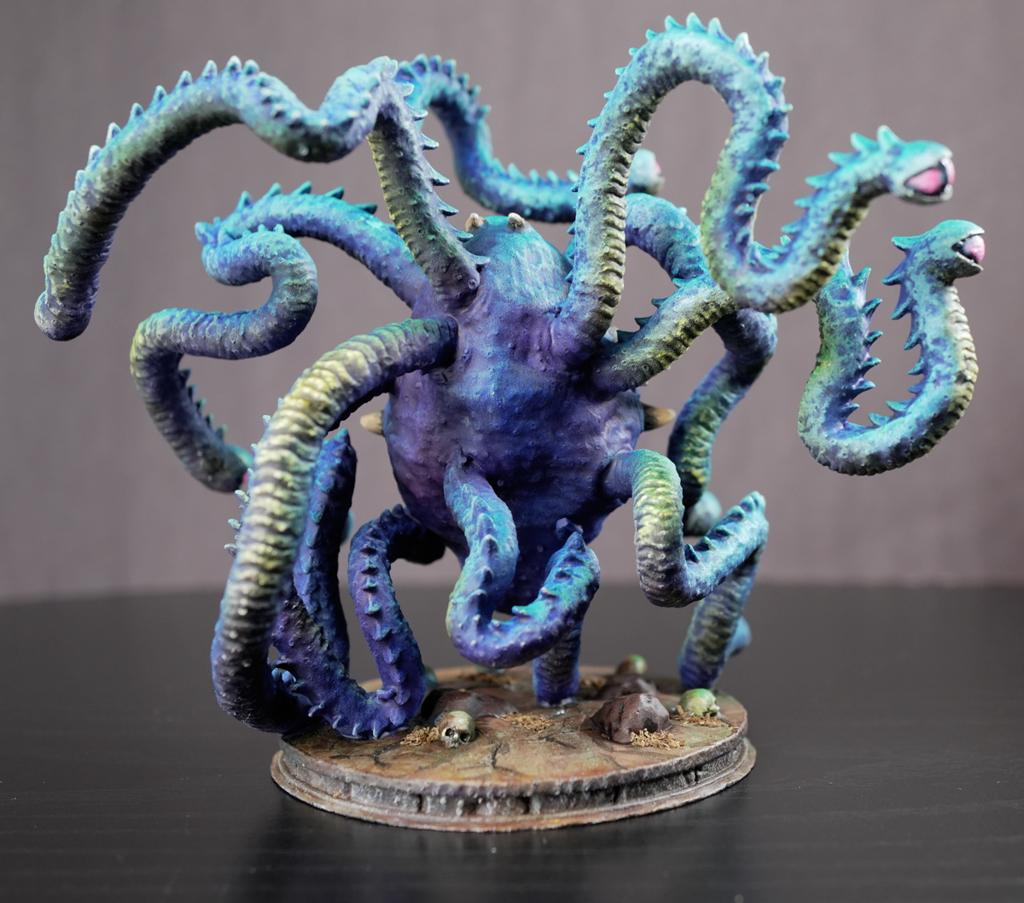
One common mistake is highlighting tentacles like flat surfaces.
Remember that they’re cylindrical.
Highlights should follow their curved form.
Another mistake is painting every tentacle exactly the same.
Introduce subtle variations.
Don’t ignore the suckers.
They provide some of the strongest visual texture.
Avoid making every surface equally glossy.
Controlled reflections create better material definition.
When using spots or stripes, don’t arrange them into perfect patterns.
Organic markings should remain irregular.
Finally, if you’re painting glowing tentacles, remember to illuminate nearby surfaces.
Without reflected light, bright colors won’t convincingly appear luminous.
Final Thoughts
Convincing tentacles are created through smooth volume, organic texture, moisture, and strong material separation.
Start with deep shadows.
Build gradual highlights along the curved surfaces.
Use contrasting colors for the underside and suckers.
Introduce irregular spots, stripes, stippling, and subtle skin variation.
Paint reflections before adding gloss.
Use selective varnish to make the creature appear wet rather than simply shiny.
For deep-sea creatures, combine dark colors with small bioluminescent details.
For eldritch monsters, experiment with purple, turquoise, magenta, toxic green, and unnatural gradients.
And for battle-worn creatures, add cuts, scars, slime, and damaged suckers.
These techniques work beautifully for krakens, mind flayers, sea monsters, alien creatures, eldritch horrors, mutated beasts, demons, and almost any miniature covered in tentacles.
Most importantly, allow the creature to interact with its environment.
Water, slime, mud, reflections, and shadows can transform painted tentacles from simple appendages into something that looks genuinely alive.
Frequently Asked Questions
What colors work best for tentacles?
Purple, red, burgundy, blue, turquoise, green, brown, and pink all work extremely well. Fantasy creatures can use almost any combination.
How do I make tentacles look wet?
Paint sharp pale reflections first, then apply selective satin or gloss varnish.
What color should tentacle suckers be?
Pale pink, flesh, beige, purple, or even contrasting fantasy colors work well. Keep the centers slightly darker for depth.
How do I paint octopus skin texture?
Use controlled stippling with lighter and darker versions of your main skin color.
How do I paint glowing tentacles?
Create a bright light source such as glowing suckers or markings, then glaze that color onto nearby skin and surfaces.
Should every tentacle have the same color?
Not necessarily. Small differences in brightness, spots, stripes, and saturation create a more natural result.
How do I paint damaged tentacles?
Use dark burgundy for deep wounds, brighter red for fresh tissue, pale highlights around torn edges, and selective gloss for moisture.
How do I make a kraken miniature look more realistic?
Use strong shadows between overlapping tentacles, varied skin patterns, wet highlights, detailed suckers, and water effects around the creature.
If you would like free D&D STL miniatures, visit our homepage and download yours now: