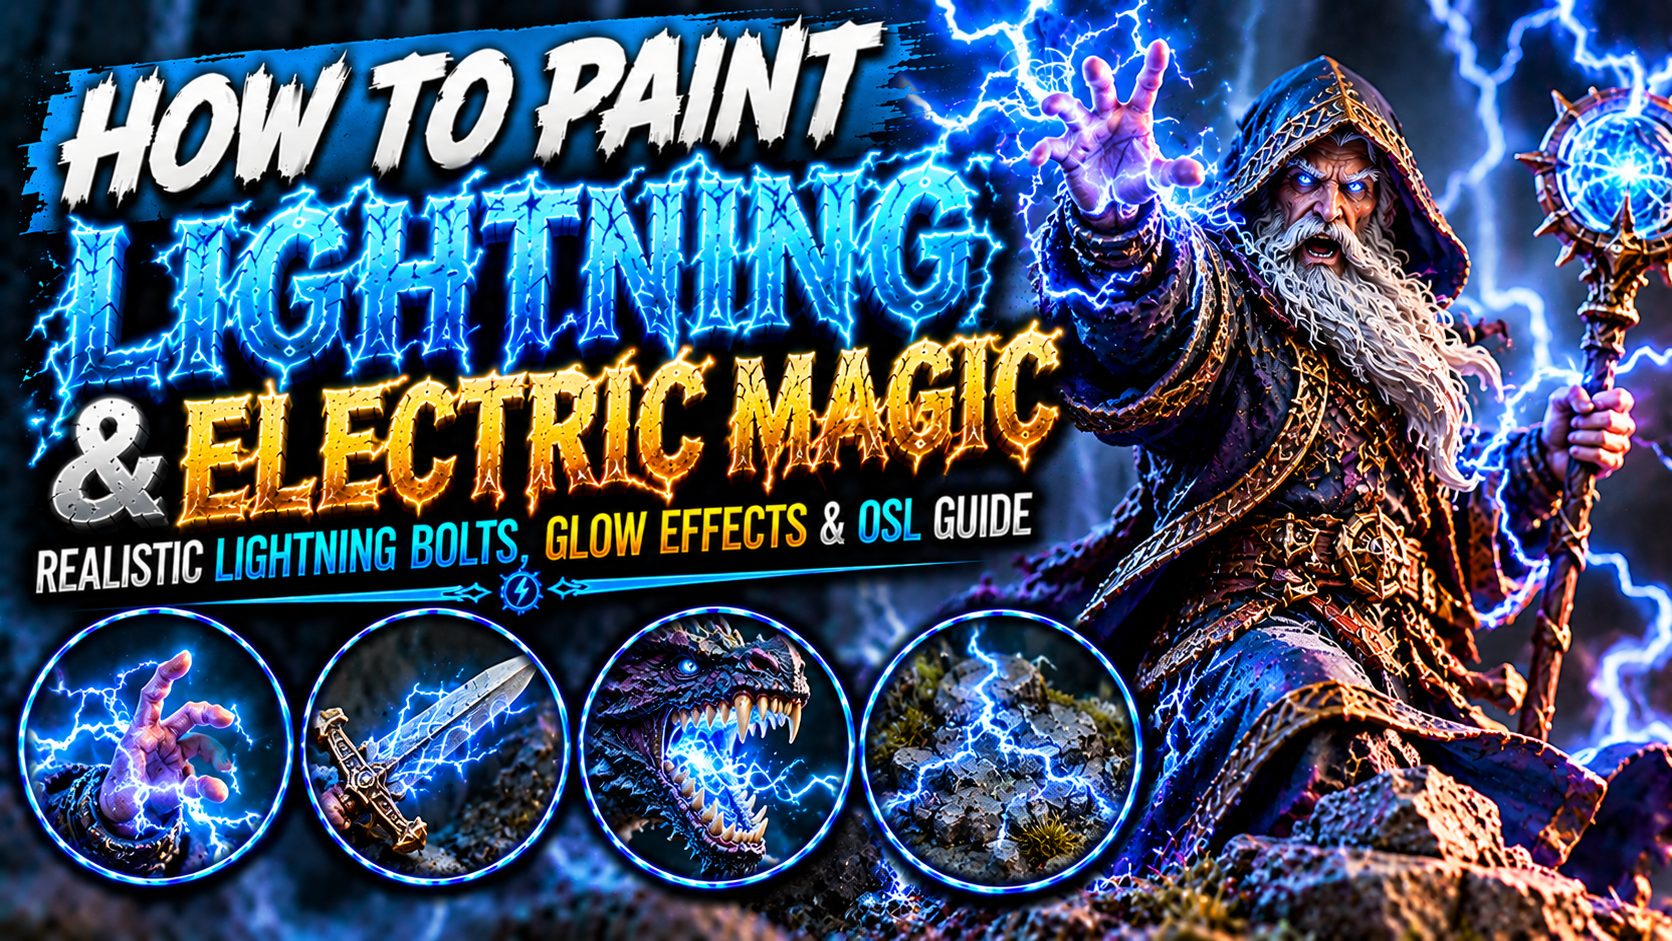
How to Paint Lightning and Electric Magic on Miniatures (Realistic Lightning Bolts, Glowing Energy & Arcane Storm Guide)
Lightning and electric magic are among the most spectacular effects you can paint on fantasy miniatures.
Whether you’re painting a powerful storm sorcerer, a wizard casting Chain Lightning, a blue dragon unleashing electrical energy, or a magical weapon surrounded by crackling electricity, realistic lightning effects can transform an ordinary miniature into a dramatic fantasy centerpiece.
Unlike fire, ice, or ordinary magical energy, lightning has a distinctive visual appearance.
It forms irregular branching patterns, produces extremely bright flashes, and creates sharp contrasts between illuminated and shadowed surfaces.
The brightest sections often appear almost white, while the surrounding energy may glow blue, cyan, violet, or yellow.
Lightning can also illuminate nearby armor, clothing, skin, and terrain.
This creates an excellent opportunity to practice Object Source Lighting (OSL), one of the most visually impressive techniques in miniature painting.
However, convincing lightning requires more than simply painting bright blue lines.
You need to understand electrical branching patterns, color gradients, sharp highlights, directional lighting, glowing effects, contrast, and how magical energy interacts with the surrounding miniature.
In this guide, you’ll learn how to paint realistic lightning bolts, blue electrical energy, purple arcane lightning, magical weapons, storm effects, glowing runes, electrified armor, lightning dragons, and cinematic fantasy spell effects.

Understanding How Lightning Looks
Lightning is a powerful electrical discharge that produces an extremely bright flash.
Its visual appearance is characterized by irregular paths, branching structures, and intense illumination.
Unlike a smooth beam of magical energy, lightning usually follows a jagged, unpredictable route.
A main electrical channel may divide into several smaller branches.
These branches become thinner and less intense as they extend away from the primary bolt.
For miniature painting, this structure is essential.
A convincing lightning effect should contain three important elements:
- A bright central electrical channel.
- Smaller branching lines extending from the main bolt.
- A surrounding glow that illuminates nearby surfaces.
The main channel should usually be the brightest part.
Secondary branches can be slightly darker or thinner.
The surrounding glow should remain softer than the lightning itself.
This contrast creates the illusion of intense magical energy.

Choosing the Best Lightning Color Palette
Although natural lightning often appears white with blue or violet tones, fantasy magic allows much greater creative freedom.
Blue lightning creates a classic arcane appearance.
Purple lightning suggests eldritch or supernatural power.
Yellow lightning can represent raw electricity.
Red lightning creates a dangerous demonic atmosphere.
Green lightning works beautifully for corrupted magical energy.
| Lightning type | Color progression |
|---|---|
| Blue lightning | Navy → Royal Blue → Cyan → Ice Blue → White |
| Purple lightning | Black-Purple → Violet → Magenta → Lavender → White |
| Yellow lightning | Dark Orange → Golden Yellow → Pale Yellow → White |
| Red lightning | Burgundy → Crimson → Orange-Red → Pale Orange |
| Green lightning | Dark Green → Emerald → Lime → Yellow-Green → White |
| Celestial lightning | Dark Blue-Grey → Pale Blue → Ivory → White |
The most important principle is maintaining a clear progression from dark surrounding colors to an extremely bright electrical core.
Avoid making the entire effect equally bright.
The contrast between the dark background and luminous energy creates the illusion of electricity.

Preparing the Miniature for Lightning Effects
Before painting electrical magic, examine the miniature’s sculpted details.
Identify the main lightning bolts, magical energy structures, weapons, and surrounding surfaces.
Determine where the electrical energy originates.
For a wizard, the lightning may emerge from the hands or staff.
For a dragon, it may originate inside the mouth.
For an enchanted sword, electricity may travel along the blade.
Choose a consistent direction for the magical energy.
This helps establish a believable flow.
If the miniature includes sculpted lightning effects, carefully remove mold lines and imperfections.
Thin electrical structures can be fragile, so handle them gently.
Apply a smooth primer coat.
For bright lightning, a light undercoat can help maintain color saturation.
However, darker surrounding surfaces are useful for creating strong contrast.

Painting the Dark Lightning Foundation
Begin with a dark version of your chosen lightning color.
For blue electricity, use navy or dark royal blue.
For purple lightning, use deep violet.
For yellow electricity, use dark orange or brown-orange.
Apply the basecoat across the sculpted magical effect.
Keep the paint thin.
Avoid obscuring small branches and delicate details.
At this stage, the lightning may look relatively dull.
That’s intentional.
The dark foundation will provide contrast for the brighter layers.
You can also paint the surrounding surfaces with darker colors.
This helps the lightning become the focal point.

Building the First Lightning Highlights
Once the dark foundation is dry, begin introducing brighter colors.
For blue lightning, use royal blue.
Apply it along the central portions of the electrical branches.
Leave the darkest color visible near the edges.
Then introduce saturated cyan.
Concentrate it along the main electrical channels.
Avoid covering the entire effect.
The brightest colors should occupy progressively smaller areas.
This creates a strong sense of depth.
For larger lightning structures, you can use smooth layering.
For tiny electrical branches, carefully controlled brush strokes are often more effective.
The goal is to create a bright central path surrounded by darker magical energy.

Painting the Bright White Lightning Core
The white core is one of the most important elements of convincing lightning.
It represents the brightest section of the electrical discharge.
Begin with pale blue or ice blue.
Paint a thin line along the main electrical channel.
Then introduce white.
Use an extremely fine brush.
Concentrate the white on the most important sections.
Avoid painting every branch pure white.
Some smaller branches can remain pale blue.
For a dramatic effect, place a few concentrated white highlights near the origin of the lightning.
This creates the impression of intense energy.
The surrounding blue or purple colors should remain visible.
Without these darker colors, the lightning may lose its depth.

Creating Realistic Branching Lightning Patterns
Branching patterns are essential for convincing electrical magic.
Begin with a main jagged line.
Avoid making it perfectly straight.
Introduce sudden changes in direction.
Then add smaller branches extending from selected points.
These branches should generally be thinner than the main channel.
Some can divide into additional smaller lines.
Avoid making the pattern perfectly symmetrical.
Natural lightning is irregular.
For freehand lightning, use a fine brush and thin paint.
Begin with a darker color.
Then introduce brighter highlights along selected sections.
Keep the brightest white concentrated on the main channel.

Painting Blue Arcane Lightning
Blue lightning is one of the most recognizable magical effects in fantasy miniature painting.
It works beautifully for wizards, sorcerers, storm clerics, magical constructs, and enchanted weapons.
Begin with dark navy.
Introduce royal blue.
Then build toward cyan.
Add ice blue highlights.
Finish the central electrical channels with white.
Keep the surrounding surfaces relatively dark.
This increases the visual impact.
For additional realism, introduce subtle cyan reflections on nearby clothing or armor.
Avoid making the entire miniature blue.
The strongest illumination should remain near the electrical source.

Painting Purple Eldritch Lightning
Purple lightning creates a mysterious supernatural appearance.
It works particularly well for warlocks, eldritch creatures, cursed sorcerers, and forbidden magical artifacts.
Begin with black-purple.
Introduce deep violet.
Then add saturated purple.
Build toward magenta or lavender.
Finish selected electrical channels with pale lavender and white.
Keep the surrounding shadows dark.
Purple lightning can benefit from subtle blue highlights.
These introduce additional color variation.
For magical Object Source Lighting, apply thin violet glazes to nearby surfaces.
Avoid making every reflection equally bright.
The electrical channels should remain the main focal point.

Painting Yellow Electrical Energy
Yellow lightning creates a classic electrical appearance.
It works beautifully for storm magic, technological constructs, enchanted weapons, and supernatural creatures.
Begin with dark orange.
Introduce golden yellow.
Then add saturated yellow.
Build toward pale yellow.
Finish with white highlights.
Keep the brightest sections concentrated along the electrical channels.
For surrounding glow, use thin yellow or orange glazes.
Avoid making the entire effect pure yellow.
A darker orange foundation helps create depth.
Yellow lightning works especially well against dark blue, black, and purple surfaces.

Painting Red Demonic Lightning
Red lightning can create a dangerous and aggressive appearance.
It works particularly well for demons, corrupted sorcerers, infernal warriors, and cursed magical weapons.
Begin with dark burgundy.
Introduce crimson.
Then build toward saturated red.
Add orange-red highlights.
Finish selected sections with pale orange or near-white highlights.
For a supernatural appearance, keep some areas extremely dark.
This creates strong contrast.
You can introduce subtle red reflections on nearby armor and skin.
Avoid making the entire miniature uniformly red.
The strongest illumination should remain near the magical discharge.

Painting Green Corrupted Lightning
Green lightning is ideal for necromancers, corrupted constructs, poisonous magic, and supernatural creatures.
Begin with dark green.
Introduce emerald.
Then build toward saturated green.
Add lime green highlights.
Finish selected sections with pale yellow-green or white.
Keep the surrounding shadows dark.
For a toxic appearance, introduce small yellow-green highlights.
For a more necromantic effect, use cooler emerald and pale green.
You can also apply subtle green glazes to nearby surfaces.
The strongest reflections should remain closest to the electrical source.

Painting Lightning on Magical Weapons
Lightning effects can make ordinary weapons appear enchanted.
They work beautifully on swords, axes, hammers, spears, and magical staffs.
Begin by painting the weapon normally.
For a steel sword, establish the metallic or non-metallic metal highlights.
Then identify where the electrical energy will travel.
Paint thin jagged lines along the blade.
Use dark blue first.
Then introduce cyan.
Finish selected sections with white.
Keep the electrical pattern irregular.
Avoid covering the entire weapon.
The underlying metal should remain visible.
For a stronger magical effect, add subtle blue reflections along nearby edges.

Painting Lightning Around Magical Staffs
Magical staffs are excellent focal points for electrical effects.
A staff may contain a crystal, orb, rune, or metallic structure that generates lightning.
Begin by painting the staff normally.
Then establish the magical source.
For a blue lightning staff, use dark blue around the crystal or orb.
Build toward cyan.
Add pale blue highlights.
Finish the brightest sections with white.
Paint small electrical branches extending from the source.
Keep the branches irregular.
You can also introduce subtle blue reflections along the staff’s surface.
The magical source should remain brighter than the surrounding reflections.

Painting Lightning on Armor
Lightning patterns can create striking effects on magical armor.
They work particularly well for storm warriors, enchanted knights, and arcane constructs.
Begin by painting the armor normally.
Then choose selected panels for electrical patterns.
Use a fine brush to paint thin jagged lines.
Keep the design irregular.
For blue electricity, use dark blue followed by cyan and white.
For purple electricity, use violet and lavender.
Avoid placing lightning on every armor panel.
A few concentrated areas create a stronger focal point.
You can also paint subtle reflected light along nearby metallic edges.
This helps integrate the electrical effect with the armor.

Painting Electrified Dragon Scales
Lightning dragons are among the most spectacular fantasy creatures to paint.
Their scales can contain electrical energy traveling between raised surfaces.
Begin by painting the dragon’s scales normally.
For a blue dragon, use dark blue, medium blue, and pale blue highlights.
Then identify where the lightning will appear.
Paint thin jagged electrical lines between selected scales.
Use cyan and pale blue.
Finish the brightest sections with white.
Keep the surrounding scales darker.
You can also introduce subtle blue reflections across nearby raised surfaces.
Avoid covering the entire dragon with lightning.
Concentrated electrical effects create a more dramatic appearance.

Painting Lightning Inside a Dragon’s Mouth
A dragon preparing to release electrical breath can create a dramatic visual effect.
Begin by painting the mouth interior with dark blue or violet.
Introduce brighter blue near the center.
Then add cyan highlights.
Finish with pale blue and white.
If the miniature contains sculpted electrical energy, paint the main channels using your normal lightning technique.
Keep the brightest areas near the source of the breath.
You can also introduce subtle blue reflections on the teeth, tongue, and surrounding scales.
Avoid making every part of the mouth equally bright.
The electrical energy should remain the main source of illumination.

Painting Chain Lightning Effects
Chain Lightning is one of the most recognizable fantasy spells.
It creates the impression of electricity jumping between multiple targets.
For miniature painting, begin by identifying the main electrical path.
Then create smaller branching connections.
Keep the primary channel thicker and brighter.
Secondary branches should be thinner.
Use dark blue as the foundation.
Build toward cyan.
Finish with pale blue and white.
For multiple targets, add subtle reflected light to the surfaces facing the electrical discharge.
Avoid making every branch identical.
Variation in thickness and brightness helps create a more natural appearance.

Creating Electric Sparks and Small Arcs
Small electrical sparks can make a magical effect feel more energetic.
They work particularly well around weapons, armor, crystals, and magical constructs.
Begin with tiny blue or purple marks.
Use a fine brush.
Paint short jagged lines extending from the main electrical source.
Some sparks can appear as small dots.
Others can form tiny branching arcs.
Keep the effect restrained.
Too many sparks can make the miniature visually confusing.
For the brightest sparks, add tiny white highlights.
Concentrate them near the main source.

Creating Object Source Lighting from Lightning
Object Source Lighting is one of the most important techniques for realistic electrical magic.
Lightning emits intense light.
Nearby surfaces should reflect its color.
Imagine a wizard casting blue lightning from one hand.
The fingers, forearm, sleeve, and nearby equipment may receive blue illumination.
Begin with thin blue glazes.
Apply them to surfaces facing the lightning.
Keep the strongest reflections closest to the source.
Gradually reduce the brightness farther away.
For blue lightning, use royal blue and cyan.
For purple lightning, use violet and magenta.
For yellow lightning, use warm yellow.
The electrical core should remain brighter than the reflected light.
Avoid applying the glow equally across the entire miniature.
Directional lighting creates a more convincing effect.

Painting Lightning Reflections on Metallic Armor
Metallic surfaces can reflect electrical light dramatically.
Begin by painting the armor normally.
Establish the main metallic highlights.
Then identify the surfaces facing the lightning.
Apply thin glazes of the electrical color.
For blue lightning, introduce cyan reflections.
Keep the strongest color near the electrical source.
You can also add small pale blue highlights along selected metallic edges.
Avoid covering the entire metallic surface.
The underlying metal should remain visible.
This creates the impression that the armor is reflecting nearby magical energy.
For polished armor, sharper reflections can be appropriate.
For weathered armor, keep the reflections slightly more subdued.

Painting Lightning on Miniature Bases
Lightning effects can also interact with the surrounding environment.
A powerful electrical spell might strike the ground.
A storm warrior could stand on cracked stone illuminated by magical energy.
A blue dragon might electrify the terrain beneath its feet.
Begin by painting the base normally.
Then identify the electrical impact points.
Introduce dark blue or purple around selected cracks.
Build toward cyan.
Finish the brightest sections with pale blue or white.
You can also paint thin lightning lines traveling across the ground.
Keep the patterns irregular.
For additional realism, apply subtle colored reflections to nearby rocks and debris.
Avoid making the entire base equally bright.

Painting Storm Clouds and Electrical Atmosphere
Storm effects can create a dramatic environment for fantasy miniatures.
They work especially well for display bases and larger dioramas.
Begin with dark grey or blue-grey.
Introduce lighter grey highlights.
Keep the deepest recesses dark.
For magical storm clouds, introduce subtle blue or purple tones.
Then paint small lightning branches across selected areas.
Use cyan or pale violet.
Finish the brightest channels with white.
Avoid making every cloud equally bright.
The electrical discharge should provide the strongest illumination.
For larger dioramas, you can also introduce subtle reflections on nearby terrain and characters.

Painting Lightning Elementals
Lightning elementals can be among the most visually striking fantasy creatures.
Their bodies may consist almost entirely of electrical energy.
Begin with a dark saturated color.
For a blue elemental, use navy.
Introduce royal blue.
Then build toward cyan.
Add pale blue highlights.
Finish the brightest electrical channels with white.
Keep some sections darker to establish depth.
For sculpted energy tendrils, emphasize the raised central areas.
You can also paint small branching lines across larger surfaces.
Avoid making the entire creature uniformly bright.
Strong contrast helps the elemental maintain a recognizable silhouette.

Creating Cinematic Lightning Effects
Cinematic lightning relies on strong contrast and controlled brightness.
Begin by identifying the main focal point.
This could be a wizard’s hand, an enchanted sword, a dragon’s mouth, or a magical crystal.
Keep the surrounding surfaces relatively dark.
Build the electrical effect using saturated colors.
Then introduce pale highlights.
Finish the brightest sections with white.
Use Object Source Lighting to connect the lightning to nearby surfaces.
Avoid making every section equally bright.
A few concentrated highlights create a stronger visual impact.
You can also use complementary colors.
For example, blue lightning looks especially dramatic against warm orange or brown surroundings.
Purple lightning can stand out beautifully against muted green or dark gold.
The goal is to make the electrical energy appear intense without overwhelming the miniature’s sculpted details.

Common Mistakes When Painting Lightning
One of the most common mistakes is painting lightning as thick, perfectly straight lines.
Realistic electrical effects benefit from irregular branching patterns.
Another mistake is using only one bright color.
A convincing lightning effect requires dark surrounding tones and progressively brighter highlights.
Avoid making every branch equally thick.
The main channel should generally be more prominent.
Don’t cover the entire effect with pure white.
White should be concentrated in the brightest sections.
Another problem is excessive Object Source Lighting.
The lightning itself should remain brighter than the reflected light.
Avoid placing reflections on surfaces that face away from the source.
Finally, don’t overcrowd the miniature with electrical effects.
A few well-placed lightning bolts can create a stronger result than dozens of random lines.

Final Thoughts
Painting convincing lightning and electric magic requires strong contrast, irregular branching patterns, controlled highlights, saturated colors, and carefully placed Object Source Lighting.
Start by choosing the type of electrical energy you want to create.
Blue lightning provides a classic arcane appearance.
Purple lightning introduces supernatural mystery.
Yellow lightning suggests raw electrical power.
Red lightning creates a dangerous infernal atmosphere.
Green lightning works beautifully for corrupted magic.
Begin with a dark foundation.
Gradually build toward brighter colors.
Keep the main electrical channel more prominent than the smaller branches.
Finish selected sections with pale highlights and white.
For additional realism, introduce subtle reflected light on nearby armor, clothing, skin, weapons, and terrain.
These techniques work beautifully for storm sorcerers, wizards, clerics, blue dragons, lightning elementals, magical constructs, enchanted weapons, and fantasy display miniatures.
The most important principle is that lightning should look like an intense source of energy rather than an ordinary painted pattern.
Its irregular structure, sharp highlights, and surrounding illumination should communicate movement and supernatural power.
When painted effectively, even a small electrical effect can transform an ordinary fantasy miniature into a dramatic and unforgettable centerpiece.
Frequently Asked Questions
What colors should I use for realistic blue lightning?
Navy, royal blue, cyan, ice blue, and white create an effective progression for magical blue lightning.
How do I paint lightning bolts on miniatures?
Start with a dark jagged line, introduce smaller branches, and gradually build brighter colors toward a thin pale or white core.
How do I make lightning look like it is glowing?
Use strong contrast between dark surrounding surfaces and bright electrical channels, then add subtle reflected light.
What is the best color for purple magical lightning?
Deep violet, saturated purple, magenta, lavender, and white create a convincing supernatural lightning effect.
How do I paint lightning on a sword?
Paint the weapon normally, then add thin irregular electrical lines along the blade using dark blue, cyan, and white highlights.
How do I paint a blue dragon’s lightning breath?
Begin with dark blue, build toward cyan and pale blue, and concentrate white highlights near the brightest electrical channels.
How do I create realistic branching lightning?
Paint one main jagged channel and add thinner irregular branches that divide into smaller lines.
How do I create OSL from lightning?
Apply thin glazes of the lightning color to nearby surfaces facing the electrical source, keeping the strongest reflections closest to the energy.
If you would like free D&D STL miniatures, visit our homepage and download yours now: