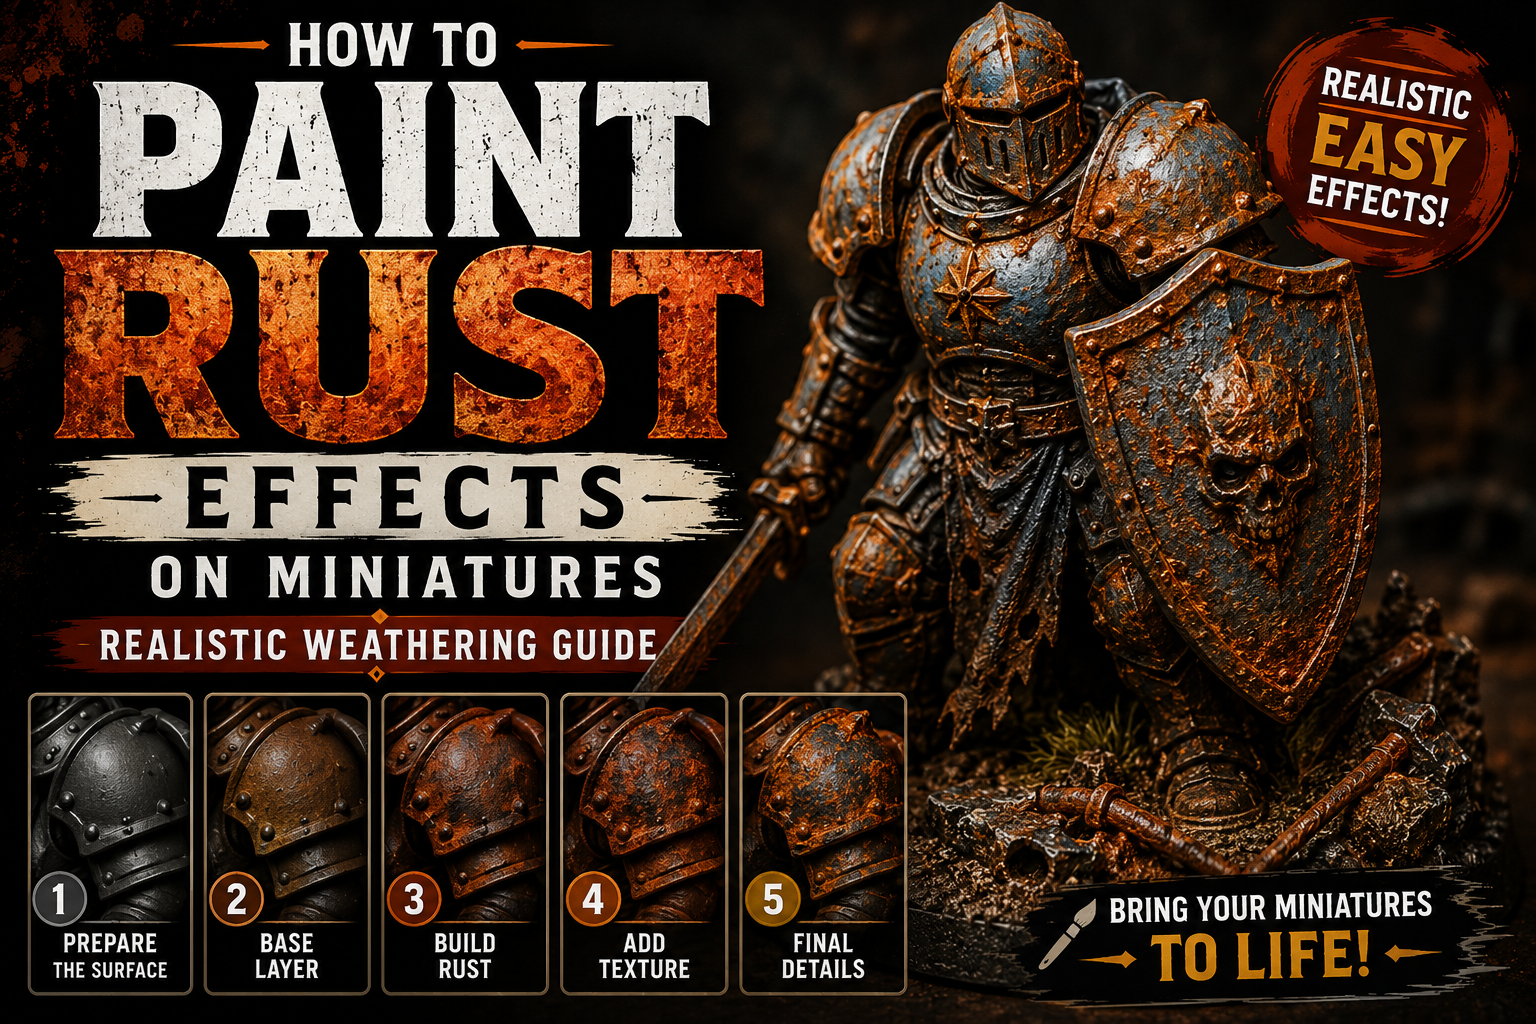
How to Paint Rust Effects on Miniatures (Realistic Weathering Guide)
Rust tells a story. A forgotten sword buried for centuries, an abandoned suit of armor in a dungeon, or an ancient war machine left to decay all become more believable when realistic rust effects are added. Weathering is one of the easiest ways to give fantasy miniatures personality and history.
Many painters make the mistake of covering an entire weapon with orange paint and calling it rust. In reality, corrosion develops gradually, forming around cracks, joints, bolts, scratches, and areas where moisture naturally collects.
In this guide, you’ll learn how to create convincing rust effects using simple painting techniques that work for D&D miniatures, Warhammer models, busts, and display pieces.
Understanding How Rust Forms

Before painting, it helps to understand how rust behaves in the real world. Rust develops when exposed metal reacts with moisture and oxygen over time. It rarely appears evenly across a surface.
Instead, it concentrates around damaged edges, recessed details, rivets, cracks, bolts, and chipped paint. Areas frequently touched or polished by movement often remain cleaner because friction removes corrosion.
Studying real rusted tools, gates, chains, or old machinery can provide valuable references for creating believable effects on miniatures.
Choosing the Right Color Palette

Real rust contains far more than orange.
A realistic palette usually includes:
- Dark Brown
- Burnt Umber
- Red-Brown
- Orange
- Light Orange
- Dark Grey
- Black
Building multiple layers with these colors creates depth and avoids the cartoonish appearance that comes from using a single bright orange tone.
Thin your paints slightly so each layer blends naturally into the previous one.
Creating the First Rust Layer

Begin by applying dark brown to the damaged sections of the metal. A small piece of sponge works exceptionally well because it creates random, organic patterns that resemble natural corrosion.
Lightly dab the sponge across armor edges, swords, shields, chains, and helmets.
Avoid covering the entire metallic surface. Leaving clean steel visible makes the weathering feel much more realistic.
Once dry, repeat the process with a smaller amount of reddish-brown, concentrating toward the center of each rust patch.
Adding Depth with Multiple Rust Tones

The most convincing rust uses several colors layered together.
Apply orange only in selected areas where corrosion is strongest. Then introduce small amounts of lighter orange toward the center of larger patches.
Keeping darker browns around the edges creates the illusion that rust has gradually built over many years.
Working with several transparent layers produces a much richer finish than applying one thick coat.
Simulating Heavy Corrosion

Old battlefield relics often develop rough, uneven surfaces rather than smooth discoloration.
You can imitate this effect by stippling tiny dots of dark brown, reddish-brown, and orange using an old brush. Vary the size and density of the texture to prevent obvious repeating patterns.
For abandoned weapons or dungeon scenery, concentrate the heaviest corrosion near the bottom where moisture naturally collects.
Weathering Weapons and Armor

Different equipment rusts differently.
Swords usually develop corrosion near the guard and fuller, while armor accumulates rust around joints, rivets, and decorative engravings.
Shields often show weathering along the bottom edge where mud, water, and impacts occur during battle.
Keeping these patterns consistent makes every piece of equipment feel more believable.
Finishing with Metallic Highlights
Once the rust is complete, carefully restore tiny metallic highlights to exposed edges using silver or bright steel.
These fresh scratches suggest that the object has continued to see use despite years of corrosion.
Use a fine brush to paint only the sharpest corners and raised details. This contrast between polished metal and aged rust dramatically improves realism.
Less is more—just a few reflective accents can make the entire miniature feel more dynamic.
Common Rust Painting Mistakes

Avoid these common errors:
- Using only bright orange.
- Covering the entire weapon with rust.
- Forgetting darker foundation colors.
- Applying thick paint that hides sculpted details.
- Ignoring how real corrosion forms.
- Skipping metallic highlights after weathering.
Correcting these mistakes instantly produces cleaner and more convincing results.
Final Thoughts
Rust effects are about storytelling as much as painting. Every patch of corrosion suggests years of battles, forgotten ruins, harsh weather, or neglected equipment. By combining dark browns, reddish tones, subtle oranges, and careful metallic highlights, you can transform ordinary weapons and armor into believable relics of a fantasy world.
Practice on spare miniatures, experiment with different textures, and study real-world references. With time, rust will become one of the most satisfying weathering techniques in your miniature painting toolkit.
Frequently Asked Questions
Should rust completely cover metallic paint?
No. Leaving exposed steel or iron visible creates a much more realistic effect.
What’s the best color for realistic rust?
Start with dark brown, then layer reddish-brown and small amounts of orange for natural-looking corrosion.
Can I create rust without weathering powders?
Yes. Acrylic paints applied with stippling and sponge techniques produce excellent results.
Where should rust appear first?
Focus on cracks, rivets, joints, chipped edges, and areas where moisture naturally collects.
Does rust work on fantasy miniatures?
Absolutely. Rust adds realism to weapons, armor, dungeon scenery, war machines, undead armies, and ancient relics.
If you would like free D&D STL miniatures, visit our homepage and download yours now: