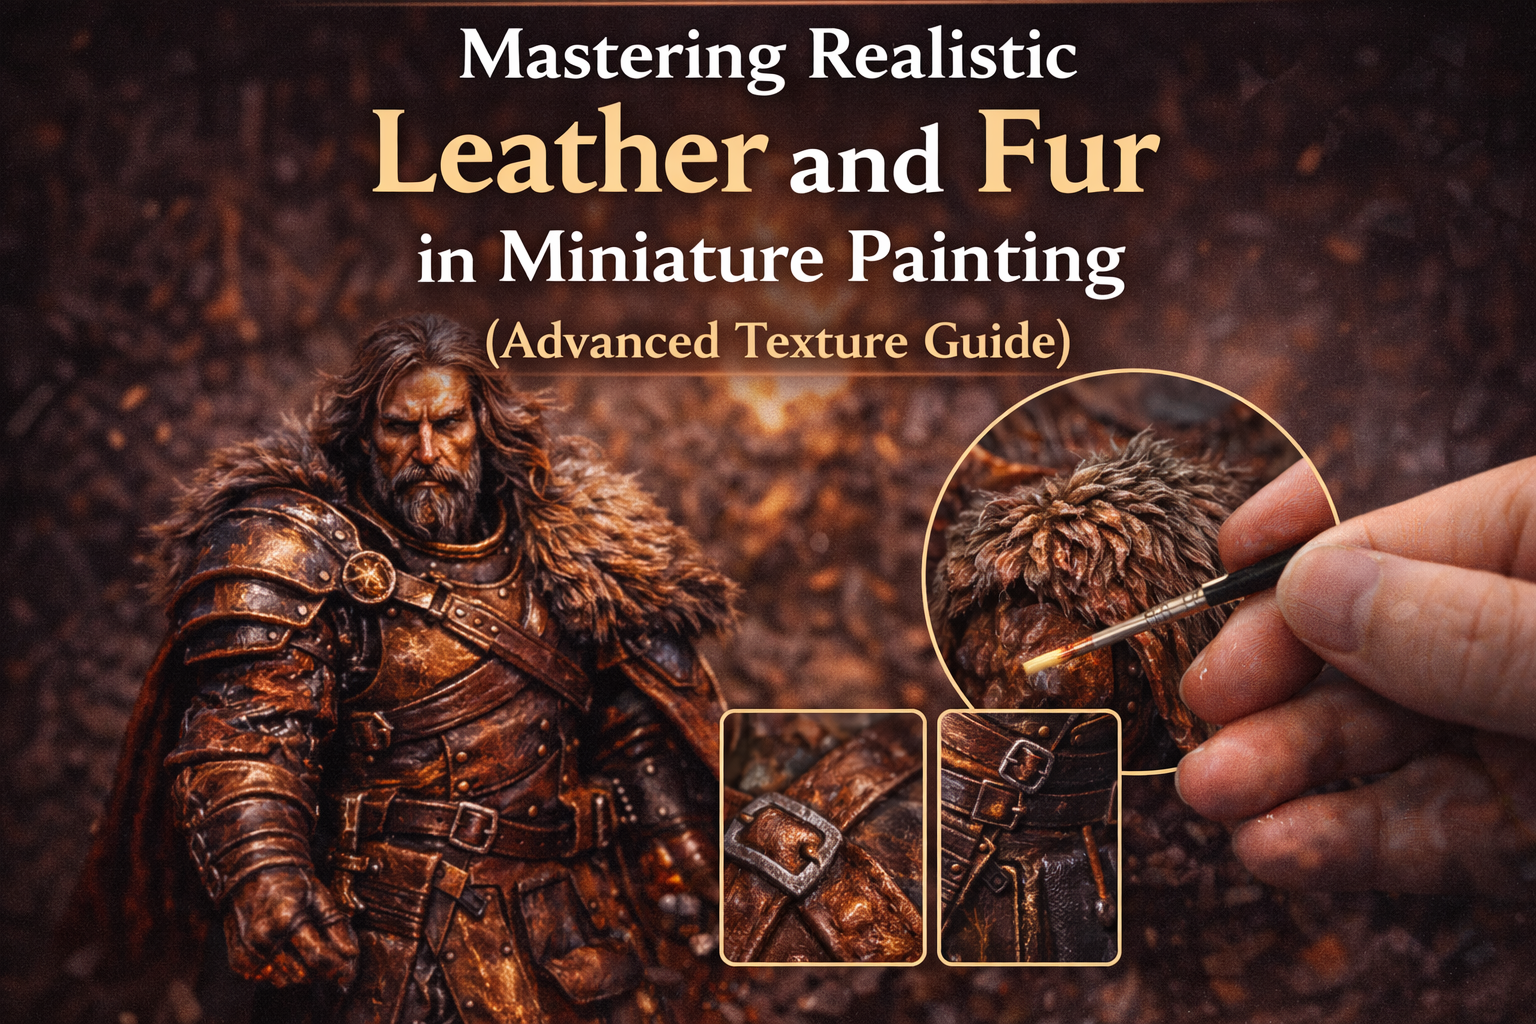
Mastering Realistic Leather and Fur in Miniature Painting (Advanced Texture Guide)
Mastering realistic leather and fur in miniature painting is one of the most important skills for fantasy hobbyists. Whether you’re painting Viking warriors, undead raiders, barbarian champions, or grimdark sci-fi armies, convincing textures elevate your miniatures from tabletop quality to immersive storytelling pieces.
Leather straps, boots, cloaks, belts, shoulder pelts, and armor bindings appear in nearly every fantasy sculpt. When painted flat, they instantly reduce realism. When painted with intention, contrast, and texture awareness, they transform a miniature completely.
In this advanced guide, you’ll learn how to paint realistic leather, layered fur, battle-worn textures, and atmospheric variations that bring depth and cohesion to your models.
Understanding Material Behavior Before Painting
Before applying paint, you must understand how leather and fur behave in reality.
Leather:
- Lightens on edges
- Cracks under stress
- Darkens in recesses
- Shows directional wear
Fur:
- Reflects light unevenly
- Has natural color variation
- Creates soft shadow pockets
- Has strand direction
Texture painting is not about smooth blending — it’s about believable irregularity.

4
Painting Realistic Leather (Step-by-Step)
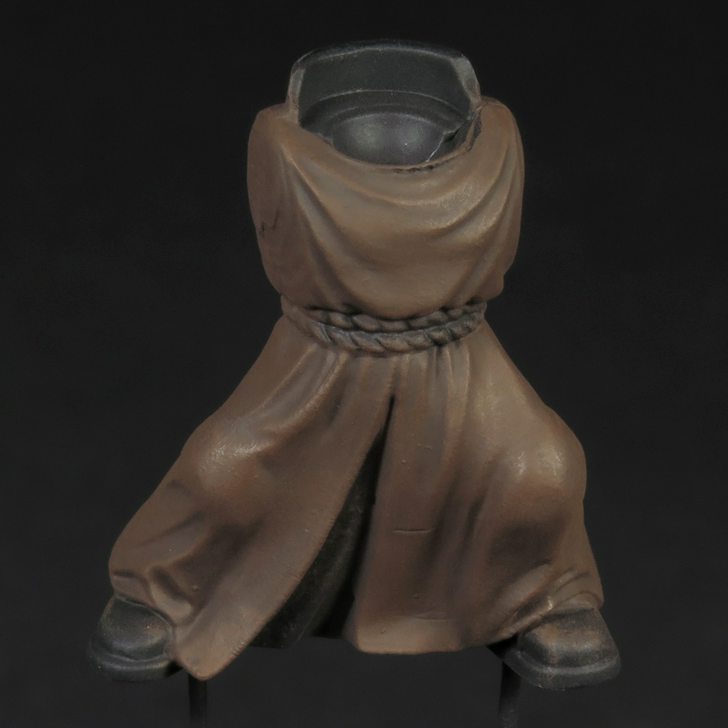
Leather should never be a single brown tone.
Step 1 – Basecoat
Start with a mid-tone brown mixed slightly with grey. This avoids overly warm “toy-like” leather.
Step 2 – Controlled Wash
Apply a dark brown wash only into recesses. Do not flood the surface.
Step 3 – Edge Wear Highlights
Use a lighter brown and apply thin highlights on:
- Strap edges
- Belt folds
- Boot creases
- Armor contact points
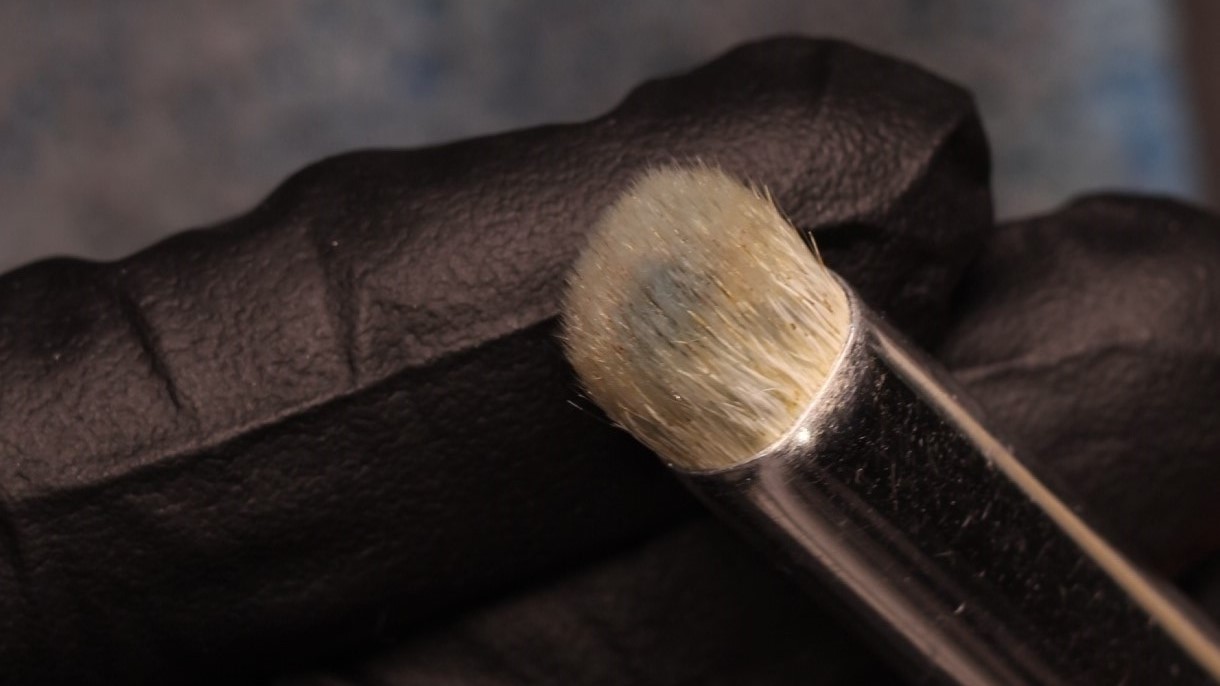
Step 4 – Micro Texture Lines
With a fine brush, add subtle, irregular lines in a lighter tone to simulate cracks and stress.
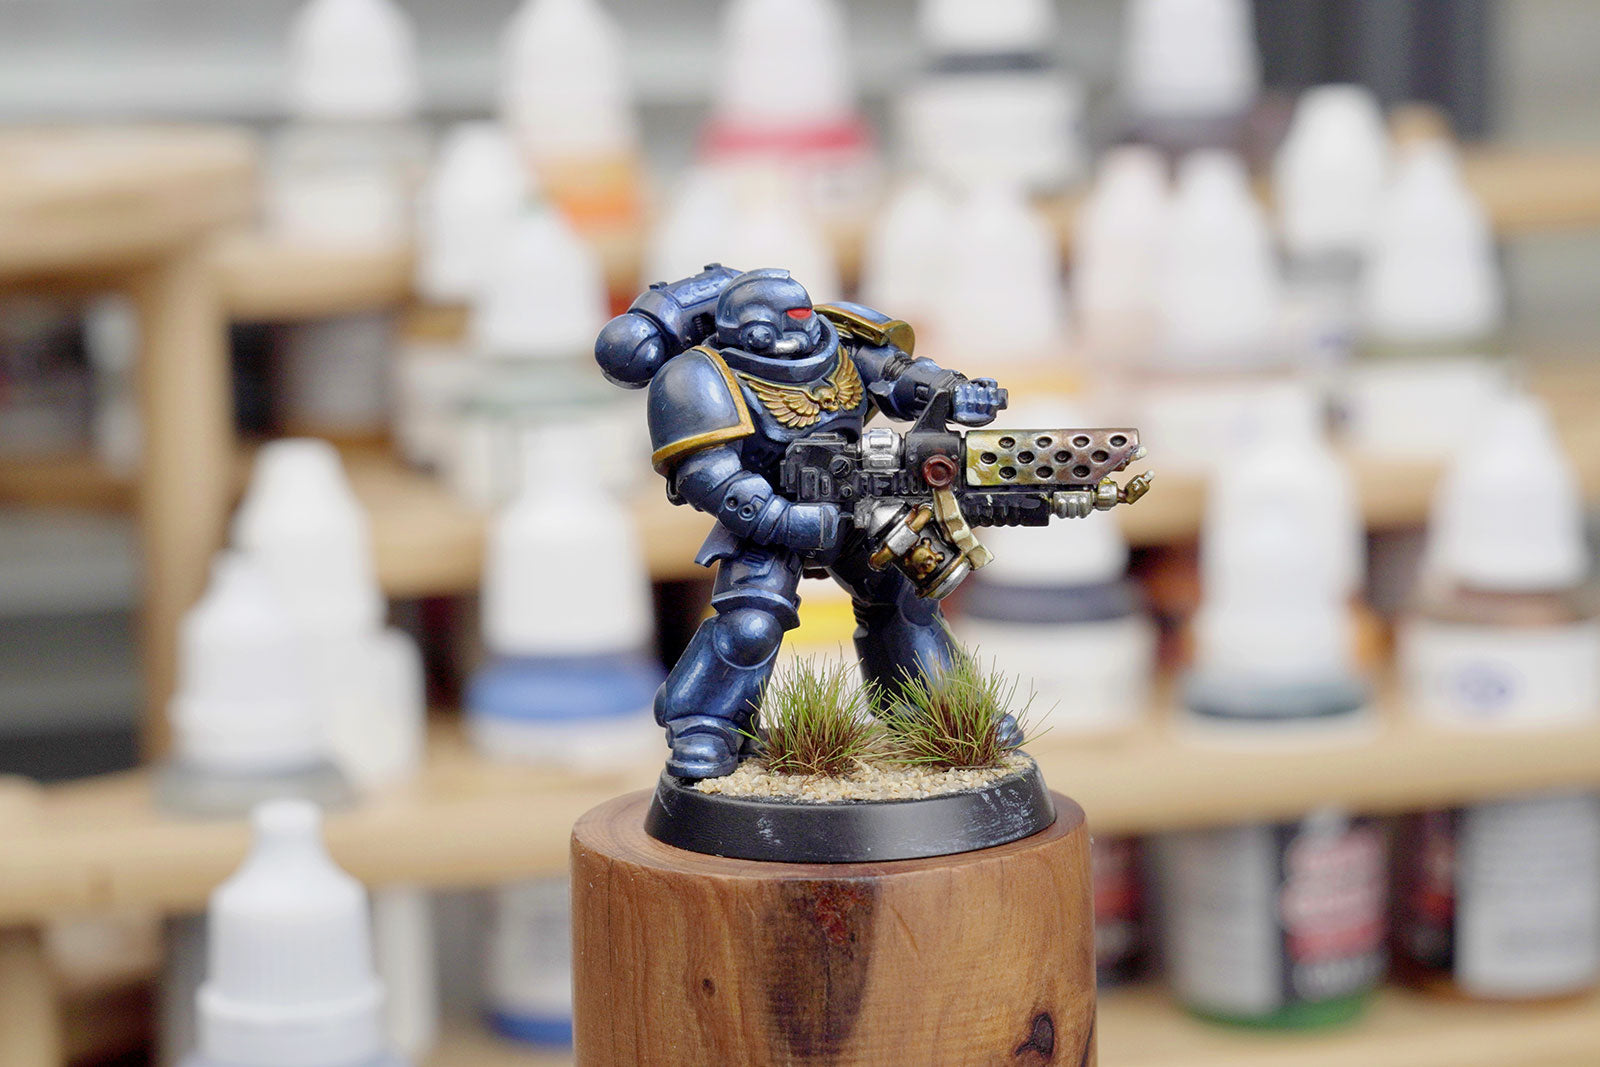
On heavily armored models, this leather realism becomes even more effective when combined with advanced highlight control and surface contrast — similar to the refinement principles used in advanced techniques for painting Warhammer 40,000 miniatures from intermediate to professional level:
https://echoartstudios.net/advanced-techniques-for-painting-warhammer-40000-miniatures-from-intermediate-to-professional-level
Advanced Leather Aging Effects
Older leather benefits from subtle desaturation.
You can:
- Add grey glaze to age it
- Add green tint for moisture exposure
- Reinforce dark recesses
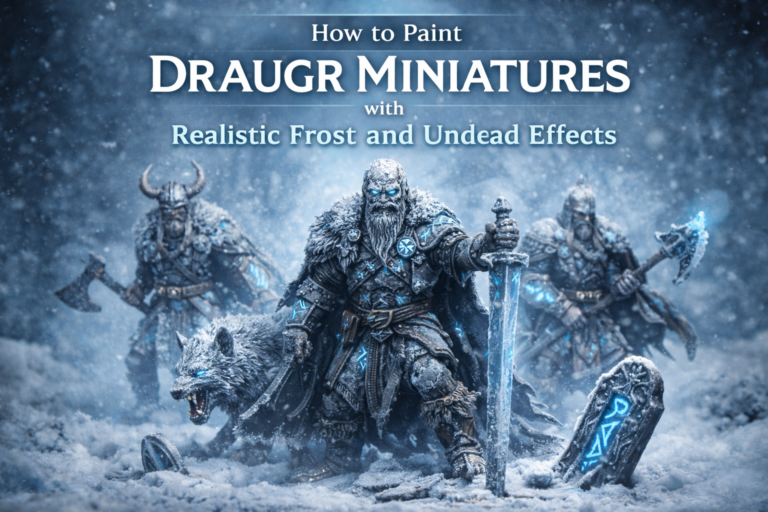
For undead or ancient warriors, leather may appear cracked and frost-worn. If you’re painting cold undead themes, this texture approach integrates naturally with frost-treated surfaces often seen in how to paint Draugr miniatures with realistic frost and undead effects:
https://echoartstudios.net/how-to-paint-draugr-miniatures-with-realistic-frost-and-undead-effects
Subtle environmental integration makes the miniature feel grounded.
Painting Realistic Fur (Layered Texture Method)
Fur relies on layered contrast.
Step 1 – Dark Base
Choose dark brown, dark grey, or near-black.
Step 2 – Heavy Directional Drybrush
Follow sculpt direction carefully.
Step 3 – Secondary Lighter Drybrush
Focus only on raised strands.
Step 4 – Spot Highlights
Add selective brightness to increase depth.
This approach works particularly well on Norse-themed models where pelts dominate the silhouette — a technique often seen when working on winter warriors similar to those described in how to paint Viking miniatures for a winter-themed campaign:
https://echoartstudios.net/how-to-paint-viking-miniatures-for-a-winter-themed-campaign
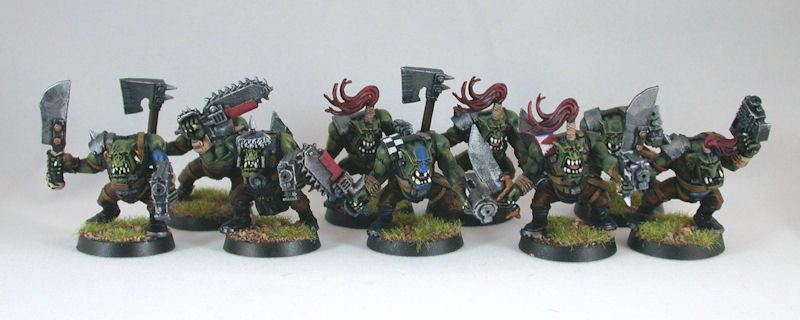
Color Variation in Fur
Real fur is never uniform.
Introduce subtle variation:
- Reddish undertones
- Grey patches
- Slight warm-to-cool shifts
Even minimal variation dramatically increases realism.
Monotone fur makes the miniature feel flat.
Creating Depth Through Shadow Reinforcement
Leather and fur thrive on strong shadow.
Deepen:
- Under strap overlaps
- Beneath fur overhangs
- Around armor junctions
Reinforcing shadows enhances contrast and makes texture pop.
When painting large fantasy armies, maintaining this contrast while preserving efficiency becomes essential — something that often overlaps with principles from speed painting Warhammer 40,000 miniatures without losing quality:
https://echoartstudios.net/speed-painting-warhammer-40000-miniatures-paint-armies-fast-without-losing-quality
Material Separation: Leather vs Metal
When leather sits next to metal:
- Keep leather matte
- Keep metal sharper in highlight
- Avoid blending materials visually
Clear material separation increases realism dramatically.
Texture contrast matters more than extra detail.
Speed Workflow for Army Projects
If painting multiple models:
- Basecoat all leather
- Wash entire batch
- Drybrush fur across all models
- Apply edge highlights at the end
Leaders can receive additional micro-scratches and refined highlights.
Batch consistency ensures cohesion across units.
Common Texture Mistakes
- Flat brown leather
- Chalky over-drybrushed fur
- No edge contrast
- Uniform color
- Ignoring environmental effects
Texture must feel layered and reactive.
Environmental Interaction
Leather and fur respond to environment.
Cold climates:
- Slight desaturation
- Frost accumulation on upper edges
Volcanic themes:
- Darkened leather
- Slight scorched fur tips
Aligning texture with basing and atmosphere creates full narrative immersion.
Final Thoughts
Mastering realistic leather and fur in miniature painting requires understanding material behavior, controlling directional highlights, reinforcing shadows, and introducing subtle color variation. When executed with intention, textured surfaces dramatically increase realism and storytelling depth.
Whether painting Viking warriors, undead raiders, or grimdark champions, convincing material textures anchor your miniatures in a believable world.