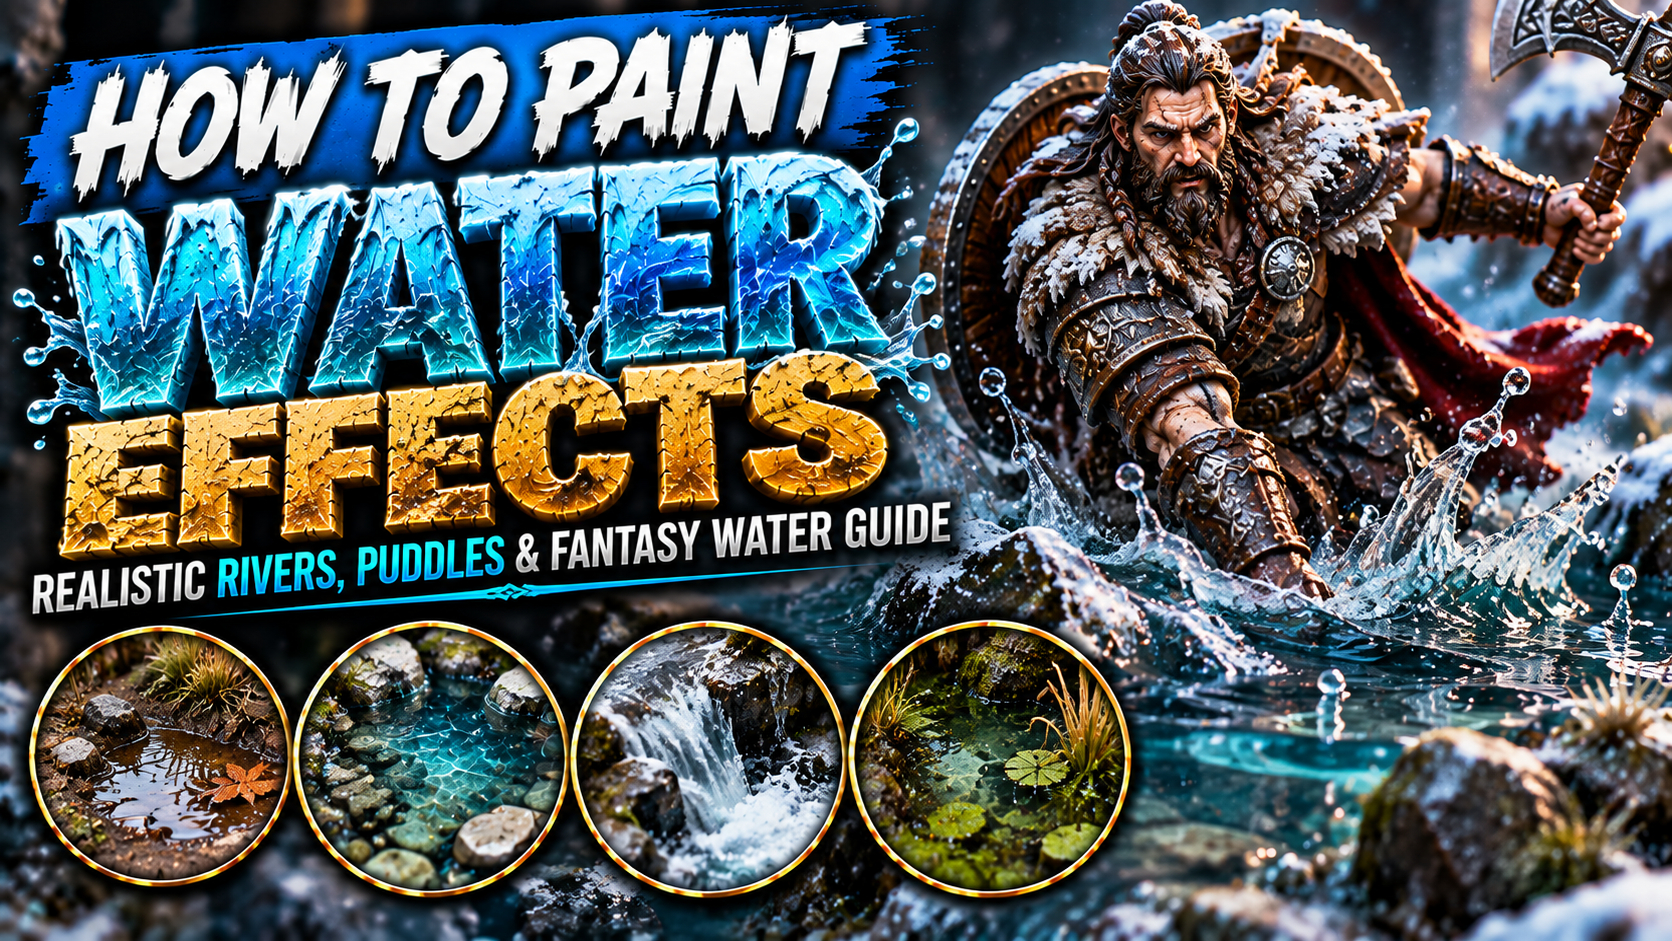
How to Paint Water Effects on Miniatures (Realistic Rivers, Puddles & Fantasy Water Guide)
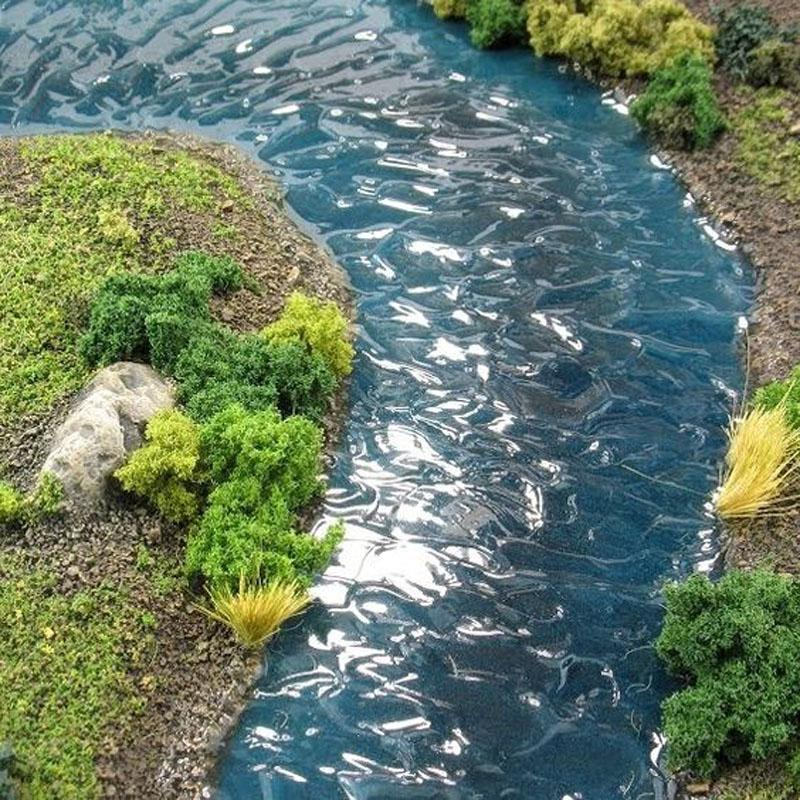
Water effects can turn an ordinary miniature base into a complete environment.
A warrior standing beside a puddle, a monster emerging from a swamp, an adventurer crossing a shallow river, or a wizard surrounded by magical water immediately tells a stronger story than a character standing on plain ground.
Water is also one of the most interesting materials to paint because its appearance depends heavily on depth, reflections, movement, and whatever lies underneath it.
Clear shallow water may barely have any color at all. Deep water can appear dark blue, green, turquoise, brown, or almost black. Swamp water contains mud and vegetation, while magical water can glow with colors that would never appear naturally.
The biggest mistake is simply painting the surface blue and expecting it to look wet.
Convincing miniature water requires depth underneath, reflections on top, environmental colors, and careful use of gloss.
In this guide, you’ll learn how to paint realistic puddles, rivers, deep water, swamp water, ripples, foam, wet rocks, waterfalls, and magical fantasy water effects.
Understanding How Water Looks
Water itself is often nearly transparent.
Most of the color we associate with water comes from reflected light, the environment, suspended material, and whatever exists underneath the surface.
This is important for miniature painting.
Instead of thinking:
“What color should I paint the water?”
Think:
“What is underneath the water, and how deep is it?”
A shallow puddle might show brown mud underneath.
A mountain stream could reveal grey rocks.
Deep ocean water might transition into dark blue.
A swamp can contain dark green and brown.
This depth gradient is one of the most important elements of convincing miniature water.
Painting the Ground Under the Water
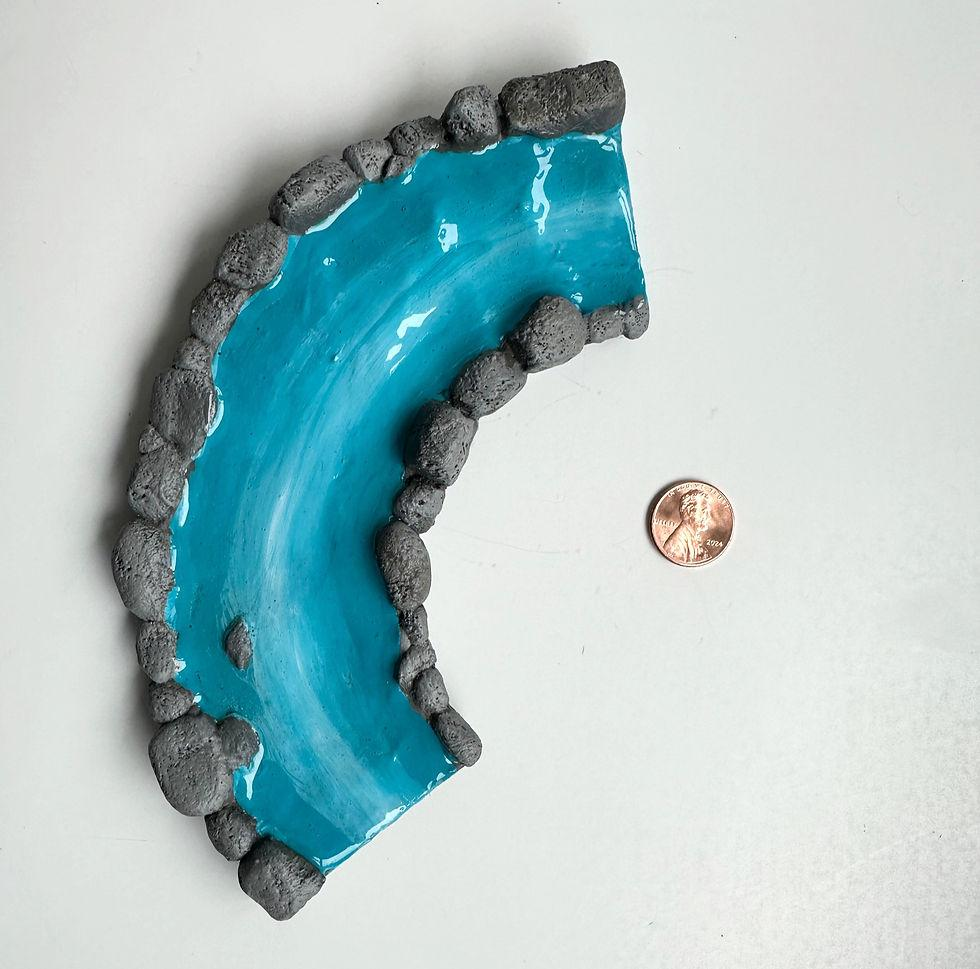
Before creating the water itself, completely paint whatever lies underneath it.
This step is extremely important when using transparent resin, gloss products, or clear water effects.
For a muddy puddle, begin with dark brown.
Add lighter earth tones toward the shallow edges.
For a rocky river, paint stones individually using grey, brown, beige, and muted green.
You can also add small branches, leaves, sand, bones, or other debris.
Remember that everything underneath the water will usually appear darker once the transparent material is added.
Push the contrast slightly more than you normally would.
This helps underwater details remain visible through the finished surface.
Creating the Illusion of Water Depth
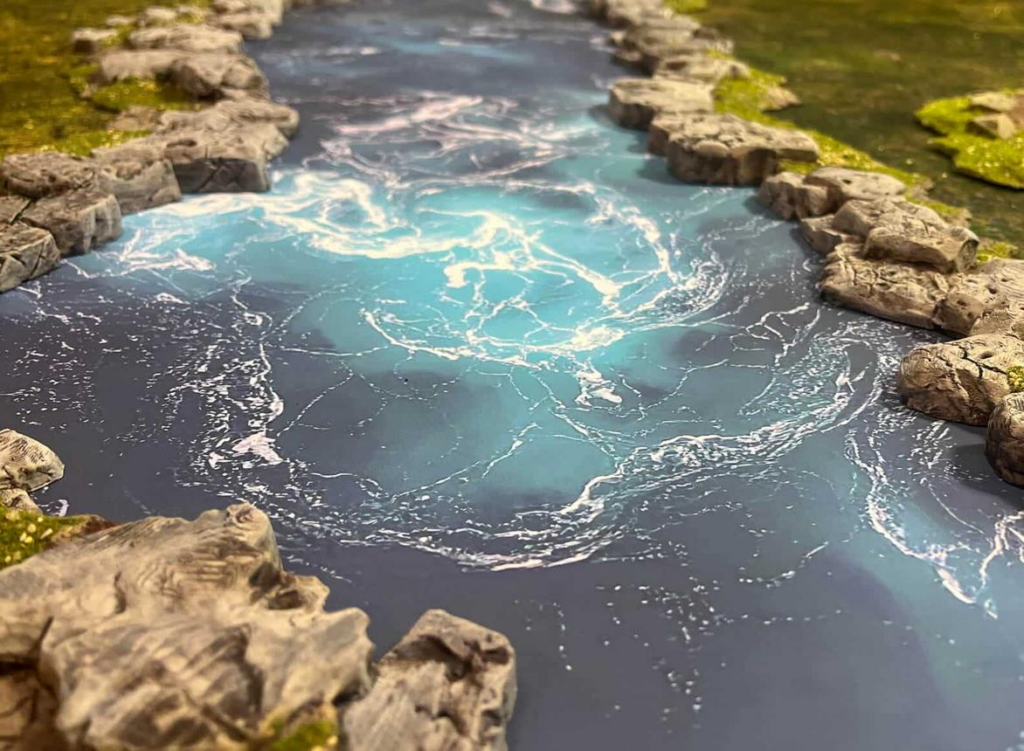
Depth is created primarily through color.
The deepest areas should generally be darkest.
For natural blue water, you might begin with dark navy or blue-green in the center.
Gradually transition toward turquoise and then pale green-blue near the shallow edges.
For muddy water, begin with dark brown-green and transition toward lighter brown near the shore.
Don’t create perfectly symmetrical gradients.
Natural water depth changes irregularly.
Rocks, terrain, and underwater structures influence the shape of the deeper sections.
The transition should follow the geography of the base.
Painting Realistic Puddles
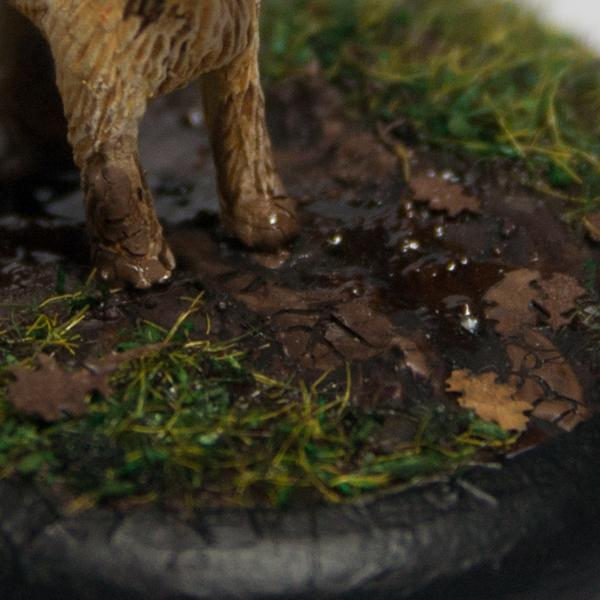
Puddles are one of the easiest ways to introduce water effects.
Begin with a small depression in the base.
Paint the center darker than the edges.
Use brown, green-brown, or blue-grey depending on the environment.
Add tiny pieces of dirt, vegetation, or stones.
Once the painted surface is finished, apply gloss varnish or a clear water-effect product.
The shiny finish immediately separates the puddle from the surrounding matte ground.
Don’t make every puddle perfectly circular.
Irregular edges are much more convincing.
You can also add small patches of wet mud around the perimeter.
Painting Rivers and Streams
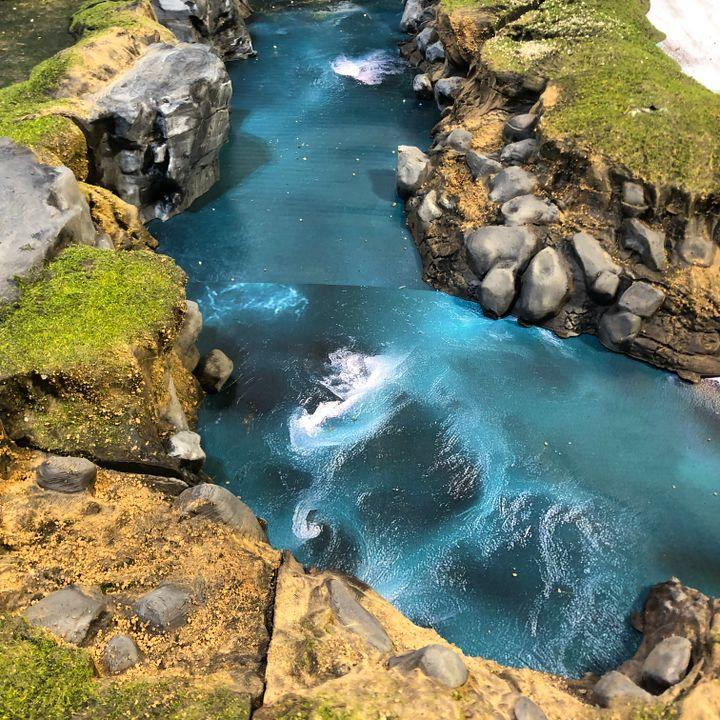
Rivers need a sense of direction.
Unlike a still puddle, flowing water should visually move across the base.
Begin by painting the riverbed.
Then establish darker areas where the water is deeper.
Use lighter colors around rocks and shallow edges.
Once the main water colors are established, add thin highlights following the direction of the current.
These lines shouldn’t be perfectly parallel.
Water bends around rocks and obstacles.
Curved highlights immediately communicate movement.
Keep most of the surface relatively dark and reserve pale blue or white for the strongest reflections.
Painting Water Ripples
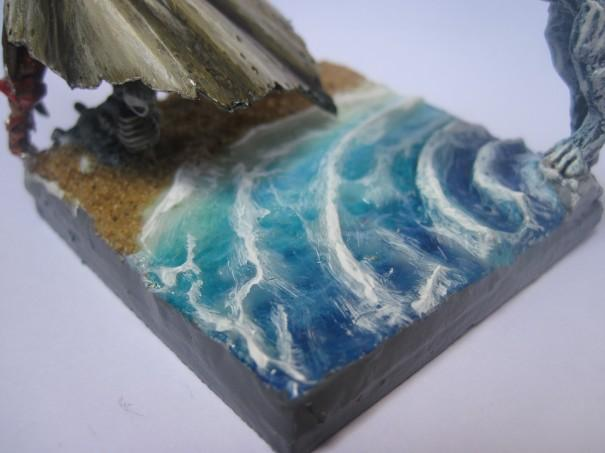
Ripples are one of the easiest ways to make still water feel alive.
Start with your finished water color.
Then use a slightly lighter tone to paint thin curved lines.
Avoid complete circles.
Instead, create broken arcs.
Several overlapping arcs can suggest that something disturbed the surface.
Gradually make the lines brighter toward selected areas.
Only the strongest reflections should approach white.
If a character is standing in the water, place ripples around the legs.
If rain is falling, use multiple tiny circular disturbances across the surface.
The ripples should follow the story of the environment.
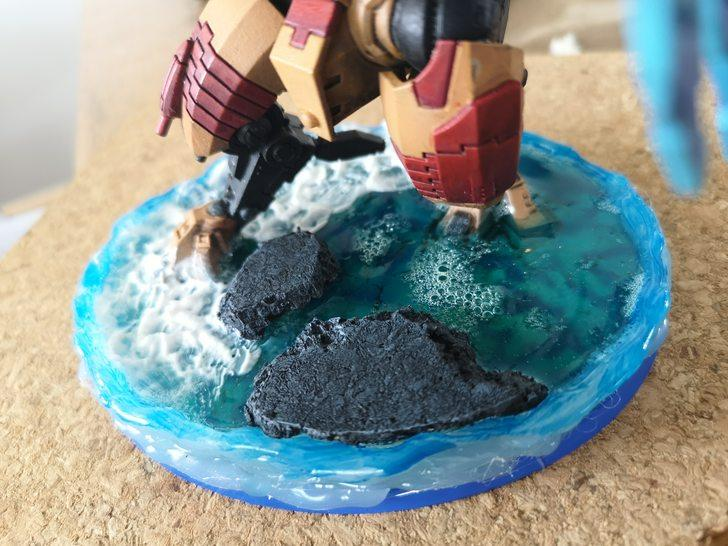
Creating White Water and Foam
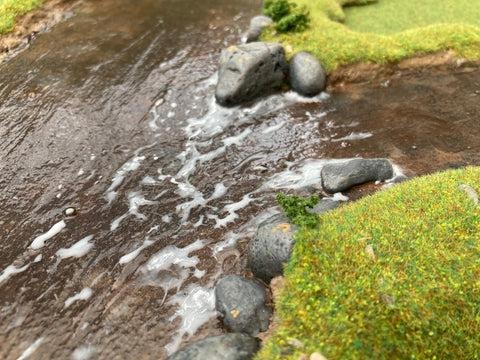
Fast-moving water produces foam around rocks, waterfalls, and obstacles.
Begin with pale blue-grey.
Stipple irregular shapes around areas where the current would break.
Then introduce off-white.
Finish with small amounts of pure white.
Don’t paint one continuous white line around every rock.
Foam appears in irregular patches.
Allow some transparent or darker water to remain visible between the white sections.
This makes the effect appear much more natural.
Small white streaks following the direction of the current can also suggest rapidly moving water.
Painting Wet Rocks
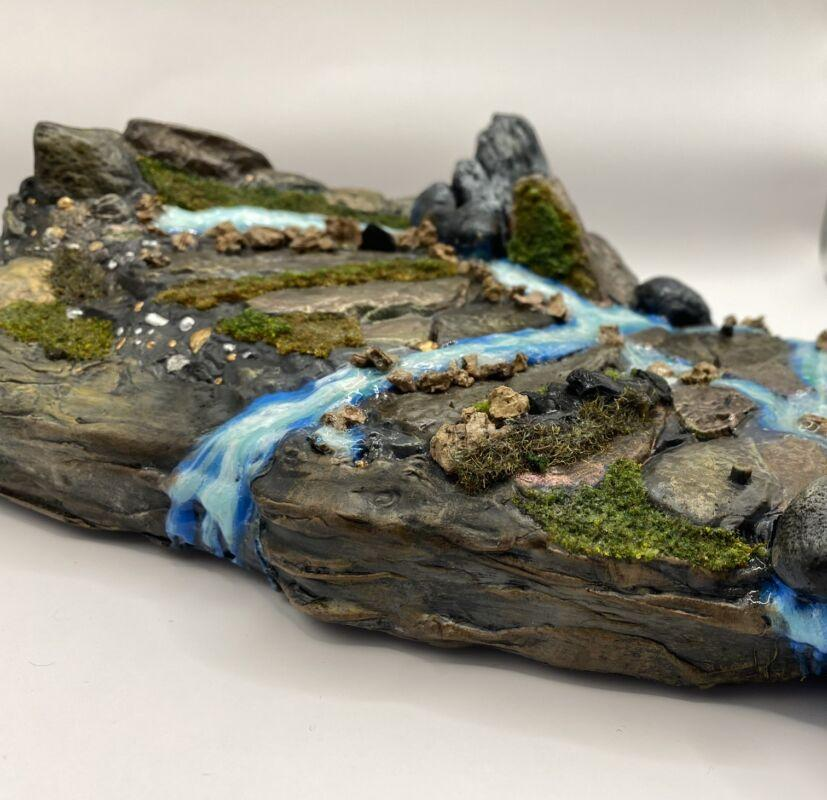
Rocks inside or beside water should look different from dry rocks.
Paint the rock normally first.
Then darken the areas that are wet.
Wet stone often appears significantly darker and more saturated.
You can use thin dark grey, brown, green, or blue glazes.
Afterward, apply selective gloss varnish.
Don’t cover the entire rock if only the bottom is touching water.
The transition between matte dry stone and glossy wet stone is extremely effective.
You can also add small pale reflections along wet edges.
This technique works particularly well around rivers, beaches, sewers, caves, and swamp environments.
Painting Swamp Water
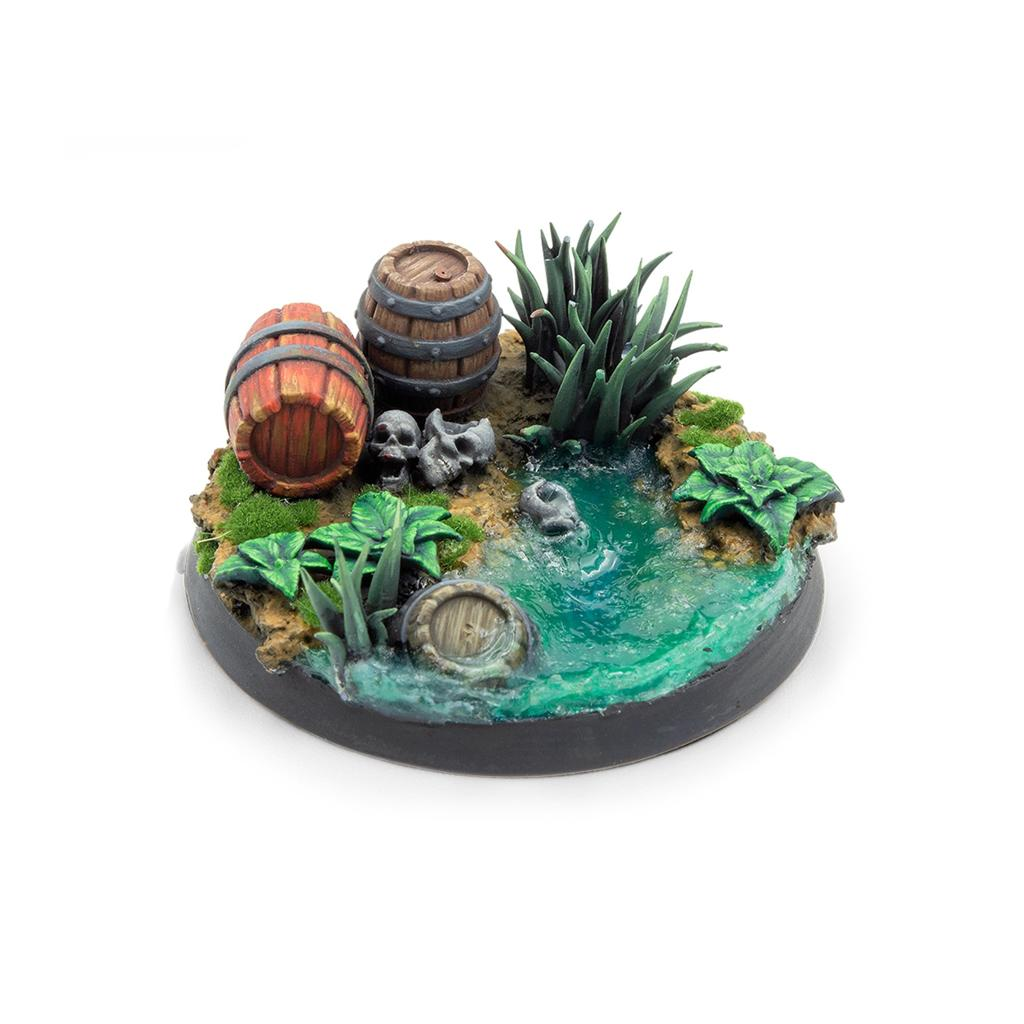
Swamps require a very different palette from clean rivers.
Begin with dark brown-green.
Introduce olive green, muted yellow-green, and muddy brown.
Keep the deepest areas almost black.
Add submerged branches, leaves, rocks, skulls, roots, or vegetation.
You can also create patches of algae on the surface.
Use muted green rather than bright fluorescent green unless the swamp is magical or toxic.
Small bubbles can add additional character.
Finish with gloss or transparent water effects.
The combination of dark colors underneath and reflective gloss on top creates convincing stagnant water.
Creating Algae and Floating Vegetation
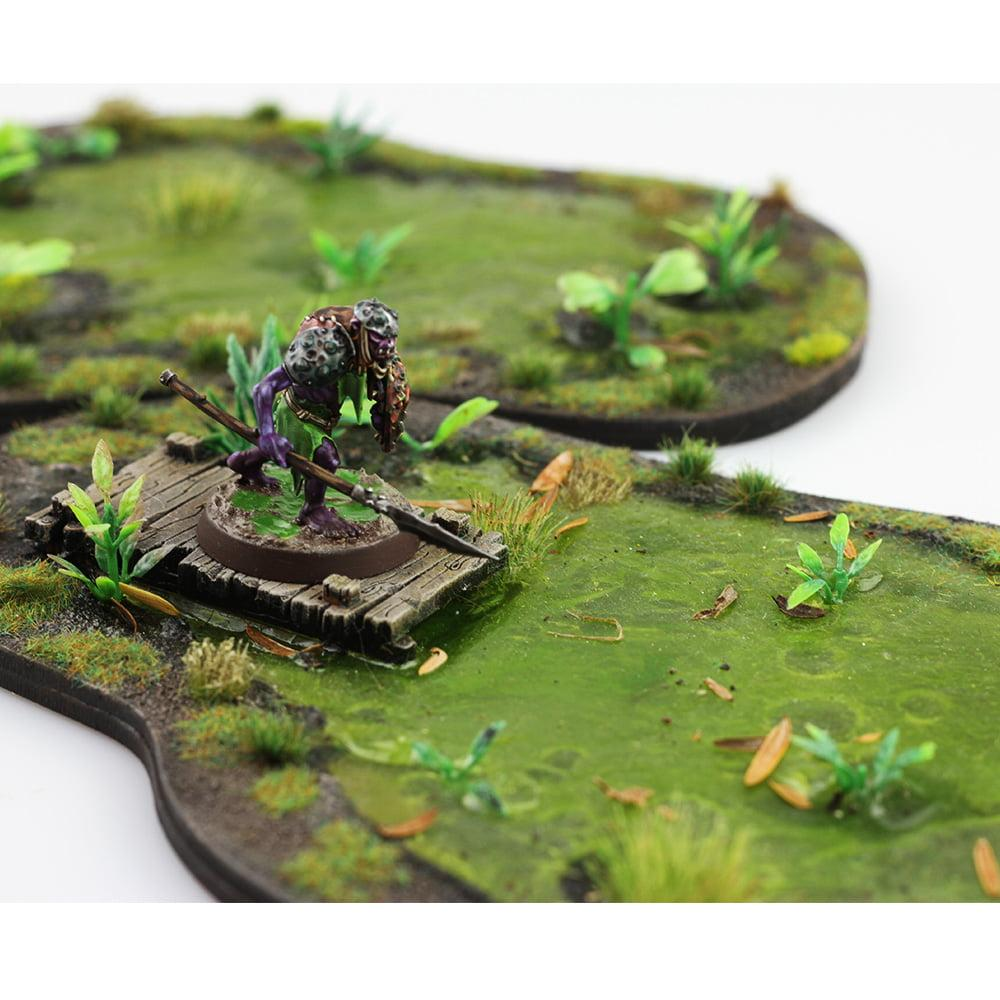
Small surface details can make water environments much more believable.
For algae, stipple irregular patches of dark green.
Add smaller areas of medium green.
Keep the shapes organic.
Don’t cover the entire surface.
Floating leaves can be painted separately using muted green, yellow, brown, and red.
Small reeds or grasses can emerge from shallow areas.
When using clear resin, some vegetation can even be placed underneath the surface to create depth.
This makes the water feel like an environment rather than simply a shiny area of the base.
Painting Waterfalls
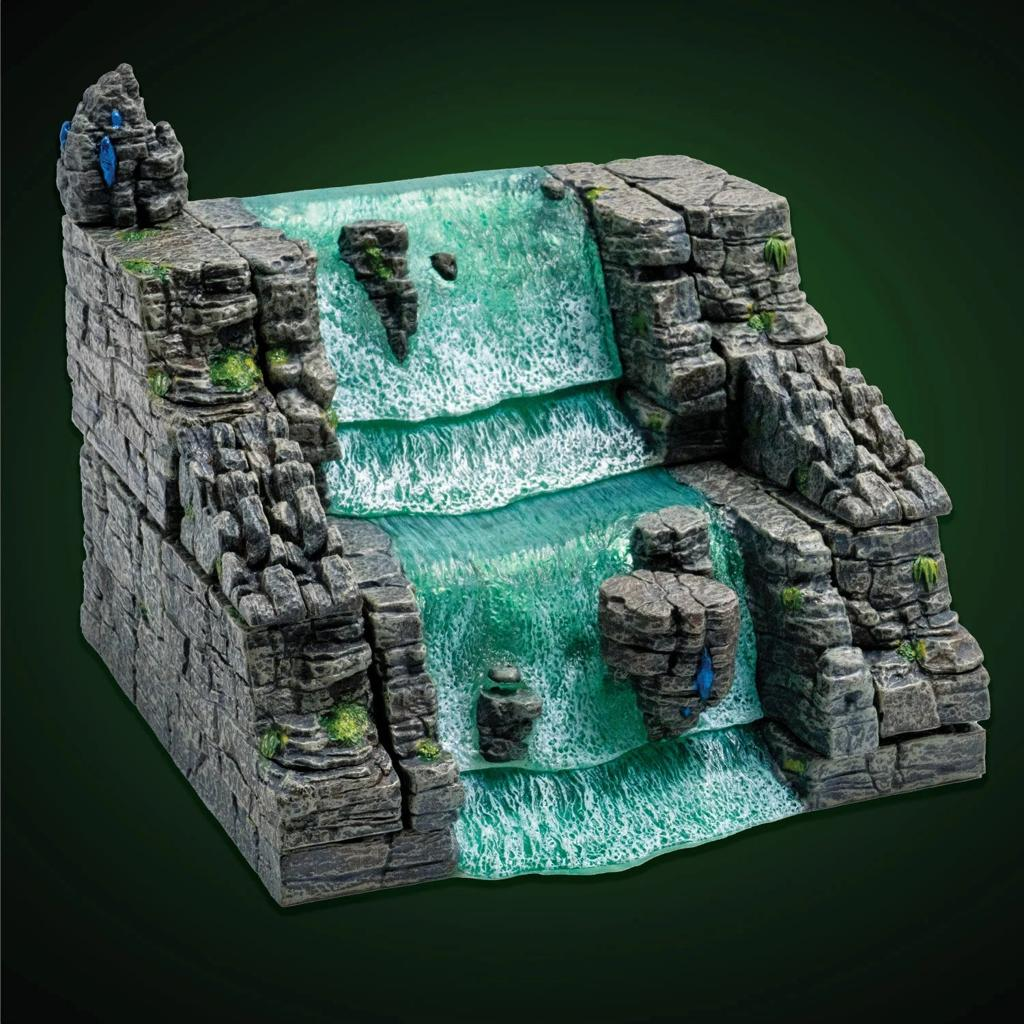
Waterfalls combine transparent water, movement, and foam.
Begin with pale blue-grey or turquoise.
Keep some areas relatively transparent or dark.
Add vertical streaks of lighter blue.
Then introduce white in selected sections.
The strongest foam should appear where the falling water impacts rocks or the pool below.
At the bottom, use irregular white stippling to represent turbulence.
Don’t paint the entire waterfall solid white.
Preserving blue and transparent areas makes the water appear deeper.
For larger terrain pieces, clear resin or water-effect products can create impressive physical waterfalls.
Creating Transparent Water with Resin
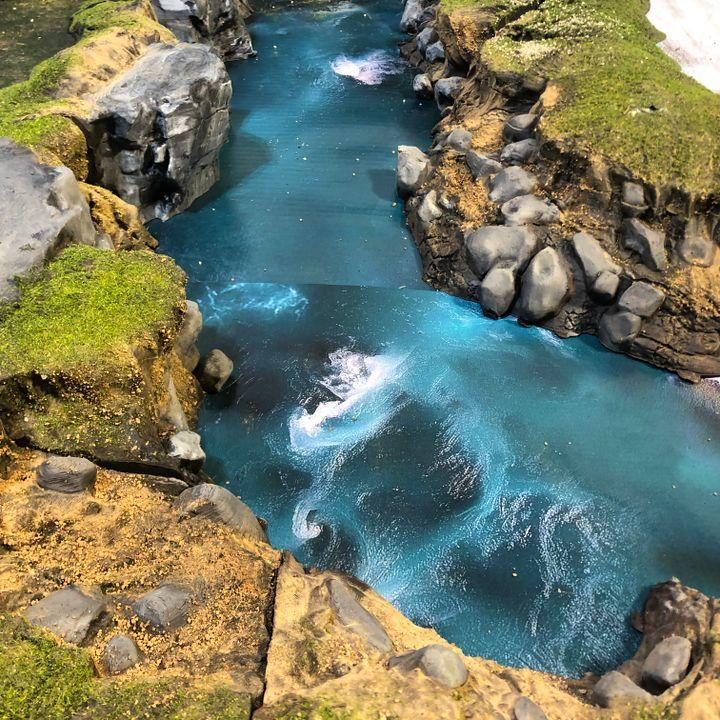
Clear resin can create extremely convincing miniature water.
The most important step happens before pouring it.
Paint and finish the entire underwater environment first.
Seal any gaps in the base.
Then pour the resin according to the manufacturer’s instructions.
For deeper water, multiple thin pours are often safer than one extremely thick layer.
You can tint transparent resin slightly with appropriate pigments if desired.
Use very little color.
Transparent material becomes much darker when several layers accumulate.
After curing, surface texture can be added using clear gel or water-effect products.
Painting Waves
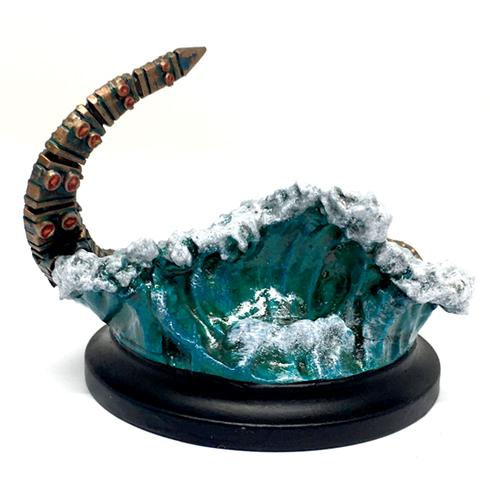
Waves require stronger directional highlights than calm water.
Begin with your main water color.
Paint lighter blue along the crest of each wave.
Then introduce pale blue.
Reserve pure white for breaking foam.
The underside of the wave should remain darker.
This contrast creates volume.
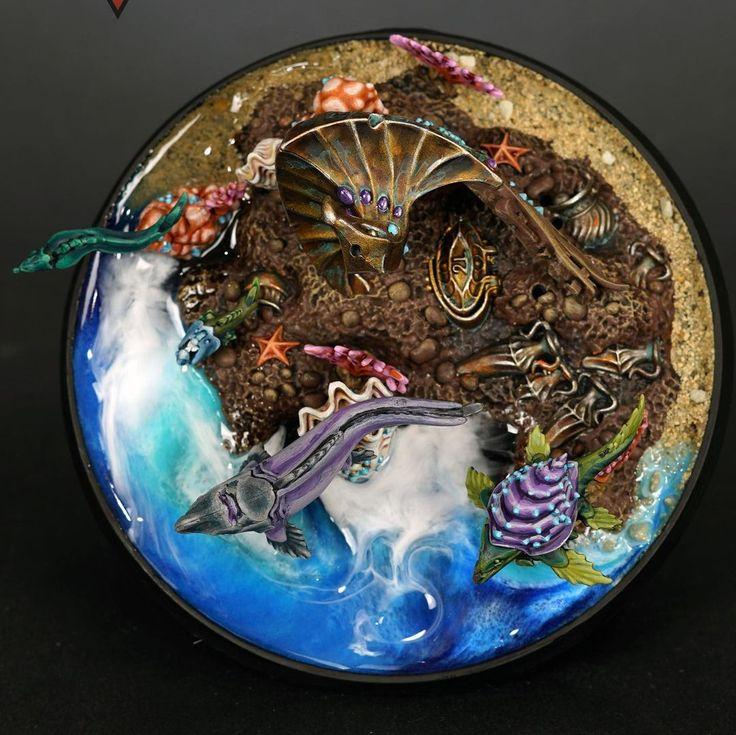
For fantasy ocean bases, turquoise can be particularly effective around the thinner upper portions of waves.
Large waves should contain variation rather than one uniform blue.
Dark blue, turquoise, cyan, pale blue, and white can all appear within the same wave.
Creating Magical Water
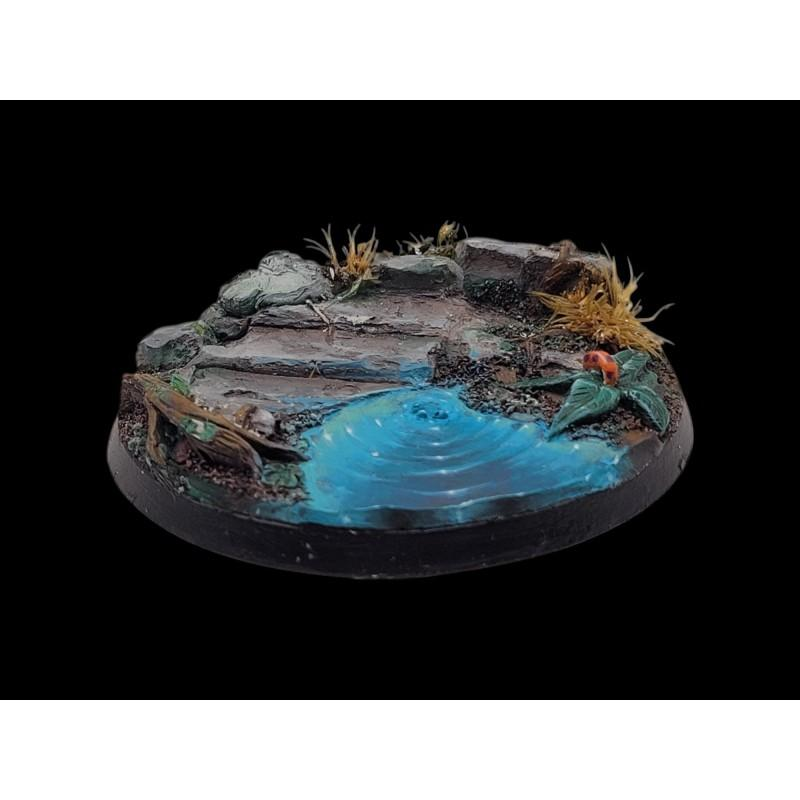
Fantasy water doesn’t need to obey natural colors.
A magical pool can glow turquoise.
Necromantic water could contain purple energy.
A corrupted river might glow green.
An elemental creature could emerge from brilliant blue water.
For magical water, increase saturation dramatically.
Keep the deepest sections dark.
Then build toward intense cyan, green, purple, or another magical color.
Use near-white highlights around the strongest energy sources.
You can also apply thin glazes of the water color onto nearby rocks and characters.
This creates Object Source Lighting and makes the water appear to emit its own supernatural light.
Painting Reflections on Water
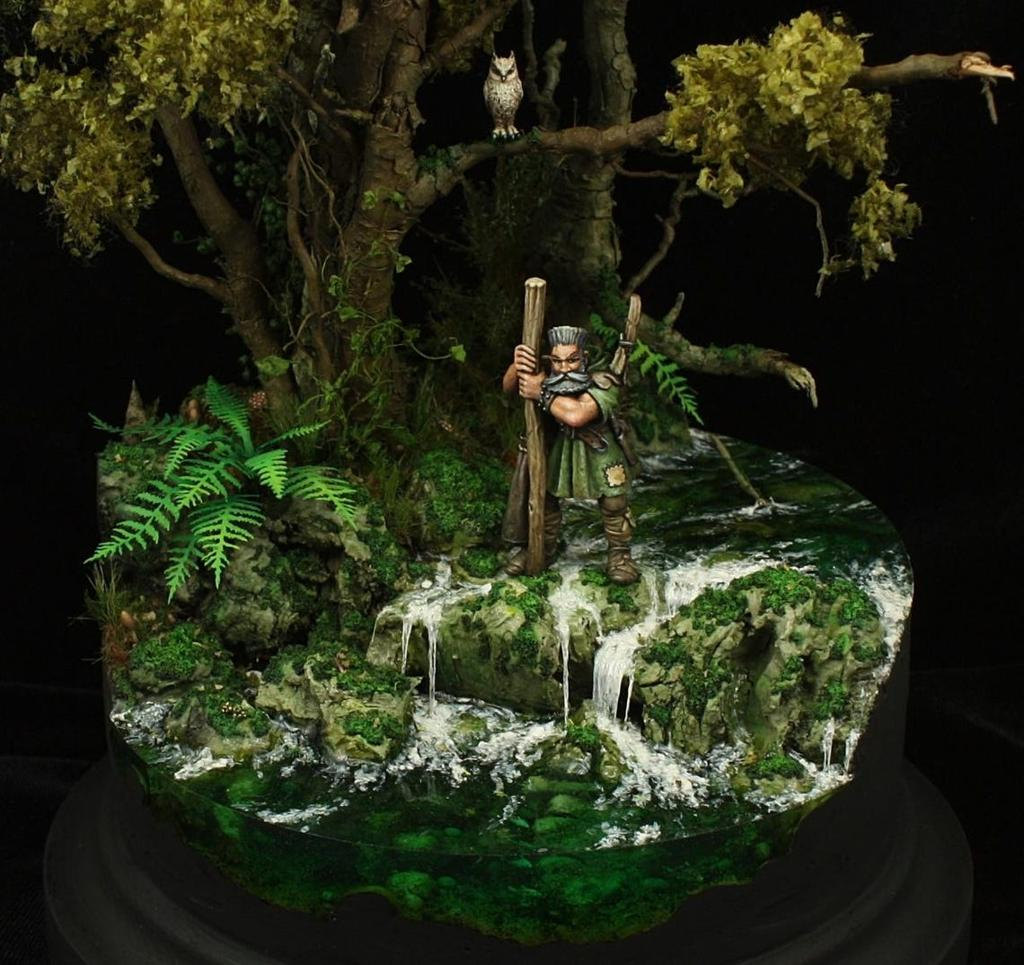
Reflections help communicate a smooth surface.
Use lighter versions of your water color to create thin horizontal lines.
Keep them relatively sharp.
The reflections don’t need to reproduce surrounding objects perfectly.
On a small miniature base, simplified streaks are usually enough.
Place brighter reflections near your imaginary light source.
For moonlit water, use pale blue-grey.
For warm sunset environments, subtle orange or yellow reflections can create a dramatic atmosphere.
The important part is keeping the reflections aligned with the surface of the water.
Making Clothing and Boots Look Wet
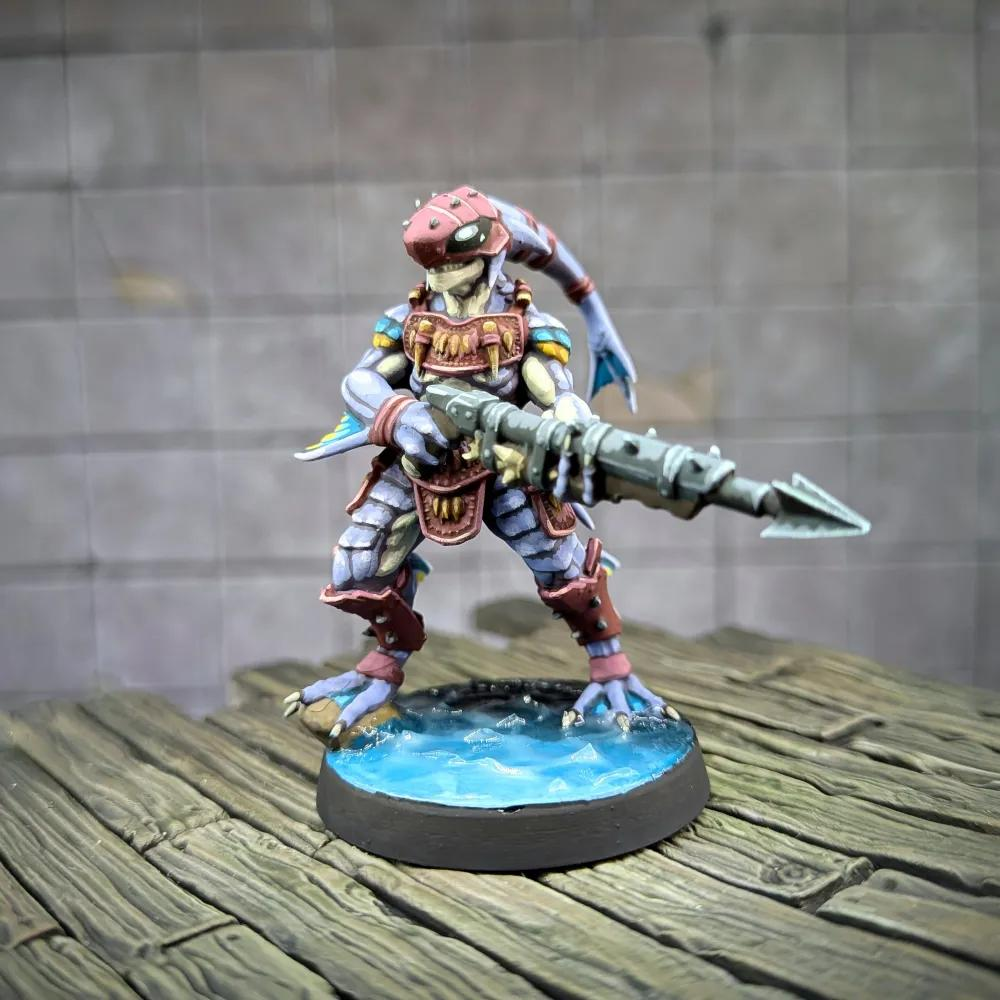
If a character is standing in water, the miniature should interact with it.
Darken the lower sections of boots, trousers, robes, or fur.
Wet materials usually appear darker and more saturated.
Create an irregular boundary rather than a perfectly straight horizontal line.
Then add small gloss areas where appropriate.
You can also place mud or algae around the lower legs.
This tiny environmental interaction dramatically improves the realism of the scene.
Without it, the miniature can appear to be standing on top of the water rather than inside it.
Common Mistakes When Painting Water
The biggest mistake is painting all water bright blue.
Water color depends on depth and environment.
Another common problem is using white everywhere.
White should normally represent the strongest reflections, foam, and turbulence.
Don’t forget to paint what lies underneath the water.
A detailed riverbed creates much more convincing depth.
Avoid perfectly symmetrical ripples.
Water movement should feel irregular.
Be careful with gloss varnish as well.
Gloss creates reflections, but it cannot create depth by itself.
The painted colors underneath still need to do most of the work.
Finally, make surrounding objects interact with the water through wet surfaces, reflections, and environmental staining.
Final Thoughts
Painting convincing water is primarily about depth, reflection, movement, and environmental interaction.
Begin by painting whatever exists underneath the surface.
Use darker colors for deep areas and gradually transition toward lighter colors in the shallows.
Add directional highlights to suggest movement.
Use broken arcs for ripples and irregular pale shapes for foam.
Darken rocks, clothing, and terrain where they become wet.
For swamps, introduce brown, olive, algae, and debris.
For magical water, increase saturation and use subtle Object Source Lighting.
Finally, use gloss varnish or transparent water products to create real surface reflections.
These techniques work beautifully for rivers, puddles, swamps, beaches, waterfalls, sewers, caves, flooded dungeons, magical pools, ocean bases, and countless other fantasy environments.
Water becomes especially convincing when it interacts with everything around it.
A wet rock, a partially submerged boot, floating vegetation, or a few ripples around a creature’s legs can communicate more realism than simply covering a base with transparent resin.
Build the environment first, then let the water bring it together.
Frequently Asked Questions
What color should I paint miniature water?
It depends on the environment. Blue-green works well for clear water, brown-green for swamps, and dark blue for deeper water.
Do I need resin to create realistic water?
No. Paint and gloss varnish can create excellent puddles and shallow water. Resin becomes particularly useful when you want physical depth.
How do I make water look deep?
Use darker colors in deeper areas and gradually transition toward lighter colors near shallow edges.
How do I paint water ripples?
Paint thin broken arcs using progressively lighter versions of your water color.
How do I make rocks look wet?
Darken the wet portions and apply selective gloss varnish while leaving dry areas matte.
How do I paint swamp water?
Use dark green-brown, olive, muddy brown, algae, vegetation, and debris underneath a glossy or transparent surface.
How do I paint water foam?
Start with pale blue-grey, stipple irregular off-white areas, and finish with small amounts of pure white.
How do I create magical glowing water?
Use saturated fantasy colors, extremely bright highlights, and subtle colored reflections on nearby surfaces to create Object Source Lighting.
If you would like free D&D STL miniatures, visit our homepage and download yours now: