How to Paint Realistic Leather and Fur on Miniatures (D&D and Warhammer Guide)
Painting realistic leather and fur on miniatures is one of the most important skills a miniature painter can develop. Whether you’re working on rugged Viking warriors, savage barbarians, or fierce Warhammer heroes, leather armor and fur cloaks appear everywhere in fantasy miniatures.
Mastering these materials can dramatically improve the realism of your figures. Leather should feel worn, rugged, and textured, while fur should look soft, layered, and natural. When done correctly, these details transform a good miniature into something that looks truly alive on the tabletop.
In this guide, you’ll learn professional techniques used by experienced painters to create convincing leather straps, belts, boots, armor pieces, and thick fur cloaks. These methods work perfectly for Dungeons & Dragons characters, Warhammer armies, and high-detail resin miniatures.
Understanding Leather and Fur Before You Paint
Before touching your brush, it’s important to understand how leather and fur behave in real life.
Leather and fur react to light very differently:
Leather characteristics
- Smooth but worn surface
- Subtle color variation
- Often scratched or cracked
- Reflects light slightly on edges
Fur characteristics
- Rough and layered
- Many tones mixed together
- Directional strands
- Strong texture
This means your painting approach must be different for each material.
When painting leather, focus on blending, scratches, and edge highlights.
When painting fur, focus on dry brushing, layered tones, and directional strokes.
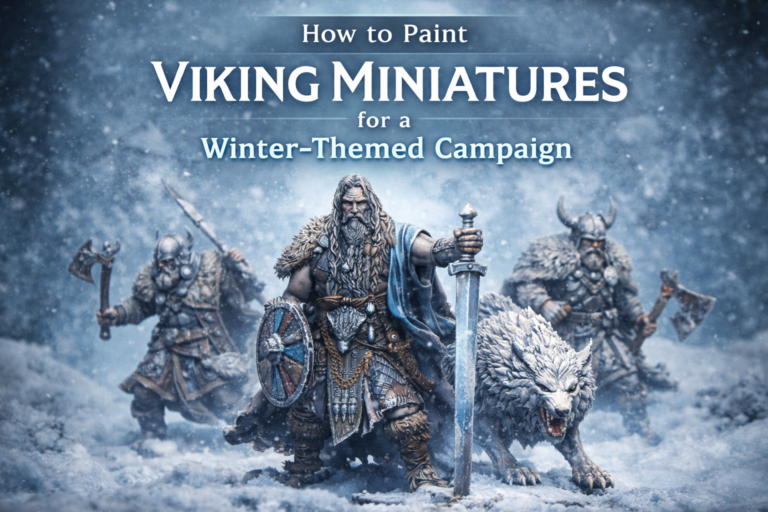
These techniques appear frequently in fantasy miniatures like Vikings or barbarian characters. If you’re working on Norse-style models, our guide on painting Viking warriors explores similar materials in depth in this tutorial on how to paint Viking miniatures for a winter campaign:
https://echoartstudios.net/how-to-paint-viking-miniatures-for-a-winter-themed-campaign
Understanding the material you’re painting is the first step toward professional results.
Choosing the Right Color Palette
Many beginner painters use only one brown color for leather. This makes miniatures look flat and unrealistic.
Real leather contains multiple tones, often mixed together.
A good leather palette might include:
Base tones
- Dark Brown
- Red Brown
- Chocolate Brown
Highlight tones
- Leather Brown
- Tan
- Beige
Shadow tones
- Black Brown
- Dark Red
- Deep Sepia
Fur also benefits from varied colors.
For example, realistic fur might combine:
- Dark Brown base
- Medium Brown drybrush
- Light Tan highlight
Or for colder environments:
- Dark Grey
- Neutral Grey
- Light Grey highlights
These layered colors create depth that makes your miniatures feel more realistic.
This technique is especially useful when painting undead creatures or frozen monsters. If you’re interested in creating icy textures and cold color palettes, check out this tutorial on painting frost-covered undead miniatures:
https://echoartstudios.net/how-to-paint-draugr-miniatures-with-realistic-frost-and-undead-effects
The key principle: avoid flat colors. Always mix multiple tones.
Step-by-Step Guide to Painting Leather
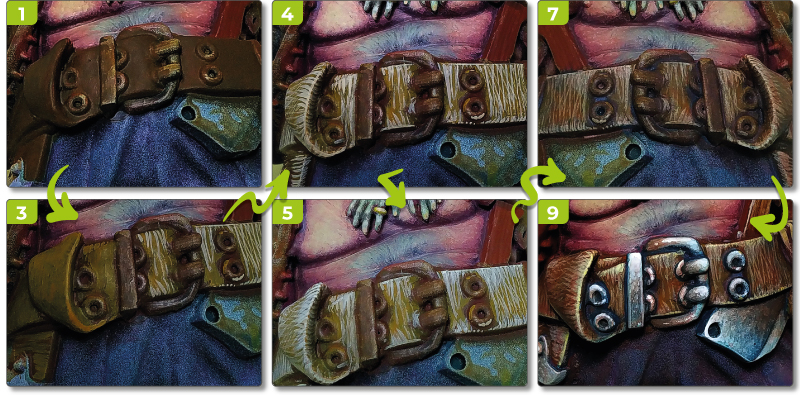
4
Let’s walk through a simple process to paint convincing leather.
Step 1 – Basecoat
Start with a dark brown base.
Examples:
- Rhinox Hide
- Burnt Umber
- Dark Leather
Apply thin layers so the details remain sharp.
Step 2 – First Highlight
Mix your base color with a lighter brown.
Highlight areas that would naturally receive light:
- Edges of belts
- Tops of boots
- Raised armor folds
Use controlled strokes along edges.
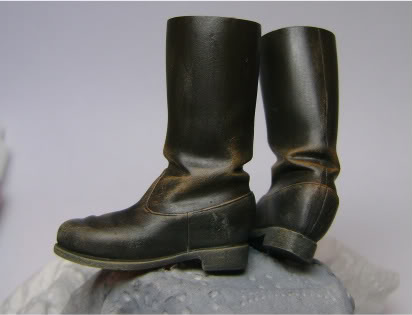
Step 3 – Edge Highlights
Now apply a lighter color like tan or beige on the sharpest edges.
This creates the illusion of worn leather.
Focus on:
- Belt corners
- Armor edges
- Strap seams
This step makes leather look used and realistic.
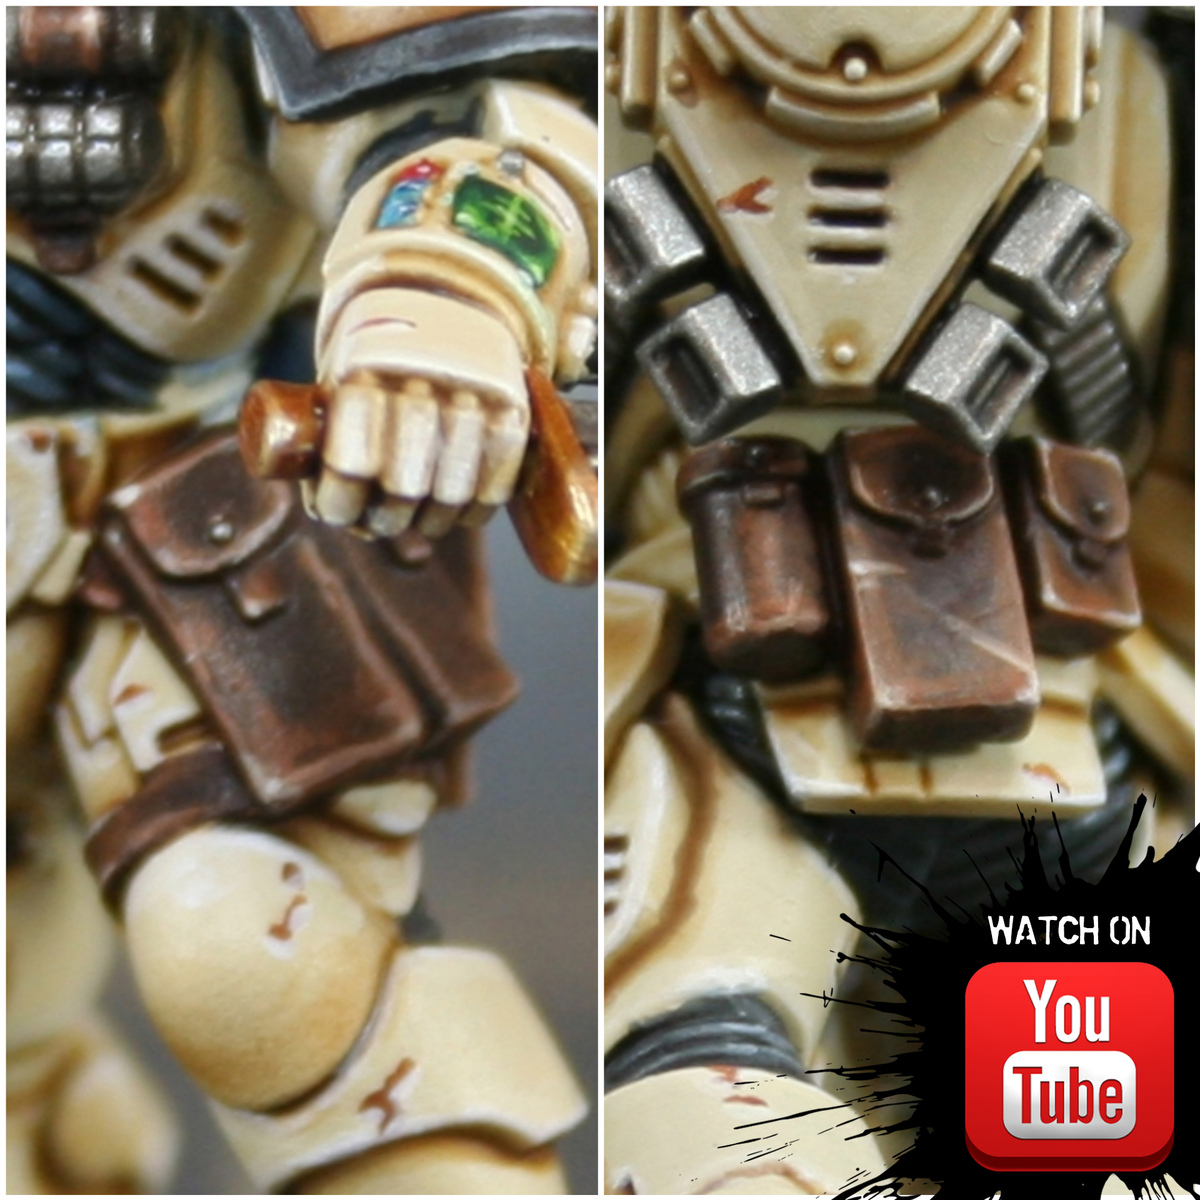
Step 4 – Add Scratches
Using a fine brush:
- Paint tiny lines with a light brown.
- Add a darker line underneath the scratch.
This creates depth and wear.
Professional painters use this trick constantly for leather armor.
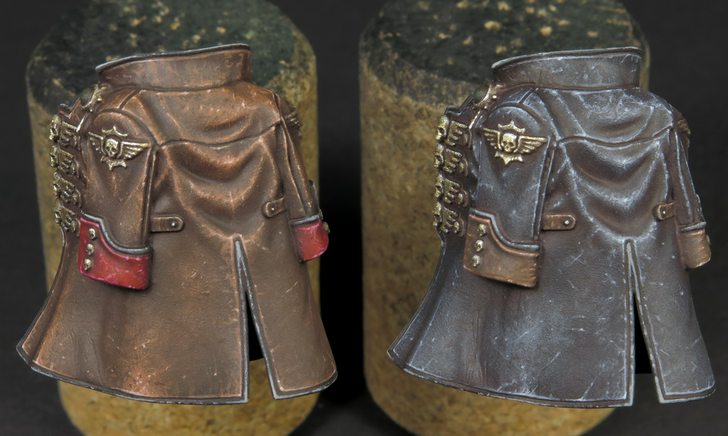
Step 5 – Glaze for Color Variation
Thin down brown or red glazes and apply randomly across the leather surface.
This creates the natural uneven tone found in real leather.
How to Paint Realistic Fur Cloaks
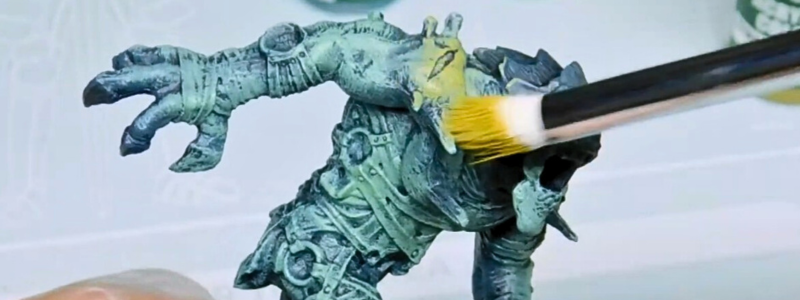
4
Fur is easier than leather but requires good brush control.
The goal is to create texture and depth.
Step 1 – Dark Basecoat
Start with a dark base color.
Examples:
- Dark Brown
- Dark Grey
- Black Brown
This becomes the shadow between fur strands.
Step 2 – First Drybrush
Drybrush a medium tone over the fur.
Examples:
- Medium Brown
- Neutral Grey
Use downward strokes to follow the direction of the fur.
Step 3 – Second Drybrush
Use a lighter tone but apply it more carefully.
Focus on raised strands and outer edges.
Examples:
- Light Brown
- Tan
- Light Grey
Step 4 – Final Highlights
Use a small brush for fine highlights.
Paint tiny strokes along the fur tips.
This makes the fur look fluffy and realistic.
Advanced Texture Techniques for Professionals

Once you’re comfortable with basic techniques, you can add more advanced effects.
Stippling
Using a stiff brush, gently dab small dots of lighter colors across leather.
This creates rough texture.
Great for:
- Old armor
- Barbarian gear
- Monster equipment
Color Variation
Apply subtle glazes of:
- Red Brown
- Orange Brown
- Dark Purple
These colors create depth and richness.
Edge Damage
Use very small brush strokes to simulate chipped or worn leather edges.
These effects are commonly used by professional Warhammer painters.
If you want to push your painting skills further, explore more professional methods in this guide on advanced techniques for painting Warhammer miniatures:
https://echoartstudios.net/advanced-techniques-for-painting-warhammer-40000-miniatures-from-intermediate-to-professional-level
These techniques can elevate your miniatures from tabletop quality to display level.
Painting Leather and Fur Efficiently for Large Armies
When painting large armies, you cannot spend hours on each miniature.
Instead, use batch painting methods.
Efficient Leather Workflow
- Basecoat all leather areas
- Apply brown wash
- Drybrush lighter brown
- Add quick edge highlights
This produces convincing leather very quickly.
Efficient Fur Workflow
- Dark basecoat
- Heavy drybrush medium tone
- Light drybrush highlight
This entire process takes only a few minutes per miniature.
Batch painting techniques are essential for Warhammer players painting large forces.
For a deeper guide on painting armies quickly while keeping quality high, check this tutorial on speed painting Warhammer 40K miniatures:
https://echoartstudios.net/speed-painting-warhammer-40000-miniatures-paint-armies-fast-without-losing-quality
Learning efficient workflows saves enormous time when painting dozens of models.
Common Mistakes When Painting Leather and Fur
Even experienced painters sometimes struggle with these materials.
Here are common mistakes to avoid:
Using only one brown color
Real leather contains multiple tones.
Too much dry brushing on leather
Leather should be smoother than fur.
Highlighting fur incorrectly
Always follow the direction of the fur strands.
Over-highlighting
Too many bright highlights can ruin realism.
Subtlety is key.
Final Thoughts
Painting realistic leather and fur is one of the most rewarding skills in miniature painting. These materials appear constantly across fantasy miniatures, from barbarian warriors and Viking raiders to Warhammer heroes and monstrous creatures.
By understanding how these materials behave in real life and applying layered painting techniques, you can dramatically improve the realism of your miniatures.
Start simple: learn basecoats, highlights, and dry brushing. Once you feel comfortable, experiment with scratches, glazes, and advanced texture techniques.
With practice, these small details will bring your miniatures to life on the tabletop.
If you would like free D&D STL miniatures, visit our homepage and download yours now:
https://echoartstudios.net/