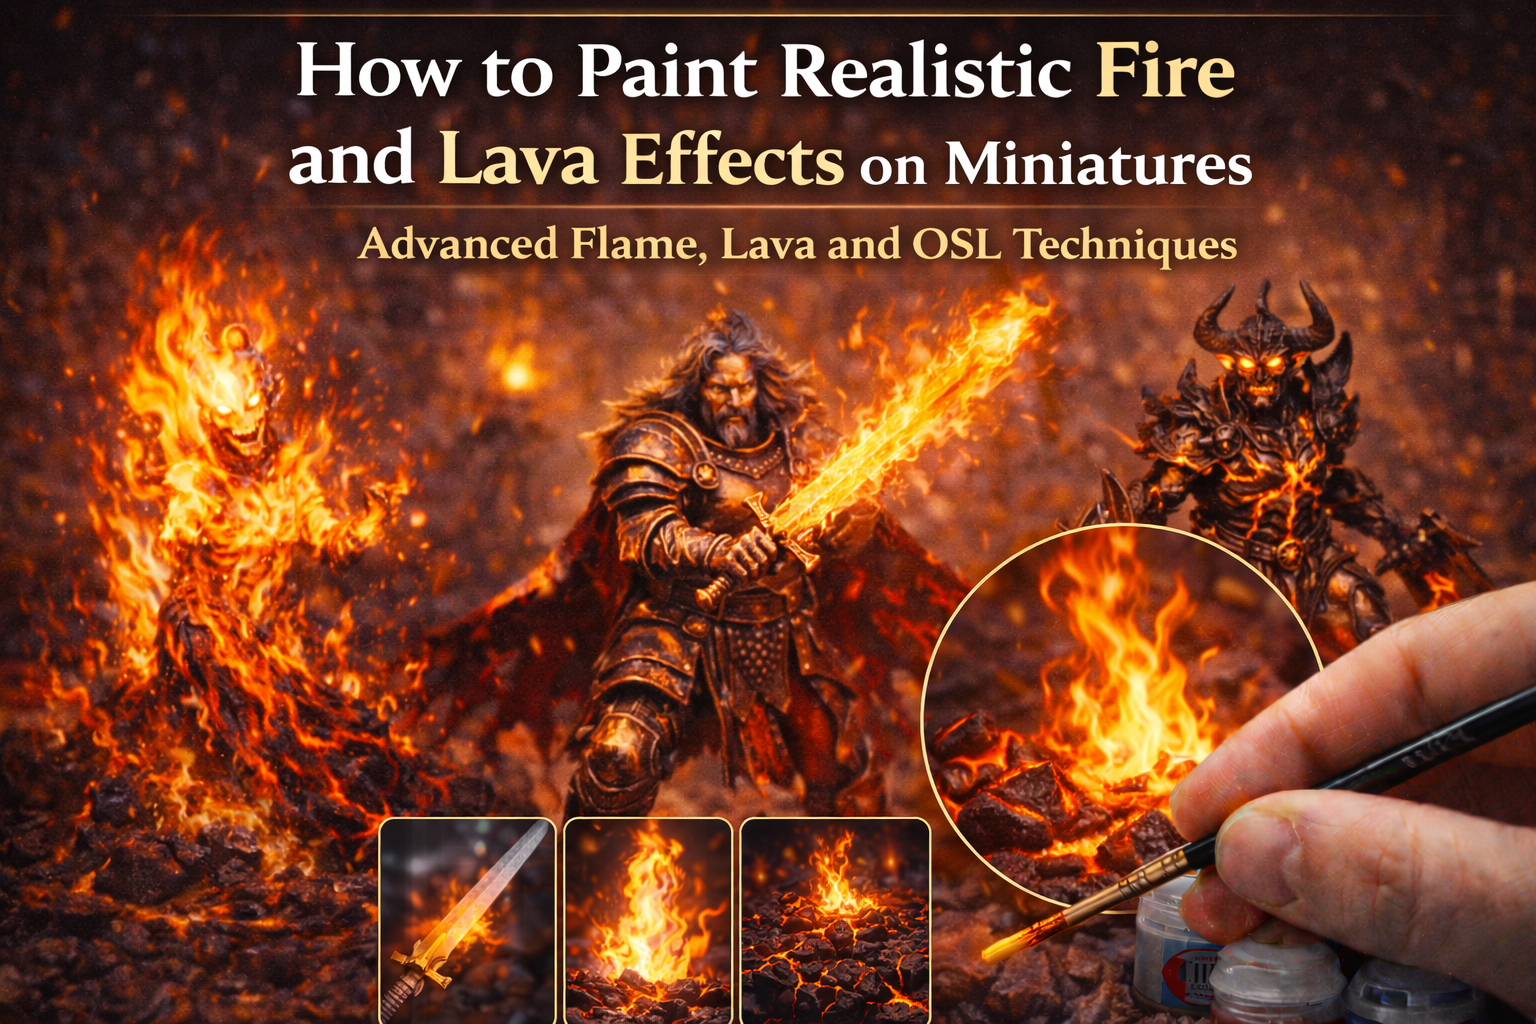
How to Paint Realistic Fire and Lava Effects on Miniatures
How to paint realistic fire and lava effects on miniatures is one of the most searched advanced techniques among fantasy painters. Whether you’re painting a flaming sword, a lava base, a fire elemental, or molten cracks in armor, mastering fire effects instantly elevates your miniature from tabletop standard to cinematic display level.
In this complete guide, you’ll learn how to paint fire and lava effects with realistic color transitions, proper light logic, and strong contrast — without overcomplicating the process.
Understanding How Fire Actually Works
Before painting fire on miniatures, you need to understand one critical fact:
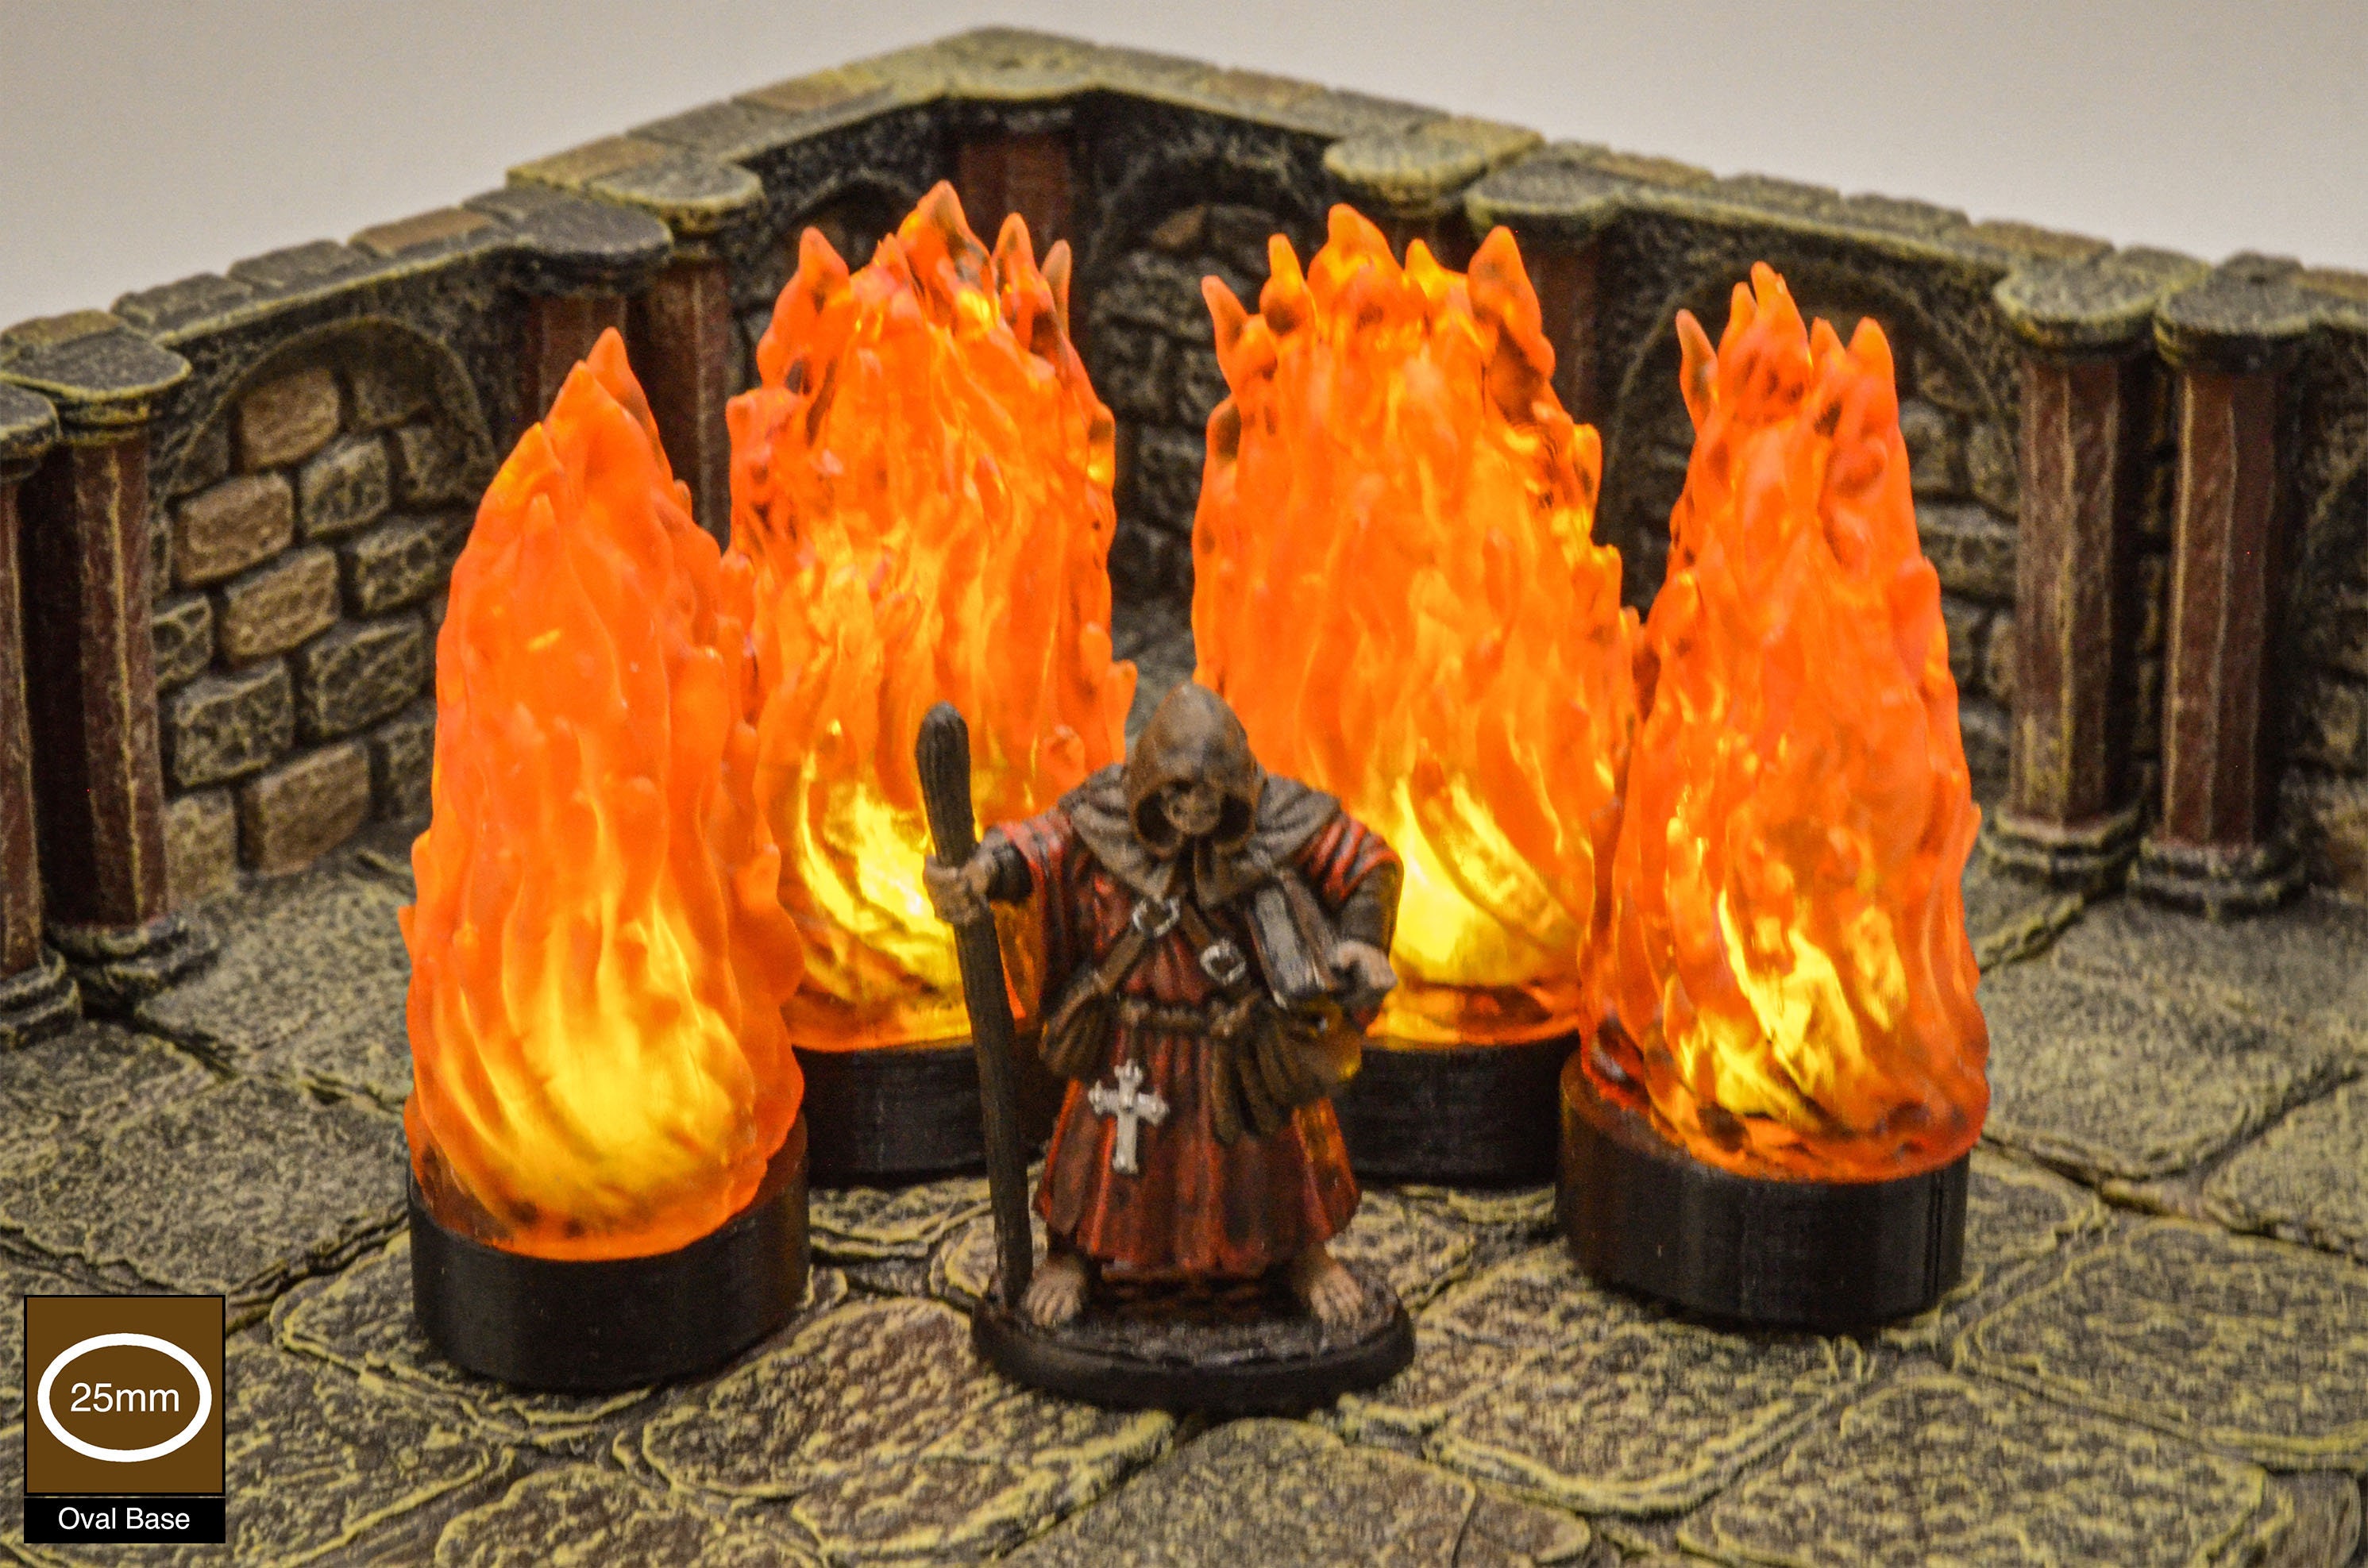
Fire is brightest at the center — not at the edges.
Unlike most objects, fire transitions from:
- White / pale yellow (hottest core)
- Bright yellow
- Orange
- Red
- Dark smoke at the outer edges
Many beginners reverse this, making fire look wrong.

4
Painting Fire Step-by-Step
Here is a simple but effective fire workflow:
Step 1 – Basecoat White
Start with a solid white base where the flame will be.
White allows your colors to stay vibrant.
Step 2 – Apply Yellow Glaze
Add thin yellow over the inner sections.
Step 3 – Add Orange
Blend orange outward from the yellow.
Step 4 – Add Red at the Tips
The outermost edges receive red.
Optional:
Add dark brown or black at extreme tips for smoke.
Always paint from inside out.
4
Painting Flaming Weapons
Flaming swords and axes are extremely popular in fantasy miniatures.
Key principles:
- Brightest at blade center
- Glow fades toward edges
- Add subtle OSL on nearby armor
Use thin layers.
Avoid thick paint — fire must look luminous.

4
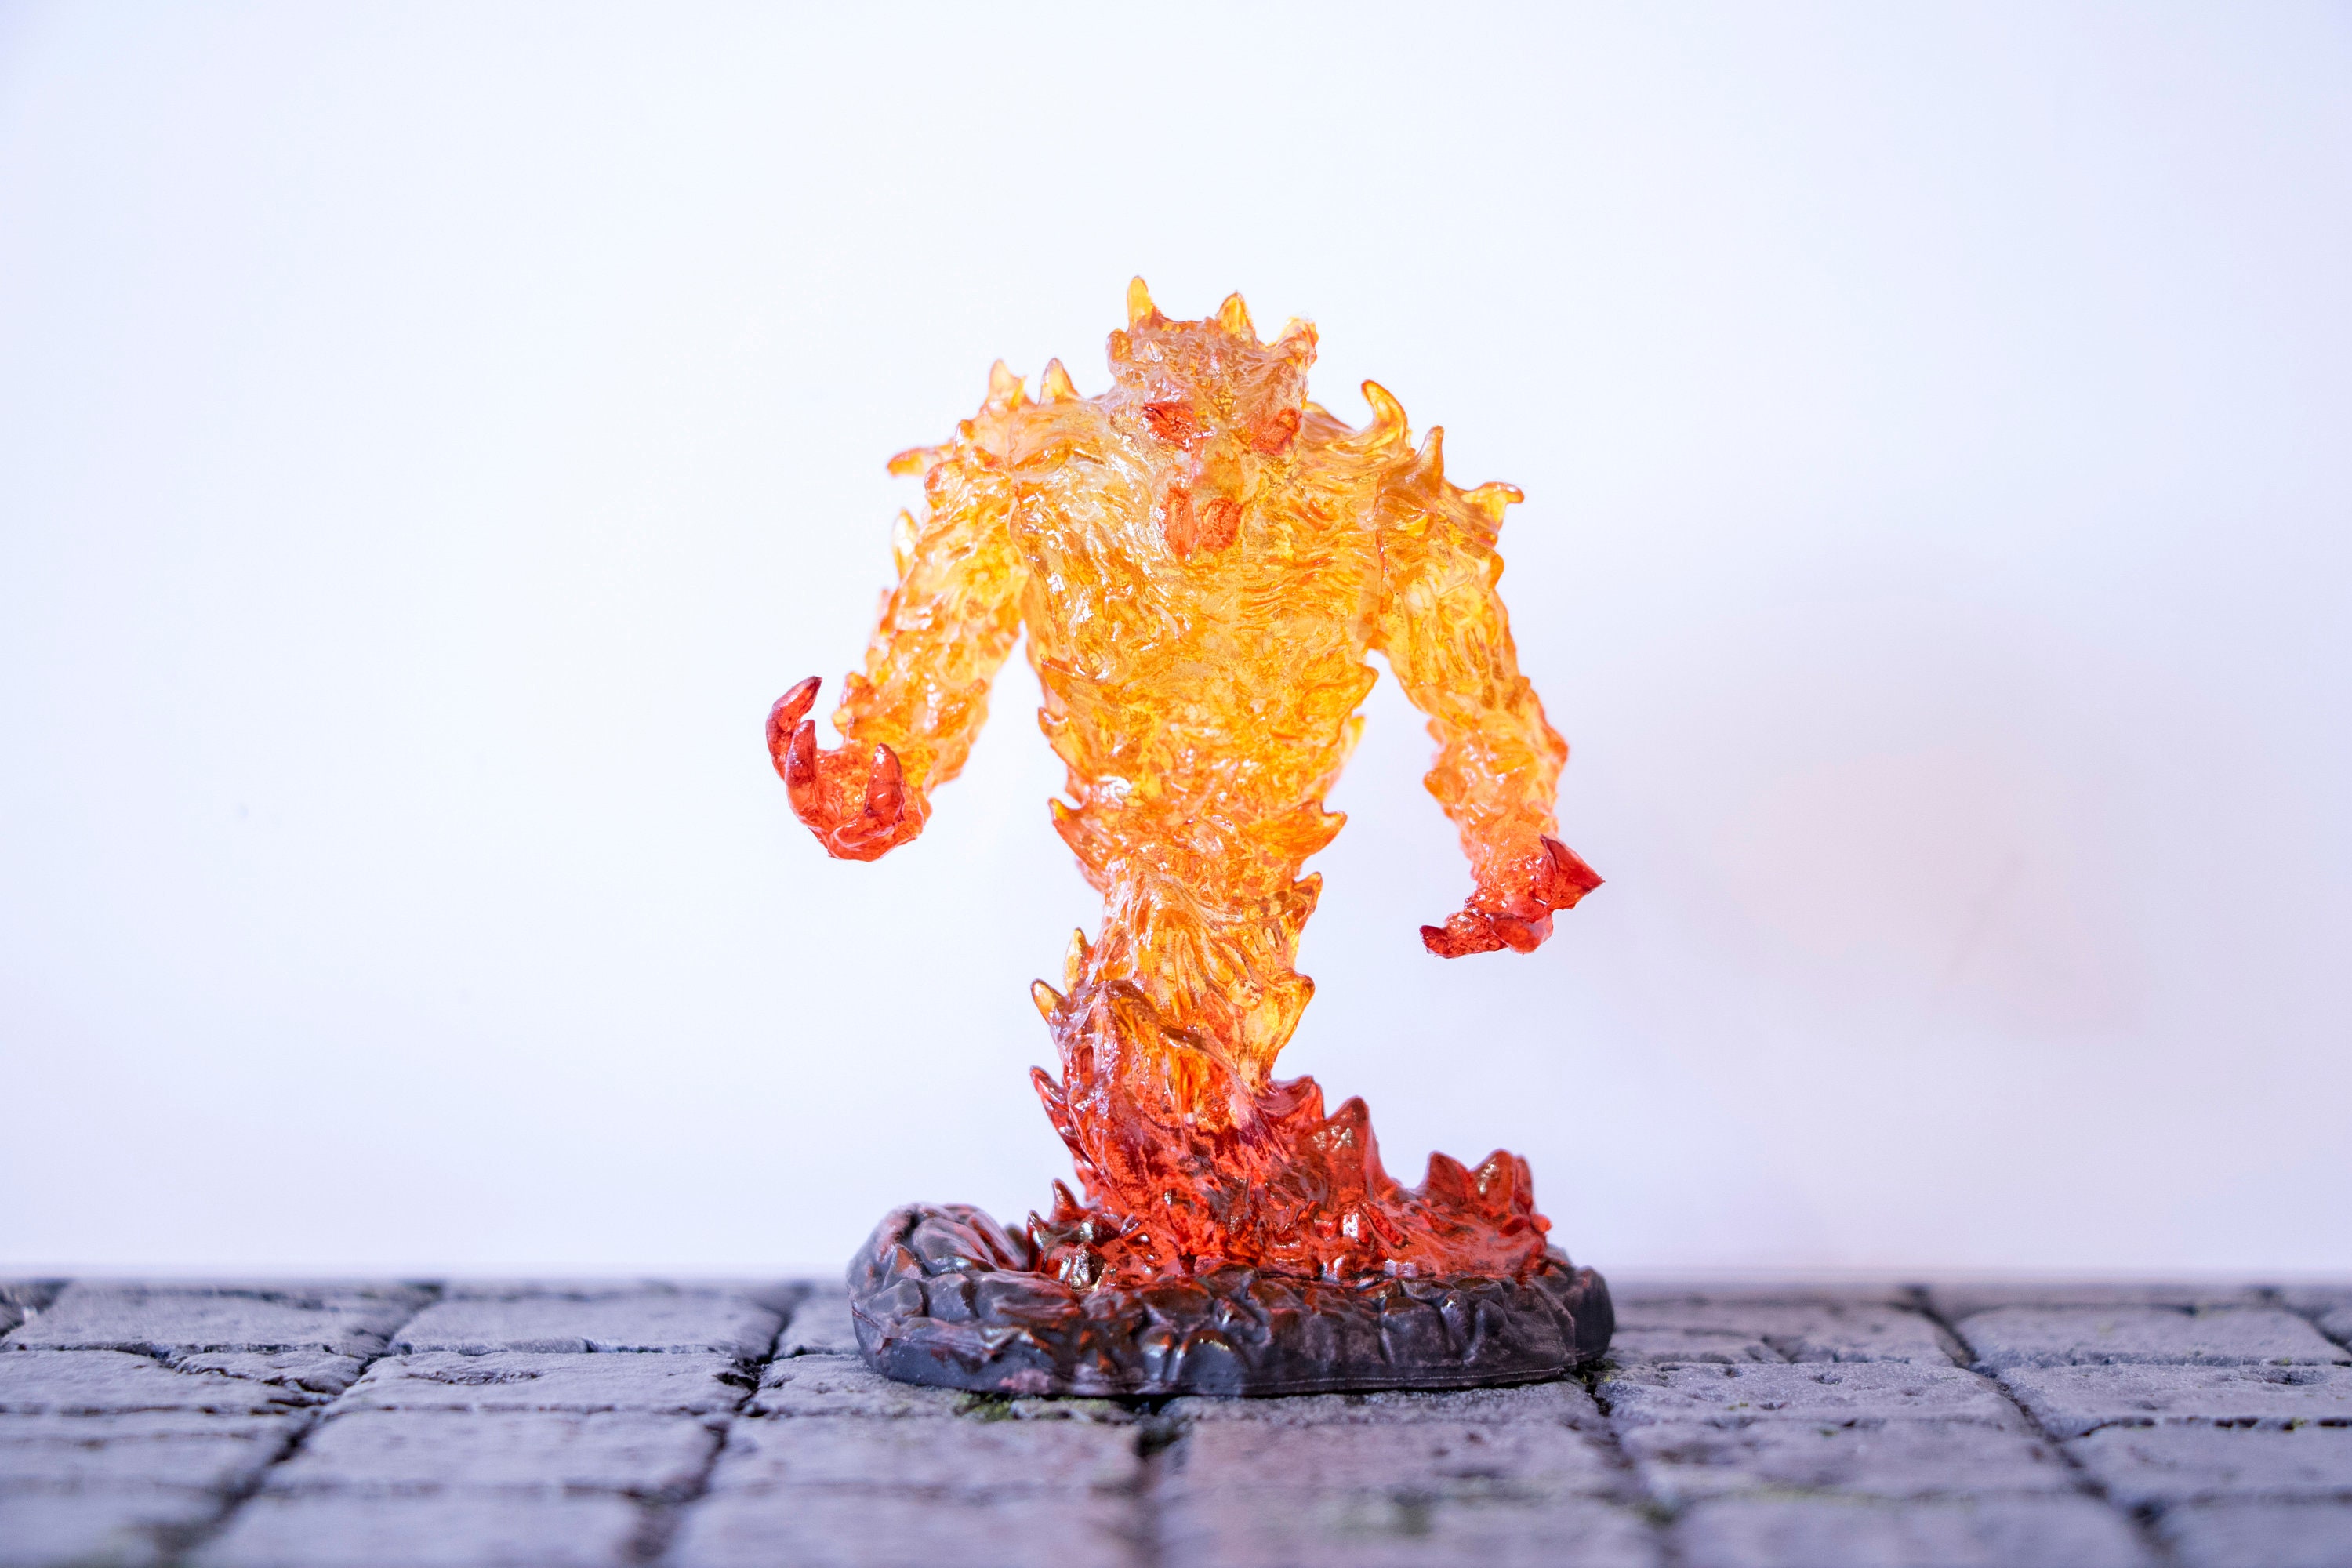
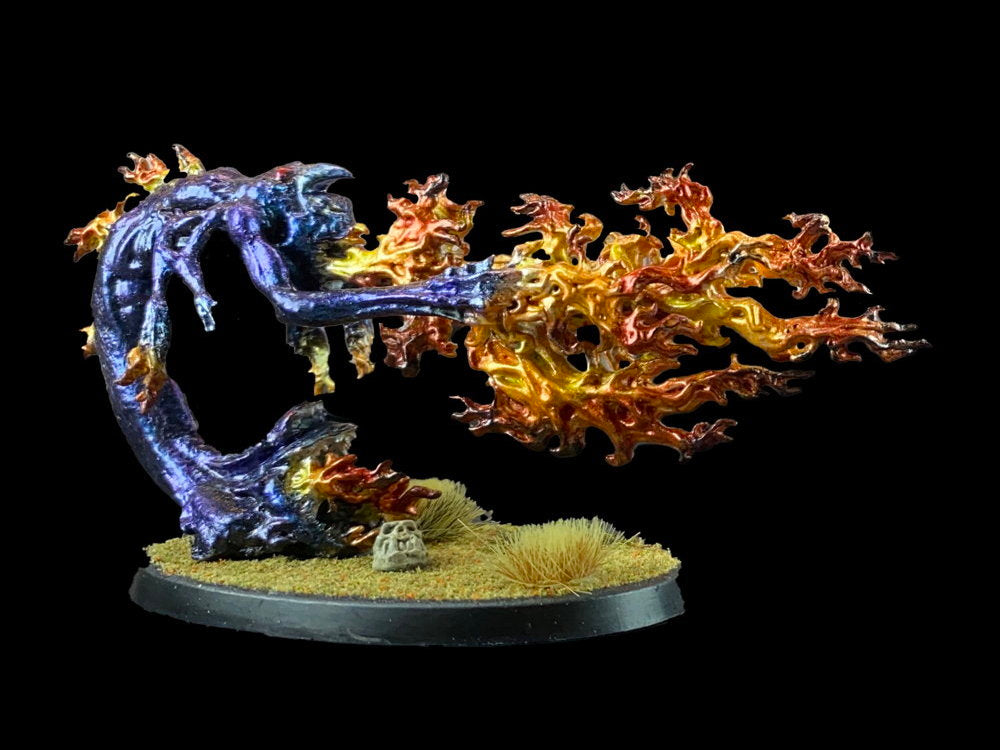
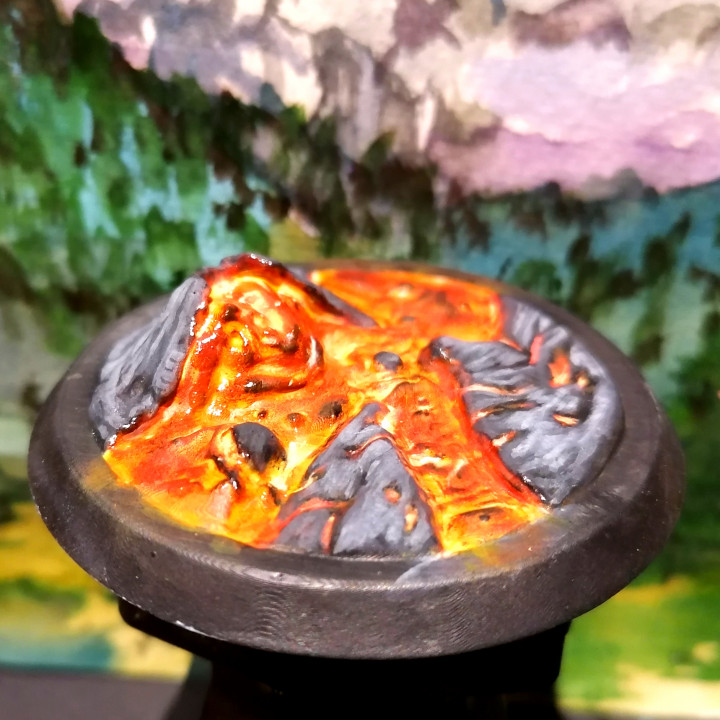
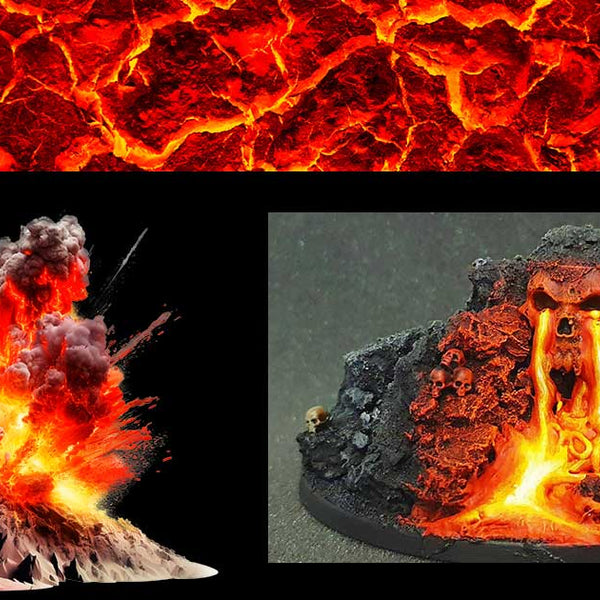
Creating Realistic Lava Bases
Lava bases are perfect for:
- Demons
- Fire elementals
- Chaos armies
- Volcanic warriors
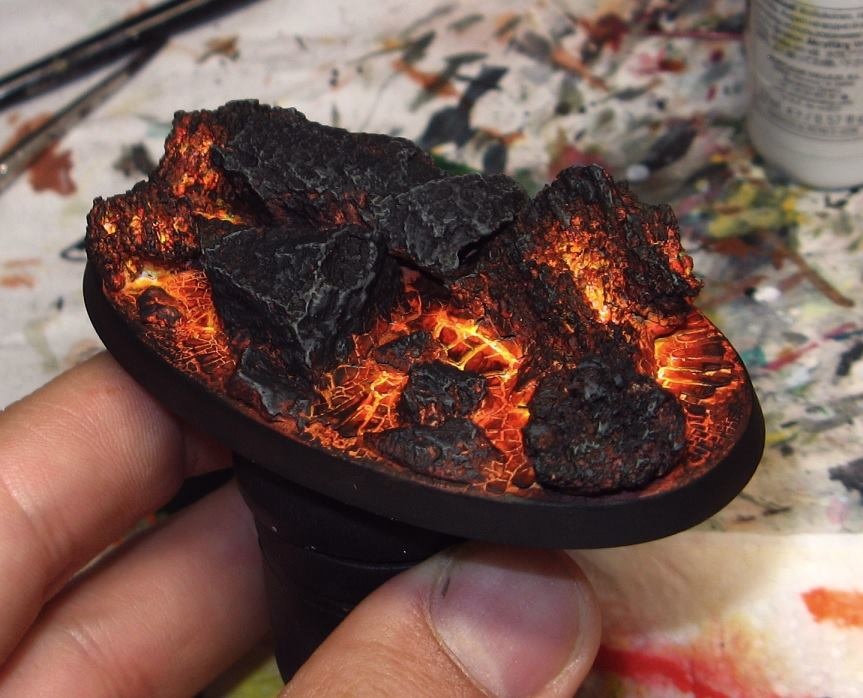
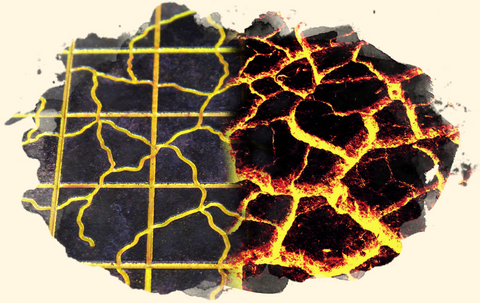
Lava color progression:
- White in deepest cracks
- Yellow
- Orange
- Red
- Black cooled rock
The cracks glow — the rock remains dark.
4
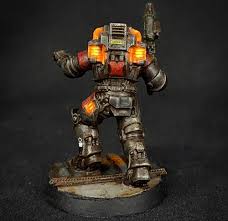
Adding Glow (OSL) to Lava and Fire
Fire affects nearby surfaces.
If lava glows beneath a character:
- Underside of boots should reflect orange
- Lower cloak edges glow faintly
- Shadows shift warmer
Keep OSL subtle.
Too much glow ruins realism.
4
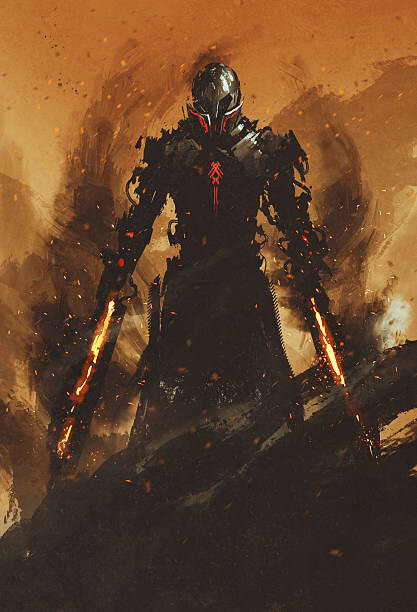
Painting Molten Cracks in Armor
Advanced technique:
Molten cracks in armor or weapons.
Process:
- Paint crack white
- Glaze yellow
- Add orange outward
- Reinforce dark armor edges
This creates internal glow effect.
Works great for chaos warriors or cursed knights.
4
Common Fire Painting Mistakes
- Painting red in the center
- Using pure orange everywhere
- No white core
- No contrast between rock and lava
- Over-glazing everything
If your fire looks flat, increase contrast.
Push whites brighter. Push outer edges darker.
Advanced Fire Techniques
For competition-level work:
- Add subtle blue at hottest white points
- Blend with airbrush for smooth transitions
- Add micro white highlights for spark effect
- Combine with smoke pigments
Small details create realism.
When to Use Fire Effects
Fire effects work best for:
- Boss characters
- Display pieces
- Dramatic dioramas
- Demon or chaos themes
Avoid excessive fire in large units unless stylistically consistent.
Final Thoughts
Learning how to paint realistic fire and lava effects on miniatures is about understanding light behavior, mastering color transitions, and pushing contrast intentionally. When executed properly, fire effects add drama, movement, and storytelling power to your models.
By starting with white cores, building outward in correct color order, and respecting light logic, you can create glowing, cinematic fire that truly stands out on the tabletop or in competition.