Winter Miniature Basing Guide: How to Create Realistic Snow and Ice Bases
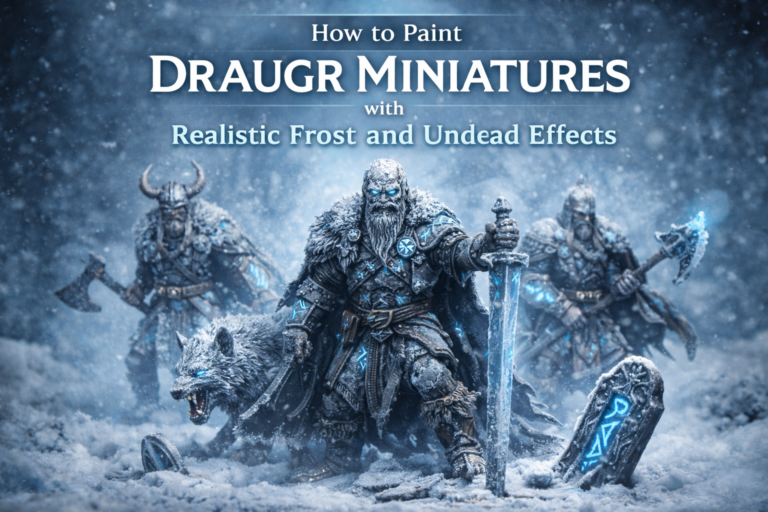
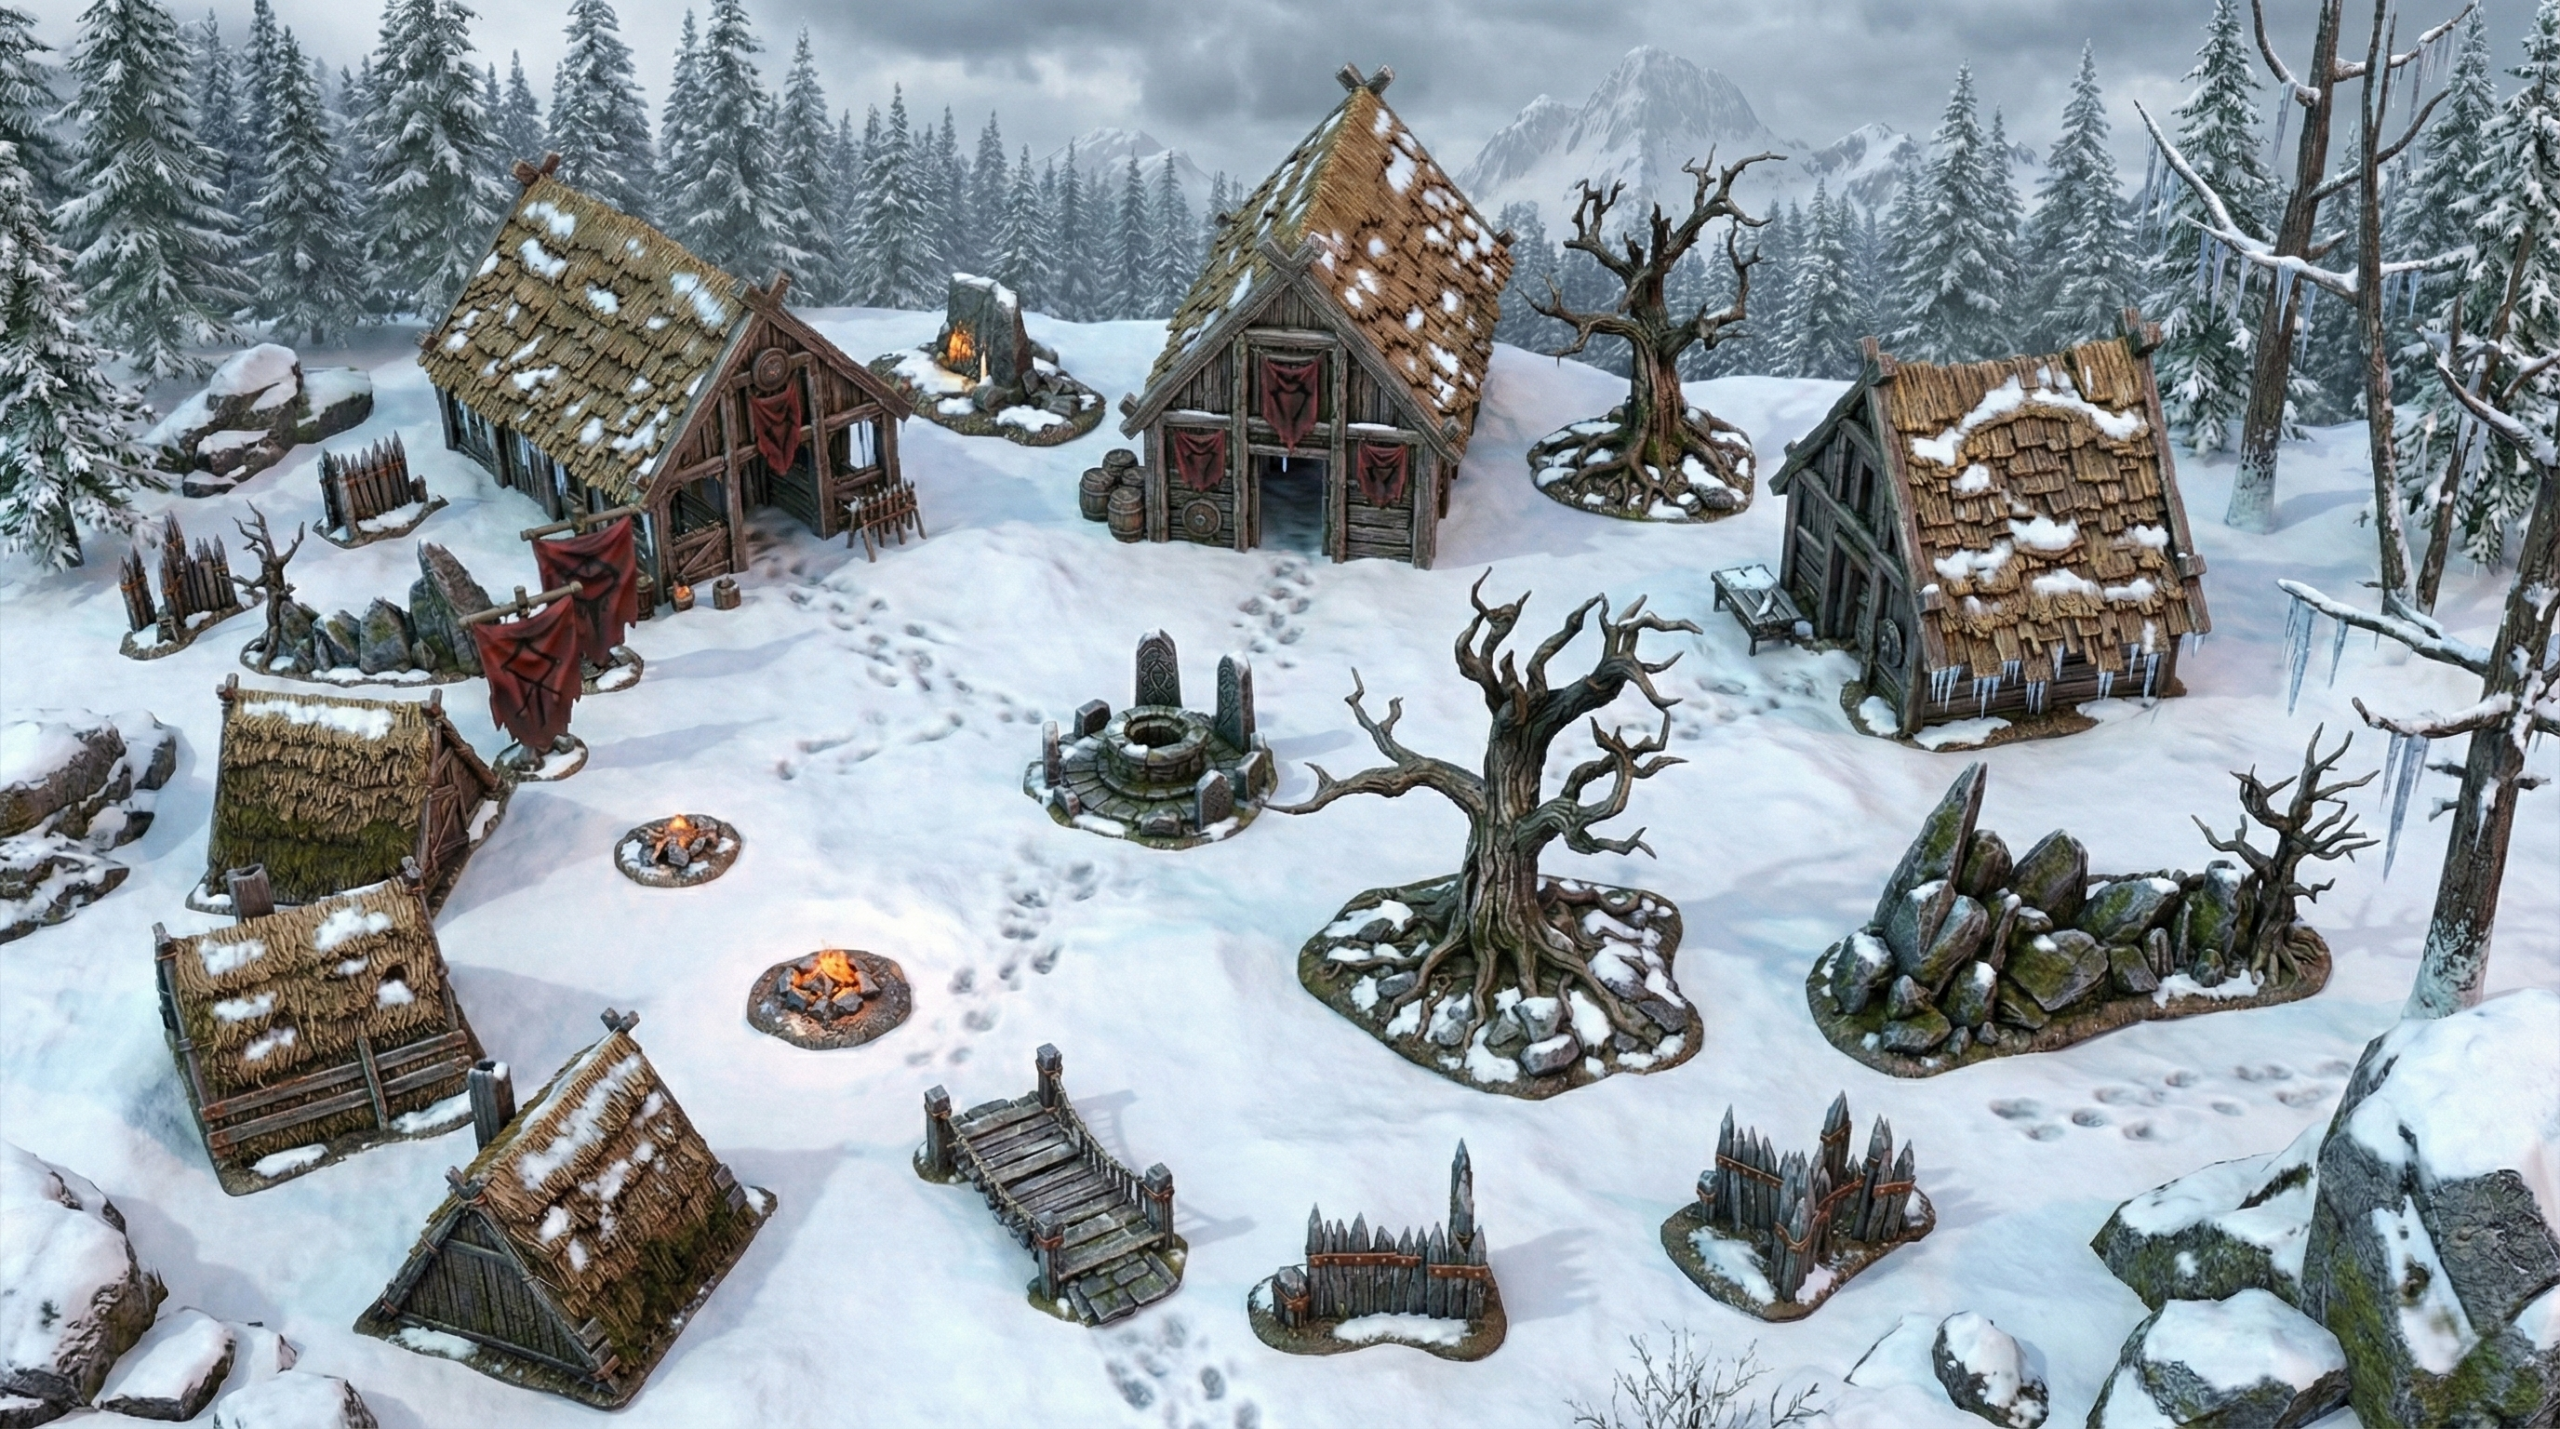
Winter miniature basing is one of the most powerful techniques to instantly elevate your miniatures and bring a frozen battlefield to life. Whether you’re painting Vikings, Draugr, frost giants, or entire winter warbands, realistic snow and ice bases can dramatically enhance immersion, storytelling, and tabletop presence.
In this complete winter miniature basing guide, you’ll learn how to create layered snow effects, frozen ground textures, icy rocks, subtle frost transitions, and professional-looking winter bases that look cinematic — not artificial.
Why Winter Basing Changes Everything
Many painters focus only on the miniature and neglect the base. But winter miniature basing can:
- Increase realism
- Improve visual contrast
- Enhance photography
- Make units feel cohesive
- Elevate display-level quality
A strong winter base ties your entire army together.
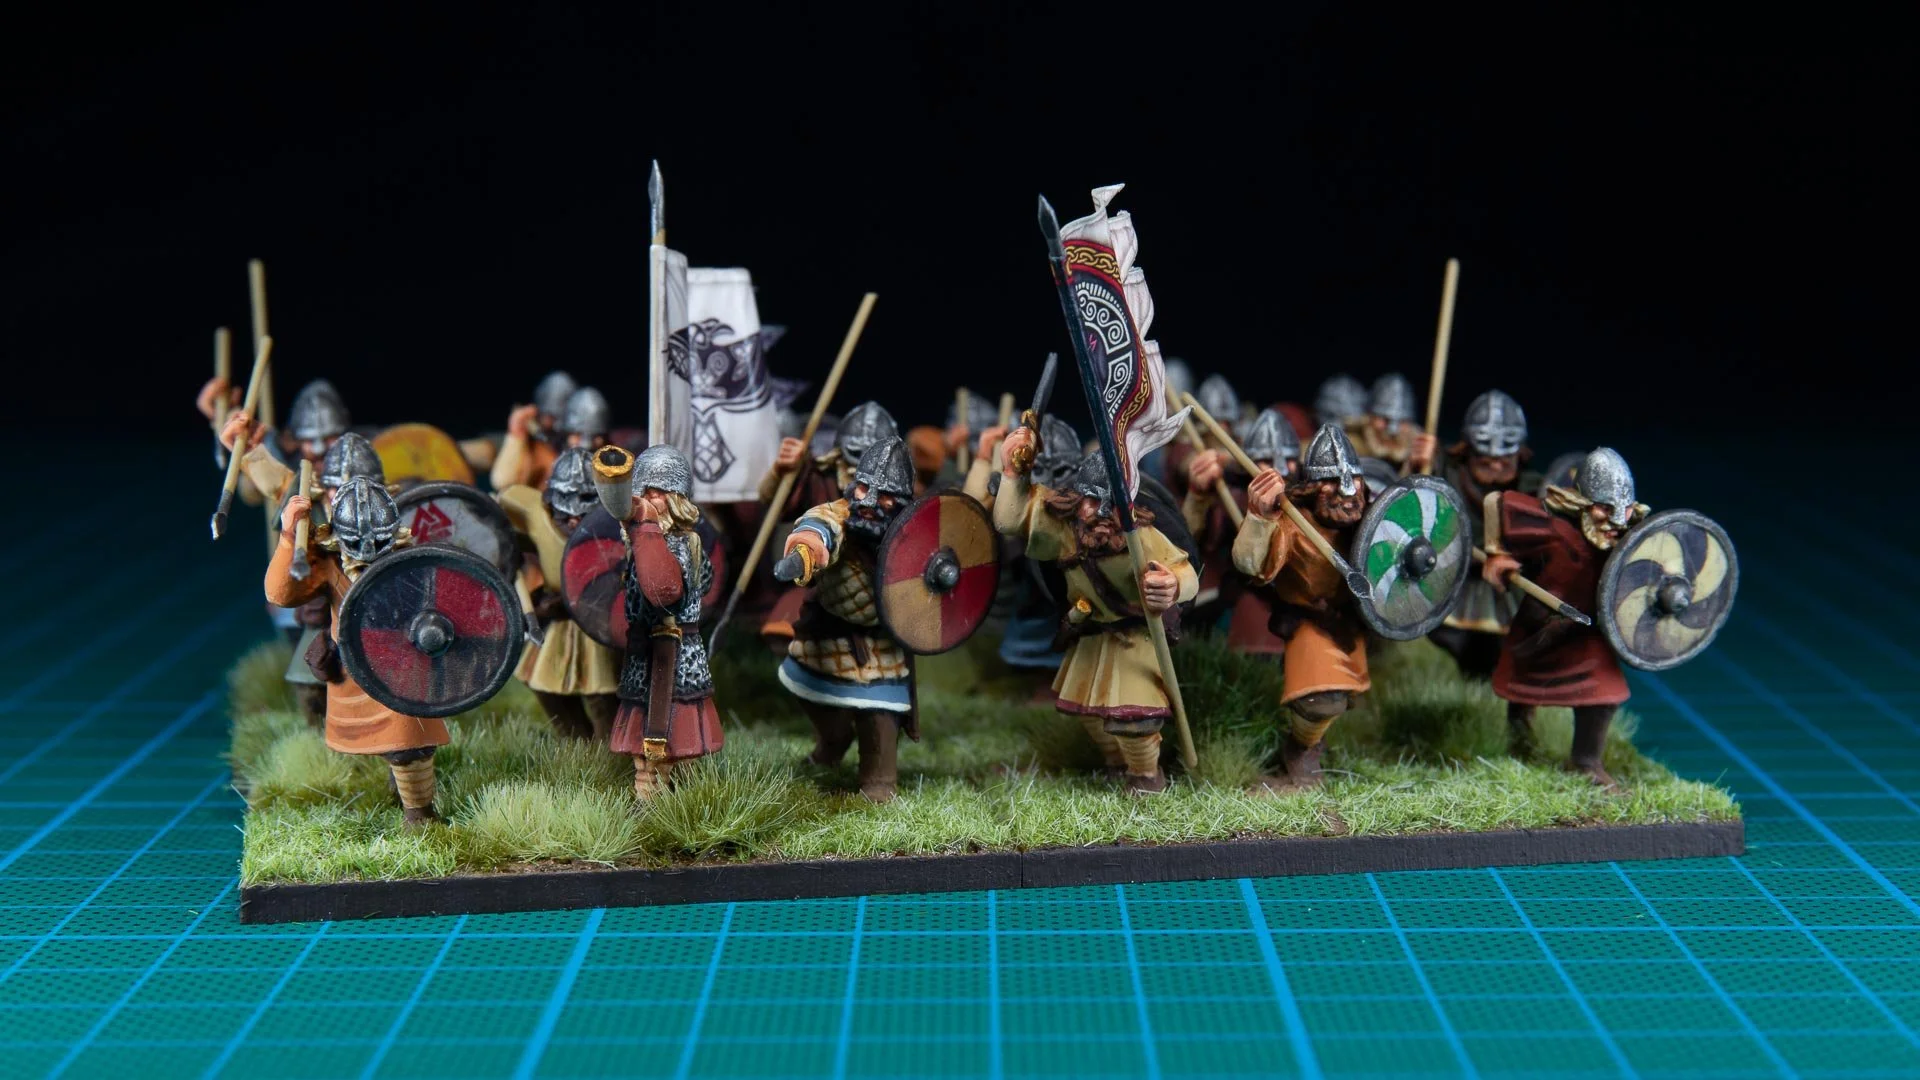
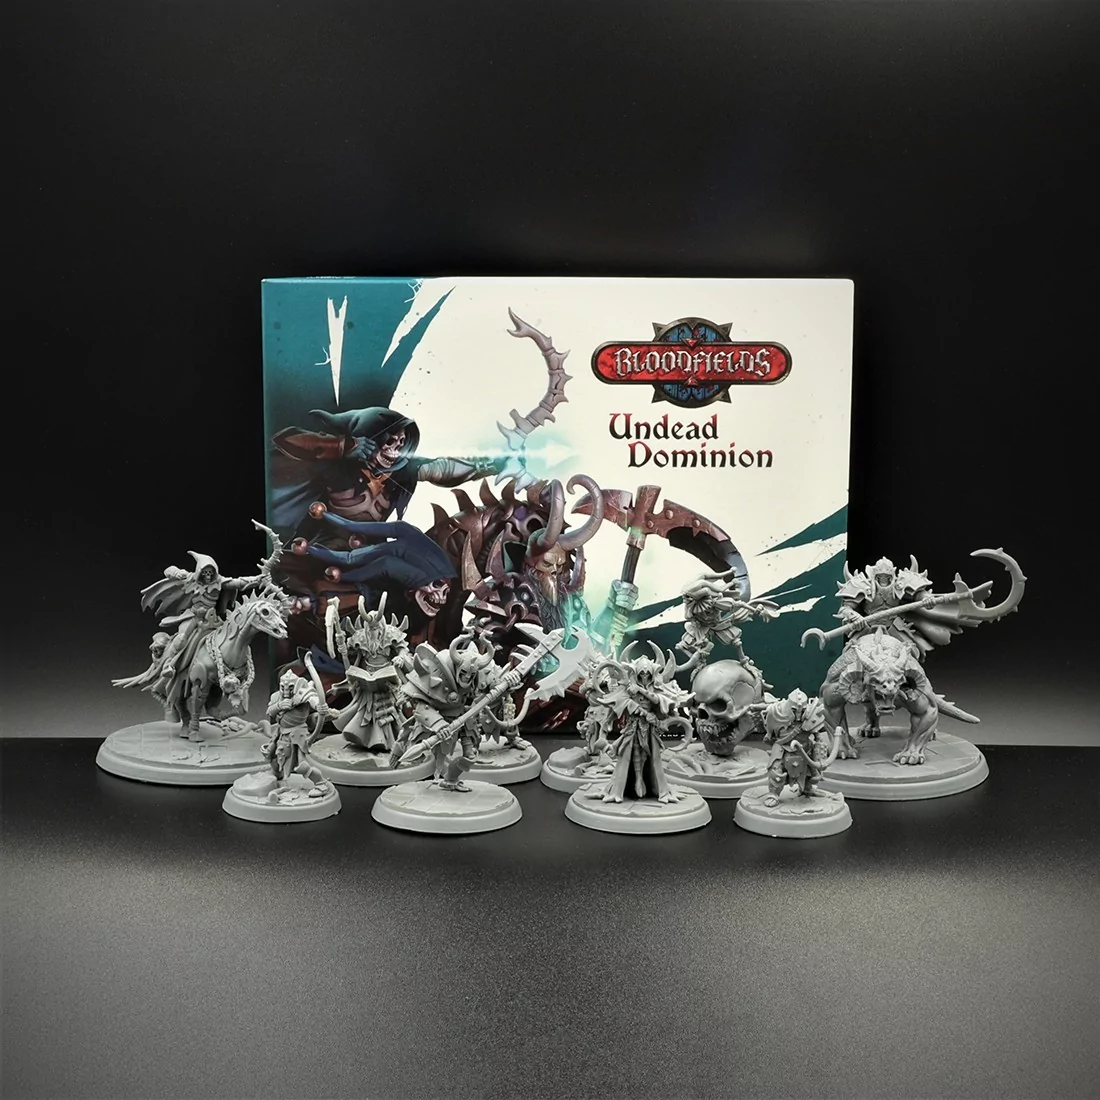
If you’re building a Viking vs Draugr campaign, snow isn’t optional — it’s atmosphere.
4
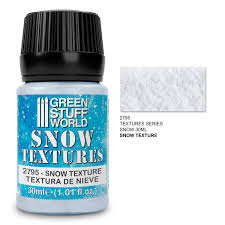
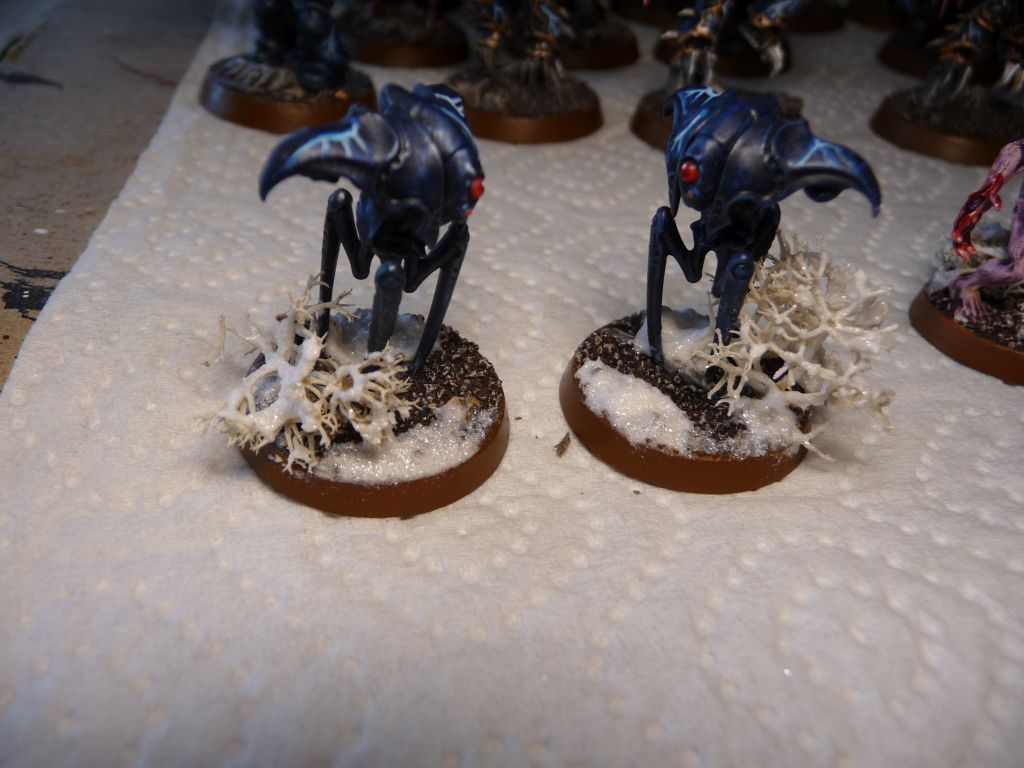
Choosing the Right Snow Materials
Not all snow products are equal.
Common options include:
- Snow texture paste
- Baking soda mixtures
- Crushed marble powder
- Commercial hobby snow (recommended)
- Static snow powder
The most reliable option for long-term durability is professional hobby snow products. Baking soda can yellow over time.
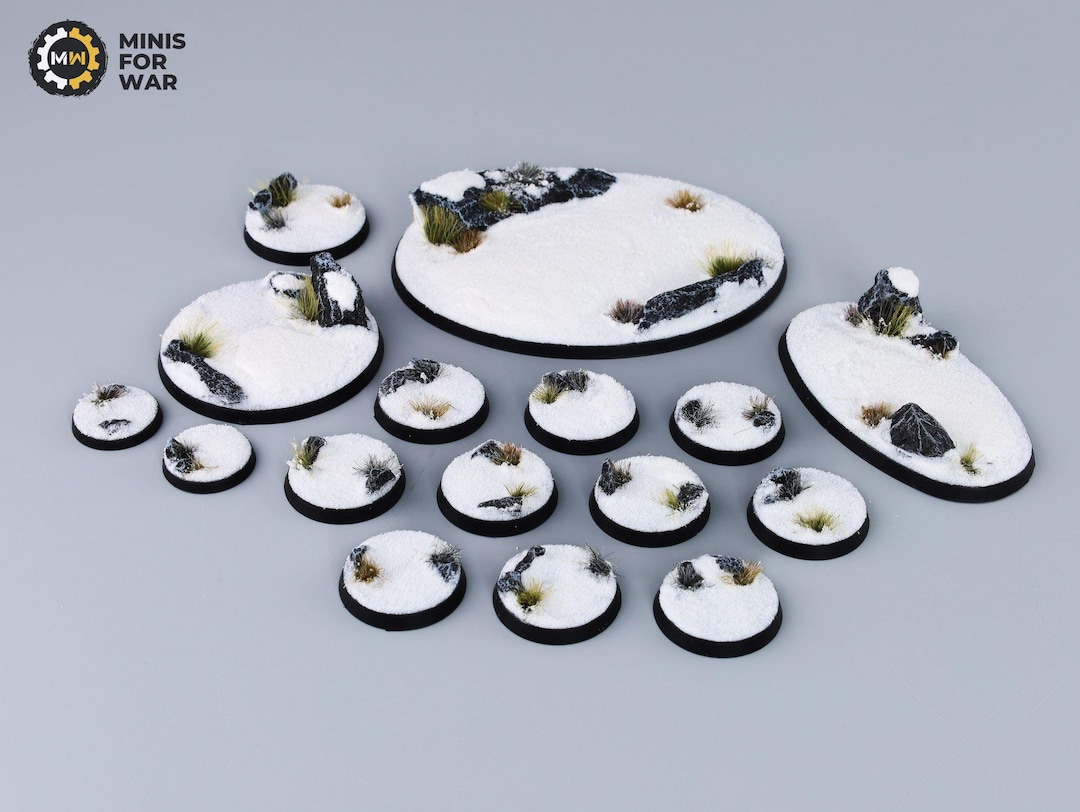
For realistic results, snow should:
- Have volume
- Reflect light softly
- Not look like flat white paint
Avoid pure white paint as “snow.” It never looks convincing.

4
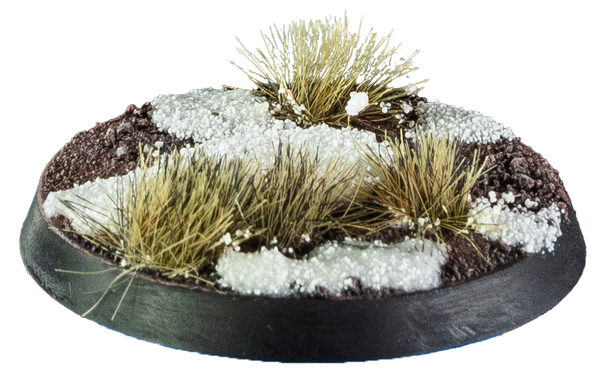
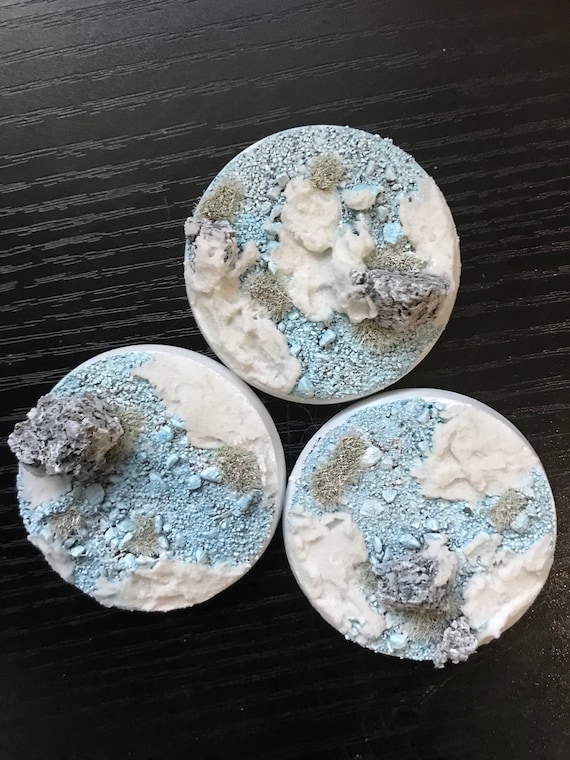
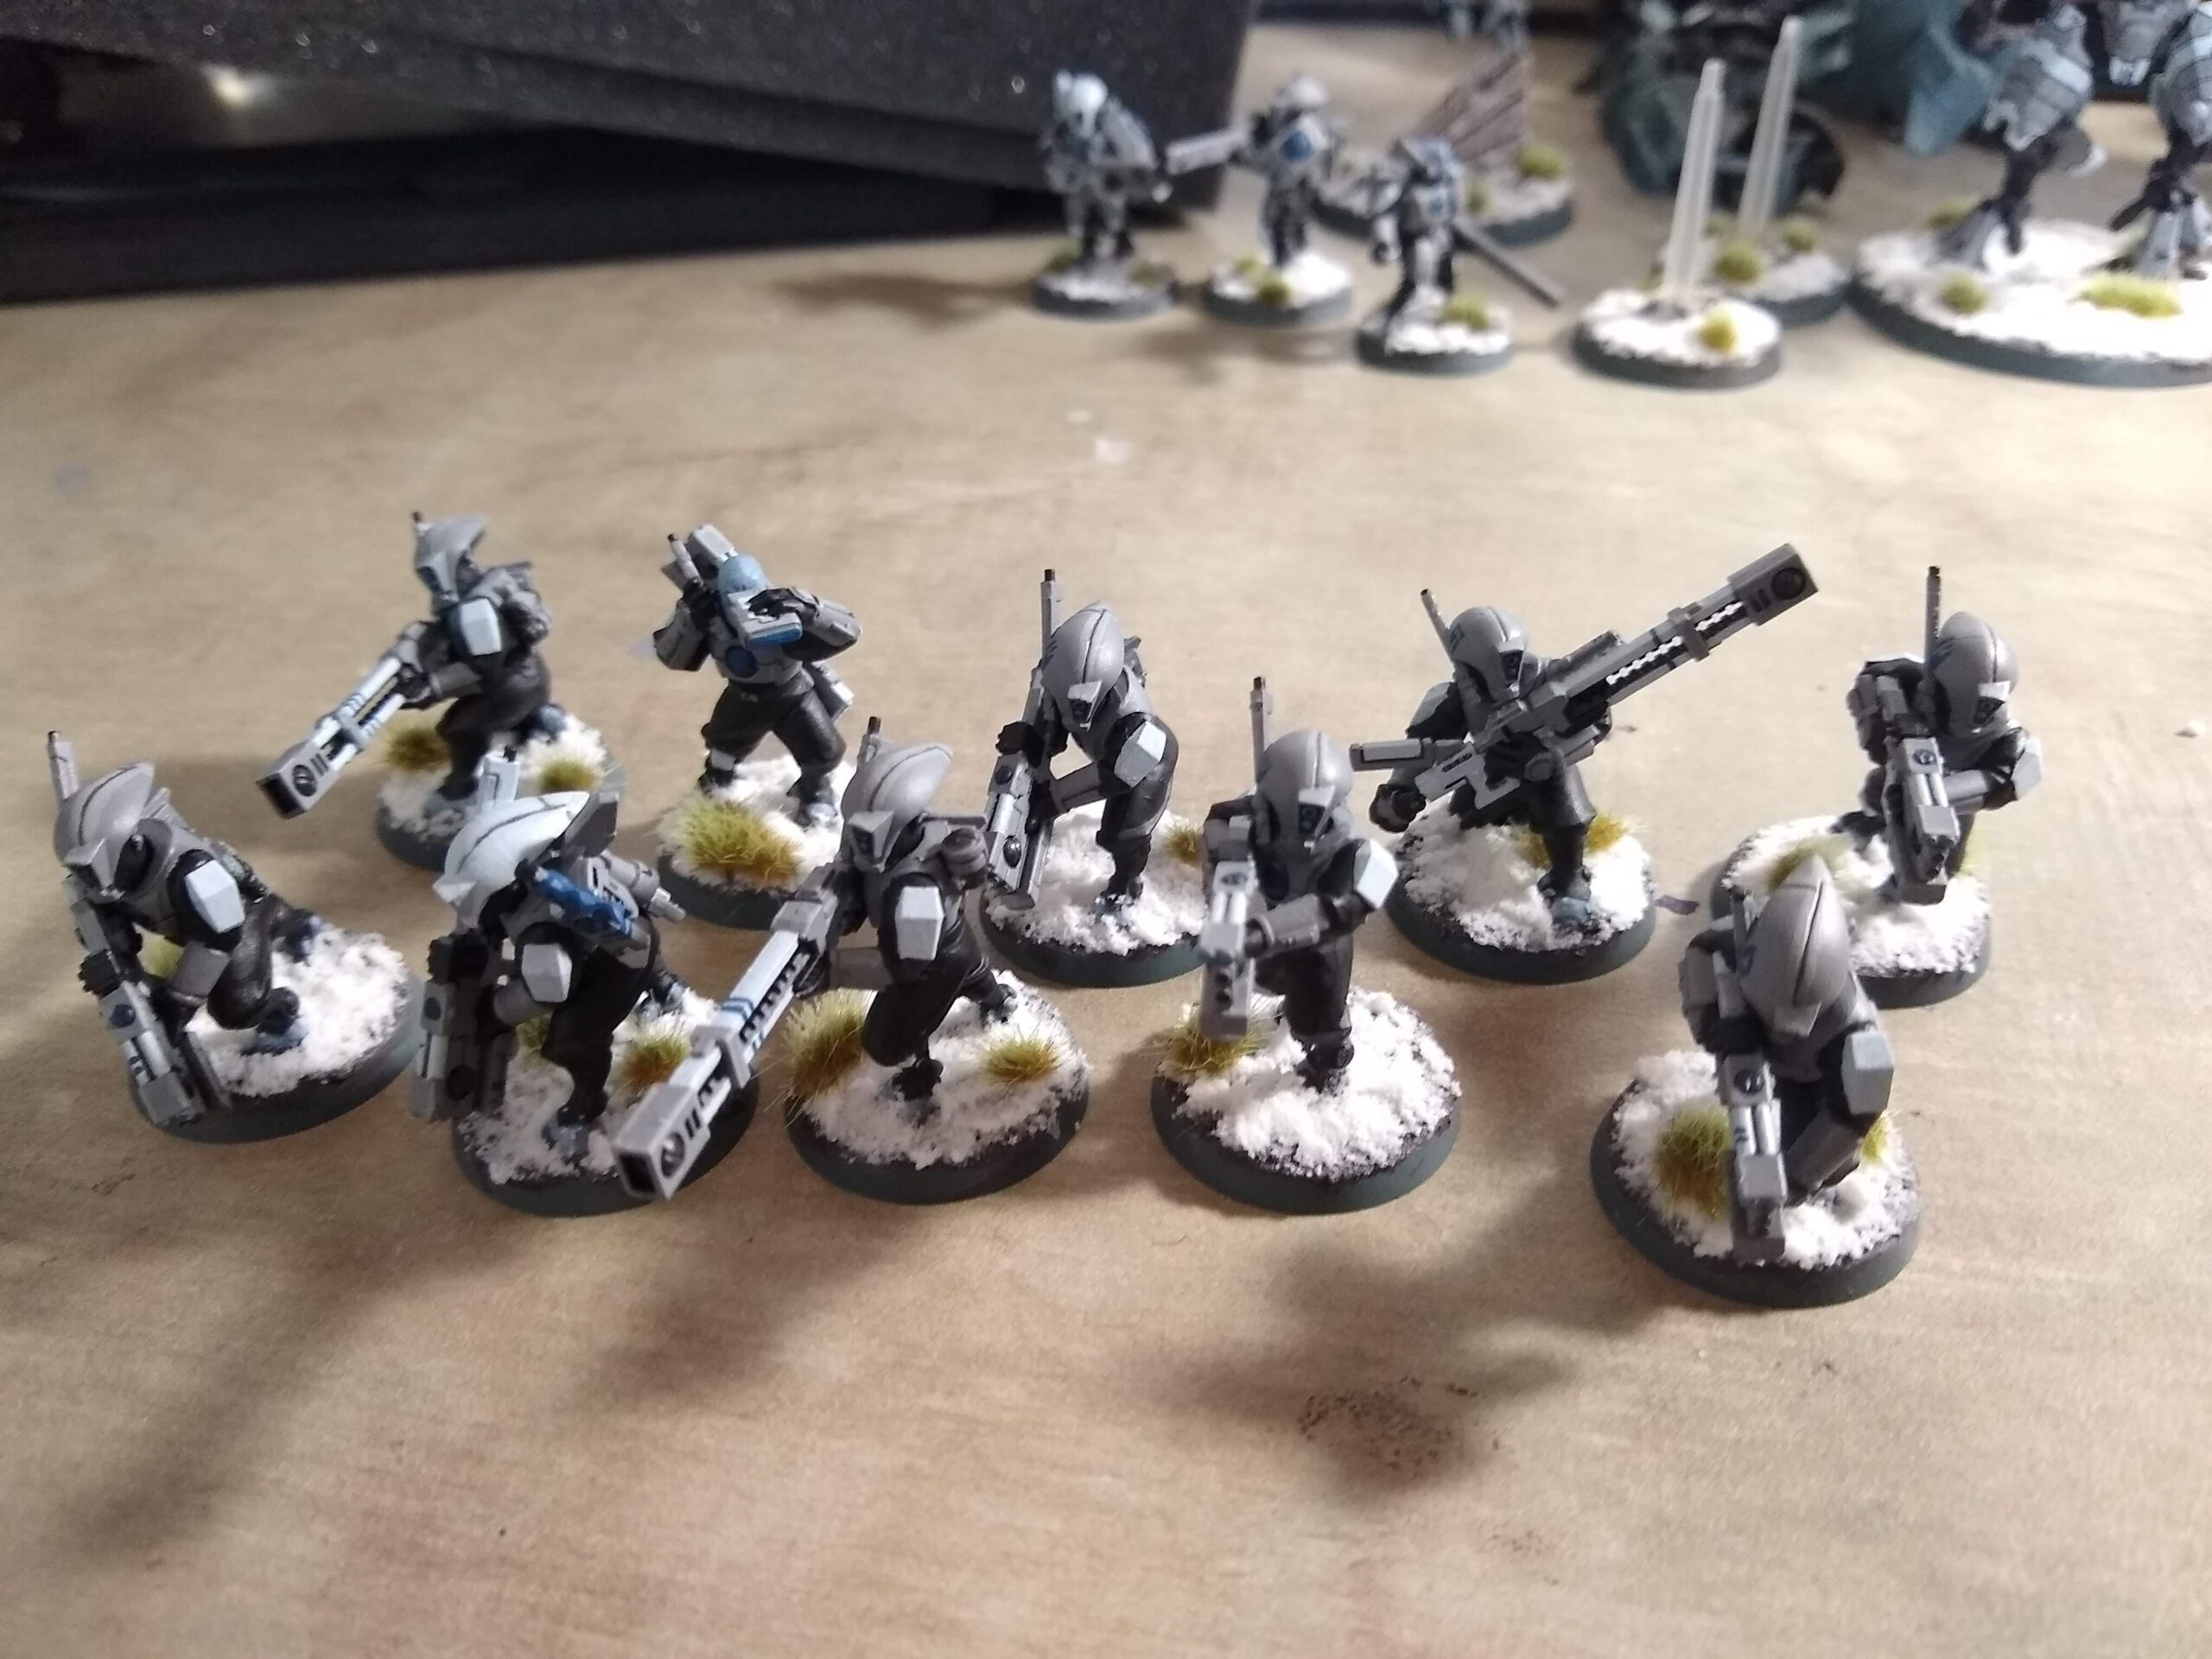
Building Layered Snow Bases Step-by-Step
Real snow sits on surfaces unevenly. Your base should reflect that.
Step 1: Texture the Ground
Start with:
- Sand
- Small stones
- Cork for rocks
- Bits of broken shields or skulls
Paint the base dark brown first. Snow always looks better over a darker underlayer.
Step 2: Drybrush the Ground
Lightly drybrush grey tones over raised areas. This creates depth beneath the snow.
Step 3: Apply Snow Selectively
Snow should accumulate:
- On top of rocks
- Around boots
- In recesses
- On flat surfaces
Leave some ground visible. Contrast is key.

4
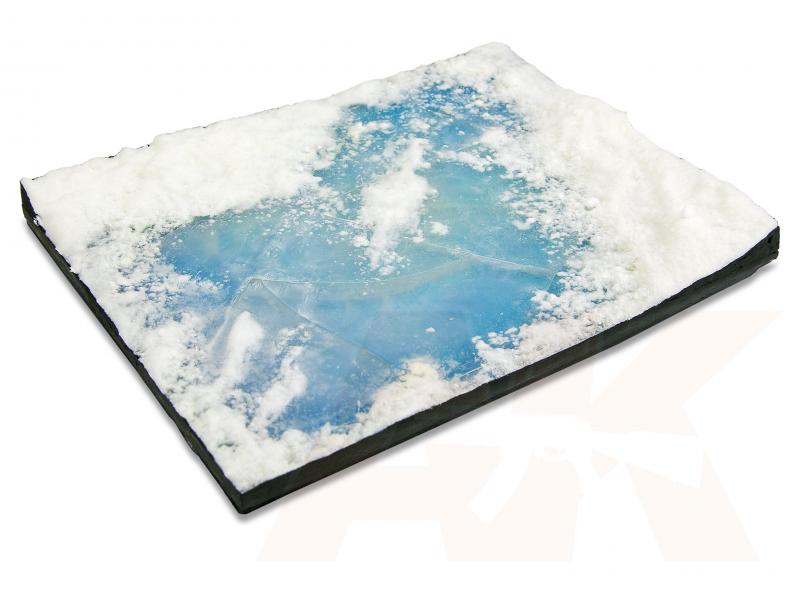
Creating Realistic Ice Effects
Ice adds variation to winter miniature basing.
To create ice:
- Paint base dark blue
- Add lighter blue drybrush
- Apply gloss varnish
- Add cracks with fine white lines
- Seal again with gloss
For frozen ponds, clear resin or UV resin works beautifully.
Ice should feel smooth and reflective — snow should feel textured.

4
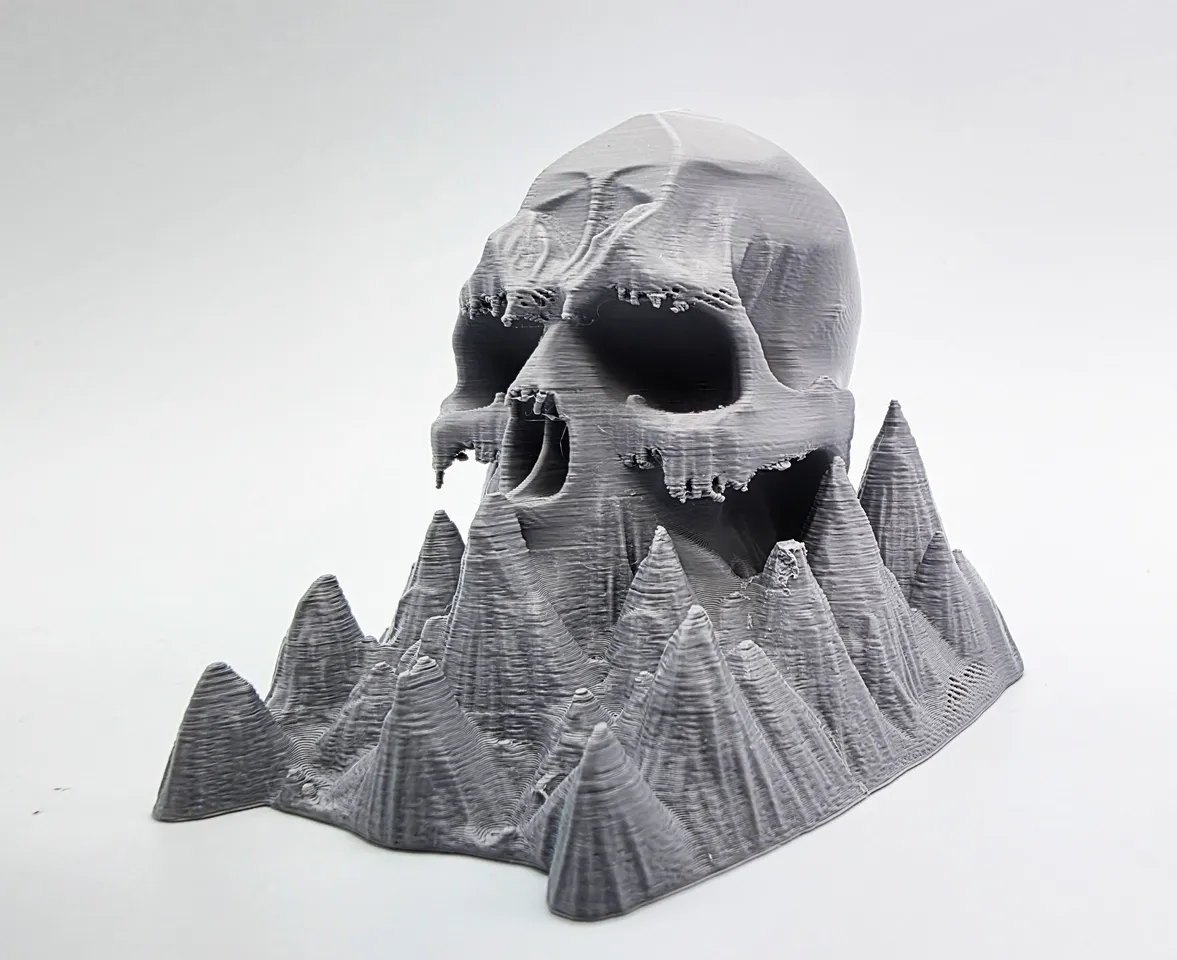
Frost on Rocks, Skulls, and Ruins
Winter miniature basing isn’t just about snow on the ground. It’s about frost interaction.
Lightly drybrush pale blue-white on:
- Stone edges
- Skull tops
- Weapon edges
- Cloak hems
- Rune stones
Keep frost directional. Imagine wind patterns.
Less is more.
4
Avoiding Common Snow Mistakes
Even experienced painters make these errors:
- Overusing pure white
- Covering entire base in snow
- Ignoring shadow areas
- Using too much gloss
- Forgetting environmental logic
Snow should tell a story. Is it fresh snowfall? Wind-blown tundra? Frozen graveyard?
Decide before applying materials.
4
Cohesion Across an Entire Army
If you’re painting a full winter warband:
- Use the same snow material
- Keep rock color consistent
- Maintain frost direction
- Repeat base elements
Small variations are good. Inconsistency is not.
Leaders can have slightly more dramatic ice effects for visual hierarchy.
4
Photographing Winter Bases Properly
Winter bases photograph differently than desert or grass.
Tips:
- Use soft lighting
- Avoid harsh yellow light
- Slightly cool your white balance
- Use dark backgrounds for contrast
Winter miniature basing shines under controlled lighting.
Final Thoughts
Winter miniature basing is one of the fastest ways to transform good miniatures into cinematic pieces. By layering texture, controlling snow placement, adding subtle frost, and integrating ice effects, you create a battlefield that feels cold, harsh, and immersive.
Whether you’re building a Viking raid party or an undead Draugr legion, snow and ice should feel intentional — never accidental.
Master winter miniature basing, and your entire collection will look unified, atmospheric, and professional.